

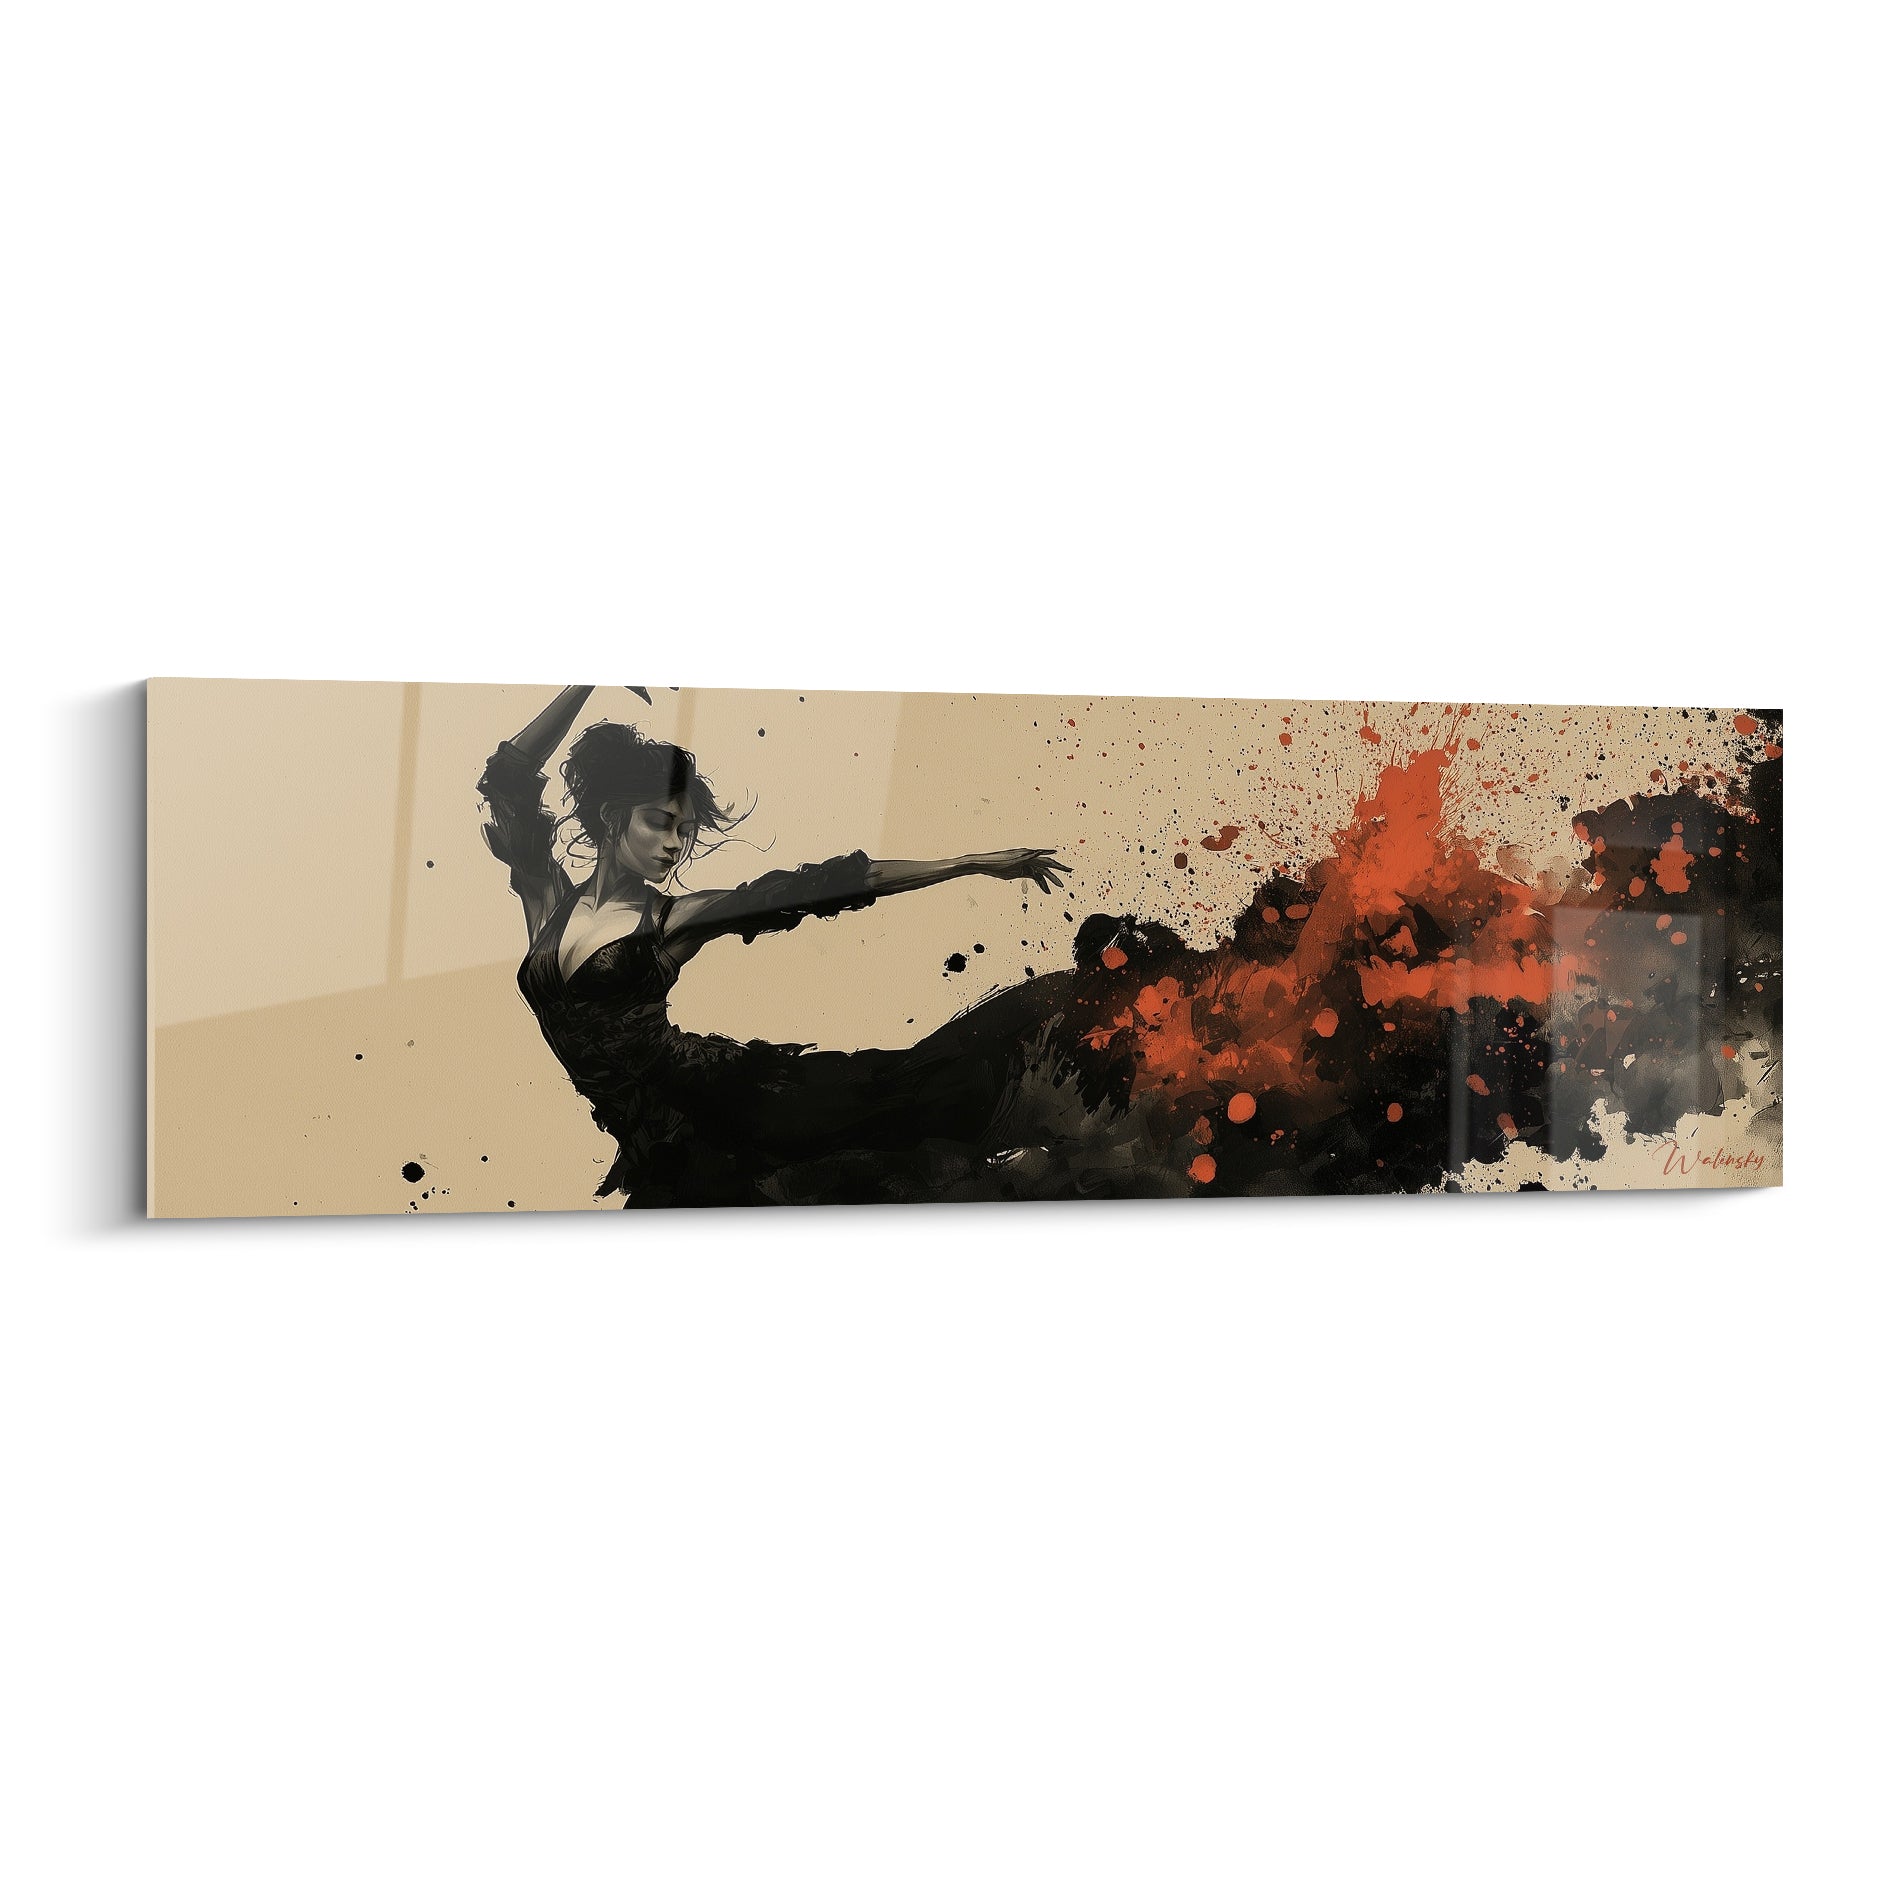






Expand a Narrow Wall with Art, Creating the Illusion of Space
October 11, 2025 · 15 min read · by Walensky
By the end of this article, you will know exactly how to visually transform this narrow wall by creating a perfect illusion of space through strategically chosen and positioned wall art.
Why is your narrow wall sabotaging the harmony of your interior?
🏠 Customer testimonial: "I lived with this narrow partition in my living room for 3 years. I thought it was just the configuration of my apartment. Until the day a decorator friend showed me how a single, well-chosen painting could completely transform the perception of space. The change was so spectacular that my guests thought I had done renovations!"
Conversation with a decor expert
The decorator’s golden rule: A well-dressed narrow wall becomes a decorative asset in less than 24 hours. The eye no longer sees the constraint but the beauty, instantly creating a sensation of more generous space.

Our highlight
Mountain Painting Dream of Altitude - trompe-l'oeil edition
233,90€
Discover this artwork →Discover what lies behind this feeling of confinement
Do you recognize these three situations? You instinctively avoid sitting facing this wall, your guests naturally position themselves on the opposite side, and you feel a visual tension as soon as you enter the room.
It's not by chance: your brain constantly processes spatial information, and a narrow wall creates a perceptual imbalance that unconsciously generates stress. The problem is not your sensitivity, but the lack of an adapted solution.
Imagine your gaze as a spotlight that constantly sweeps the space. A narrow wall without relief creates a sudden break in this sweep, like an obstacle that interrupts a smooth movement.
The error of proportions: when the eye doesn't find its bearings
Contrary to what one might think, it is not the physical width of the wall that is problematic, but the absence of visual vanishing points. Your eye naturally seeks depth, perspectives, elements that lead beyond the surface.
It's exactly like looking out of an airplane window: even if the opening is small, your gaze wanders to the horizon. A narrow wall can become this escape window with the right artistic approach.
This discovery will change the way you see your interior: you will no longer suffer from architectural constraints, but you will transform them into creative opportunities.
🔍 Immediate test: Place your hand flat against this narrow wall, then look around. You have just created a minimal relief, but your eye already perceives a difference! This is exactly the principle we will exploit.
The trap of overcompensation: why more white doesn't work
Many think that a narrow wall should "disappear" into neutrality. In reality, a white wall creates a visual void that your brain interprets as a lack, paradoxically reinforcing the feeling of narrowness.
It's like trying to hide a scar with a flesh-colored bandage: attention is focused on what should be invisible. A painting creates a visual destination that naturally diverts attention from the constraint.
As a result: you continue to feel this daily discomfort, while a well-thought-out artistic solution would immediately transform your perception of space.
The depth factor: the element no one notices
Here's the secret that interior designers jealously guard: it’s not the width of the wall that counts, but its ability to create an illusion of depth. A perspective landscape on a 50 cm wide panel can seem larger than a bare 2-meter wall.
Observe your narrow wall: there's bound to be an angle, a junction, or an architectural element that you can use as a visual anchor point to create this illusion.
This awareness will revolutionize your decorative approach and give you the keys to mastering spatial perception throughout your home.
🎯 The 3 signals that betray an underutilized wall:
- Unconscious avoidance: You naturally avert your gaze, a sign that your brain rejects this area as disharmonious Feeling of imbalance: The room seems "tilted" visually to one side, creating a subtle but constant discomfort Tunnel effect: Your gaze becomes "trapped" with no possibility of escape, generating a feeling of confinement
The real secret lies in emotional redirection: a well-chosen painting doesn't mask the problem, it transforms it into an asset. It’s the perfect domino effect: your eye focuses on beauty, forgets the constraint, and naturally perceives more space.
The 3-second rule: If a visitor doesn't immediately notice the narrowness of your wall, then your artistic solution is working perfectly. Test it now by observing the reactions of those around you.
| ❌ Classic narrow wall | ✅ Enhanced narrow wall | 💡 Active principle | 🎯 Perceived benefit |
|---|---|---|---|
| Daily feeling of confinement | Immediate visual opennessCreation of artificial depthBreathing and well-being in the space|||
| Permanent visual imbalance | Proportionate harmony regainedDirected vanishing pointsPsychological serenity and balance|||
| Underutilized and bland space | Attractive and personalized decor areaTransformation of a flaw into an assetPride and successful personalization|||
| Awkwardness during receptions | Natural conversation starterPositive diversion of attentionConviviality and admiration from guests

Our favourite
Spiral Nebula Painting - Cosmic Eye - Space Miscellaneous Edition
233,90€
Discover this artworkThe 3-step method to transform your narrow wall
Rassurez-vous, cette transformation ne nécessite aucun talent artistique particulier. C'est comme apprendre à conduire : une fois que vous connaissez les règles, tout devient naturel et intuitif. Nous allons procéder par étapes logiques, de l'analyse à la réalisation, pour obtenir un résultat professionnel garanti.
🎨 Overview of the transformation: We will first analyze your space to identify opportunities (step 1), then choose the perfect painting according to specific criteria (step 2), and finally optimize its placement for maximum effect (step 3). Each step brings you closer to a visually balanced and harmonious space.
Starting by understanding your wall is essential, as it's the foundation of any successful transformation. Like an architect who studies the terrain before building, you must identify the strengths and weaknesses of your space to exploit them intelligently.
Analysis tools at your disposal
- Your smartphone with camera mode: It reveals invisible flaws and allows you to test different framing options. Activate the composition grid to visualize proportions. Avoid apps with filters that distort the perception of real colors.
- A classic measuring tape: Gives you the exact dimensions to calculate ideal proportions according to the golden ratio rule. Make sure the graduation is clear and precise. This measurement directly determines the optimal size of your future artwork.
- A notebook and a pencil: Allows you to note your observations and quickly sketch out your ideas. Opt for a small-format notebook that you can take everywhere. These sketches will help you visualize solutions before purchasing.
Let's move on to the concrete analysis of your situation now
Progressive analysis method
Photograph your wall from different angles: Take 5 photos: front, slightly to the left, slightly to the right, from the entrance of the room, and from the main viewpoint (sofa/armchair). This technique reveals how the eye actually perceives space according to positions, crucial information for placement.
⏱️ Time: 5 minutes | ✅ Success when: You clearly see the proportions and angles in each photo | ⚠️ Attention: Avoid flash which washes out reliefs and distorts the perception of volumes
Measure and calculate proportions: Note height, width, and calculate the height/width ratio. If this ratio exceeds 3:1, your wall is effectively in the "narrow" category and requires a specific approach. This measurement determines the ideal size of the artwork (generally 60-75% of the width of the wall).
⏱️ Time: 3 minutes | ✅ Success when: You have the exact dimensions and the ratio calculated | ⚠️ Attention: Measure well up to the corners, not just the centrally visible part
Identify natural light points: Observe how the light evolves on this wall throughout the day. Reflections, shadows and variations in intensity directly influence the choice of colors and finishes for your future artwork. A matte surface will be better suited to a very bright wall.
⏱️ Time: 2 minutes | ✅ Success when: You know which areas are lit and at what time | ⚠️ Attention: Don't just test in the morning, lighting varies considerably depending on the hours
✅ Step 1 Validation: You should now have a clear understanding of the constraints and opportunities for your wall. If you are still unsure about certain points, double-check your measurements: accuracy at this stage is key to the success of the transformation.
— Our selection


OUR RECOMMENDED PRODUCTS
Step 2: Choose the artwork that will revolutionize your space
We are now moving on to the heart of the transformation: choosing the artwork. This is when your narrow wall will become a major decorative asset. Satisfaction is immediate as you already visualize the final result.
Professional Selection Criteria
- Subject with natural perspective: Landscapes, architectures, scenes with depth of field. These compositions "draw" the eye into the background, instantly creating a sense of space. Avoid portraits or still lifes that visually "close off" the space.
- Harmonious color palette: Choose a maximum of 3 colors in tones that blend with your existing decor. Cool colors (blues, greens) recede visually and enlarge the space. The impact on volume perception is immediate.
- Horizontal rectangular format: This orientation visually widens the wall and creates a feeling of lateral openness. A vertical format would accentuate the feeling of narrowness. This rule is fundamental for the desired effect.
Selection based on your lifestyle
Test the depth effect with your photos: Place different images in front of your wall (even temporarily printed) and photograph the result. Your eye will immediately tell you which composition creates the most visual escape. This technique is infallible for previewing the impact.
⏱️ Time: 15 minutes | ✅ Success when: A composition instantly gives you a sense of space | ⚠️ Attention: Don't rely on small thumbnails, test in real size
Check consistency with your furniture: Your artwork should dialogue with your existing furniture without creating visual competition. The horizontal lines of the artwork should complement (not repeat) those of your furniture. This harmony creates a balanced and soothing ensemble.
⏱️ Time: 10 minutes | ✅ Success when: The artwork seems "made for" your space | ⚠️ Attention: Avoid redundancies (horizontal lines everywhere) that create monotony
🎨 Step 2 Validation: You must feel an immediate positive emotion when visualizing your choice. If you hesitate between several options, it means that your selection is not yet precise enough. Refine according to your personal criteria.
Step 3: Optimize placement for a professional effect
This final step transforms a simple hanging into a true decorative staging. You now master the secrets of professional decorators who make all the difference between an amateur and an expert result.
Millimeter placement technique
Calculate the ideal height according to the rule of thirds: The center of the artwork should be 145-150 cm from the floor (average eye level). For a narrow wall, adjust 5 cm upwards to visually compensate for the feeling of being crushed. This technique is used in all museums.
⏱️ Time: 5 minutes | ✅ Successful when: The artwork seems to "float" naturally at the right height | ⚠️ Attention: Take into account the height of your surrounding furniture
Create a highlighting lighting: Install an additional light directed towards the artwork (adjustable LED spotlight or wall lamp). This focused light creates artificial depth and naturally attracts attention. The effect is spectacular, especially in the evening.
⏱️ Time: 20 minutes | ✅ Successful when: The artwork becomes the natural focal point of the room | ⚠️ Attention: Avoid overly powerful lighting that creates annoying reflections
The expert's progression rule: Observe the effect for 48 hours before definitively validating. Your eye needs this time to adapt to the new spatial perception. If the improvement is evident in the first few hours, then your installation is perfect.
Congratulations! You now master the advanced techniques that professional decorators use to transform constrained spaces. This expertise gives you a considerable advantage for enhancing any interior.
💡 Professional secret: To amplify the enlarging effect, place a small mirror on the perpendicular wall, slightly tilted towards your artwork. This technique creates a partial reflection that visually multiplies the space and gives the impression of a private art gallery.
Frequent question from our readers
"I'm afraid my artwork will look too small on this narrow wall, how can I be sure of the right sizing?"
This concern is perfectly normal and reveals an excellent decorative intuition. An artwork that is too small would indeed create a "stamp" effect that accentuates the narrowness. The professional solution is to choose a format that occupies 60 to 75% of the width of the wall, creating a perfect visual balance. To reassure yourself completely, cut out a cardboard to the planned dimensions and test the effect before purchasing.
✅ Instant validation test: Temporarily fix your cardboard template and ask three people for their first impression. If they find the whole thing harmonious without knowing your problem, then your sizing is perfect!
— You may also like


Pitfalls to avoid to guarantee your success
After supporting hundreds of transformations, we have identified the most common mistakes that can compromise your project. These pitfalls are predictable and totally avoidable with the right reflexes.
- ⚠️ Choosing a too colorful painting to "compensate": Excessive bright colors tire the eye and create visual competition with the space. As a result: your wall appears even narrower by contrast. Favor 2-3 harmonious colors that naturally integrate into your existing decor. ⚠️ Placing the painting too high for fear of it "crushing": A painting hung too high creates a visual void in the natural eye level and unbalances the whole thing. Respect the rule of 145-150 cm from the floor to the center of the painting, even if it seems initially too low. ⚠️ Multiplying small decorative elements around: Wanting to "furnish" the space with several objects creates a cluttered effect that accentuates the feeling of narrowness. A single well-sized and well-placed painting is infinitely more effective than an accumulation of elements. ⚠️ Choosing a frame too imposing: A massive frame "visually eats up" the space and draws attention to the limits of the wall rather than to the content. Opt for a discreet framing that enhances the work without competing with it. ⚠️ Neglecting the lighting of the painting: A poorly lit painting loses 70% of its visual impact and does not create the desired feeling of openness. Invest in directed supplementary lighting, even simple, to reveal all the depth of the work.
🔍 Quick verification system: Before finalizing your installation, check these 4 points: the painting naturally attracts your gaze as you enter the room, you feel a sensation of openness when looking at it, it harmonizes with your existing furniture, and your loved ones notice it positively without you mentioning it.
— In the same vein


Your most frequently asked questions about wall art
Expect to spend between €80 and €300 for a quality artwork suitable for a narrow wall, depending on the technique and size. Add €30-50 for LED accent lighting. This transformation costs less than a weekend and transforms your daily life for years to come. Prioritize quality: a good painting enhances your interior and lasts a lifetime.
The effect is visible immediately after installation, but your perception refines over 48 to 72 hours. This is the time needed for your brain to fully integrate the new geometry of the space. After a week, you will have completely forgotten the initial discomfort of this narrow wall.
With the right techniques, it is accessible to everyone in 30 minutes maximum. Use fixings suitable for the weight of the artwork and the type of wall. The most important thing is precise positioning: take time to measure and mark before drilling. A spirit level is essential to avoid visible defects.
Absolutely! Living room, bedroom, hallway, office... The principle of space illusion through art adapts to all environments. Only the themes change: soothing landscapes for the bedroom, dynamic abstracts for the office, convivial scenes for the living room. It is important to respect the harmony with the use of the room.
Your personal style is an asset, not a constraint! Wall art adapts to all tastes: modern, classic, ethnic, industrial... The essential thing is to choose a work that personally moves you. A painting that you like will naturally create harmony with your interior, as it will reflect your authentic personality.
Your transformation begins now
In 15 days, you will enter your living room with a smile of satisfaction. This wall that used to bother you so much will have become your decorative pride, a focal point that attracts compliments and inspires serenity. Your guests will immediately notice the harmony of your interior without being able to explain precisely why.
This transformation goes far beyond simple decoration: you have acquired expertise in space planning that you can apply in all rooms of your house. This new confidence in decorating will accompany you in all your future interior design projects.
The hardest part was understanding the mechanisms of visual perception. Now that you master these principles, all you have to do is choose your painting and apply the method. Start today by taking measurements of your wall: it's the first step towards your new living space.
🚀 Your new decor chapter begins here: You have all the keys to succeed in this transformation. Trust your newfound skills and go for it! In a few weeks, this narrow wall will be your most beautiful decorative achievement.
Also read: 🔍 Explore our articles on wall optical illusions
</div
More selected pieces
Origami Painting Dance of Paper - origami edition
233,90€
Discover this artwork →Explore our collections


