

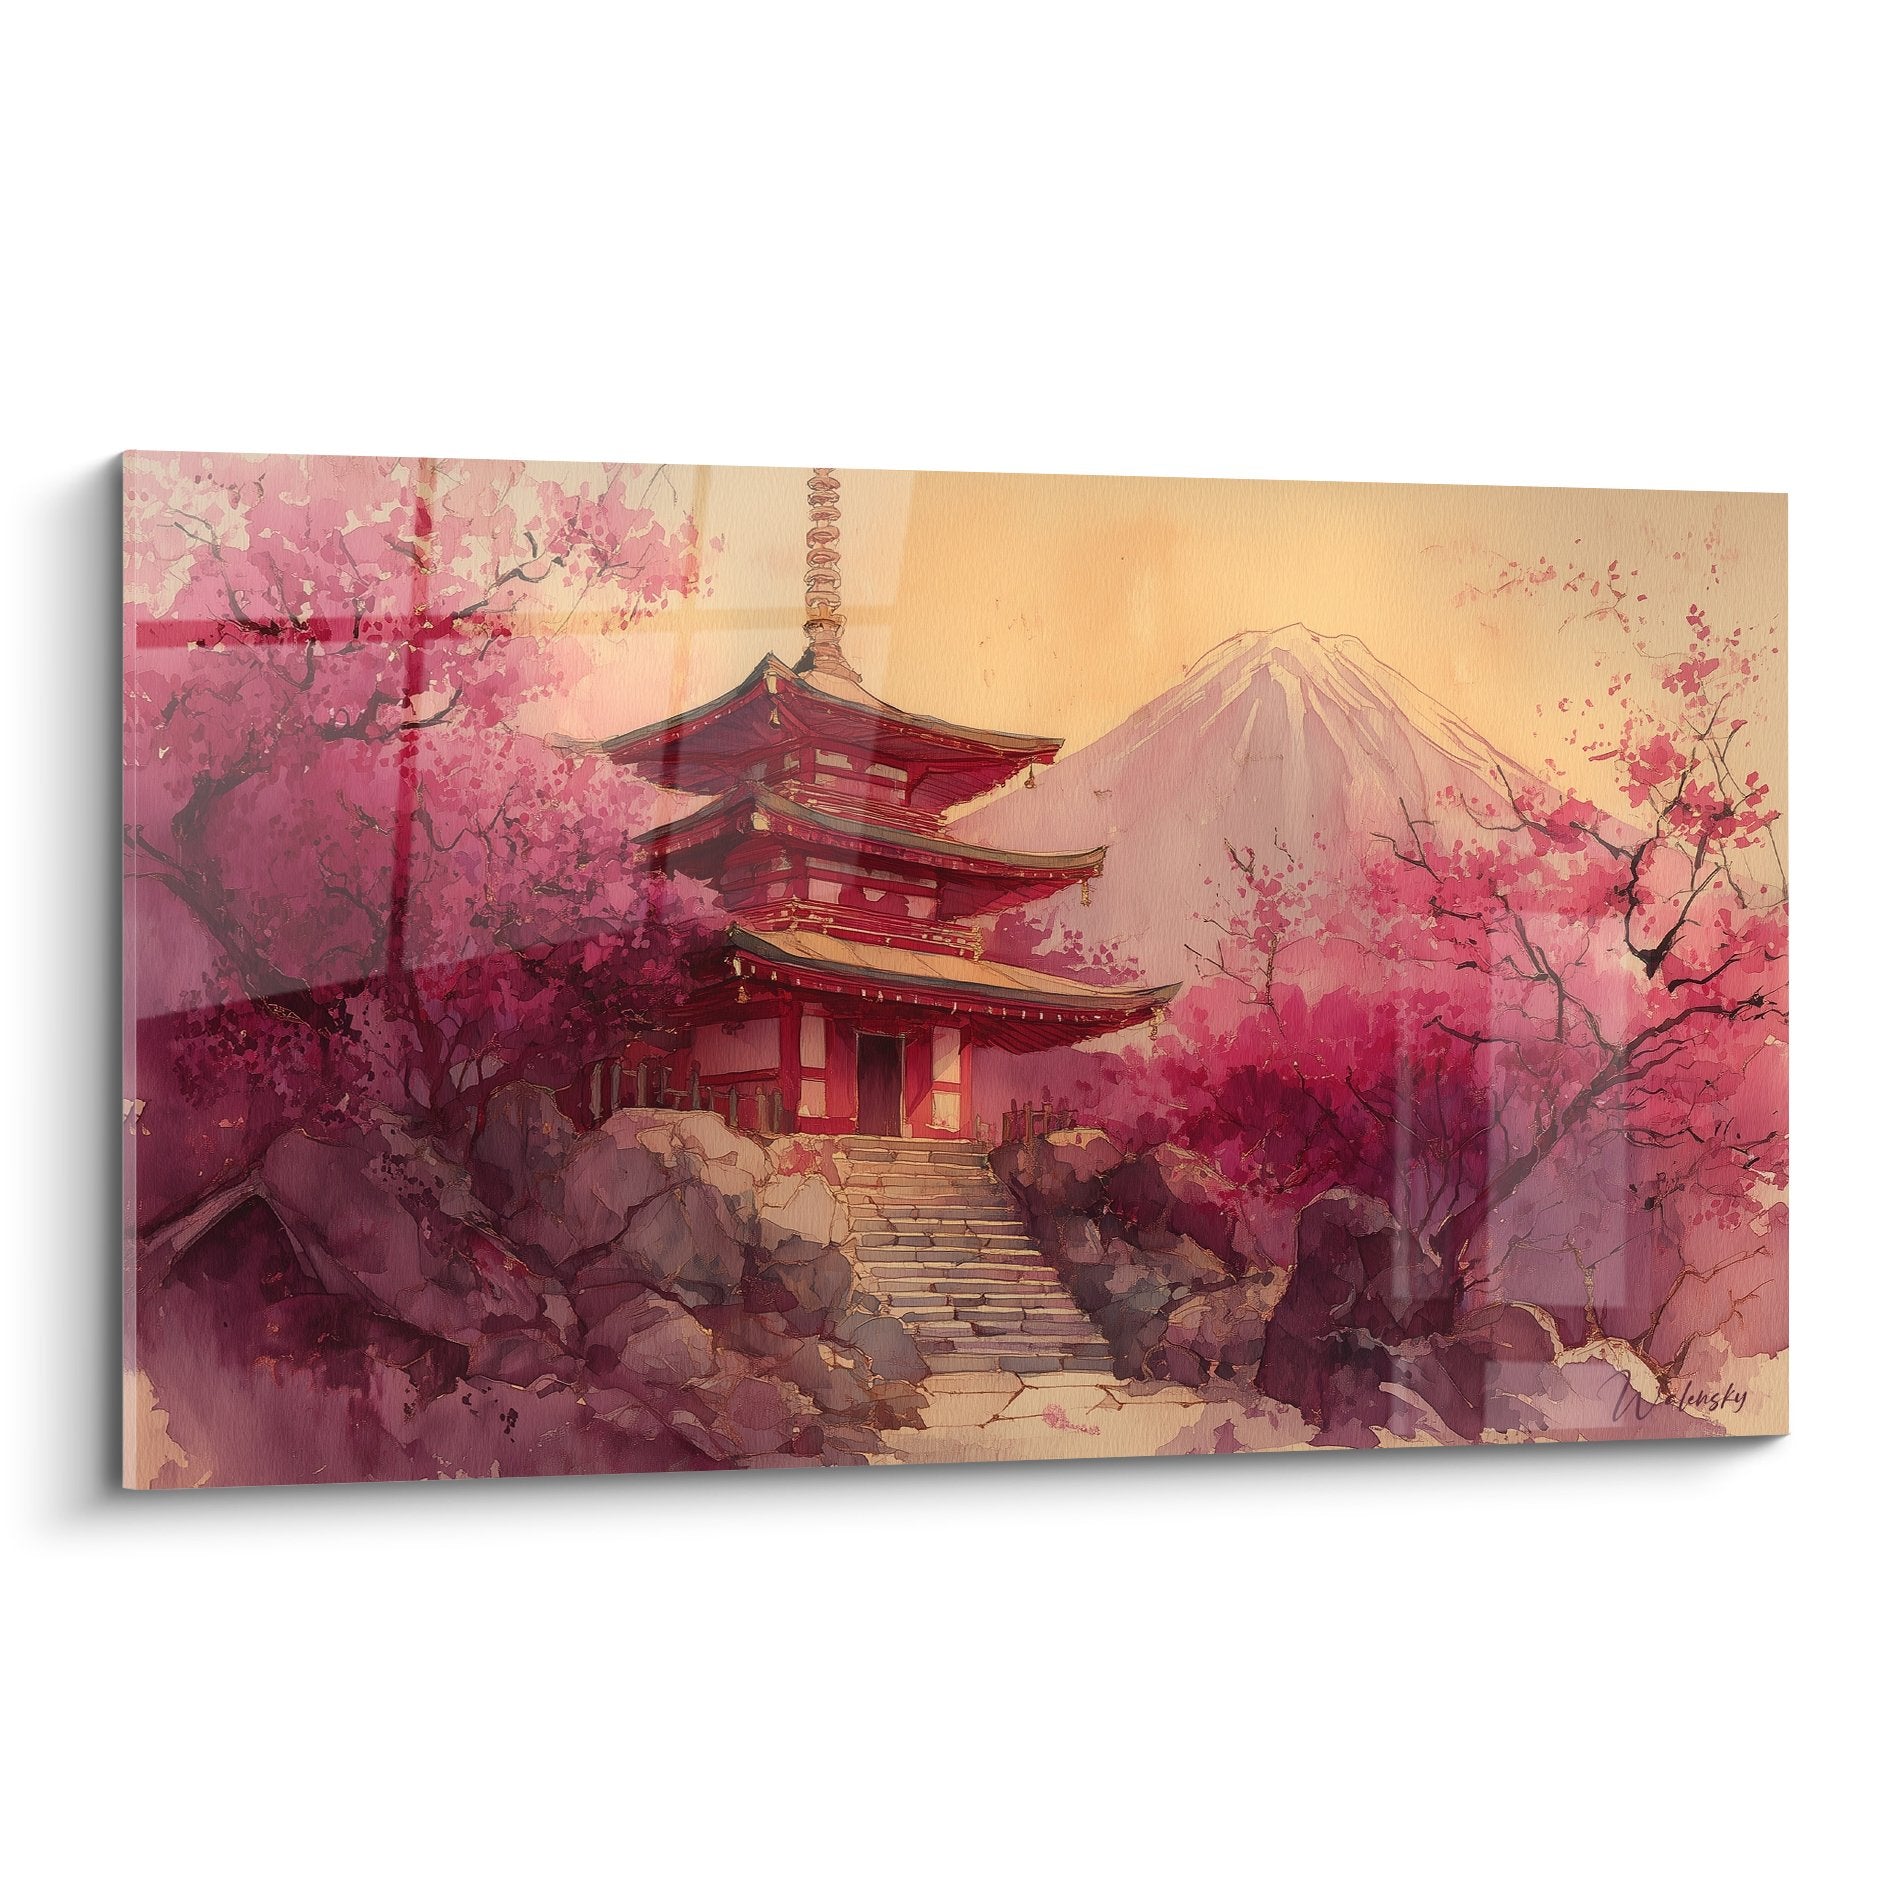






Add depth to your wall with artwork, techniques for expanding space
October 11, 2025 · 15 min read · by Walensky
The golden rule of wall depth: The more your painting “tells” a story of space (perspective, layering, contrasts), the more your wall becomes a window to elsewhere. Visible result from the first glance, complete transformation in 24h.
Why Does Your Wall Feel So Oppressive?
You feel this sense of confinement as soon as you enter the room, your guests stay less long than before, and you subconsciously avoid settling down facing that wall.
It's not in your head! Your brain processes visual flatness as a physical obstacle. Without vanishing points or relief, the eye "bumps" against the surface and instantly closes the perceived space.
It's exactly like driving through a tunnel: without perspective, you feel compressed, even in an objectively large space.
The First Cause: Lack of Vanishing Points
Contrary to what one might imagine, it's not the colors that create depth, but the secret geometry of the artwork. The masters of the Renaissance understood this: the eye naturally follows lines that "escape" towards the back.
Imagine an avenue of trees: even in a photo, you instantly see depth thanks to converging lines. This is the principle we apply with paintings!
Without these guiding lines, your eye remains "trapped" on the surface of the wall, creating that feeling of suffocation you feel daily.
✨ Quick Test: Look at your current wall and blink quickly. If your gaze doesn't "travel" naturally towards the back, that proves that vanishing points are completely missing.
The Second Cause: Uniformity of Planes
Your wall seems flat because everything is on the same visual plane. Real decorators create "layers" of space: foreground, middle ground, background.
It's like looking at a landscape: elements overlap and naturally create depth. Your wall needs this same visual hierarchy.
This uniformity explains why you feel your room "lacks air": the eye finds no refuge in the depth.
The Third Cause: Poorly Exploited Contrasts
You may have chosen harmonious colors, but harmony alone is not enough. Strategic contrasts are the real creators of visual relief.
Observe a sunset: it's the light/shadow oppositions that give this impression of infinite depth, not soft colors.
Without these mastered contrasts, your decoration remains in monotony and flatness, even with the most beautiful objects.
🔍 The 3 Signs of a Wall Without Depth:
- Your gaze "glides" without stopping: Absence of a magnetic focal point, like a road with no destination
- The room seems smaller in the evening: Lack of relief created by light and shadow play
- Your guests settle down facing this wall: Unconscious discomfort caused by lack of perspective
The Trigger Element: Artistic Perspective
The true secret lies in artistic perspective: this millennial technique that transforms a flat surface into a window to infinity. It's the perfect domino effect: once your eye "enters" the artwork, all space expands around it. You will recognize this magic when your gaze is naturally "pulled" towards the back of the painting.
The universal rule of depth: The more superimposed planes (near, middle, far) a painting contains, the more it transforms your wall into a window. Immediate test: cover half the painting with your hand - if the depth disappears, then perspective is working!
| ❌ Flat and oppressive wall | ✅ Wall with depth | 💡 Technique used | 🎯 Result obtained |
|---|---|---|---|
| Daily feeling of confinement | Natural breathing and openness | Lines converging towards the back | Perceived space multiplied by 2 |
| Gaze that "hits" the wall | Eye that "travels" within the artwork | Perspective with multiple planes | Immediate visual comfort |
| Flat and monochromatic colors | Relief created by contrasts | Games of light and shadow | Dynamism and life in the room |
| Guests who avoid this area | Magnetic and welcoming space | Captivating focal point | More convivial room |

More selected pieces
Mountain Painting Dream of Altitude - trompe-l'oeil edition
233,90€
Discover this artwork →How to create spectacular depth in 3 steps
Rest assured, you don't need to be an artist! This method follows the natural logic of your visual perception. Like building a house: solid foundations, visible structure, refined finishes. At each step, you will see the transformation happen immediately.
🗺️ Overview of the method: Step 1 = Choose the right type of perspective (solid background), Step 2 = Position strategically (visible structure), Step 3 = Optimize lighting (spectacular finishes). Progressive but immediate result from the first step.
Step 1: Select your "window to infinity"
Starting with choosing the painting is logical: it's what will carry all the magic! Think of the foundations of a cathedral: invisible but decisive for the final grandeur. Once this step is complete, you will already feel this liberation of your gaze.
Decisive selection criteria
- Visible linear perspective: Look for lines that converge towards a vanishing point (roads, corridors, landscapes with horizon). Avoid repetitive patterns without direction: they create confusion instead of depth. Check by closing one eye - the lines should "pull" your gaze backwards.
- Layering: The artwork must contain clearly identifiable near, middle, and far elements. Like looking at a forest: trees in the foreground are sharp, the background is blurred. This visual hierarchy is your guarantee of successful depth.
- Controlled contrasts: Alternation between light and dark areas, smooth and rough textures. No monochrome "gentleness" - your eye needs relief to perceive dimension. The impact must be immediate and striking.
Now let's move on to concrete action:
Practical selection of your artwork
Test the "tunnel rule": Stand 2 meters away from the artwork and focus on the center. If your gaze is naturally "pulled" backwards, that's the right one! This sensation proves that perspective works perfectly.
⏱️ Time: 2 minutes per piece | ✅ Successful when: Immediate feeling of escape and breath | ⚠️ Attention: Don't rely on colors - even a dark artwork can create extraordinary depth
Check spatial proportions: The artwork should occupy 60 to 80% of the width of the wall to create maximum impact. Too small = diluted effect, too large = oppression. Measure before you splurge!
⏱️ Time: 5 minutes | ✅ Successful when: Perfect visual balance without crushing | ⚠️ Attention: Small artworks grouped together never create the same depth as a single large unified piece
Validate the "magic window" effect: Temporarily cover half of the artwork with paper. If the depth completely disappears, then the perspective is well constructed and functional.
⏱️ Time: 1 minute | ✅ Successful when: Striking difference between covered and uncovered version | ⚠️ Attention: If the effect persists even when covered, it means that the artwork lacks true perspective
✅ Validation of step 1: Your chosen artwork must create an immediate feeling of escape, with lines that "escape" towards the back. Final test: your loved ones should spontaneously comment on the depth effect. If so, you're ready for step 2!

Our favourite
Spiral Galaxy Painting - Luminous Cosmos - Galaxy Edition
233,90€
Discover this artworkOUR RECOMMENDED PRODUCTS
Step 2: Strategic positioning to amplify the effect
Now that you have your "magic window", you need to reveal it as much as possible! It's like placing a spotlight on a diamond: even the most beautiful jewel can be spoiled by poor lighting. This step amplifies the snowball effect of your depth.
Professional positioning tools
- Precision bubble level: Essential to avoid the "tilting boat" effect that immediately destroys perspective. Invest in a model of at least 60cm. Entry-level levels create errors that ruin months of aesthetic research. Measuring tape and pencil: To respect the rule of golden proportions. Positioning "by eye" always gives amateur results. Professionals systematically measure before drilling. Fixings suitable for the weight: Molly anchors for hollow walls, chemical anchors for solid walls. Inadequate fixing = risk of falling and permanent stress. Always oversize the load capacity.
Precise positioning for maximum impact
Apply the 60% rule: The center of the artwork should be 1.60m from the floor (average eye height). This position optimizes depth perception for all your guests, without exception.
⏱️ Time: 10 minutes | ✅ Successful when: Perfect visual comfort standing and sitting | ⚠️ Attention: Many place it too high out of fear - this is the mistake that kills the depth effect
Create a "breathing" effect: Leave a minimum space of 20cm between the artwork and adjacent elements (furniture, other decorations). This "neutral zone" allows the eye to focus on perspective without distraction.
⏱️ Time: 15 minutes | ✅ Successful when: The artwork breathes naturally in the space | ⚠️ Attention: Avoid visual clutter that destroys the magic of depth
Optimize viewing angle: Position yourself in the main traffic areas and check that perspective remains visible. A perfect artwork from the front can lose its effect from certain angles.
⏱️ Time: 5 minutes | ✅ Successful when: Depth effect maintained from 3 different positions | ⚠️ Attention: Very textured works can create annoying reflections depending on the angle
🎯 Validation of step 2: Your artwork should now create a magnetic effect - looks are naturally drawn to it as soon as you enter the room. Your guests should spontaneously approach it to "explore" the depth. Mission accomplished!
💫 Step 3: Enhance with dramatic lightingYou're touching on absolute mastery! Lighting transforms your artwork into a true living window. This is the difference between an amateur and a true connoisseur: knowing that light literally sculpts depth. Get ready for a result you will be proud of for years.
Professional lighting equipment
- Adjustable LED spotlights 3000K: Warm color temperature that reveals contrasts without distorting colors. Avoid "cool white" LEDs which create a hospital-like atmosphere. Adjustable spotlights allow for precise directional lighting.
- Dimmer switch: To adjust the lighting according to the time of day. The perceived depth varies with light intensity - a dimmer gives you total control over the desired effect.
- Discreet wall reflectors: Small mirrors or metallic surfaces positioned strategically to reflect light and create shadow play that accentuates the relief of the artwork.
Spectacular lighting for maximum depth
Create a "museum" lighting: Position a spotlight at a 45 degree angle from the artwork, 1.50m away. This angle reveals textures and accentuates contrasts that create depth, without glare.
⏱️ Time: 20 minutes | ✅ Success when: Striking relief and total absence of reflections | ⚠️ Attention: A frontal "flat" lighting instantly destroys any sense of depth
Exploit the "dramatic light": Create a contrast between the lit area (your artwork) and the rest of the wall which is darker. This difference in intensity "detaches" the work from the wall and amplifies the sense of depth.
⏱️ Time: 10 minutes | ✅ Success when: The painting seems to "float" in front of the wall | ⚠️ Attention: Avoid overly uniform lighting which drowns out the effect in banality
Adjust according to the hours: Program your dimmer for 3 intensities: day (70%), evening (40%), night (20%). The perceived depth evolves with intensity - master this variable for a permanent effect.
⏱️ Time: 5 minutes | ✅ Success when: Depth effect maintained at all times | ⚠️ Attention: Too much intensity in the evening creates an unpleasant "interrogation" atmosphere
🌟 Final validation: Your wall should now create a striking "magic window" effect. Ultimate test: turn off the specific lighting - if the depth disappears drastically, then your lighting is working perfectly. Bravo, you master the art of wall depth!
Failproof progression rule: You can move on to the next step when the effect of the previous step is visible by all your guests without exception. Patience = spectacular result, haste = failed effect.
Congratulations! You now possess the secrets that professional decorators use to create exceptional spaces. These subtleties make the difference between a "correct" decoration and a transformation which will impress all your guests.
🎭 Master technique: Add indirect ambient lighting behind the artwork (adhesive LED strips). This "contour" light completely detaches the work from the wall and creates a spectacular depth effect, like a window opening onto another world.
"What if my artwork doesn't work in my room?"
"I'm afraid of making a mistake and ruining my current decor..."
This concern is perfectly normal! Even experienced decorators test before definitively validating. The simple solution: use temporary fasteners (reinforced patafix) to test the effect for 48 hours. You will immediately see if the depth effect works, with no risk to your wall. Trust your instinct - if you feel this sense of escape, it's a win!
✨ Reassuring action: Start by taking a photo of your current wall, then test with a temporary artwork. Compare the two photos - the difference will jump out at you and give you confidence for the next step.
— Our selection


Mistakes that instantly destroy depth
Attention! These mistakes are so common that even beginner decorators make them. I want to avoid these frustrating disappointments that ruin months of searching.
- 🚫 Choosing an artwork "too safe": Works with soft, harmonious colors are reassuring, but don't create any depth. Your eye needs contrast to perceive the relief! Dare to choose artworks with character - it is they that transform the space. ⚡ Multiplying small artworks: Believing that a "gallery" of small works will create more effect than one large one. It's the opposite: small formats fragment the gaze and destroy the unified perspective. One large artwork = maximum impact. 💡 Uniform frontal lighting: Lighting the artwork like the rest of the wall. This mistake instantly "flattens" any depth created by perspective. Directional lighting is mandatory to reveal the relief. 📐 Positioning "by guesswork": Hanging without measuring precisely. Even 10cm of error can ruin the depth effect. Professionals always measure - it's your guarantee of success. 🎨 Ignoring the visual environment: Placing the artwork in a cluttered environment that competes for attention. Depth needs space to express itself - clear the area of all visual distractions.
🛡️ Anti-error verification system: (1) Your artwork must create an immediate sense of escape, (2) Lighting reveals reliefs and contrasts, (3) Your guests spontaneously comment on the depth effect, (4) You feel a "breathing" of the space. Warning sign: if the effect disappears depending on the viewing angle, reposition immediately.
— You may also like


Your questions about wall depth
Realistic budget: €200-800 depending on the size of the artwork chosen, plus €50-150 for specialized lighting. Total time: 2h maximum for complete installation. Optimization: choose an artwork with natural perspective rather than a very expensive model without depth - effect is more important than price.
Failproof test: look at the artwork from 2 meters and close one eye. If your gaze is "pulled" back into the work, you've got it! The vanishing lines must be visible immediately, without effort of interpretation. Avoid "flat" works even if very beautiful.
Absolutely! Even small spaces greatly benefit from this technique - it's even where it is most spectacular. Only limitation: avoid very humid rooms (bathroom) which can degrade some artworks. Living room, bedroom, office = guaranteed results.
Attention! This is the classic mistake that destroys the effect. One focal point per room for maximum impact. Multiple perspective artworks create a “visual competition” which cancels out the depth. Golden rule: one wall = one majestic window.
It's 50% of the final result! A perfect artwork poorly lit instantly loses its depth effect. Conversely, dramatic lighting can transform a "correct" work into a masterpiece. Minimal investment, maximum impact - never neglect this step.
Your new life with a space that breathes
In a few weeks, you will return home and feel that sense of freedom that comes from a space that finally breathes. Your guests will naturally settle in front of your "magic window", fascinated by this depth that seems to extend into infinity. You will have the discreet pride of mastering a secret that few people know.
This transformation goes beyond simple decoration: you will have developed an artistic eye that will serve you for all your future decorating projects. This newly acquired confidence will allow you to dare other decorative boldness, knowing that you master the fundamentals of spatial perception.
You now have all the keys in hand. The hardest part was understanding the secret mechanisms - now, all you have to do is choose your artwork and follow the method. Your first move? Measure your wall and imagine the transformation that awaits you.
🚀 Your next action: You have the power to transform your space today. Every day of waiting is a day less to enjoy this feeling of escape that you deserve. Your wall dreams of becoming a window - give it that chance!
Also read: 🎭 Discover wall optical illusions
</div— In the same vein


Explore our collections


