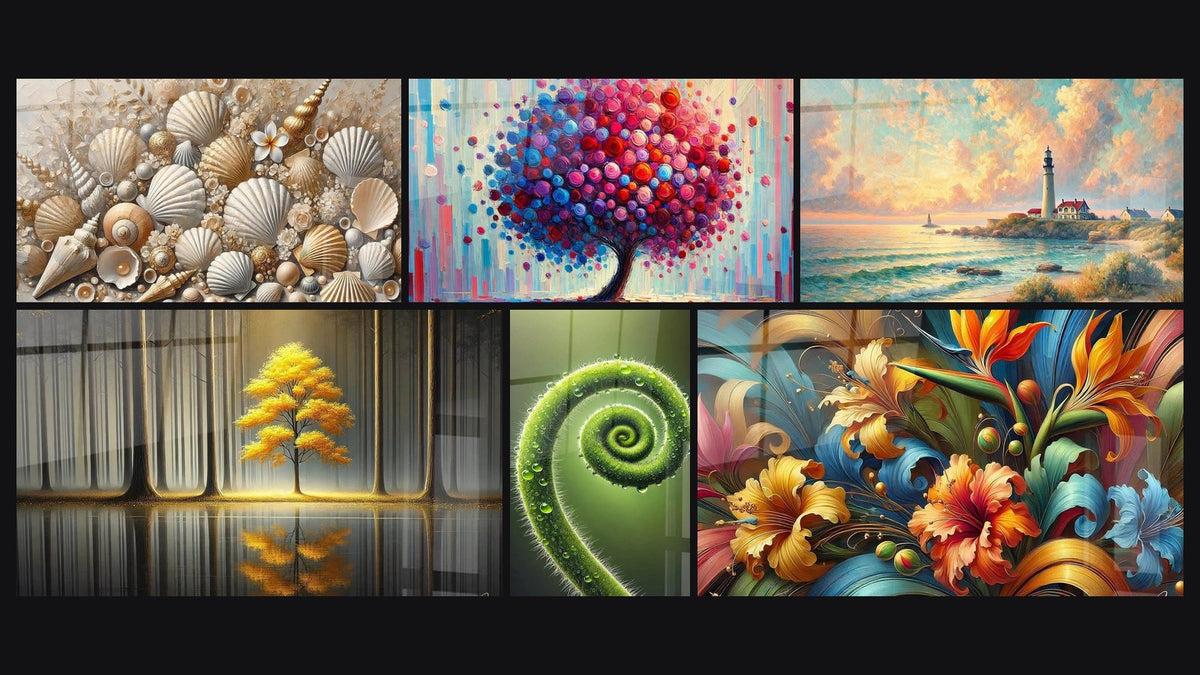
Reduce a sense of emptiness with a strategic artwork
October 11, 2025 · 15 min read · by Walensky
You stand frozen before that immense, bare wall in your living room, a blank expanse that seems to taunt you every time you walk past. You know something is needed to fill this void, but what exactly?
The feeling of incompleteness follows you throughout the room. This empty wall literally sucks the energy out of your interior, transforming a space that should be warm into a cold and impersonal zone. Your guests inevitably notice it, even if they don't say anything.
You may have already tried hanging several small frames, arranging some decorative objects on a shelf, or even imagined sophisticated wallpaper. But nothing seems to have the necessary visual impact to truly transform this space. The result is always scattered, without character.
This isn't a lack of taste on your part. The problem comes from the fact that most classic solutions ignore the fundamental rules of visual balance in space. A large wall requires a proportionate and thoughtful approach.
By the end of this article, you will know exactly how to choose and position a strategic artwork that will instantly transform your bare wall into an elegant focal point, creating a sophisticated atmosphere that your loved ones will immediately notice.
Why does an empty wall sabotage the harmony of your interior?
A bare wall in a living room acts as an "energy hole" that disrupts the visual balance of the entire space. The longer you wait to address it, the more this feeling of incompleteness becomes ingrained in your daily life. It's like wearing an elegant suit with a mismatched sock: the detail ruins the whole thing.
🏠 Customer testimonial: Sarah, an interior architect, recently told us: "I lived for 6 months with a huge white wall in my living room. Despite my designer furniture and careful decoration, something was off. The day I installed a large abstract painting of 120x80cm, my friends said to me: 'Your living room finally breathes!"'
Conversation with a decor expert
The golden rule of visual balance: A wall wider than 3 meters requires a focal point at least 100cm wide to create a harmonious proportion. You'll see the difference within the first 48 hours of installation.

Understanding what’s really happening in your space
Do you recognize these situations? You avoid sitting facing that empty wall, your living room photos never do justice to the room, or your guests naturally gravitate towards other corners of the house. These unconscious behaviors reveal a spatial imbalance.
What's really happening is that your brain constantly seeks visual resting points in space. Without anchoring, your gaze "slides" across this wall and creates a feeling of instability. It’s not a flaw in your taste, but a natural reaction to an unbalanced space.
Imagine your living room as a melody: each element must have its place in the score. A blank wall is like a prolonged silence in the middle of a symphony that breaks the overall harmony.
The true cause: lack of visual hierarchy
Contrary to what one might think, the problem isn't a lack of decoration, but the absence of a dominant element that structures the gaze. Without a "leader" visually, all your decorative objects compete for attention without creating consistency.
It’s like a conversation where everyone would talk at once: no message comes across clearly. Your strategic artwork will play the role of moderator that channels and organizes attention.
This understanding will transform your approach: instead of accumulating small decorative elements, you’ll create a strong focal point that gives meaning to everything else.
🔍 Immediate test: Look at your empty wall for 10 seconds without moving your eyes. Notice how your gaze "flees" to the sides? That's exactly what happens to your guests unconsciously.
The trap of decorative dispersion
Many think that you need to “fill” a wall with several elements, but this approach dilutes the impact instead of reinforcing it. It’s the difference between a scattered firework display and a concentrated one: the second makes a much stronger impression.
Think about your favorite restaurant: it surely has a signature element that defines its identity, not twenty small average specialties. Your wall deserves the same philosophy.
By understanding this, you’ll save time and money by investing in one strong piece rather than an accumulation of objects without impact.
The ignored influence of natural light
One factor that almost no one considers: how the light hits your wall completely changes the effect of your decor. Marie, a decorator, told us she had changed three paintings before realizing the problem came from the room's orientation.
Observe your wall at different times of the day: is it in shadow in the morning? Lit up in full sun in the afternoon? These variations directly influence the choice of colors and size of your artwork.
This awareness will revolutionize your selection: you will no longer choose a painting for its beauty alone, but for its ability to dialogue with the light of your specific space.
The 3 signals of a "suffering" wall:
- The "corridor" effect: Your gaze crosses the room without stopping, creating a feeling of passage rather than staying
- The photographic escape: Your photos of the room always look "flat" despite careful furniture
- The behavioral imbalance: You and your guests unconsciously prefer other areas of the house
The trigger element: the rule of proportions
What really makes the difference is to respect the 1/3 proportion ratio: your painting should occupy about one third of the width of the wall to create a perfect balance. It's the domino effect that will harmoniously reorganize your entire space. Measure your wall now: if it is 3 meters wide, your ideal painting measures 100cm wide.
Universal rule of hanging: The center of your painting should be between 145 and 155cm from the floor, regardless of the height of your ceiling. This is the natural eye line that works in 95% of interiors.
| ❌ Scattered approach | ✅ Strategic painting | 💡 Why it works | 🎯 Immediate benefit |
|---|---|---|---|
| Several small frames aligned | A strong and proportionate artwork | Creates a unique focal point | Soothing and structured gaze |
| "You have to fill all the space" | "Less but better" with impact | Respects the visual balance | Assumed modern elegance |
| Choice based solely on price | Investment proportional to the space | Consistency with the importance of the wall | Enhances the entire interior |
| "Eyeball" hanging | Calculated and measured positioning | Respects ergonomic rules | Optimal visual comfort |

The 3-step method to transform your wall
Rassurez-vous: transforming a blank wall into an elegant focal point follows a simple and progressive logic. Like building a house, each step prepares the next. In 3 weekends maximum, you will go from a wall that frustrates you to a space that inspires you daily.
🗺️ Overview of the transformation: Measure and analyze the space (weekend 1) → Select and acquire the perfect artwork (weekend 2) → Professional installation and final adjustments (weekend 3). Each step will give you a gradual satisfaction and a clearer vision of the final result.
Starting with this analysis avoids 90% of mistakes in choice and hanging. It's like making a plan for a garden before planting: essential for a harmonious result. By the end of this step, you will know exactly what dimensions and styles to look for.
The essential tools for your diagnosis
- Measuring tape of at least 5 meters: Prefer a model with auto-lock to measure alone easily. Avoid flexible tapes that deform: you need accuracy to the centimeter to calculate ideal proportions.
- Level app on smartphone: Your phone perfectly replaces the traditional spirit level. Download a free app before starting: it will help you visualize the hanging perfectly horizontally, even on a slightly uneven wall.
- Kraft paper or newspaper: To create a full-size template of your future artwork. This crucial step avoids unpleasant surprises and allows you to "test" different sizes directly on the wall before purchase.
The measurements that determine everything
Measure the total width of the wall: Take the measurement from wall to wall, even if there is an angle or a return. This dimension determines the maximum size of your artwork according to the rule of thirds (wall width ÷ 3 = ideal artwork width).
⏱️ Time: 5 minutes | ✅ Success when: You have noted the exact measurement in cm | ⚠️ Attention: Do not measure "element by element" (e.g., from furniture to furniture): the wall has its own geometry
Identify the optimal hanging zone: Lightly mark with pencil the point located 150cm from the floor and at mid-width of the wall. This is your "zero point": the center of your future artwork will be exactly here for perfect visual comfort.
⏱️ Time: 3 minutes | ✅ Success when: You have a discreet but visible reference | ⚠️ Attention: Many people make mistakes by measuring from the ceiling: always start from the floor
Analyze light over 24h: Photograph your wall at 9am, 2pm and 6pm on the same day. You will discover how natural light transforms colors and contrasts: essential for choosing a work that remains beautiful in all conditions.
⏱️ Time: 2 minutes x 3 | ✅ Successful when: You have 3 sharp photos from the same angle | ⚠️ Attention: Don't judge solely on morning light: evening lighting often reveals other nuances
✅ Validation of step 1: You know the exact dimensions of your space, you have a reference point marked, and you understand how the light evolves on your wall. If you are unsure about a measurement, take it again: this precision guarantees the success of everything that follows.
— Our selection


OUR RECOMMENDED PRODUCTS
Step 2: Selecting your strategic artwork
Now that you know your space perfectly, you will choose with confidence and precision. No more doubts or hesitations: your measurements guide your decisions. This step becomes a creative pleasure instead of a puzzle.
Non-negotiable selection criteria
- Respect for calculated proportions: Your artwork should measure between 80% and 120% of the ideal dimension calculated. Too small, it will look lost; too large, it will overwhelm the space. This 40% margin gives you flexibility while guaranteeing balance. Colors in harmony with your light: Refer to your photos from step 1. Warm colors (reds, oranges) enhance north-facing spaces; cool colors (blues, greens) magnify south-facing light. Avoid shades that "fight" against your natural light. Quality support and finish: Always choose a rigid support (canvas stretched on frame or aluminum) that will not deform. A work of art that ripples or curves instantly destroys the desired feeling of sophistication.
The methodical selection process
Create your short-list by elimination: Start with 15-20 works that you like, then gradually eliminate them according to your technical criteria. Keep only 3 finalists: those that respect your dimensions AND harmonize with your light.
⏱️ Time: 45 minutes | ✅ Successful when: You are hesitating between a maximum of 3 choices | ⚠️ Attention: Resist the temptation to keep more options: an abundance of choices paralyzes decision-making
Visually test with your template: Cut out a rectangle from kraft paper with the exact dimensions of each finalist. Tape it to your wall and live with it for 24h. You will immediately know which one "lives" best in the space.
⏱️ Time: 15 minutes preparation + 24h observation | ✅ Successful when: One of the templates seems "obvious" to you | ⚠️ Attention: Test one template at a time for an objective evaluation
Step 3: Installation and Precision Adjustments
The perfect installation makes the difference between a painting "hung" and a painting harmoniously integrated. This final step reveals the full potential of your choice and gives you that deep satisfaction of a perfectly accomplished project.
The Professional Hanging Technique
Mark the fixing points with precision: Measure the distance between the attachments on the back of your painting, then transfer this measurement to the wall starting from your marked central point in step 1. Double-check with your smartphone level before drilling.
⏱️ Time: 10 minutes | ✅ Success when: Your marks are perfectly aligned | ⚠️ Attention: A 2cm error is immediately visible once the painting is hung
Choose fixings suitable for the weight: Weigh your painting and multiply by 3 to know the load that your fixings must support. A 2kg painting requires fixings designed for 6kg minimum. This safety prevents falls and guarantees stability over time.
⏱️ Time: 15 minutes of installation | ✅ Success when: The painting does not move when you vacuum | ⚠️ Attention: On drywall, always use special anchors, never simple screw anchors
Expert progress signal: You are ready for the next step when you can look at your wall without wanting to change anything about it. This visual serenity indicates a perfectly achieved balance.
Congratulations: you now master the professional codes of wall decoration. Here are the expert subtleties that distinguish an amateur installation from a professional decorator's result.
🎯 Pro Tip - Complementary Lighting: Add a directional LED spotlight at 30° from your painting to create a gallery effect even in the evening. Placed 2 meters away, it enhances the colors without creating reflections. This finish transforms your painting into a true staged work.
"What if I'm wrong with my choice?"
"I'm afraid of spending on a painting that I won't like again in 6 months..."
This concern is perfectly legitimate, and it’s even a sign that you are taking this decision seriously. The beauty of a well-chosen painting is that it evolves with you: you discover new details over the months. Choose a work that intrigues you as much as it pleases you: decorative crushes fade, works with multiple facets are enriched. Trust your instinct after respecting the technical rules.
🛡️ Anti-regret security : Photograph your wall before installation, then a week after. Compare the overall ambiance of the room: you will notice a visible transformation that far exceeds simple decorative addition.
— You may also like


Mistakes that sabotage your transformation
Attention: some common mistakes can ruin all your efforts in minutes. I want to spare you these avoidable disappointments that I see too often. These errors seem insignificant but destroy the sought-after harmony.
- ⚡ Hanging "by eye" without measuring: This intuitive method seems natural, but our visual perception constantly deceives us. Result: a painting systematically too high or misaligned. Always use your measured references, even if your eye tells you otherwise at first glance.
- 📏 Choosing a format that is too small out of caution: Mistake #1 for beginners! An undersized painting accentuates the feeling of emptiness instead of filling it. Dare the right proportion: it will always seem more important in the store than at your home. That's normal and that's exactly what you need.
- 🎨 Prioritizing price over support quality: A beautiful visual on a fragile support ages poorly and deforms. Better a simple painting on noble support than a complex reproduction on fine canvas. The quality of the support directly influences the longevity and stature of your investment.
- 💡 Ignoring existing lighting: Choosing colors that "fight" against your natural light creates a permanent discordance. Respect the dominants of your space: warm light = harmonious warm colors, cool light = valued cool palette.
- 🔧 Neglecting the solidity of fixings: Insufficient wall plugs create a constant insecurity. Your painting must stay in place for 10 years. Invest in quality fixings: this is your guarantee of peace of mind and the safety of your artwork.
🔍 Final check-list: Is your painting perfectly horizontal? Does the center sit at 150cm from the floor? Can it withstand a slight push? Are you satisfied with the result from 3 different viewpoints in the room? These 4 checks guarantee a successful hanging.
— In the same vein


Frequently asked questions about installing strategic paintings
Allow 3 to 5€ per cm of width for a work of correct quality (e.g., 300-500€ for 100cm). This ratio guarantees a durable support and stable colors. To optimize your budget, prioritize a slightly larger format in a simple range rather than a small, highly detailed format: visual impact is more important than artistic complexity.
The impact is immediate: as soon as the hanging is finished, the balance of the room changes. But full satisfaction comes after 1 week of daily life with your new work. This is the time needed for your eye to get used to it and measure the improvement in the overall atmosphere. Be patient: the first few hours may seem "too important", which is normal.
For a work of more than 80cm or 3kg, the help of a second person secures the installation and guarantees precision. One holds the work while the other checks the alignment. When working solo, use temporary support hooks to hold the work in place during adjustments. Never force it alone: a fall will damage both the artwork AND the wall.
The secret: choose a work that shares an element with your existing decor (color, material, or atmosphere) without copying it. A modern interior can perfectly support a classic painting if they share a color palette. A traditional decor welcomes a contemporary painting if the materials complement each other. Harmony is more important than perfect matching.
Each architectural constraint requires an intelligent adaptation: near a window, move the work at least 30cm to avoid reflections. Under a beam, maintain a distance of 20cm so that the work can "breathe". In a corner, calculate your proportions on the main visible wall, not on the total corner. These adaptations often create more original arrangements than perfectly smooth walls.
Your transformation is within reach
In 3 weeks, you will enter your living room with that deep satisfaction of finally recognizing the space you dreamed of. Your once empty wall will have become the elegant focal point that structures and enhances the entire room. Loved ones will immediately notice the change without necessarily understanding where this new harmony comes from: that's exactly the effect you were looking for.
Beyond simple decoration, you will have acquired an understanding of space that will transform your view of all your future decor projects. These notions of proportion, balance and visual hierarchy will naturally apply to the layout of your other rooms. Your confidence in your aesthetic choices will grow with this first mastered success.
Understanding was indeed the most important step: now that you know why and how to proceed, all that remains is action. Start this weekend by taking your measurements: this first concrete gesture launches your transformation. In 1 month, the wall that frustrated you will have become your daily pride.
🚀 Your moment is now: You have all the keys to succeed in this transformation, and the result will exceed your expectations. Your future self will thank you for daring to take the step today!
Also read: 📖 Read more articles on spatial expertise
</div
Explore our collections