


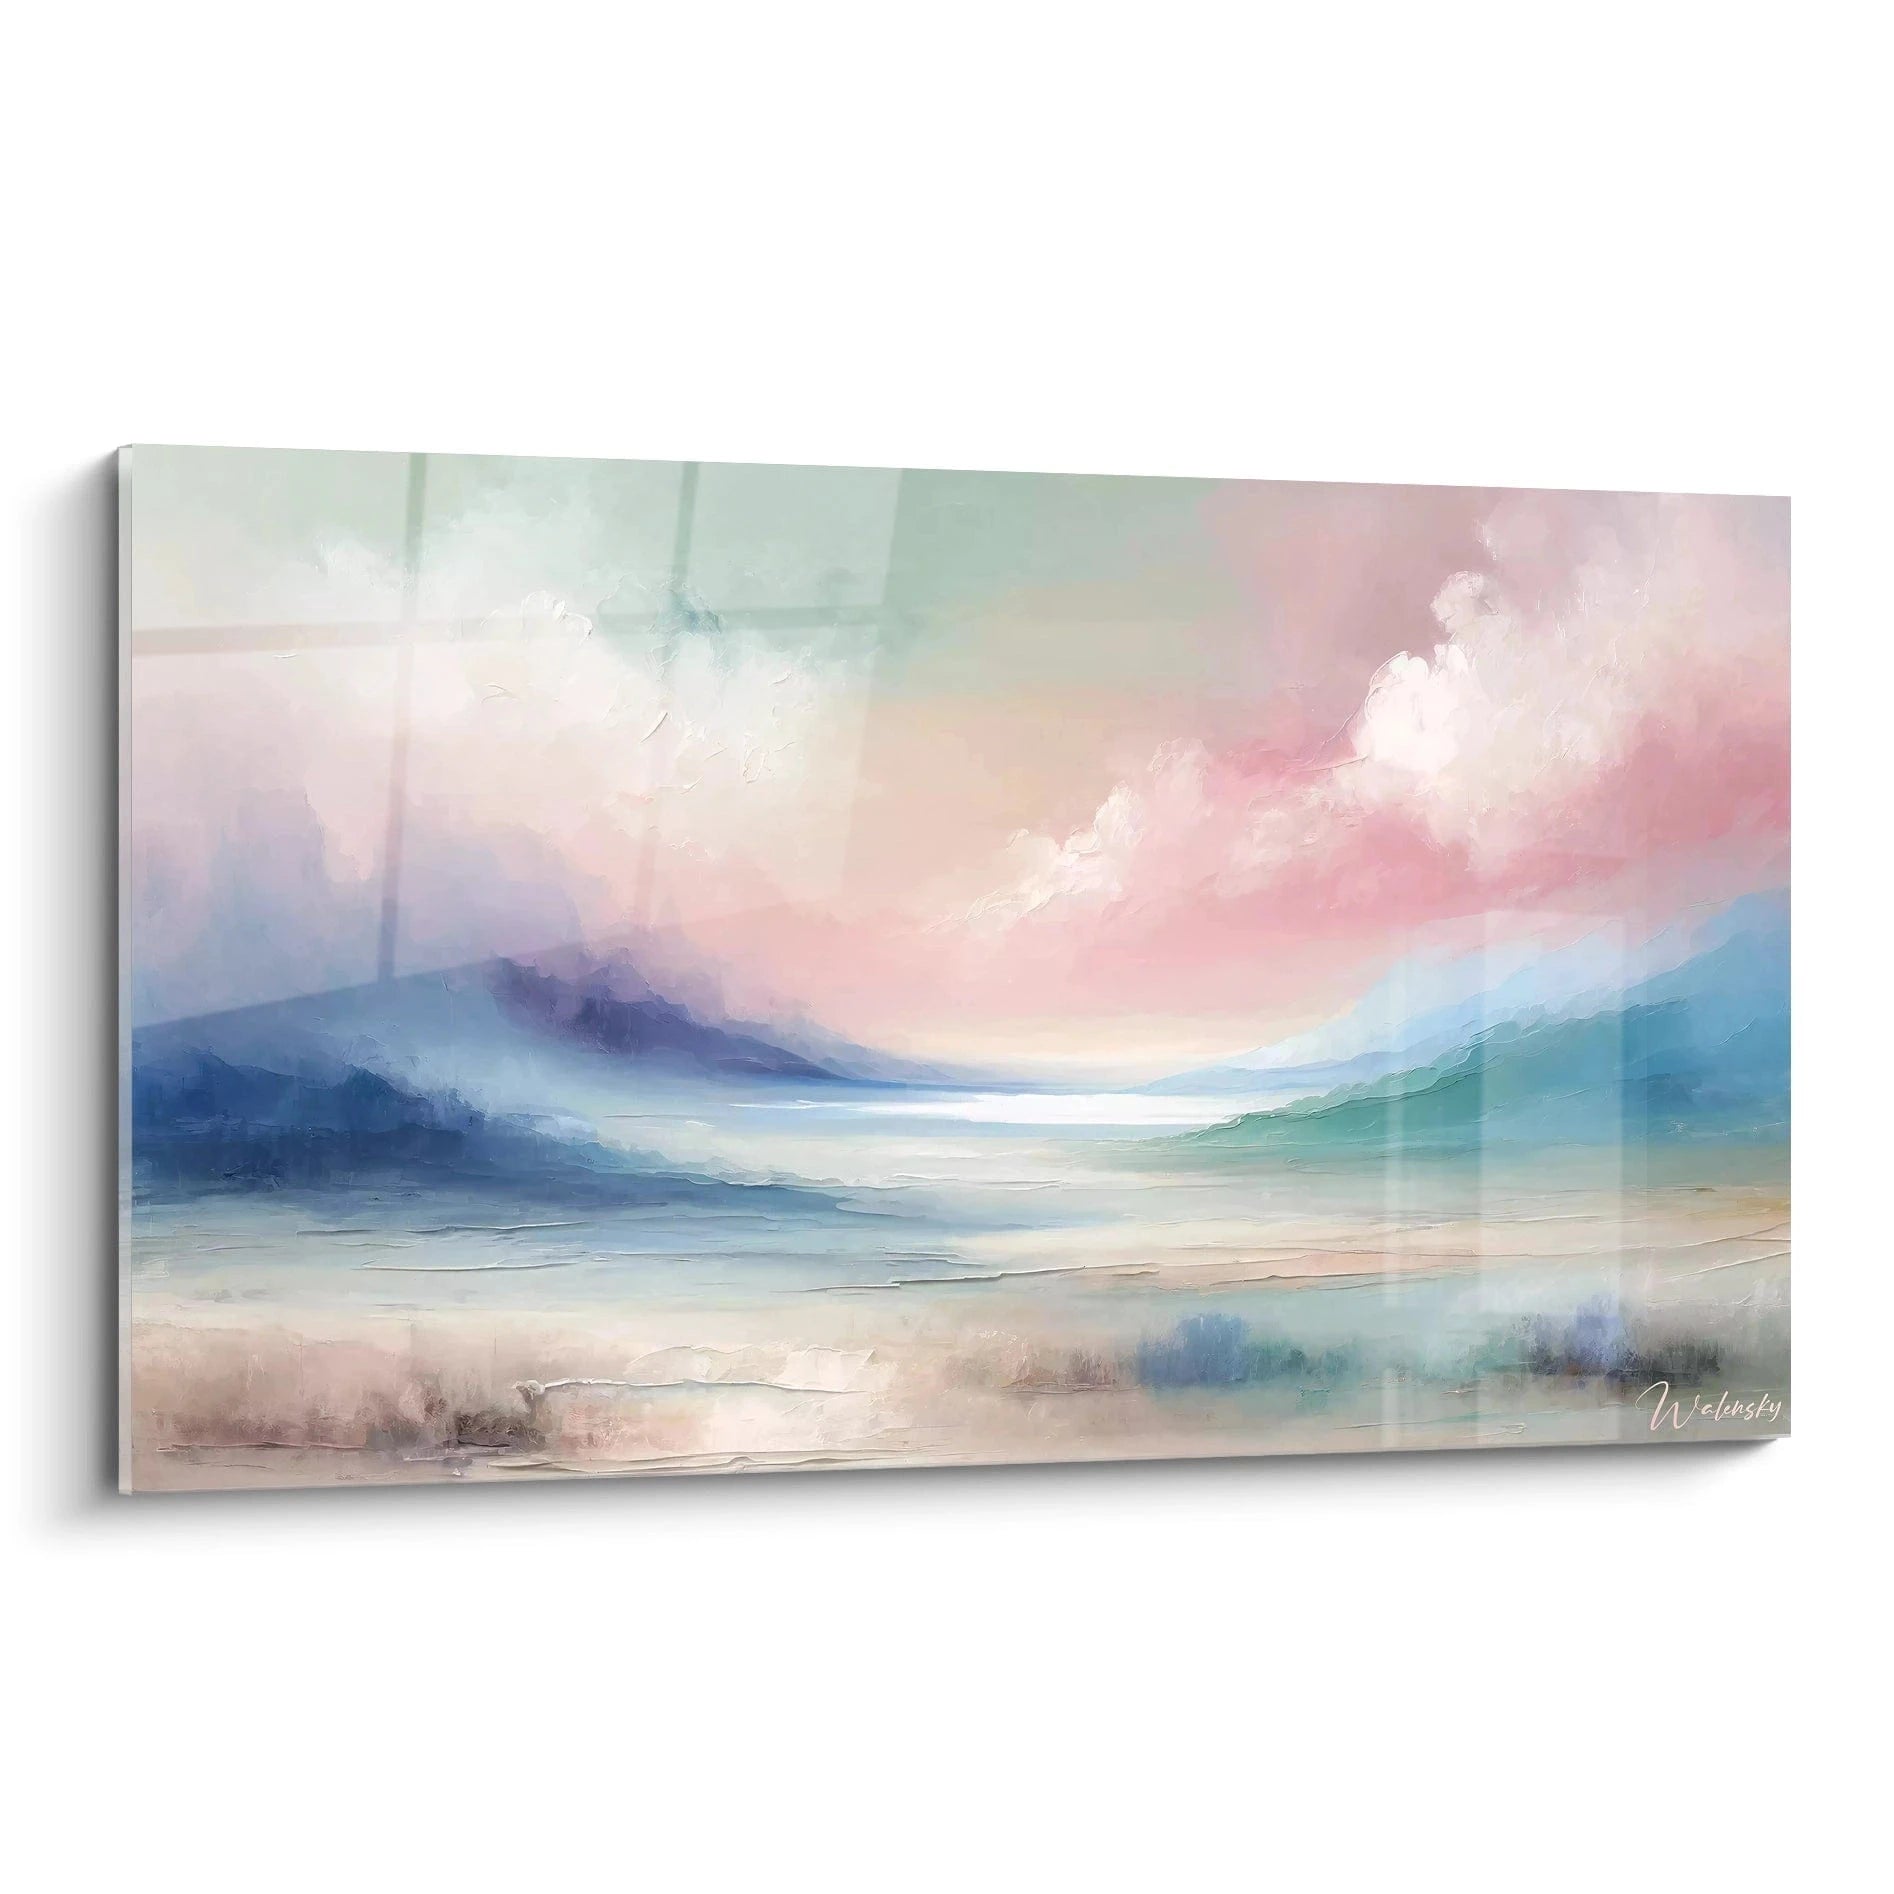

The impact of artificial light on how your paintings look
October 11, 2025 · 17 min read · by Walensky
You've just hung your new wall painting with such care, but as soon as you switch on your living room lights, it's total disappointment. The colors seem dull, the details vanish into shadow, and this artwork that moved you so much in the shop no longer has the same impact at all.
Worse still: depending on the time of day, your painting seems completely different. In the morning it looks vibrant, but in the evening under your LED spotlights it becomes flat and lifeless. You even wonder whether you made the right choice.
You may have already tried moving its position, adding a directional spotlight, or even adjusting the intensity of your fixtures. But nothing works: your artwork never reveals its true beauty under your artificial lighting.
Rest assured, your painting isn't the problem, nor is your artistic taste. It's simply that the vast majority of art lovers are unaware of the fundamental rules governing the interaction between artificial light and artistic pigments.
By the end of this article, you'll know exactly how to choose and position your lighting to reveal the full richness of your paintings, turning your home into a personal art gallery.
Why does your lighting radically change how your artworks look?
Artificial lighting does more than illuminate your painting: it literally alters its appearance. Each type of light has its own "color signature" that interacts differently with pigments. If you wait for the perfect natural light to enjoy your artworks, you'll miss 70% of the time you spend at home.
🎨 A collector's testimony: "I had bought a magnificent painting with warm tones for my office. Under the halogen lights of the gallery, the reds and golds were sumptuous. At home, under my cold white neon lights, the work looked completely different - almost sad. I nearly sold it before realizing the problem came from my lighting."
A conversation with a decor expert
The golden rule of art lighting: Your light should reveal the artist's intention, not hide it. Good lighting makes colors "sing" and adds depth to textures, typically within 24 to 48 hours of visual adaptation.

Favorite
Billiard Ball 8 in Motion Painting - Aquatic Impact - Billiards Edition
€233.90
Discover this paintingWhat really happens when you light your paintings poorly
You may recognize yourself in these situations: your guests never notice your artworks, the colors seem different depending on the time of day, or you avoid turning on certain lights because they "kill" the artistic atmosphere of your home.
It isn't a question of taste or budget. It's that your artificial lighting works against your decor instead of enhancing it. Like a musician playing in a faulty acoustic space, your painting cannot express its beauty.
Imagine a chef preparing a refined dish in a poorly lit kitchen: even the finest ingredients can't reveal their potential. This is exactly what happens to your wall artworks.
Color temperature: the invisible enemy of your paintings
Here's what almost no one tells you: every bulb emits light with a specific "color temperature". Cool light (6000K) favors blues and dulls reds, while warm light (2700K) enhances golden tones but dulls greens.
It's like wearing colored sunglasses: you see the world, but not in its true colors. Your modern painting with cool tones under warm halogen light will lose all its modernity and visual impact.
The result: you never fully enjoy your artistic investment, and your guests don't understand why you chose this work. Your wall decor becomes bland instead of being the focal point of your room.
🔍 Instant test: Light your painting with your phone's flashlight, then with a bedside lamp. You'll instantly see how color temperature transforms your artwork's appearance.
The lighting angle: why your details disappear
Most people place their light directly facing the painting, creating dazzling reflections on the surface. It's like looking at a phone screen in full sunlight: impossible to distinguish the details.
Think of a professional photographer: they never place their flash directly facing the subject, but slightly at an angle to create relief and avoid reflections. Your painting deserves the same attention.
Consequence: you lose all the richness of the textures and impasto that bring the work to life. Your painting becomes flat, without depth, like a mere reproduction.
Light quality: the factor nobody sees
Here's the secret gallery owners know: not all "white" lights are equal. Some cheap bulbs emit only a few colors of the spectrum, creating "gaps" in color rendering.
You can see this by observing your clothes under different lighting: some reveal all the nuances, others make them look dull or washed out. Your painting undergoes exactly the same treatment.
The result: your artwork loses its chromatic richness and emotional impact. You only see a "diminished" version of what the artist created.
🎯 The 3 signs of poor art lighting:
- Your colors seem "faded" in the evening: Your artificial lighting has an insufficient CRI (color rendering index), like watching fireworks through a gray filter
- You see your reflection in the painting: The lighting angle is too direct, creating a "mirror" effect that hides the work like a windshield in the sun
- Details disappear depending on the time: Your lighting lacks directionality, creating a "flat" light that doesn't sculpt relief like a landscape under an overcast sky
Light intensity: the art of perfect dosage
The decisive factor isn't having more light, but having the right intensity in the right place. Too weak, and your painting drowns in shadow. Too strong, and you create a "spotlight" effect that destroys the room's harmony.
The 3x rule: Your painting should receive 3 times more light than the surrounding wall to create a natural and pleasing highlight effect.
| ❌ Unsuitable lighting | ✅ Optimized lighting | 💡 Mechanism | 🎯 Visual result |
|---|---|---|---|
| Direct cool white neon | 3000K warm white LED + diffuser | Full spectrum without aggressive blue peak | Natural and warm colors |
| Spotlight facing the painting | Oblique lighting at 30-45° | Avoids reflections and reveals textures | Striking depth and relief |
| Same intensity everywhere | Focused light gradation | Contrast that guides the eye | Painting that "stands out" naturally |
| General lighting only | Dedicated lighting + ambiance | Art-specific lighting | Professional display |
The step-by-step method to reveal the beauty of your paintings
Now that you understand the mechanisms, here is how to transform your lighting step by step. Like a photographer adjusting a camera, you will tune each parameter to reveal the potential of your wall artworks. In three logical steps, you will achieve a result worthy of an art gallery.
🎯 Overview of the transformation: We will proceed like a professional lighting designer: first analyze your painting and its environment, then choose the appropriate technology, and finally optimize positioning. At each step, you will see an immediate improvement in visual impact.
Step 1: Analyze your painting to choose the right lighting
Every artwork has its specificities: a delicate watercolor doesn't reveal itself the same way as an oil painting with pronounced impasto. This first analysis helps you avoid costly mistakes and precisely target your needs. You will feel immediate satisfaction in finally understanding why your painting wasn't expressing its potential.
What to observe in your artwork
- The artistic technique: Identify whether it is an oil painting, a watercolor, a pastel, or a print. Each technique reacts differently to light: oils reveal their depth under directional lighting, while watercolors prefer diffused light. Look closely at the surface to distinguish impasto from smooth areas.
- The dominant color palette: Note whether your painting favors warm tones (reds, yellows, oranges) or cool tones (blues, greens, purples). This observation determines the ideal color temperature of your lighting - a mismatch here can completely distort the artistic intent.
- The frame style and finish: A shiny gold frame will create more reflections than a modern matte frame. This information directly influences the optimal lighting angle and the intensity needed to avoid distracting glare.
Now let's observe your current lighting environment
Analysis of your current setup
Photograph your painting under different lighting: Take a photo with your phone under daylight, then under your current fixtures. The difference will immediately reveal the flaws of your current system. This visual comparison gives you an objective reference for what follows.
⏱️ Time: 5 minutes | ✅ Success when: You clearly see the color and contrast discrepancies | ⚠️ Warning: Avoid the camera flash, which distorts colors
Measure the wall-to-light distance: Note the distance between your painting and the nearest light source. This measurement determines the required intensity and optimal angle. Lighting too close creates harsh shadow zones; too far, it loses effectiveness.
⏱️ Time: 2 minutes | ✅ Success when: You have the exact dimensions | ⚠️ Warning: Consider obstacles (furniture, other paintings) that could create shadows
Test usage times: Observe when you actually look at your painting. Morning with natural light, afternoon under mixed lighting, or evening with artificial light only? This information guides your lighting priorities.
⏱️ Time: 3 days of observation | ✅ Success when: You know your viewing habits | ⚠️ Warning: Don't rely on first impressions; observe several cycles
✅ Step 1 validation: You should now know your painting's style, its dominant colors, and the flaws of your current lighting. If something is unclear, repeat the observation - it is the foundation of the entire process. Congratulations, you now have an expert's view of your situation!
Step 2: Choose the appropriate lighting technology
Now that you know your painting, it's time to select the technology that will do it justice. No more random purchases in hardware aisles! You will choose with full knowledge, like a professional. This step already significantly transforms your artwork's appearance.
Guide to artistic lighting technologies
- Warm white LED 3000K CRI >90: The perfect versatility for 80% of paintings. Look for the mention "high CRI" on the packaging - it guarantees faithful color rendering. Avoid budget LEDs that create a recognizably "artificial" light. Invest in quality; your painting will reward you.
- Low-voltage halogen spotlights: Excellence for works with warm tones and classic oil paintings. Their continuous spectrum beautifully reveals golds and impasto. Mind the heat emitted - keep at least 50cm from the painting. More costly in electricity but exceptional rendering.
- Specialized art LED lighting (Ra 95+): The ultimate choice for demanding collectors. These systems faithfully reproduce natural light and adapt to every artwork style. A substantial investment, but optimal protection and presentation of your precious pieces.
Selection based on your specific case
Modern painting with cool tones: Opt for a neutral white LED (4000K) with CRI of at least 90. This temperature perfectly reveals blues, purples, and greens without distorting them. Choose an adjustable spotlight to adapt the angle to your needs.
⏱️ Time: 1 hour of research | ✅ Success when: You have checked the CRI on the packaging | ⚠️ Warning: Beware of "cool white" LEDs that tilt toward blue
Classic painting or warm tones: Favor low-voltage halogen or very high-quality 3000K LEDs. These sources reveal the richness of golds, reds, and earth tones. Check the color temperature - it must remain stable over time.
⏱️ Time: 1 hour of comparison | ✅ Success when: The light appears "natural" and warm | ⚠️ Warning: Avoid overly powerful halogens that overheat
🔍 Validation test: Your new lighting should make your painting's colors "sing" without creating distracting reflections. Details must be sharp and colors faithful to what you see in natural light. If not, adjust the color temperature.
Step 3: Optimize positioning and intensity
You now have the right technology; all that remains is to position it like an expert. This final step makes the difference between "adequate" lighting and lighting that transforms your interior into an art gallery. Your painting will finally reveal its full beauty and impress your guests.
Optimal lighting positioning
The 30-45° angle rule: Place your light source at 30-45° relative to the perpendicular of the painting. This angle avoids direct reflections while creating slight relief that reveals textures. Use an angle protractor or a smartphone app to be precise.
⏱️ Time: 15 minutes of adjustment | ✅ Success when: You don't see your reflection in the painting | ⚠️ Warning: An overly steep angle creates distracting shadows
Optimal distance 1.5 to 2 times the painting's width: Move your spot 1.5 to 2 times the width of your artwork away. This distance ensures uniform lighting without shadow zones. Mark the optimal position on the floor with discreet tape.
⏱️ Time: 10 minutes of measuring | ✅ Success when: The light uniformly covers the entire surface | ⚠️ Warning: Check that no furniture is obstructing
Zone-by-zone intensity adjustment: Your painting should receive about 3 times more light than the surrounding wall. Use a dimmer to finely adjust intensity to the desired ambiance. Start at maximum intensity and decrease until you reach the desired effect.
⏱️ Time: 20 minutes of adjustment | ✅ Success when: The painting naturally stands out from the wall | ⚠️ Warning: Avoid an overly pronounced "theater spotlight" effect
🎨 Final validation: Your painting should now have a magnetic presence in the room. Colors are faithful, details sharp, and the whole creates a refined ambiance. Photograph the final result to measure the progress achieved!
Personalized progression rule: Adjust step by step without changing everything at once. Start with the lighting, then the angle, finally the intensity. Your eye gradually adapts and guides you to the perfect setting.
You now master the basics of artistic lighting. Here are a few subtleties that will make you a true connoisseur and give your interior that professional touch your guests will immediately notice.
🌟 Gallerist's tip: Use the "rim lighting" technique - add very subtle lighting behind the painting to create a slight halo. This professional trick gives striking depth and makes the artwork seem to "float" in front of the wall. Particularly effective with modern abstract works.
"What if my painting has a very reflective frame?"
"I have a beautiful painting with a shiny gold frame, but as soon as I light the artwork, the frame becomes dazzling. What should I do?"
It's a classic challenge many art lovers face! The gold frame is part of the artwork's aesthetic, but it must not steal the spotlight. The solution is to use more diffuse, slightly off-center lighting. Position your light source so it mainly illuminates the artwork, leaving the frame in softer light. You can also add a diffuser filter in front of your spotlight to soften the overall lighting.
💡 Immediate test: Place a piece of tracing paper in front of your existing spotlight and observe the difference. The frame's reflections decrease considerably while preserving the beauty of the artwork.
The mistakes that ruin the effect of your finest paintings
Even with the best intentions, certain mistakes can undo all your efforts. Here are the most common pitfalls I see among art lovers - knowing them spares you disappointment and saves you time and money.
- ⚠️ Lighting too close to the painting: Many think a very close spotlight will have more impact. The result: you create harsh shadow zones and excessive heat that can damage the artwork. Always respect the minimum distance of 50cm and favor quality over proximity.
- 🔄 Changing all the lighting at once: The urge to redo everything immediately is understandable, but you will lose your reference points. Modify one source at a time, observe the effect for a few days, then adjust. Your eye gradually adapts to the change.
- 💰 Saving on lighting quality: Cheap lighting with poor color rendering undermines the investment you've made in your painting. One quality spotlight is better than a multitude of mediocre light sources. Think of lighting as an integral part of your artwork.
- 🎯 Uniform lighting throughout the room: If everything is lit the same way, nothing stands out. Your painting needs specific lighting to come alive visually. Create a hierarchy of light that naturally guides the eye toward your artworks.
- 🕐 Not testing at different times: Perfect lighting at 2 p.m. can be disappointing at 8 p.m. when you're hosting guests. Test your setup at different times of day and adjust as needed. Your satisfaction should be consistent.
🛡️ Quick checklist: Make sure your colors remain true under artificial light, that no distracting glare appears, that details stay sharp from 2 meters away, and that the overall ambiance remains harmonious. If any of these points is a problem, adjust before moving on.
— Our selection


Frequently asked questions about painting lighting
For quality lighting, expect to pay between €50 and €150 depending on the technology you choose. Installation usually takes 1 to 2 hours if you already have a power outlet nearby. To optimize your budget, start with your main painting — the effect will be immediate, and you can gradually extend it to your other works.
Absolutely not! Each painting has its own personality and specific needs. Instead, create a visual hierarchy : light your main work intensely, then add more subtle lighting for secondary pieces. This approach naturally guides the gaze and creates a genuine artistic path through your interior.
High-quality LED lighting poses no risk to your artworks. Simply avoid overly hot sources (powerful halogens) placed directly nearby, and UV rays (old fluorescent tubes). The rule: if you feel heat with your hand, it's too close. Good lighting protects even your paintings by reducing the need for direct natural light.
No, use dimmers or timers to adapt the lighting to your needs. Ideally, have dedicated lighting that you switch on during moments of relaxation or when entertaining. This preserves the lifespan of your bulbs and creates a true aesthetic ritual in your daily life.
Absolutely! A beautiful reproduction or a quality poster deserves the same care as an original work. Lighting completely transforms visual impact, even of a simple print. It's also an excellent way to test your settings before investing in more expensive works.
Your home transformed into a personal art gallery
In a few weeks, when you come home and switch on your new lighting, you'll rediscover your paintings as if seeing them for the first time. The colors will have new depth, the details will reveal their richness, and this refined atmosphere will naturally impress your guests.
More than simple lighting, you have acquired a skill that will transform your relationship with art. You'll instantly be able to judge the quality of lighting in a gallery, choose your future paintings by anticipating how they will look at home, and create that unique atmosphere that makes the difference between ordinary decor and an exceptional interior.
The hardest part was understanding the mechanisms — now you master them! Start today by observing your main painting under different lights, and take the necessary measures. Your artwork is only waiting for the light that will do it justice.
🎯 Your next step: Choose your favorite painting and apply the method this weekend. Within 48 hours, you will have transformed your space and become aware of the extraordinary potential of your art collection!
Also read: 💡 Read more articles on wall art


