

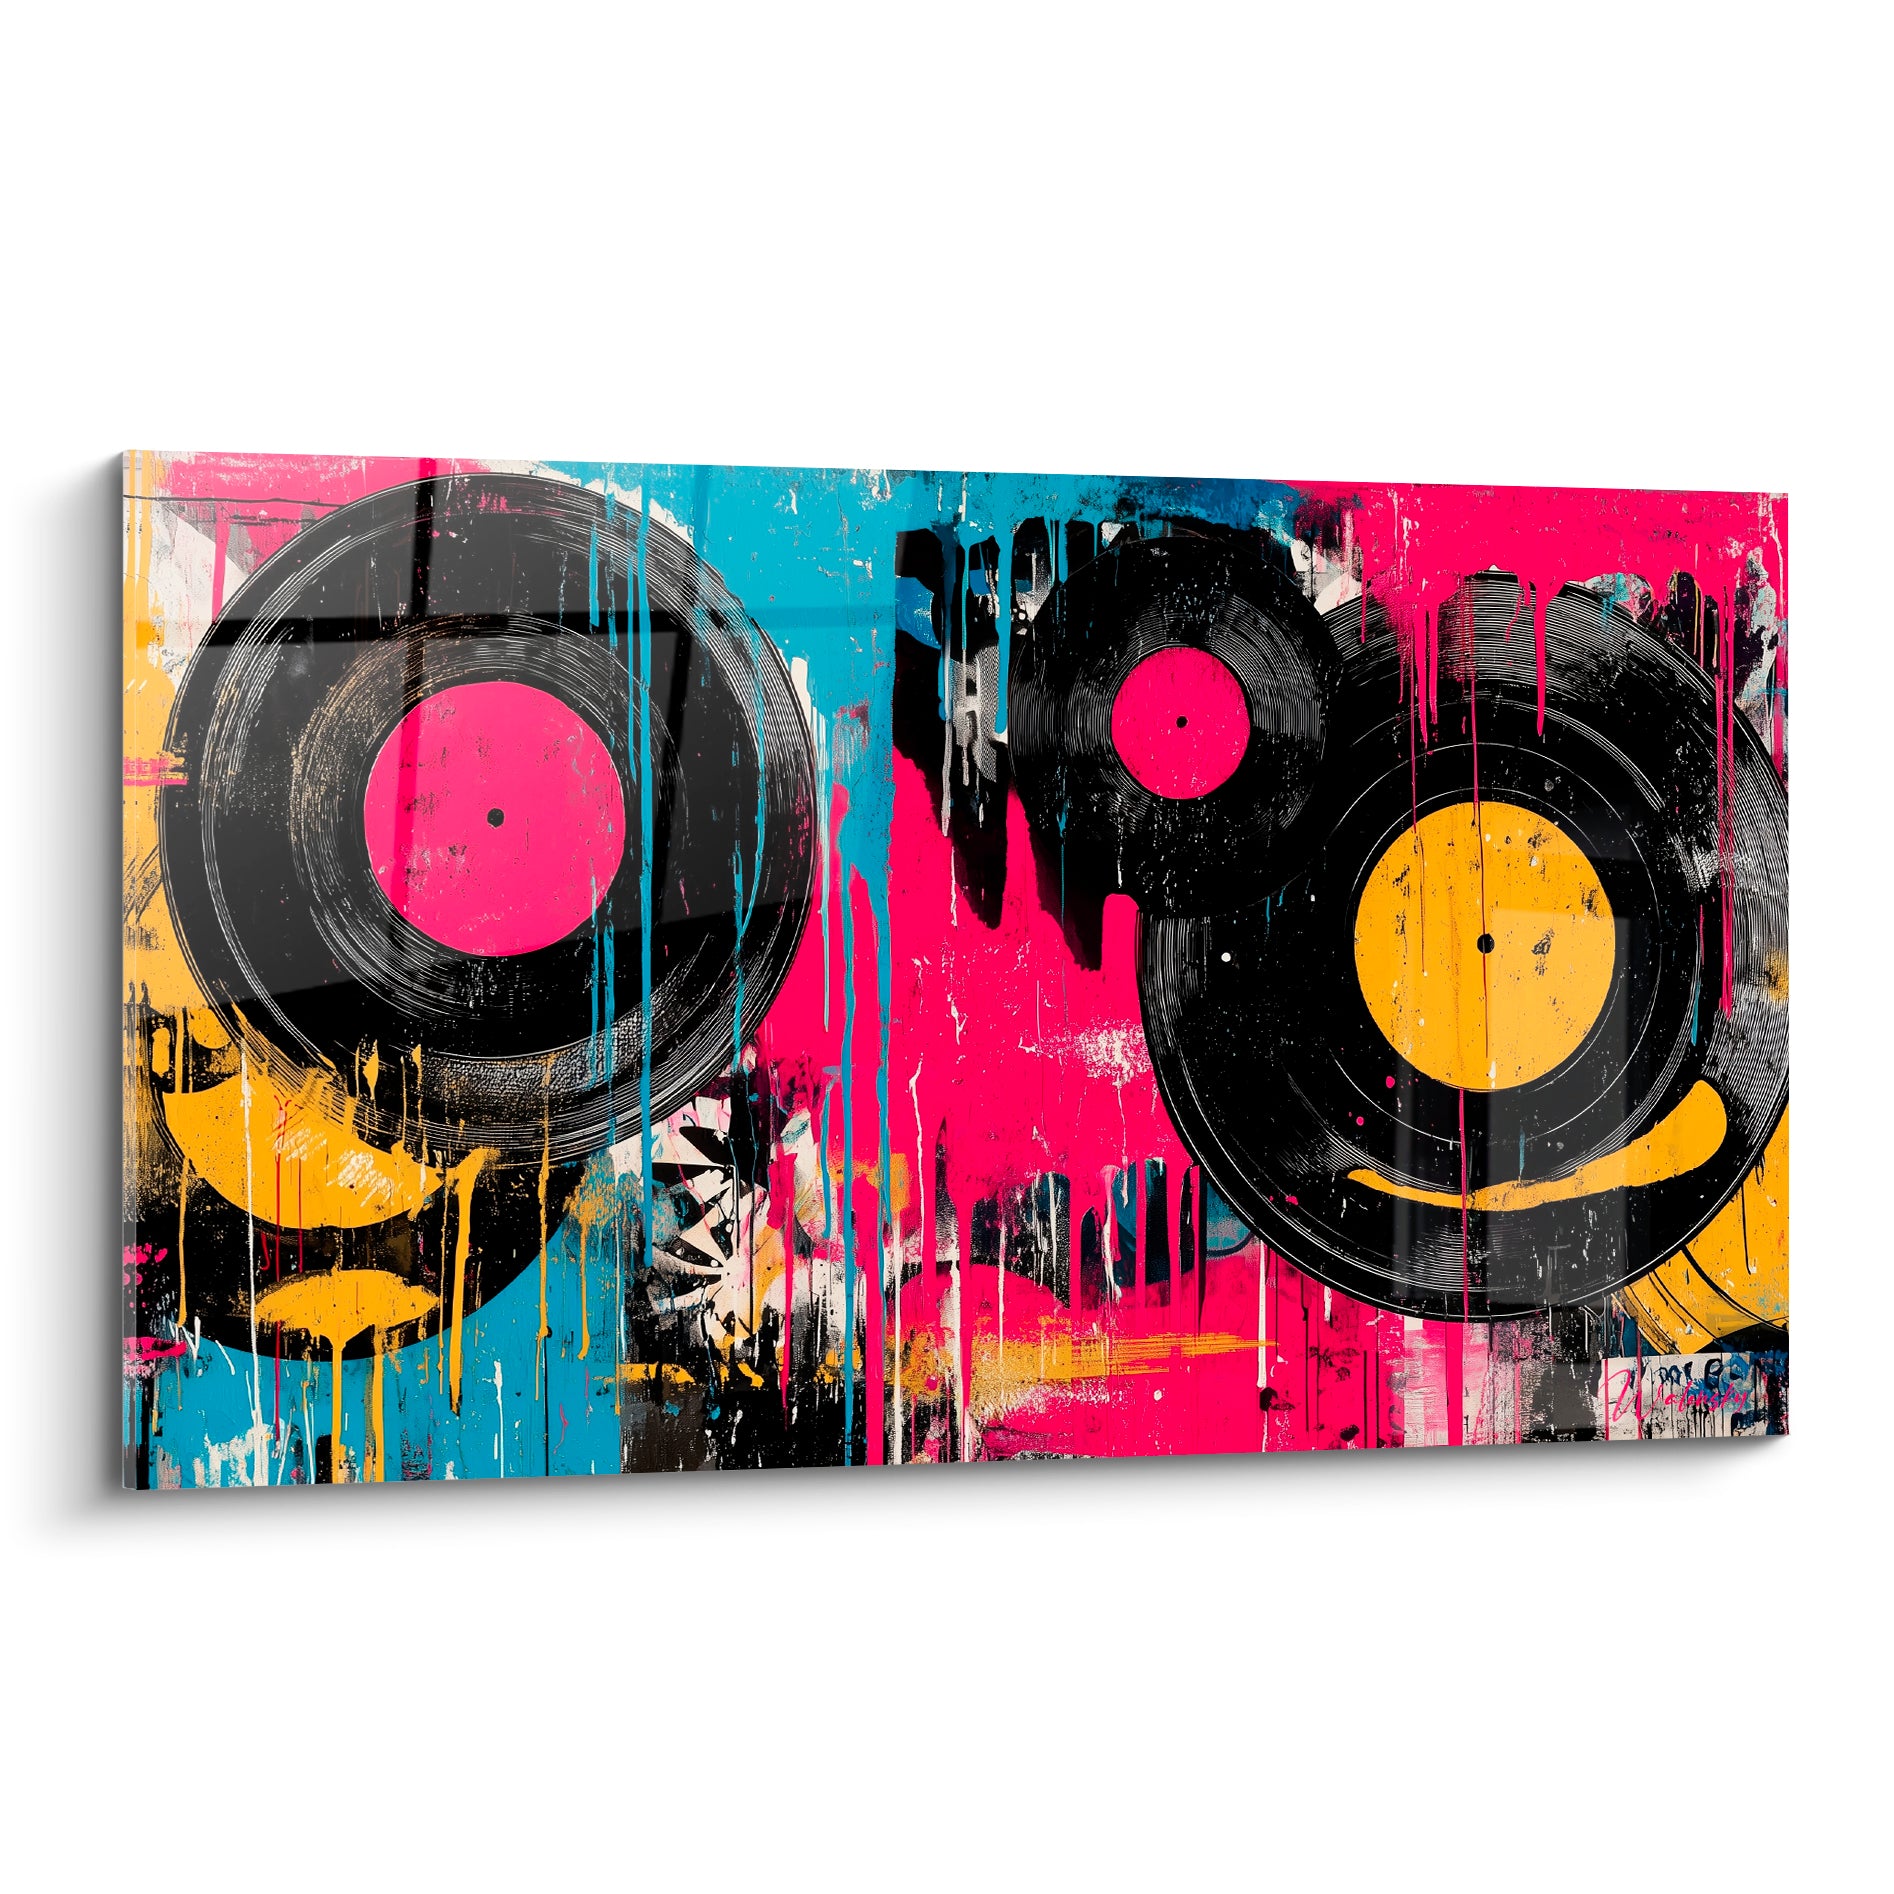






Elegant staging: painting + well-dosed LED string lights
11 October 2025 · 14 min read · by Walensky
You've just acquired this magnificent painting that moves you, but once hung on the wall, something feels off. The artwork seems lost in the decor, lacks presence, as if it's waiting for you to do it justice.
The ceiling light creates unpleasant reflections on the canvas, the colors appear dull in the evening, and this area of the living room stubbornly remains in the shadows despite your efforts to reorganize the general lighting.
You've tried moving lamps, adding a directional spotlight, but either the lighting is too harsh, or it doesn't highlight the subtle nuances of your artwork. Traditional lighting solutions seem unsuitable for this delicate staging.
This is perfectly normal: art lighting follows different rules than functional lighting. The real solution lies in a more refined approach that respects the artwork while creating an atmosphere.
By the end of this article, you will master the art of enhancing a painting with LED string lights to create an elegant staging that will transform your space into a private gallery.
Why does the lighting of your painting determine the entire atmosphere of your interior?
A poorly lit painting can ruin the harmony of an entire room, while a work sublimated by appropriate lighting instantly becomes the focal point that reveals your personality. It's like offering a setting for a jewel: the difference is striking and immediate.
🎨 Customer testimonial: "I invested in a magnificent contemporary canvas, but it remained invisible in the evening. Since I installed discreet LED string lights around it, my guests immediately notice the artwork when they enter. It has become the true heart of my living room."
Conversation with a decor expert
The golden rule of artistic lighting: a painting properly lit structures the space around it, naturally creating zones of relaxation and contemplation. You will observe this change from the first evening.
What's Really Behind an "Invisible" Painting
You may feel this subtle frustration when your gaze glides over your painting without stopping, when your guests pass by without noticing it, or when the artwork seems to "fade" at dusk.
The problem isn't your artistic taste or the quality of your painting, but a lighting imbalance that deprives the artwork of its ability to capture attention. It's a purely technical phenomenon, easily correctable.
Imagine a diamond in the dark: even the most beautiful jewel remains invisible without the lighting that reveals its facets. Your painting deserves the same preferential treatment.
Mistake #1: Believing that general lighting is enough
Ceiling lighting is designed to evenly illuminate a room, not to highlight a specific artwork. It often creates shadows and reflections that visually "crush" your painting.
It's like trying to take a portrait with the harsh light of a neon: technically, you can see, but all the subtlety disappears. Art requires directional and adjustable lighting.
This unsuitable approach explains why you feel your painting lacks presence and why your artistic investment doesn't transform your interior as expected.
🔍 Quick test: Turn off the general lighting and illuminate only your painting with your phone's flashlight. Observe how the artwork instantly comes to life and attracts your gaze.
Mistake #2: Underestimating the impact of color temperature
Most domestic lighting emits a cold light that distorts the warm colors of many artworks. Your painting with ochre and gold tones may appear dull under a 6000K white light.
It's like wearing a burgundy sweater under the harsh light of a parking lot: the color becomes grayish and loses all its richness. Artworks reveal their beauty under a warm light (2700K-3000K).
This chromatic incompatibility explains why your painting seems different between day and night, and why some nuances seem to disappear in your interior.
Mistake #3: Neglecting the effect of contrast
A painting drowned in uniform lighting loses its visual impact, even if it is technically well-lit. The human eye is attracted to contrasts and variations in light intensity.
Imagine a theater scene: spotlights don't just illuminate, they direct the gaze to the main action by creating areas of shadow and light. Your living room deserves the same scenic approach.
Without this interplay of contrast, your painting remains just another decorative element instead of becoming the focal point that structures the ambiance of your space.
The 3 signs of unsuitable lighting:
- The "neutral wall" effect: your gaze glides over the painting without stopping, as if it were part of the furniture
- The nocturnal disappearance: the artwork "disappears" as soon as natural light decreases, even with the lighting on
- The photographic disappointment: your photos of the living room never do justice to the real beauty of your painting
The trigger: Gradual staging
The real difference lies in the gradation of light : create a visual path that naturally guides the eye to your painting. It's the "gallery" effect that transforms a simple hanging into a true artistic staging. A well-positioned LED string acts as a subtle revealer that amplifies the presence of the artwork without distorting its essence.
The 3-level rule: dim ambient lighting + accent lighting on the artwork + peripheral decorative lighting = perfect harmony. Test each level's intensity separately.
| ❌ Traditional lighting | ✅ LED staging | 💡 Explanation | 🎯 Practical benefit |
|---|---|---|---|
| Uniform and cold light | Directional and warm lighting | LEDs allow precise control of intensity and color | The painting immediately becomes more expressive and warm |
| Complex and costly installation | Simple and adaptable installation | The garlands adapt to all supports without major drilling | Reversible transformation of your space in 30 minutes |
| High energy consumption | Maximum LED efficiency | LEDs consume 10 times less than traditional lighting | Permanent lighting without impacting your bill |
| Reflections and parasitic shadows | Soft and even light | Peripheral positioning that avoids direct reflections | Every detail of the artwork remains perfectly visible |

Favorite
Abstract luminous painting - Flaming Wave - light painting edition
232.90€
Discover this paintingThe progressive method for a successful staging
Rest assured: transforming your painting into an elegant focal point requires neither specific technical skills nor a significant investment. The method follows a logical progression in three steps, like the construction of a custom case. Each level brings its immediate satisfaction while preparing the next.
🎯 Overview of the transformation: Preparation and analysis (5 min) → Basic installation (15 min) → Final optimization (10 min). Each step gradually reveals the potential of your artwork until the "private gallery" effect.
Step 1: Prepare the perfect setting for your artwork
Starting with the analysis of your space lays the right foundations to avoid disappointments. It's like preparing the canvas before painting: this step determines the quality of the final result and already gives you the satisfaction of better understanding your artwork.
What you will need to succeed
- Warm white LED string (2700K-3000K): Choose quality LEDs with built-in dimmer. Avoid low-cost models that flicker: prioritize brands specializing in art lighting. The rendering difference justifies the additional investment.
- Discreet support (clips or thin rail): The fixing system must visually disappear while holding firmly. Transparent clips or wall-colored rails are ideal. Ban "DIY" systems that will be visible and spoil the elegance.
- Dimmer or remote control: Control of the intensity is crucial to adapt the lighting to every moment. A model with memory settings will save you valuable time on a daily basis.
Now, let's move on to observing your space:
The analysis that guarantees your success
Study the existing lighting: Observe your painting at different times (day, evening, artificial lighting). Note the shadow areas, distracting reflections, and the evolution of colors. This analysis reveals the specific challenges to correct.
⏱️ Time: 3 minutes | ✅ Successful when: You clearly identify the moments when the artwork loses its impact | ⚠️ Attention: Do not judge solely on the current lighting - imagine the potential
Measure the peripheral space: Evaluate the available distance around the frame to discreetly position the string lights. Count a minimum of 5-10 cm on the sides and top. This margin guarantees even lighting without a "spot" effect.
⏱️ Time: 2 minutes | ✅ Successful when: You precisely visualize the layout of the string lights | ⚠️ Attention: Too close to the frame creates hard shadows
✓ Validation of the step: You fully understand why your painting lacks impact and you visualize its future transformation. If you have any doubts about the material, it is better to invest in quality from the start.
Step 2: The installation that reveals your artwork
This concrete phase provides you with the immediate satisfaction of seeing your painting come back to life. The effect is spectacular from the first adjustments, with a progressive rise towards perfect harmony. This is the moment when your vision becomes reality.
The installation step by step
- Positioning the string lights: Trace a virtual contour 8-12 cm from the frame. This optimal distance avoids shadows while maintaining the luminous halo effect. Start from the top, descend on the sides, avoid the bottom except for very large formats.
- Test the intensity: Start at 30% power and gradually increase. The lighting should reveal the artwork without dazzling it. The perfect intensity is often between 40-60% depending on the ambient lighting.
- Adjust the angle: Slightly orient the light towards the canvas (15-20°) to avoid direct reflections. This subtle inclination creates depth without creating parasitic shadows.
The simplified technical execution
Fix the string lights: Use the clips every 20-25 cm to maintain a regular pattern. Start with the corners to define the shape, then adjust the spacing. The regularity of the pattern is more important than millimeter precision.
⏱️ Time: 10 minutes | ✅ Successful when: The string lights gracefully follow the contour without sagging | ⚠️ Attention: An irregular pattern creates areas that are over and under-lit
First lighting and adjustment: Immediately test the effect by modulating the intensity. Turn off the general lighting to see the pure impact, then gradually turn it back on to find the balance. Your artwork should naturally stand out.
⏱️ Time: 5 minutes | ✅ Successful when: The painting immediately attracts the eye at the entrance of the room | ⚠️ Attention: Lighting that is too strong kills the cozy atmosphere
🎨 Moment of truth: Your painting has gained presence and depth. The colors are richer, the details are sharper. If the effect already seems spectacular, that's normal - and you haven't seen anything yet!
Step 3: The expert finishing touches that make the difference
This final phase elevates you to the level of professionals in staging. You now master the subtleties that distinguish simple lighting from a true artistic mise-en-scène. The final result transforms your space into a private gallery worthy of the finest interiors.
The master settings
Calibrate the temperature according to the artwork: Warm tones (ochre, red, brown) flourish under 2700K, cool tones (blue, green, gray) prefer 3000K. Fine-tune to reveal the artist's true palette.
⏱️ Time: 3 minutes | ✅ Successful when: Each color of the artwork expresses its maximum richness | ⚠️ Attention: An unsuitable temperature can create an artificial hue
Programming atmospheres: Create 3 settings: "contemplation" (60%), "reception" (80%), "intimate" (35%). This modularity allows you to adapt the lighting to each moment and use of your space.
⏱️ Time: 2 minutes | ✅ Successful when: You can transform the atmosphere with a simple gesture | ⚠️ Attention: Test each setting at different times of the day
Integration into overall lighting: Synchronize with your other light sources to create a cohesive whole. The lighting of the artwork should dialogue with the general atmosphere without dominating it.
⏱️ Time: 5 minutes | ✅ Successful when: The artwork naturally structures the space without upsetting the harmony | ⚠️ Attention: Avoid competition between different light sources
Mastery confirmed: Your installation rivals professional galleries. You will recognize this level when your guests are automatically drawn to the artwork and ask you for advice on how to reproduce the effect at their homes.
You now possess a rare expertise in artistic staging. These subtleties distinguish a well-cared-for decor from a true art de vivre. Your mastery of lighting opens up new creative possibilities for your entire interior.
🔥 Expert secret: Create a slight time delay between the ignition of the general lighting and that of the artwork (5-10 seconds). This theatrical sequence reinforces the staging effect and creates a true aesthetic ritual.
Frequent question from our readers
"I have a fairly imposing artwork (80x120 cm), is the technique the same or should something be adapted?"
Excellent question! Large formats even offer more possibilities. You can create zoned lighting : continuous garland around the perimeter plus a few discreet light points in the center to avoid shadow areas. The effect is even more spectacular because the presence of the artwork multiplies. Start with the basic technique, then gradually add these refinements - you will immediately see if it is necessary.
💡 Full-scale test: First position the peripheral garland, then evaluate if there are any less illuminated areas in the center. This observation naturally guides your adjustments.
The pitfalls to avoid to preserve the elegance of your installation
Some mistakes can ruin the desired effect and transform your refined staging into a garish decoration. These pitfalls are predictable and easily avoidable when you know them.
- ⚡ Light overdose: The desire to "light well" often leads to exaggeration. As a result: the artwork becomes aggressive and loses its mystery. Remain restrained - elegance is born of subtlety, not power.
- 🎯 Incorrect LED positioning: Too close to the frame, they create harsh shadows; too far, the effect dilutes. Respect the 8-12 cm distance and test before permanently fixing the supports.
- 🌡️ Inappropriate color temperature: A light that is too cold turns your living room into an office and distorts the warm colors of the artwork. Always prefer warm white (2700K-3000K) for artwork lighting.
- 🔧 Visible installation: Wires trailing or visible fixings immediately break the magic. Take care of discretion: the lighting should seem to "emerge from nowhere" to preserve the gallery effect.
- ⚖️ Imbalance with ambient lighting: A brightly lit painting in a dark room creates an unpleasant "spotlight" effect. Harmony comes from the balance between all light sources.
🛡️ Anti-error checkpoints: The artwork attracts the eye without dazzling • No cables or fixings are visible • Colors appear natural and rich • The whole integrates harmoniously into the overall atmosphere. Warning sign: if someone notices the lighting before the artwork, it's too much.
— Our selection


Practical questions about LED staging
Allow 30 minutes maximum for complete installation with fine adjustments. Physical installation takes 15 minutes, light adjustments 10 minutes, and finishing touches 5 minutes. To optimize: prepare your equipment and test the settings before permanent installation. Concrete example: a 60x80 cm painting with a 3-meter string of lights takes 25 minutes.
Between 40€ and 120€ depending on the size of the artwork and the sophistication of the settings. A professional-grade LED string costs 25-60€, fixing accessories 10-25€, and a dimmer 15-35€. Investing in quality from the start avoids replacements and guarantees a stable result over time.
Absolutely! Transparent adhesive clips or magnetic rails allow for completely reversible installation. For delicate walls, use repositionable hooks that remove without a trace. This approach is ideal for tenants or artworks that you want to move.
Perfectly controlled: a complete installation consumes 5-15 watts, which is less than a traditional bulb. In daily use (6h/day), this represents 0.03€ of electricity cost per day. The impact on your bill remains negligible even in continuous use.
The method adapts to all styles by simply adjusting the color temperature and intensity. Classic artworks prefer 2700K at moderate intensity, contemporary art can handle 3000K more strongly, and black and white photographs can even accept 3500K. The principle remains universal: reveal without distorting.
Your transformation into an artistic staging expert
In a few weeks, you will contemplate your living room transformed where your painting reigns with elegance, naturally attracting attention and structuring the harmony of the entire space. Your guests will ask you the secret of this particular atmosphere, and you will experience the discreet pride of mastering an art that few people truly understand.
This skill goes beyond lighting: you have developed a staging eye that will transform your approach to interior decoration. Now, you instinctively perceive light balances, highlighting effects, and the emotional impact of each aesthetic choice.
The best is yet to come: this mastery gives you the creative confidence to dare, experiment, and make your interior a true expression of your personality. Start tonight by observing your painting under its current lighting - you will never look at it the same way again.
✨ Your creative moment begins now: Your wall art deserves this exceptional staging, and you now have all the keys to succeed. The art of living starts with these details that make all the difference.
Also to read: 🎪 Read more articles on event decoration
Explore our collections


