


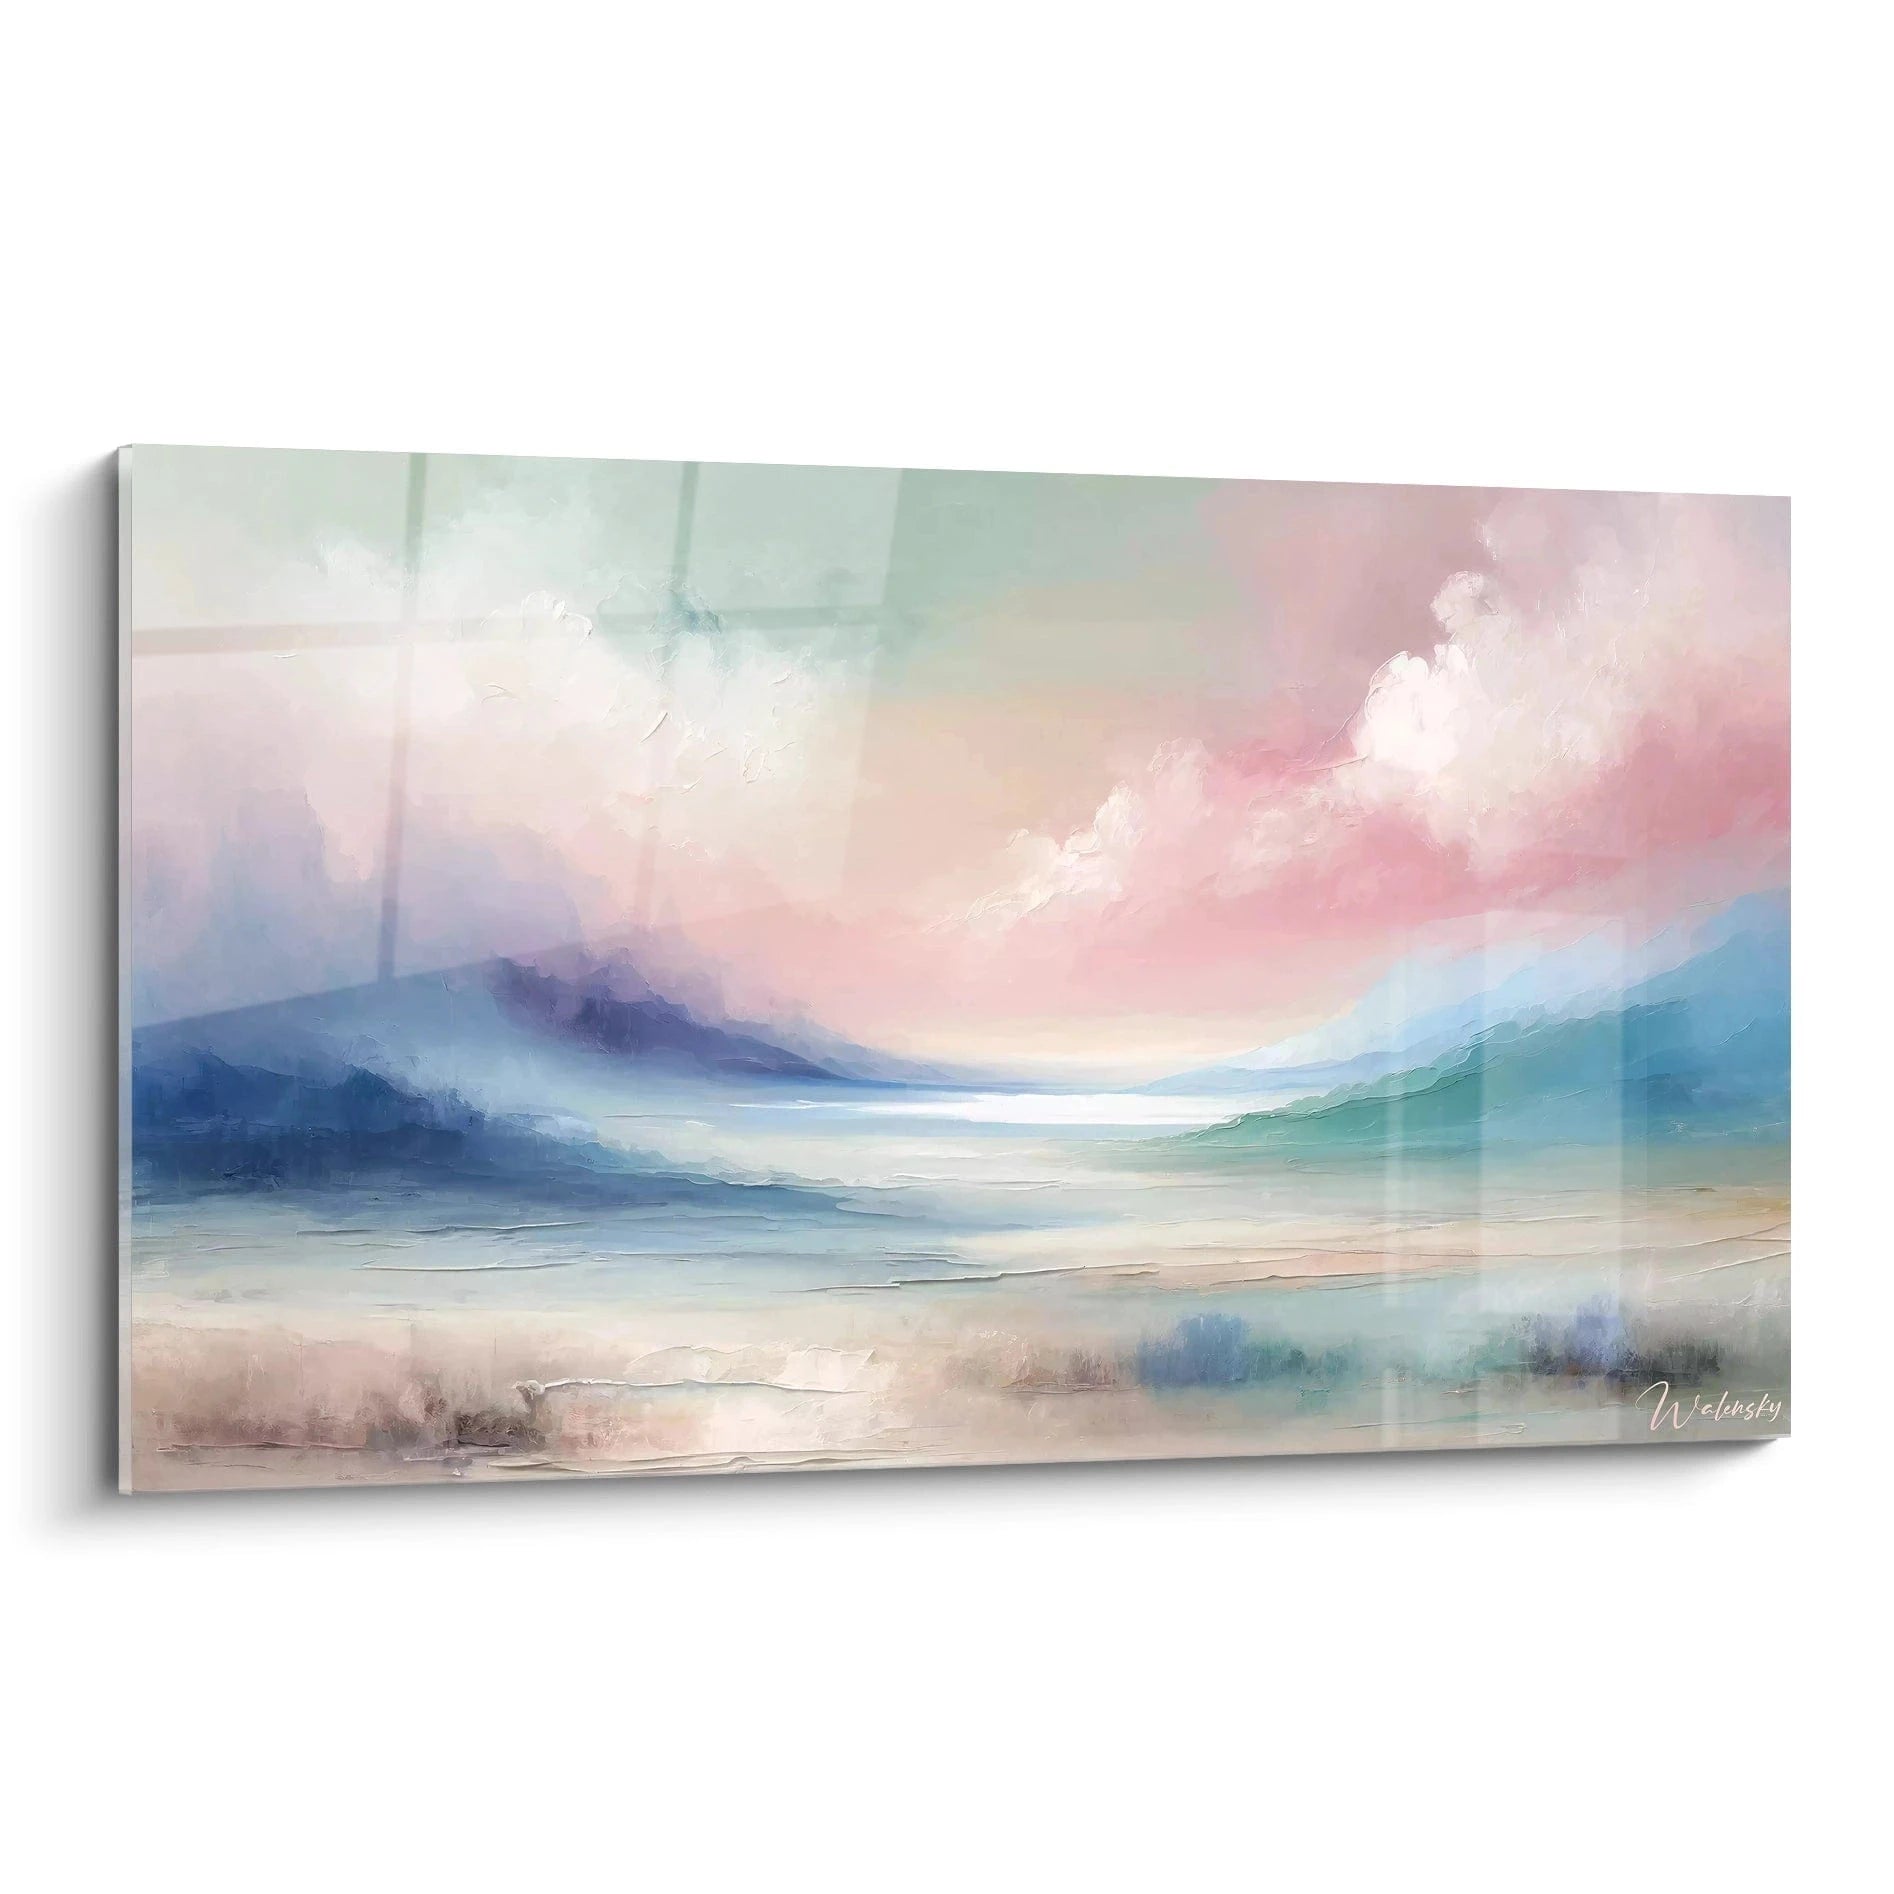

Highlight the reliefs of a painting with grazing light
11 October 2025 · 18 min read · by Walensky
You have invested in this magnificent relief painting that has thrilled you for months, but once hung on the wall, it seems dull and lifeless. The sculpted details you loved so much in the gallery have mysteriously disappeared, drowned in a flat lighting that ruins all the beauty of the work.
In the evening, when you turn on your usual lamps, it's even worse: unpleasant shadows appear on the canvas, creating dark areas that hide the reliefs instead of revealing them. Your artistic investment becomes a simple, banal decor that no longer attracts the eye.
You may have tried adding a ceiling spotlight or a classic wall sconce, but the result disappointed you. Frontal lighting crushes the volumes, transforming your textured painting into a two-dimensional surface. Your guests pass by without even noticing the richness of the details.
This frustration is perfectly normal and it is absolutely not your fault. The problem comes from a fundamental misconception : The vast majority of art lovers do not know that the reliefs of a painting are only revealed with a very specific type of lighting, used by all museums in the world.
By the end of this article, you will perfectly master the technique of grazing light and will be able to transform your painting into a true magnetic focal point that captivates all your visitors.
Why do your reliefs remain invisible despite good lighting?
The revelation of a painting's reliefs is a decorative urgency that many neglect, thinking they can deal with it "later". But every day that passes, your artistic investment loses its emotional value. Imagine receiving collector friends who immediately notice that your lighting does not do justice to the work – it's like serving a grand cru in a plastic glass.
💡 Expert revelation: Marie, a Parisian interior designer, says: "I visited a Haussmannian apartment where the owner possessed a master painting with magnificent impasto. Under its classic LED lighting, the work looked as flat as a reproduction. In 10 minutes with an adjustable spotlight and the right technique, we revealed sculpted details that even he didn't know he possessed. He burst into tears at the transformation."
Conversation with a decor expert
The golden rule of artistic lighting: The more relief a work possesses, the more it needs oblique light to reveal its depth. Guaranteed result: your reliefs will come to life within 24 hours, creating an immediate prestige effect in your interior.

What's really behind your lighting disappointments
Recognize these situations? Your painting seems different depending on the time of day, the reliefs completely disappear in the evening, and you constantly have to explain to your guests "actually, there are lots of details but you can't see them well".
What's really happening is that your painting is experiencing a "light laminating effect : frontal light literally crushes the volumes against the surface, exactly as if you were passing a roller compactor over a sculpture. The problem isn't your artistic taste, but an inappropriate lighting approach for contemporary artworks.
Imagine trying to photograph a mountain landscape at noon: all the valleys and reliefs disappear in the harsh light. That's exactly what happens to your painting with traditional frontal lighting.
First hidden cause: the lighting angle kills depth
Contrary to what one might think, lighting from the front is not neutral : it actively destroys reliefs. While our eyes naturally perceive volumes thanks to micro-shadows, frontal light systematically erases them.
It's like trying to read a coin by placing it under a desk lamp: all the engraved details disappear in the uniform light. Turn this coin under sidelight, and suddenly each detail stands out with a striking sharpness.
This discovery will transform your decorative approach: instead of seeking more brightness, you will learn to sculpt with shadow. That's what differentiates an amateur from a true art connoisseur.
🔍 Instant test: Take your smartphone, turn on its flashlight and shine it on your painting at a 30° angle from the side. Watch as the reliefs instantly emerge! That's the magic of grazing light in a simplified version.
Second hidden cause: color temperature influences the perception of reliefs
Few people know this, but reliefs are revealed differently depending on whether you use warm light (3000K) or cold light (5000K). Too cold light hardens shadows and makes reliefs aggressive, while too warm light drowns them in a cozy atmosphere.
It's like choosing between sunglasses and reading glasses: each reveals details differently depending on the context. For artistic reliefs, there is an "optimal zone that enhances without distorting.
This lack of knowledge explains why your painting disappoints you in the evening: your usual bulbs create an incoherent temperature with the nature of the work, subtly erasing all sculpted details.
Third hidden cause: the lighting distance radically changes the effect
Here's the secret that museum curators have known for ages: the distance between the light source and the painting determines the fineness of the revealing shadows. Too close, the shadows become hard and theatrical. Too far, they fade and lose their revealing power.
You can check this immediately: bring your hand closer and then further away from a lamp while observing the shadow projected. At 20 cm, the shadow is sharp and contrasting. At 2 meters, it becomes blurred and soft. The same logic applies to your reliefs.
This variable explains why so many attempts at artistic lighting fail: without mastering this optimal distance, even the best spotlight gives a disappointing result that makes you doubt your decorative choices.
🎯 The 3 signals that reveal failed lighting:
- "Postcard" effect: Your relief painting looks like a flat reproduction – signals a destructive frontal angle
- "Dirty" shadows: Unpleasant dark areas appear without revealing details – indicates a poor color temperature
- "Shouting" reliefs: The details stand out but in an aggressive and artificial way – reveals an unsuitable distance
The trigger factor: sculpted light intensity
The real secret lies in what professionals call "graded intensity" : instead of illuminating evenly, you need to create a gradient of light that follows the reliefs like a caress. It's the perfect domino effect: once this intensity is mastered, all the details come to life naturally, creating that magnetic depth that hypnotizes the gaze. You will recognize this effect when your eye can no longer detach from the painting, attracted by a seemingly endless visual richness.
The universal rule of artistic lighting: Every relief revealed by grazing light gains emotional presence. Check it by observing how your gaze naturally lingers on the obliquely lit areas – it's your brain instinctively recognizing the revealed beauty.
| ❌ Classic frontal lighting | ✅ Mastered grazing light | 💡 Mechanism of action | 🎯 Visual result |
|---|---|---|---|
| The reliefs completely disappear | Each sculpted detail comes to life | The oblique angle creates revealing micro-shadows | Striking depth effect |
| Feeling of "flat painting" | Impression of wall sculpture | Graded shadows sculpt the volumes | Magnetic presence in the room |
| No decorative focal point | Immediate visual attraction | The light naturally guides the gaze | Automatic conversation with guests |
| Disappointment proportional to the investment | Maximum valuation of the artwork | Revelation of details otherwise invisible | Lasting pride and satisfaction |
— Our selection


The progressive method to reveal all your reliefs
Rest assured, transforming the lighting of your wall art requires no particular technical skills. This method follows the natural logic of creating a luminous frame : first, you lay the foundations (equipment and positioning), then you adjust the intensity, and finally you fine-tune the details. In 3 simple steps, you will go from an invisible wall art to a masterpiece that captivates from the moment you enter the room.
🎯 Overview of the transformation: Step 1 - Choose and position the right equipment (30 min), Step 2 - Adjust the optimal angle and intensity (15 min), Step 3 - Refine for a professional gallery result (10 min). Result: your wall art gains depth and magnetism at each step, progressively revealing all its sculpted secrets.
Step 1: Select and install your grazing lighting
This first step is crucial as it determines the entire quality of your final result. Just like the foundations of a house, every detail counts. Once this solid base is laid, you will already feel immense satisfaction as your reliefs begin to emerge from their decorative sleep .
The essential equipment for success
- Adjustable LED spotlight (15-25W): Choose a model with an integrated dimmer and adjustable temperature 3000-4000K. Avoid large-surface fixed spotlights that give a rigid lighting. Orientability is essential as it alone allows you to sculpt precisely your reliefs. Quality criterion: the beam must be homogeneous without a visible light circle in the center.
- Rail or robust clamp support: The fixing system determines the stability of your lighting over time. An unstable support will create micro-movements that will spoil the precision effect. Prefer steel or aluminum with a wing nut tightening. Impact on the result: perfect stability maintains the optimal angle month after month.
- External dimmer (if not integrated): This element transforms a simple lighting into an artistic revelation tool. It allows you to dose the intensity to the hundredth to reveal each relief without visual aggression. Quality index: the variation must be fluid without jerks, like a fade in cinema.
Now, let's move on to the practical installation that will change everything:
Installation step by step
Initial support positioning: Install your spotlight 1.5 meters laterally from the center of the wall art and at the same height as the upper edge of the artwork. This position creates the optimal 30° angle to reveal reliefs without creating parasitic shadows. The secret: the lighting must "caress" the surface, not hit it head-on.
⏱️ Time: 15 minutes | ✅ Successful when: The switched-off spotlight is not visually visible in the decor, totally discreet | ⚠️ Attention: Never fix it above the wall art (light falling that crushes) – error due to the habit of classic ceiling spotlights
First orientation adjustment: Direct the beam to sweep the surface of the wall art with a 25-35° angle. The pro trick: you must see the shadow of your hand projected clearly on the wall art when you place it between the spotlight and the artwork. This shadow confirms that the light is effectively sculpting.
⏱️ Time: 10 minutes | ✅ Successful when: The first reliefs become visible even in full daylight | ⚠️ Attention: If no shadow appears, you are lighting too frontally – reposition it more laterally
Light intensity test: Start with the intensity at minimum and gradually increase until the reliefs "emerge" without glare. The correct dosage is recognized by this magical sensation where the sculpted details suddenly seem to come to life before your eyes.
⏱️ Time: 5 minutes | ✅ Successful when: The reliefs are clearly visible but the lighting remains comfortable | ⚠️ Attention: Never push the intensity to the maximum at once – you would lose the revealing subtlety
✅ Step 1 verification: Your painting now has unprecedented depth, the main reliefs are visible, and the lighting remains discreet during the day. If some details still elude you, that's normal: step 2 will reveal the subtleties. Already celebrate this first transformation which often exceeds expectations!
Step 2: Optimize the angle to reveal every detail
You are now entering the refinement phase that distinguishes simple lighting from a true artistic illumination. This step multiplies the visual impact of your painting: secondary reliefs will appear, creating this richness of reading that captivates the gaze durably. It is here that the snowball effect occurs: the more details you reveal, the more your eye discovers others.
Precision adjustment
Fine vertical angle adjustment: Modify the inclination of your projector by micro-adjustments of 2-3° to reveal the finest reliefs. Observe how each degree transforms the reading of the work. The perfect angle is recognized when even the smallest imperfections become visible without hardening the main shadows.
⏱️ Time: 10 minutes | ✅ Successful when: Fine details gradually emerge | ⚠️ Attention: An angle that is too pronounced creates hard shadows that mask other reliefs
Color temperature optimization: If your projector allows it, test between 3200K and 3800K to find the temperature that sublimates your reliefs. Slightly warm light reveals organic textures better, while a more neutral light suits clean geometric reliefs.
⏱️ Time: 5 minutes | ✅ Successful when: The reliefs appear natural and warm | ⚠️ Attention: Avoid cold white which artificially hardens the shadows
🎯 Step 2 validation: Your painting now reveals its full sculptural complexity. Visitors spontaneously stop to observe the details. If the effect already seems stunning, step 3 will add that professional finishing touch that makes all the difference.
Step 3: Fine-tune for a professional gallery result
This final step transforms your amateur lighting into an installation worthy of a museum. You will master the subtleties that only professionals know, creating that "discreet prestige" effect that immediately distinguishes a collection of quality. The final result will exceed your expectations: a painting that seems alive and magnetic, natural attraction center of your interior.
Expert finishes
Eliminate parasitic reflections: Observe your painting from different viewing angles and micro-adjust the position to avoid any annoying reflections. Perfect lighting remains invisible: you only see its revealing effects, never the light source itself within the normal field of vision.
⏱️ Time: 8 minutes | ✅ Successful when: No visible reflections from the usual viewing positions | ⚠️ Attention: Test in the evening as reflections appear differently depending on the ambient lighting
Harmonizing with general lighting: Adjust the intensity so your painting remains the focal point without visually assaulting. In the evening, it should detach naturally from the general ambiance. During the day, it should maintain its presence without appearing artificial.
⏱️ Time: 10 minutes | ✅ Successful when: The artwork naturally attracts the eye in all conditions | ⚠️ Attention: Excessive contrast fatigues the eye and impairs decorative harmony
Durability and memorization test: Photograph your result and note your optimal settings. A perfect artistic lighting setup must be reproducible after a power outage or a move. This traceability guarantees you will instantly regain your magical effect.
⏱️ Time: 5 minutes | ✅ Successful when: You can reproduce the effect at will | ⚠️ Attention: Take several photos under different lighting conditions to properly document the effect
Expert progression rule: You know your lighting is perfectly mastered when your guests spontaneously comment on the beauty of the painting without noticing the lighting itself. Patience and precision are your allies: each micro-adjustment counts towards achieving this discreet excellence.
You now have professional lighting expertise that gives you a considerable decorative advantage. These technical subtleties allow you to reveal the hidden beauty of any relief artwork, transforming your view of art and your approach to decoration.
🎨 Museum curator's secret: For paintings with mixed reliefs (smooth and textured areas), create a "double grazing light" with two low-intensity projectors positioned at 120° from each other. This technique simultaneously reveals all types of reliefs without sacrificing any. Guaranteed effect: a visual richness that is discovered with each observation.
Frequently asked question from our readers
"I find that grazing light highlights too many imperfections in my wall behind the painting. Am I mistaken or is this normal?"
Your observation is very accurate and reveals a trained eye for the subtleties of lighting! It is indeed a frequent side effect: grazing light reveals everything, including surface imperfections. Rest assured, this "problem" often becomes an unexpected decorative asset. If it really bothers you, install a small opaque shield or flag between the projector and the wall to limit the beam to the painting only. Many of our readers discover that their textured wall gains character in this way!
🔧 Immediate action: Test by temporarily placing a cardboard between the light and the wall for 24 hours. You will quickly see if the wall effect really bothers you or if you get used to it naturally.
— Also to discover


The traps to absolutely avoid to protect your reliefs
Now that you master the technique, let's protect your investment in time and materials by avoiding common mistakes. These mistakes are so frequent that 8 amateurs out of 10 commit them, unconsciously sabotaging their efforts. Knowing these traps will save you weeks of frustrating trial and error.
- ❌ Multiplying light sources: It's tempting to add a second spotlight "to better illuminate," but it's destructive! Two sources create conflicting shadows that cancel out the sculptural effect. Resist this temptation and master a single source perfectly before considering more complex effects. This mistake comes from impatience, it's perfectly human.
- ❌ Wanting to evenly illuminate the entire painting: Grazing light naturally creates areas that are more and less illuminated, that's the intention! Wanting to erase these variations destroys the relief effect. Accept these light nuances: they bring life and movement to your artwork. Trust the process, even if it seems "uneven" at first.
- ❌ Neglecting ambient lighting: A perfect spotlight on a painting in a poorly lit room creates an artificial and aggressive "theater spotlight" effect. Grazing light must harmonize with the overall ambiance, not dominate it. Think about your entire decorative lighting, this global vision avoids the beginner's mistake.
- ❌ Fixing it definitively too quickly: The perfect lighting is discovered through successive adjustments over several days. Fixing it definitively from the first setting deprives you of the micro-improvements that make all the difference. Keep flexibility for a few weeks, your eye gradually educates itself to recognize excellence.
- ❌ Ignoring seasonal variations: Natural light changes with the seasons, modifying the perception of your artificial lighting. A perfect setting in winter may seem too intense in summer. Allow for seasonal micro-adjustments, it's the ultimate refinement of true connoisseurs.
🛡️ Continuous verification system: Check each week: the main reliefs remain clearly visible, no harsh shadow areas hinder the reading, the lighting remains discreet during the day, your guests comment positively on the painting. Warning signs: visual fatigue when looking at the artwork, comments on "too much lighting", appearance of annoying reflections.
— In the same spirit


Other selected pieces
Painting modern chair - Luminous movement - light painting edition
213.90€
Discover this painting →Answers to essential questions about grazing light
Allow between €80 and €200 for a perfect result: orientable LED spotlight (50-120€), robust support (20-50€), dimmer if necessary (15-30€). Budget optimization: start with a mid-range spotlight with integrated dimmer at €80, you can always upgrade later. Concrete example: Marie transformed her €800 painting with a lighting investment of €95, or 12% of the value of the artwork for a spectacular effect.
Installation and initial settings: a maximum of 1 hour. Complete mastery with all fine adjustments: 2-3 weeks of observations and micro-corrections. Your eye gradually educates itself to recognize excellence. Rest assured: the "wow" effect appears within the first 30 minutes, the rest is just refinement to reach a professional gallery level.
Absolutely! Flat lighting reveals all types of reliefs : thick paint, collages, mixed-media, wall sculptures, even slightly wrinkled canvases. Only adaptation needed: the optimal angle varies slightly depending on the height of the reliefs (25° for fine reliefs, 35° for pronounced impasto). Metallic or shiny materials sometimes require a slightly reduced intensity to avoid reflections.
Excellent question! In a confined space, use a compact projector on an articulated arm mounted on the side wall. The flat angle works even at 50 cm distance with a 10-15W projector. Small space tip: a discreet ceiling rail with an adjustable projector gives you all the flexibility you need without visually cluttering the space.
For 2-3 aligned paintings, a single well-positioned projector can illuminate them effectively if the angle allows. Beyond that, prioritize one projector per artwork with slightly offset intensities to create a natural visual hierarchy. Avoid perfect uniformity: your paintings gain personality with subtly differentiated lighting that respects their artistic individuality.
Your decorative transformation begins now
In a few weeks, when you contemplate your painting beautifully revealed by the perfectly mastered flat light, you will realize the extent of this transformation. Your sculpted reliefs now capture every gaze, create spontaneous conversations with your guests, and give you that discreet pride of owning an installation worthy of a professional gallery. Your artistic investment finally reveals its true value.
This mastery of flat lighting goes far beyond your initial painting: you have developed a expert eye that will transform your overall decorative approach. From now on, you will instinctively spot poorly lit lighting fixtures, appreciate subtleties in museums, and be able to advise your surroundings with the authority of experience. This rare skill definitively distinguishes you from amateurs.
The most difficult thing was to understand the hidden mechanisms of relief revelation. Now that you have these keys, your first step will be to position your projector according to the 3-step method. In 30 minutes, you will already contemplate the rebirth of your painting. This transformation that seemed mysterious to you is now within reach.
✨ Your artistic revelation awaits you: Each day without flat lighting, your painting loses its revealing magic. You now have all the keys to unlock this hidden beauty and create that prestige effect that will permanently transform your interior into an exceptional artistic showcase.


