

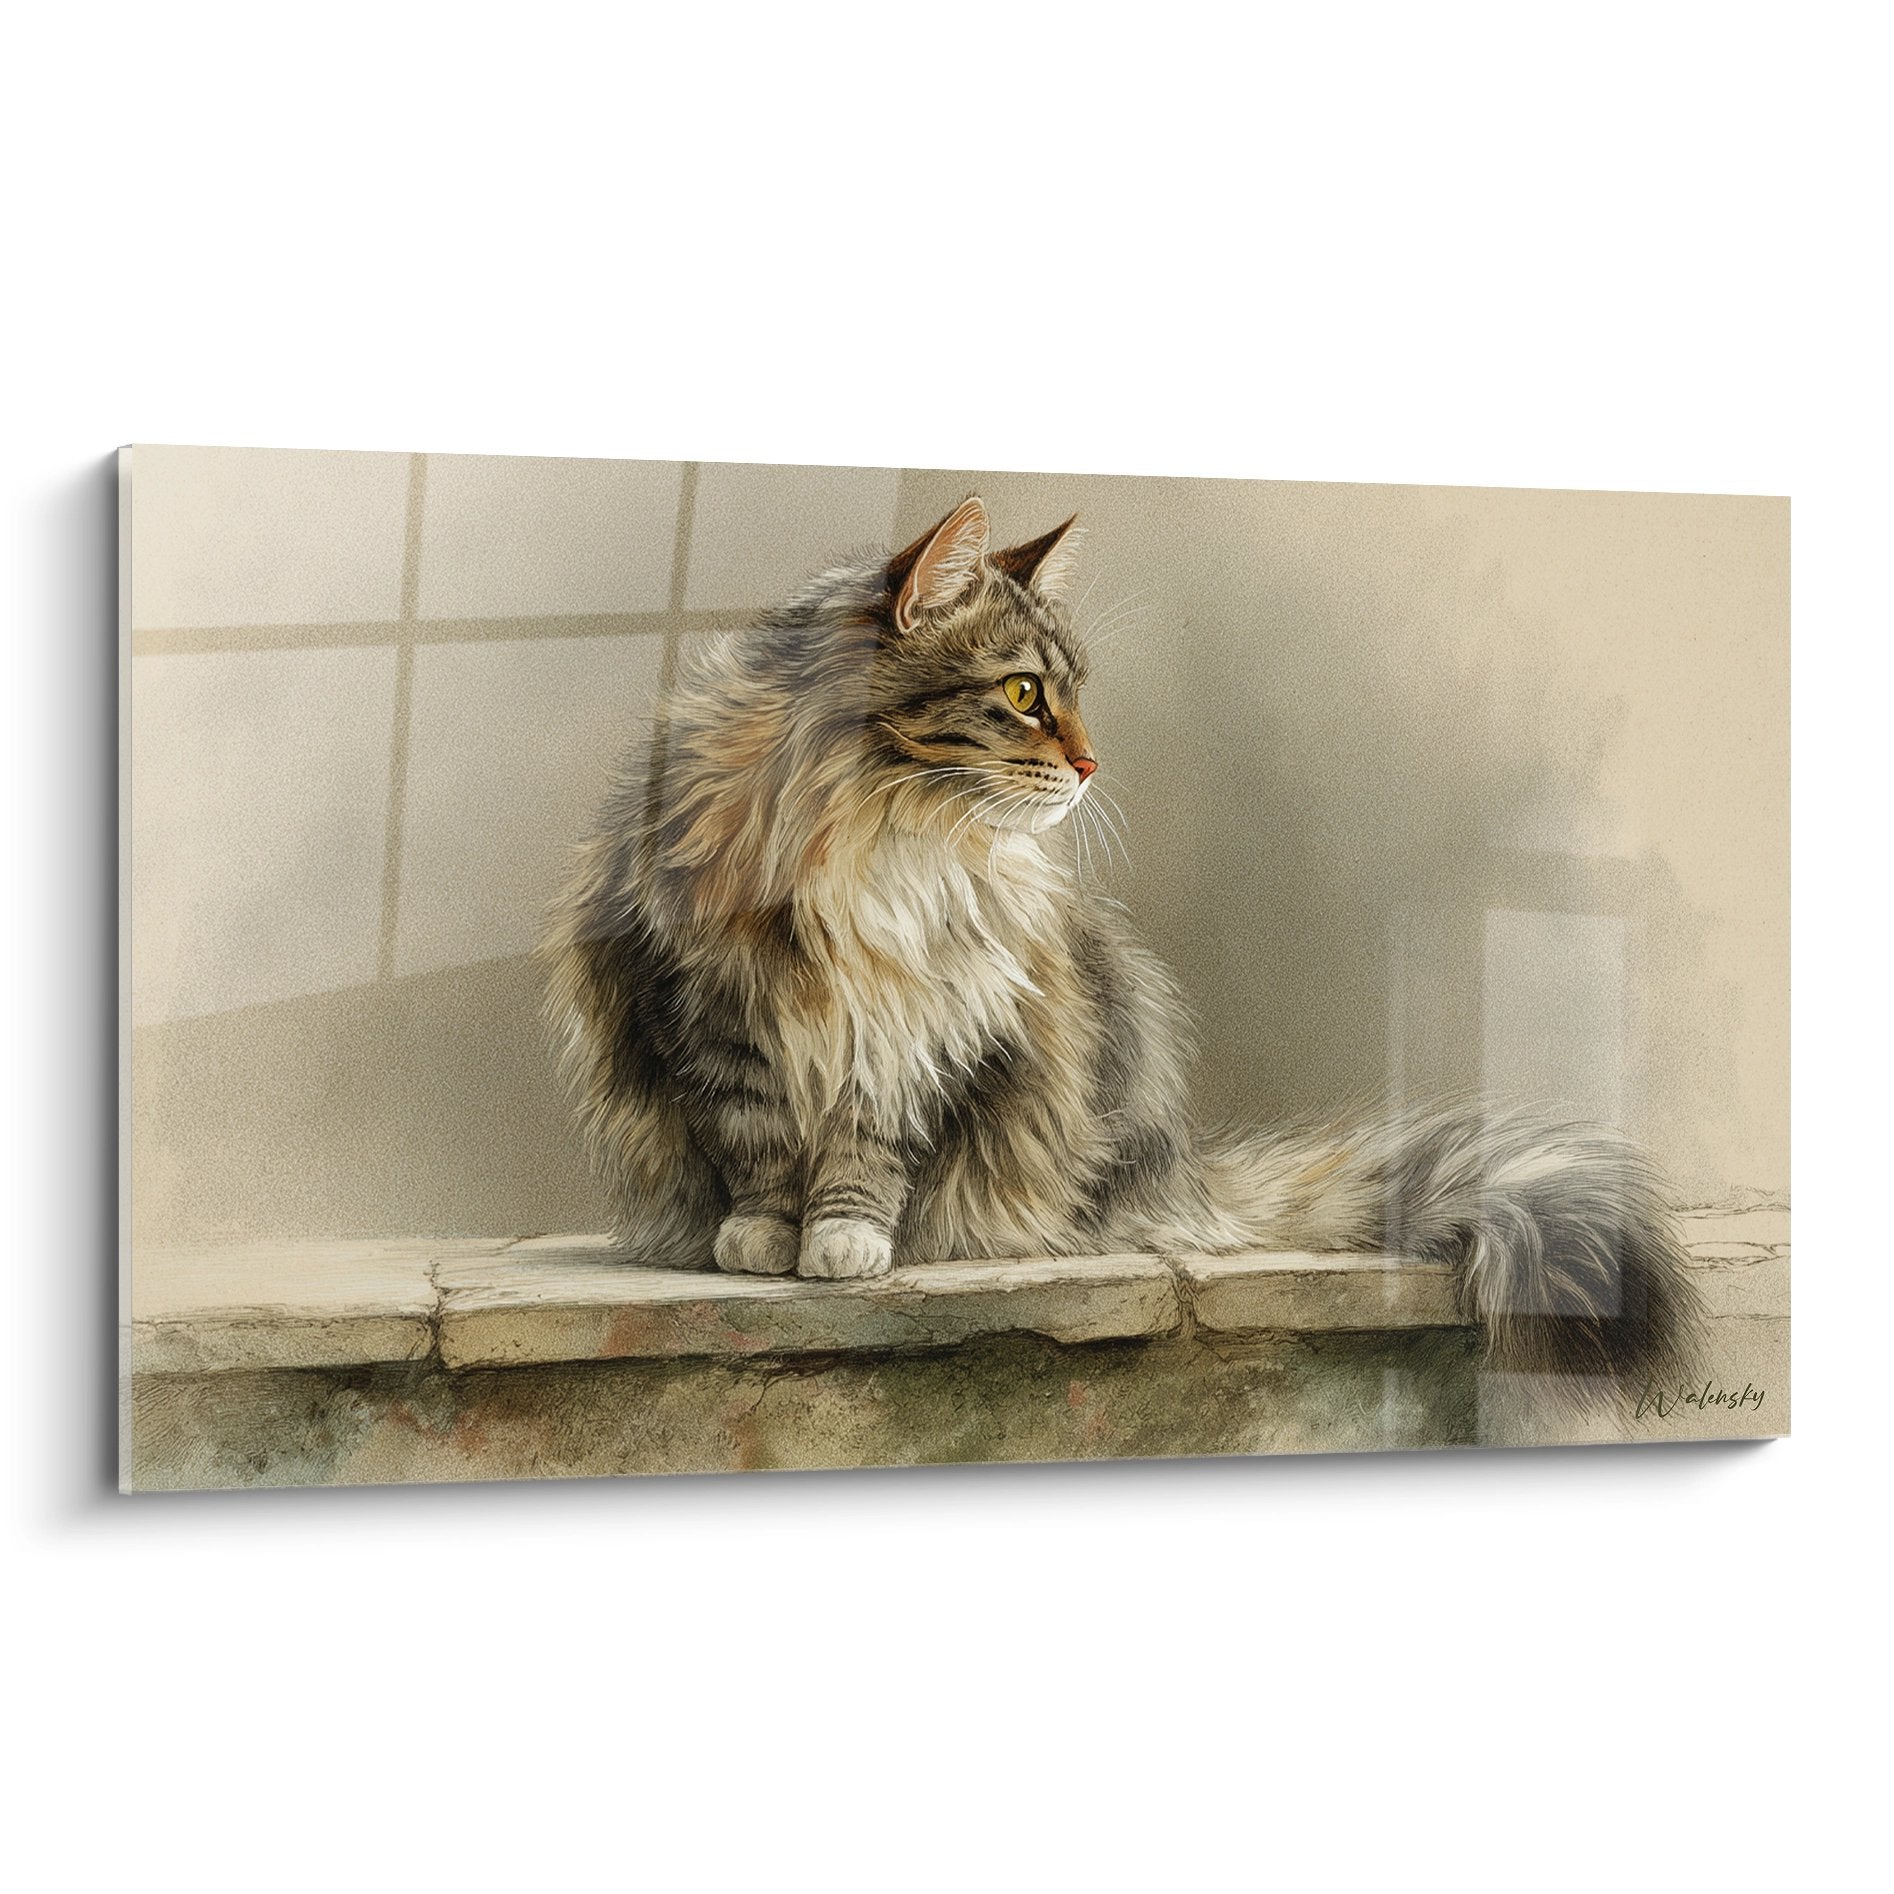






Preserve the brilliance of a glossy finished artwork
11 October 2025 · 18 min read · by Walensky
You just hung your new glossy finish painting on the wall, and after only a few weeks, you notice that this magnificent mirror effect that had so seduced you begins to tarnish. Fingerprints appear, dust accumulates, and worse still, you see small scratches appear that destroy this glossy sheen so precious.
This surface, once perfectly reflective , which so well captured the light in your living room, gradually becomes dull and matte. You feel this dull frustration of seeing your artistic investment lose its luster, and you wonder if you made the right choice with this glossy finish.
You may have already tried the classic glass cleaner, a microfiber cloth, or even that famous "special delicate surfaces" spray recommended by your salesperson. But it's no use: either it leaves streaks, or it damages the surface even more, or the effect lasts only a few days before the dust returns stronger than ever.
Rest assured, you are not responsible for this situation. The truth is that Most owners of glossy artworks use unsuitable methods simply because they are not aware of the specificities of these ultra-sensitive surfaces. Glossy finishes require a totally different approach than matte surfaces.
By the end of this article, you will master the precise techniques to permanently maintain the mirror shine of your glossy artwork, and you will finally be able to fully enjoy this exceptional luminosity that transforms your interior into an art gallery.
Why is the shine of your glossy artwork so fragile?
The glossy finish of your artwork is not just an aesthetic choice - it's a complex optical system that must be preserved NOW. Every day of delay in putting in place appropriate maintenance can create irreversible micro-scratches that will permanently tarnish your investment. It's like a luxury car's paintwork: the longer you wait, the more damage accumulates and becomes impossible to correct.
🏠 Customer testimonial: "I bought a magnificent abstract artwork with a glossy finish for my living room. At first, everyone was amazed by this striking mirror effect. But after 6 months of 'classic' maintenance with my usual spray, the surface became so dull that my artwork looked like a photocopy. I thought it was normal... until I discovered the real preservation techniques."
Conversation with a decor expert
The golden rule of lasting brilliance: A properly maintained shiny artwork retains 95% of its initial brilliance for over 10 years, compared to only 40% with inadequate maintenance. The difference is visible within the first 3 weeks.

Other selected pieces
Desert Shadows Artwork - Iguana Animals Edition
233.90€
Discover this artwork →Finally understand why your artwork loses its brilliance
Do you recognize these situations? Your artwork seems to attract dust like a magnet, traces appear mysteriously even without touching it, and despite your cleaning efforts, the brilliance gradually diminishes. These symptoms are not random.
What's really happening is that glossy finishes operate according to specific physical laws. Unlike matte surfaces which "hide" imperfections, glossy surfaces reveal them mercilessly. The problem isn't your artwork, but the use of methods designed for other types of surfaces.
Imagine trying to clean a mirror with newspaper: you would end up with traces and lint everywhere. That's exactly what happens when you apply classic techniques to a glossy finish.
The first hidden cause: static electricity
Here's what most owners don't know: glossy surfaces generate static electricity during cleaning, which immediately attracts dust. The more inappropriately you clean, the more electrical charges you create, the more your artwork becomes a "dust magnet".
It's like rubbing a balloon on your hair: it then attracts small pieces of paper. Your standard microfiber cloth creates the same phenomenon on your shiny artwork.
This discovery completely changes your approach: instead of fighting dust, you learn to neutralize electrostatic charges. Result: your artwork stays clean 5 times longer, and you finally regain that stable mirror shine .
🧪 Instant test: Pass your hand 2 cm away from your artwork without touching it. If you feel a slight attraction or if hairs stand on end, your surface is electrically charged. This is proof that your current method creates static electricity.
The second cause: invisible micro-scratches
Most people think that a scratch is immediately visible. In reality, glossy finishes accumulate thousands of invisible micro-scratches that create a progressive "veil" effect. These micro-scratches diffuse light instead of reflecting it perfectly.
It's exactly like a car windshield: at first, you see nothing, then gradually you notice that your vision becomes less clear. The micro-scratches act like a filter that "breaks" the perfect reflection.
When you understand this mechanism, you realize why your artwork gradually loses its mirror effect : each inappropriate cleaning adds micro-scratches that accumulate until they create this frustrating loss of brilliance.
The third cause: surface oxidation
Here's a phenomenon that almost no one suspects: glossy finishes oxidize when exposed to air and humidity, creating an invisible layer that tarnishes the brilliance. This is particularly visible in humid rooms like bathrooms or kitchens.
Observe your artwork under different lighting angles: if you see slightly duller areas or uneven reflections, this is a sign of ongoing oxidation. This oxidation is reversible, but only if you act with the right products.
This gradual oxidation explains why your artwork appears less "alive" than at the beginning, even if you don't see obvious damage. It's like silver tarnishing: visually subtle, but the impact on brilliance is major.
The 3 warning signs to watch out for:
- Uneven reflections under artificial lighting: Some areas reflect less light than others, a sign of initial oxidation
- Dust that returns in less than 48h: Indicates residual electrostatic charges caused by improper maintenance
- Feeling of "veil" overall: The artwork appears less sharp than at the beginning, revealing the accumulation of invisible micro-scratches
The trigger factor: the domino effect of degradation
Once one of these three phenomena begins, it accelerates the other two. Micro-scratches retain dust, which creates more static electricity, which attracts more particles, which cause more scratches... It's a vicious circle that you can easily identify: if your artwork requires increasingly frequent cleaning, this process is triggered.
The rule of the virtuous circle: Neutralize static electricity first, and the other two problems resolve automatically. It's like unplugging a faulty device: the entire system stabilizes.
| ❌ Common misconception | ✅ Scientific reality | 💡 Explanation | 🎯 Concrete benefit |
|---|---|---|---|
| The more I clean, the cleaner it gets | Overcleaning damages the brilliance | Each inappropriate cleaning creates micro-scratches | Less cleaning = more brilliance |
| All "special shine" products are equivalent | Only antistatic products work | Without electrostatic neutralization, dust returns | Cleanliness that lasts 5 times longer |
| A microfiber cloth is always enough | Special charge-free fabrics are needed | Standard microfiber generates static electricity | No more streaks and recurring dust |
| Loss of brilliance is inevitable over time | 95% of brilliance can be preserved for 10 years | Degradation comes from unsuitable methods | Artistic investment protected durably |

The 3-step method for permanent mirror shine
Now that you understand the real mechanisms, let's move on to practice. This method follows a simple logic: we first neutralize the causes of degradation, then we restore the shine, and finally we put in place an automatic preservation system. It's like renovating a car: we treat the rust, we polish, then we protect. Each step prepares the next for a result that improves with time.
🎯 Overview - The 3 tiers of mastery: Step 1 = Neutralization (you stop the degradation), Step 2 = Restoration (you recover the lost shine), Step 3 = Preservation (your painting maintains itself automatically). At each step, you see a visible improvement that motivates you for the next.
Step 1: Electrostatic Neutralization (The Foundations)
Starting by neutralizing electrical charges is the absolute basis, like preparing a ground before building. Without this step, all your future efforts will be compromised. Once mastered, you will immediately feel the satisfaction of seeing your painting stay clean much longer, without additional effort.
What you need (specialized equipment)
- Professional antistatic spray: Slightly viscous transparent liquid, specially formulated for reflective surfaces (available in specialized art stores or online). Check that it mentions "residue-free" on the label. Avoid classic household sprays that leave a greasy film.
- Natural chamois leather cloth: Genuine chamois leather, soft and non-fluffy, which does not generate electrostatic charge. Recognize real chamois by its slightly elastic texture and natural beige color. Synthetic imitations create static electricity.
- Ultra-soft natural hair brush: Professional makeup brush with badger or squirrel hair, which allows dust to be dislodged without direct contact. The investment (€15-20) avoids years of micro-scratches.
Let's now move on to concrete practice:
Neutralization technique in 3 steps
Preliminary dusting: Use the natural hair brush in very light circular motions, without pressure, to dislodge surface dust. This step prevents particles from turning into abrasives during wet cleaning. Always work from top to bottom so that the dust falls to the floor.
⏱️ Time: 2-3 minutes | ✅ Successful when: No visible particles, surface ready for treatment | ⚠️ Attention: Never use a synthetic brush that would create static electricity
Antistatic spraying: Spray from 30 cm away in a horizontal sweeping motion, then let it act for 30 seconds. The product neutralizes electrical charges and prepares the surface. Never spray directly onto the painting, but onto your cloth first if you are a beginner.
⏱️ Time: 1 minute | ✅ Successful when: Surface uniformly moistened without accumulation | ⚠️ Attention: Too much product leaves traces - less is better
Antistatic wiping: With the slightly damp chamois leather, perform rectilinear movements without pressure, avoiding circular movements that create charges. Change the area of the cloth regularly to avoid redepositing impurities.
⏱️ Time: 3-4 minutes | ✅ Successful when: Surface perfectly dry without traces or uneven reflections | ⚠️ Attention: Excessive pressure creates micro-scratches - let the product do the work
🔍 Success test: Bring your hand 2 cm close to the artwork - you should feel no electrostatic attraction. Shine the surface at an angle with your phone: it should reflect light uniformly. If so, congratulations! Your artwork is ready for the next step.
Step 2: Restoring brilliance (Polishing)
Now that your artwork is electrically neutral, you can restore its mirror shine without risking creating new charges. This step is more rewarding as you immediately see the results: micro-scratches fade, reflections become perfect again, and your artwork regains that depth that makes all the difference.
Restoration materials
- Special polish for high-gloss finishes: Creamy product slightly abrasive that fills in micro-scratches without attacking the surface. Choose a "fine grade" formula specifically mentioning artistic surfaces. Avoid automotive polishes that are too aggressive.
- High-density foam applicator: Very fine special sponge that evenly distributes the product. The high-density foam prevents scratches and allows for regular polishing. Recognize it by its very tight texture and its color, usually yellow or white.
- Lint-free finishing cloth: Fiberglass or 100% natural cotton fabric that leaves no residue. Invest in an optical-quality cloth for a professional result.
Professional restoration technique
Applying the polish: Place a quantity of product equivalent to a grain of rice on the foam applicator. Spread in very light circular motions over a maximum area of 20x20 cm. The product should remain visible for 10-15 seconds before penetrating.
⏱️ Time: 2 minutes per area | ✅ Successful when: Uniform layer without excess thickness | ⚠️ Attention: Too much product requires more work to remove - dose sparingly
Penetration time: Let it act for 3-5 minutes depending on the ambient temperature. The product works deeply to fill in micro-scratches. Use this time to prepare the next area.
⏱️ Time: 3-5 minutes | ✅ Successful when: The product forms a slight matte veil | ⚠️ Attention: In hot weather, reduce the time to avoid the product drying too much
Final polishing: With the finishing cloth, perform rectilinear movements with very light pressure to reveal the shine. Work in overlapping parallel bands to avoid streaks.
⏱️ Time: 2-3 minutes per area | ✅ Successful when: Perfectly uniform reflection like a mirror | ⚠️ Attention: Circular movements create micro-scratches - stay linear
🎯 Quality check: Shine the artwork with a flashlight at a grazing angle. You should see your reflection clear without distortion. If you still see micro-scratches, repeat the operation on these specific areas. The shine must be uniform over the entire surface.
Step 3: Long-lasting protection (Preservation)
You now have an artwork with a perfect shine. This final step consists of creating an invisible barrier that will maintain this state for months without effort. This is the difference between an amateur and a connoisseur: you anticipate degradation instead of suffering it. Your artwork will literally "shine on its own" thanks to this active protection.
Advanced protection system
- Micro-thin protective wax: Transparent liquid wax that forms an invisible protective layer. Choose a "long-lasting" formula specifically designed for works of art. This wax repels dust and facilitates future cleanings.
- Portable air ionizer: Small device that neutralizes electrical charges in the ambient air. Placed 2-3 meters from the artwork, it prevents the accumulation of electrostatic dust. Investment pays for itself in a few months.
Installation of the protective system
Application of protective wax: With a clean cloth slightly dampened, apply the wax in an ultra-thin layer over the entire surface. The wax should be almost invisible - if you see it, you're applying too much. Let dry for 10 minutes.
⏱️ Time: 5 minutes + drying time | ✅ Successful when: Surface feels slightly smoother to the touch | ⚠️ Attention: A layer that is too thick dulls the shine - less is more
Activating the ionizer: Place the ionizer 2-3 meters from the artwork, slightly elevated for optimal diffusion. Set it to the "low continuous" mode for silent 24/7 operation. The effect is felt from the first day.
⏱️ Time: 2 minutes installation | ✅ Successful when: No noise perceptible, discreet light on | ⚠️ Attention: If placed too close to the artwork, the ionizer can create air currents that attract dust
Programming preventative maintenance: Note in your calendar: gentle dusting every 15 days, checking the shine every 2 months, renewing the wax every 6 months. This 10-minute routine preserves your investment for years.
⏱️ Time: 10 minutes every 15 days | ✅ Successful when: Routine naturally integrated | ⚠️ Attention: Don't put it off - consistency is key to success
🏆 Optimal system in place: Your artwork retains its mirror shine effortlessly, dust no longer adheres, and your maintenance is limited to a light bi-monthly dusting. You have reached expert level: your artwork maintains itself automatically!
Expert progression rule: Each step must be mastered perfectly before moving on to the next. If static electricity returns, repeat step 1. If the shine dulls, complete step 2. The patience of today makes you gain years of easy maintenance.
You now master the secrets of restoration professionals. Here are the subtleties that make the difference between a correct result and an exceptional result. These advanced techniques give you the advantage of art galleries and discerning collectors.
🎨 Master technique: Apply the "3 lighting method": observe your artwork under natural, warm artificial, and cold artificial lighting. A perfect shine must be uniform in the 3 conditions. This technique reveals imperfections invisible in normal lighting and allows you to achieve gallery-quality.
"I'm afraid of damaging my artwork with all these products..."
"I'm not an expert, and what if I make an irreversible mistake?"
This concern is perfectly understandable - your artwork represents a significant emotional and financial investment. The good news is that this method is designed to be progressive and reversible. Start by testing on a small discreet corner (2x2 cm) before treating the entire surface. If you feel any resistance or see an unexpected result, stop immediately: all recommended products are water-soluble and do not damage artistic surfaces. You have total control at each step.
💡 Safety tip: First perform step 1 over the entire surface, then wait 48 hours to observe the result. If you are satisfied, move on to step 2. This cautious approach gives you confidence and guarantees a perfect result.
— Our selection


The 5 mistakes that definitively destroy the shine
Now that you know the right method, let's protect your investment by avoiding common pitfalls. These mistakes are tempting because they seem logical, but they cause irreversible damage to glossy finishes.
- 🚫 Using "multi-surface" household products: They contain degreasing agents that attack glossy varnishes. You think you're doing well by using a "powerful" product, but these products leave microscopic chemical traces that permanently tarnish the shine. Use only products specifically designed for artistic surfaces.
- 🚫 Cleaning in direct sunlight or near a heat source: Heat causes products to dry too quickly, creating traces that are impossible to remove. Always wait for your painting to be at room temperature and work in the shade. This 10-minute patience saves you hours of catching up.
- 🚫 Rubbing hard to "clean well": The more you press, the more microscopic scratches you create. Your instinct tells you that you have to "rub to get it clean", but glossy finishes require the opposite approach: let the products do the work and just guide the cloth.
- 🚫 Using paper towels or tissues: These materials contain microscopic abrasive fibers that inevitably scratch glossy surfaces. Even the "ultra-soft" ones are too aggressive. Invest in real specialized cloths - it's worth it from the first use.
- 🚫 Neglecting preventative maintenance: Waiting for dirt to accumulate forces you to clean more energetically, which damages the surface. Light preventative maintenance every 15 days preserves the shine with minimal effort. It's exactly like dental hygiene: regularity avoids major problems.
🔍 Quick verification system: Before each cleaning, check that your cloth is clean and dry, that your product is at room temperature, that you are working without direct heat source, and that you have enough time in front of you. These 4 control points prevent 95% of errors.
— Also to discover


Your most frequently asked questions about glossy maintenance
The initial investment is around 45-60€ for all products and accessories, but they last 18-24 months for a medium-sized painting. This amounts to 2.50€ per month to preserve an investment of several hundred euros. In comparison, the cost of professional restoration after degradation often exceeds 200€. It's 4 times cheaper to maintain properly from the start.
The initial complete maintenance takes 2h30 spread over 2 days (due to drying times). Then, regular maintenance only takes 10 minutes every 15 days. The weekend is perfect because you have time to do things properly without stress. Many of our customers make this a relaxing ritual, like taking care of a precious plant.
Don't panic! 80% of damage on glossy finishes is reversible with the restoration method. Even if your artwork seems very dull, start with step 1 of neutralization, then spend more time on step 2. In extreme cases, you can repeat step 2 twice at 48-hour intervals. I've seen "lost" artworks regain 90% of their original luster.
Absolutely! It's even in these humid rooms that the method shows its full value. The waxed protection is perfectly resistant to humidity and temperature variations. Simply adjust the frequency: every 10 days instead of 15 in the kitchen, and install the ionizer further from steam sources. The luster remains intact even in these challenging environments.
Take a photo of your artwork with flash before and after treatment - the difference will be striking. Perfect luster is recognized by 3 signs: you see your clear reflection at 2 meters, the light reflects uniformly from all angles, and dust no longer accumulates. If you reach these 3 criteria, your artwork has regained its original shine.
Your glossy artwork, a point of pride in your interior
In a few weeks, when your guests enter your living room, their gaze will immediately be drawn to this artwork with a perfect mirror-like luster that illuminates the entire room. They will approach, fascinated by this exceptional depth and brightness, and you will hear those compliments that are so pleasing: "Where did you find this masterpiece?" and "How do you keep it so bright?"
This transformation goes far beyond aesthetics. You have developed a rare expertise that gives you confidence in the maintenance of all your precious objects. Your friends ask you for advice, you know exactly what to do in any situation, and you feel that deep satisfaction of mastering an art that few people know.
The most difficult part - understanding the hidden mechanisms - is now behind you. You just need to move on to action with your first electrostatic neutralization. This is the gesture that will change everything, and you will see the difference within the first 24 hours.
🌟 Your moment of success awaits you: You now have all the keys to transform your artwork into a true luminous jewel. Every day of delay is a little bit of luster lost forever. Your future self in 6 months will thank you for acting today.
Also to read: 🔍 Explore all our maintenance guides
— In the same spirit


Explore our collections


