


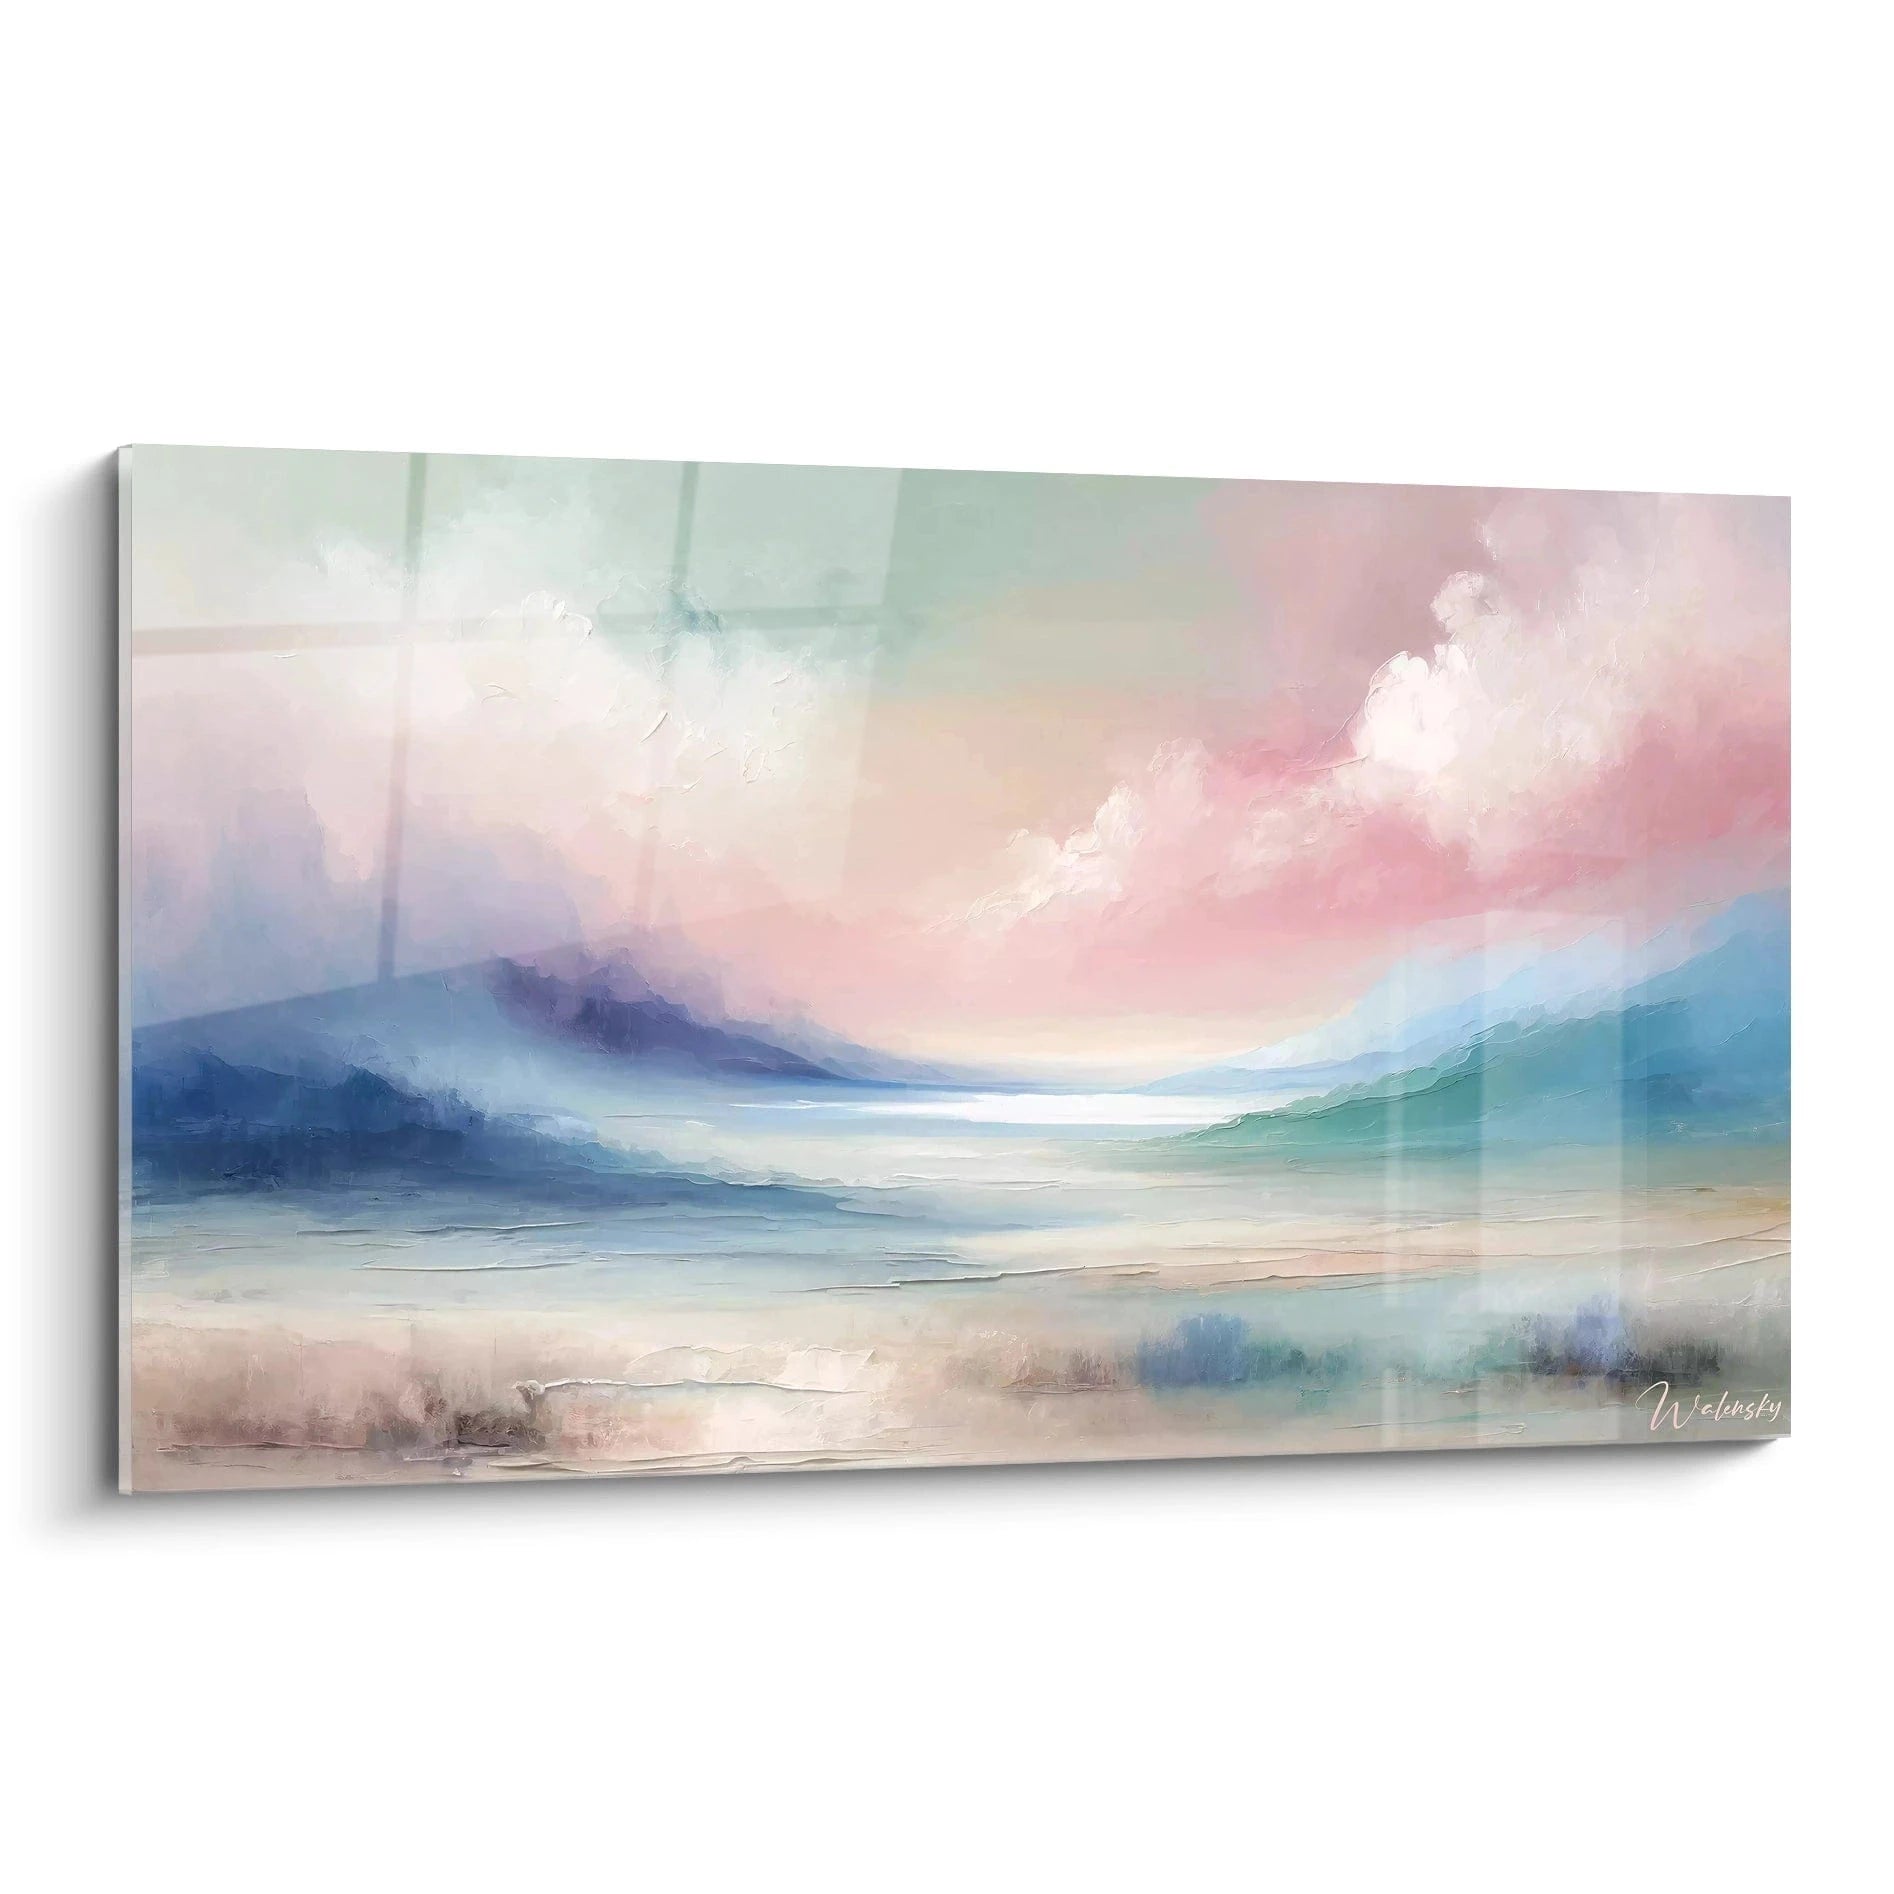

When LED backlighting brings a minimalist painting to life
October 11, 2025 · 17 min read · by Walensky
You look at this minimalist painting you chose so carefully, hanging on your living room wall, and something feels off. During the day, it almost goes unnoticed, lost in the neutrality of the wall. In the evening, the general room lighting completely overwhelms it, stripping away all its subtlety and unique character.
You feel that quiet frustration of seeing your artistic investment lose its impact. This work you imagined as the focal point of your decor remains in the shadows, literally and figuratively. Your living room lacks that touch of modern elegance you were looking for.
You may have tried adjusting the general lighting, moving a few lamps, or even changing the painting's position. But nothing works:minimalist art seems to resist all your efforts to showcase it. These classic solutions simply don't work with this very particular style.
This is perfectly normal, and it is absolutely not a matter of your taste. Minimalist art has specific visual codes that call for an innovative lighting approach. Traditional lighting techniques are simply not suited to these stripped-down works.
By the end of this article, you will master the technique of LED backlighting to turn your minimalist painting into a true luminous work of art, creating the sophisticated, contemporary atmosphere you dream of for your home.
Why is LED backlighting revolutionizing minimalist art right now?
LED lighting is no longer just a decorative trend: it has become the essential tool for revealing the hidden beauty of stripped-down works. If you're still waiting, you're missing out on a radical transformation of your space. It's like owning a rough diamond and never having it cut: its potential remains untapped.
A conversation with a decor expert
The golden rule of illuminated minimalism: The fewer visual elements a work contains, the more crucial lighting becomes in creating emotion. LED backlighting turns a wall into a theatrical backdrop, instantly elevating your room within 24 to 48 hours of installation.

Other Selected Pieces
Colorful Geometric Patterns Painting - Modern Mosaic - Minimalist Edition
€233.90
Discover this painting →Finally understand why your minimalist painting lacks impact
Your gaze slides over your painting without stopping. Your guests walk past without really noticing it. In the morning it blends into natural light, and in the evening artificial lighting overwhelms it completely.
What you're experiencing is nothing unusual: it is the natural behavior of minimalist art in a conventional lighting environment. These works are designed to play with light, not to endure it. The problem doesn't come from your painting, but from the unsuitable lighting system.
Imagine a virtuoso violinist in a room with no acoustics: the talent is there, but the conditions don't allow it to be expressed. Your minimalist painting is facing exactly the same situation.
The trap of traditional front lighting
Contrary to popular belief, lighting a minimalist painting from the front creates stray reflections and flattens the subtle nuances that give it its charm. It's like looking at a snowy landscape under neon: all the poetry disappears.
Think of the difference between looking at the moon in broad daylight and admiring it in the dark night. That is exactly what happens with your painting: it needs its own light setting to reveal its beauty.
This revelation will completely change the way you approach wall decoration and give you the confidence to dare bolder choices in your interior design.
🔍 Instant test: Turn off all the lights in your room and light up only your painting with your phone's flashlight from behind. Notice how the work suddenly takes on a magical dimension!
The "all or nothing" lighting mistake
Most people think a painting should be either very brightly lit or in semi-darkness. In reality,minimalist art works on the principle of "luminous breathing": zones of soft light that make the work vibrate.
It's like the difference between shouting and whispering: sometimes a whisper has more impact than a shout. LED backlighting creates that luminous whisper that captures attention.
The result: your living room gains sophistication, and your guests immediately feel the muted, modern atmosphere you were looking for.
Neglecting the overall lighting environment
Many people focus solely on the painting, forgetting that ambient lighting plays a crucial role in how the work is perceived. Sarah, our interior architect, regularly shares her discoveries on this subject.
Look closely at your room in the evening: are there shadowy areas that visually "swallow" your painting? Are there light sources creating unfair competition with your work?
This awareness fundamentally changes your approach to interior decoration and saves you costly mistakes.
5 signs your painting needs backlighting:
- It visually disappears after 6 p.m.: The contrast with the surroundings is no longer sufficient, like an invisible star in broad daylight
- Your guests don't notice it spontaneously: The work lacks a "magnetic presence", that essential force of visual attraction
- Photos of the painting are always disappointing: The camera reveals the poverty of the lighting that your eye naturally compensates for
The trigger factor: unsuitable color temperature
Here is the secret few people know:minimalist art reacts dramatically to the color temperature of the lighting. Light that is too cold makes it clinical, light that is too warm dulls it. It's like tuning an instrument: a half-tone off and the whole melody sounds wrong. You can identify this problem by observing whether your painting changes dramatically in appearance between day and evening.
Universal rule of minimalist lighting: A stripped-down painting must create its own "light bubble" independent of the general lighting. Test it by closing your eyes and then opening them: your gaze should be immediately drawn to the work.
| ❌ Traditional lighting | ✅ LED backlighting | 💡 Why it changes everything | 🎯 Immediate benefit |
|---|---|---|---|
| Dazzling front spotlights | Soft halo of light behind the work | Eliminates stray reflections | Optimal visual comfort |
| Uniform and flat light | Subtle light gradation | Creates depth and relief | Striking three-dimensional effect |
| Painting drowned in the overall ambiance | Visually autonomous artwork | Defines a space dedicated to art | Guaranteed magnetic focal point |
| Static and predictable lighting | Ambiance adjustable to your mood | Possibility of intensity variation | A living room that adapts to your desires |

Favourite
Explosion abstract painting - Dynamic impact - minimalist edition
€213.90
Discover this paintingThe foolproof method to install your LED backlighting
Rest assured: this technique is not complicated at all once you understand the logic. We will proceed like a chef: prepare all the ingredients, then assemble step by step. It is a creative and rewarding process, comparable to tending a garden: each step brings its own satisfaction, and the final result will surprise you with its beauty.
🗺️ Overview of the transformation: We will first create the "luminous foundations" by installing the LED system, then sculpt the light so that it perfectly follows your painting, and finally refine the ambiance for a result worthy of a contemporary art gallery. At each stage, you will see your living room transform.
Step 1: Creating the foundations of your artistic lighting
This first step is crucial because it determines the quality of the entire system. Just as with building a house, solid foundations guarantee a lasting and aesthetic result. Once this base is established, you will already feel the excitement of seeing your project take concrete shape.
Essential materials and tools
- High-quality LED strip (3000K): Choose a model with a density of at least 120 LEDs per meter. This warm temperature will enhance the neutral tones of your minimalist painting. Avoid cheap versions that produce uneven light. You will recognize them by their flexibility and the absence of visible light points. The extra investment is immediately visible in the quality of the rendering.
- Compatible dimmable power supply: It must match exactly the power of your LED strip. The built-in dimmer will allow you to create different ambiances depending on the moment. Check for the "flicker-free" mention, which avoids tiring eye flickering. This feature transforms your living room into an adaptable space.
- Aluminum profile with diffuser: This discreet rail will perfectly hide the LED strip while evenly diffusing the light. The opaque diffuser prevents unpleasant light spots and creates that characteristic halo of professional backlighting. It instantly brings this high-end finish.
Once your equipment is gathered, we move on to the actual installation
Installing the basic system
Measuring and positioning the profile: Place the aluminum profile 3-5 cm from the edge of your painting, following its contours exactly. This distance creates the optimal halo effect without the light source being visible. Lightly mark the fixing points every 30 cm with a pencil to ensure perfect stability. This step requires precision but remains very accessible.
⏱️ Time: 15-20 minutes | ✅ Success when: The profile follows the contours of the painting perfectly at a constant distance | ⚠️ Warning: A crooked profile will create irregular shadow zones – take your time to align it properly
Fixing the system to the wall: Gently screw the profile in place using anchors suited to your type of wall. Check that each fixing is perfectly stable, as the system must withstand the small everyday vibrations. A solid installation guarantees years of operation without maintenance. This robust base will give you confidence for what follows.
⏱️ Time: 20-30 minutes | ✅ Success when: No movement of the profile even when applying light pressure | ⚠️ Warning: Overtightened fixings can deform the aluminum profile – tighten firmly but without forcing
Installing the LED strip: Gradually unroll the LED strip into the profile, avoiding bending it sharply at corners. Respect the polarity direction and connect the power supply according to the supplied diagram. Test operation immediately before closing the diffuser. This check saves you tedious disassembly later.
⏱️ Time: 25-35 minutes | ✅ Success when: Uniform light along the entire length without interruption | ⚠️ Warning: A marked crease in the strip can cause a permanent break – handle it gently
✨ First validation: Turn on your system with the intensity set to 30%. You should see a soft, uniform halo around your painting. The light must not dazzle, even when looking directly at the profile. If light spots are visible, check the position of the diffuser. Congratulations, the transformation is already underway!
Step 2: Optimizing light diffusion
Now that your basic system works, we enter the creative phase. This step transforms simple lighting into a true artistic staging. This is where you will discover the magical power of backlighting and feel the satisfaction of a job well done. The effect becomes exponentially more impressive.
Precision adjustments
Calibrating the optimal intensity: Start by setting your dimmer to 20% and gradually increase it until you obtain a visible but non-dazzling halo. The perfect intensity depends on the ambient lighting of your room and the color of your wall. Note this value, as it will become your reference setting. This personalization makes all the difference.
⏱️ Time: 10-15 minutes | ✅ Success when: The halo is visible from 3 meters away without dazzling at 50 cm | ⚠️ Warning: Setting it too high turns the subtle effect into aggressive lighting – stay within nuance
Harmonizing with existing lighting: Turn on your usual general lighting and observe how it interacts with the backlighting. The goal is to create complementarity, not competition. If necessary, adjust the orientation of your other light sources to avoid reflections on the painting. This overall harmony reveals your whole aesthetic sense.
⏱️ Time: 15-20 minutes | ✅ Success when: The painting remains the focal point even with the general lighting on | ⚠️ Warning: Overly powerful ambient lighting can "drown out" the backlighting effect – find the balance
🎯 Intermediate validation: Invite a friend to walk into the room without warning. Their gaze should naturally turn to the painting within the first 3 seconds. This is the ultimate test of success! If it isn't the case, slightly adjust the intensity or check for competing visual distractions.
Step 3: Refining the gallery ambiance
We now reach the level of expertise that separates amateurs from connoisseurs. This final step transforms your living room into a true private art gallery. You will create that hushed and sophisticated atmosphere that every contemporary art lover dreams of. The result will exceed your initial expectations and leave a lasting impression on your guests.
Professional finishing touches
Creating ambiance variations: Program different settings for different moments: 100% to admire the artwork, 40% for a relaxed atmosphere, 70% for receptions. Some dimmers allow these configurations to be memorized. This modularity transforms your space according to your moods and activities. Your living room truly becomes adaptable.
⏱️ Time: 20-25 minutes | ✅ Success when: Smooth transition between the different modes without jolts | ⚠️ Warning: Abrupt variations tire the eye – favor gentle transitions
Eliminating the last imperfections: Check that all cables are perfectly concealed and that the profile blends discreetly into the décor. Clean the diffuser to remove any trace of handling. These details make the difference between a DIY job and a professional installation. Your pride in the completed work will be complete.
⏱️ Time: 15-20 minutes | ✅ Success when: The system is invisible at first glance, only the light effect is perceptible | ⚠️ Warning: Fingerprints on the diffuser are particularly visible with the LED on – clean gently
🏆 Final validation: Photograph your installation with your smartphone: if the photo does justice to the real ambiance, the lighting balance is perfect. Your transformation is a success! Take a moment to savor this achievement and imagine the compliments to come.
Connoisseur's progression rule: Master one intensity and color temperature perfectly before experimenting with other settings. Excellence comes from repetition and gradual refinement. Patience with details distinguishes true enthusiasts.
You have just crossed the threshold that separates amateur decorating from expert interior design. These advanced subtleties will give you a head start over everyone who settles for basic lighting. Your mastery of LED backlighting opens up new creative horizons.
🎨 Gallerist's tip: For artworks with very contrasting areas, install a second LED strip at reduced intensity (20%) only behind the darker parts of the painting. This "double lighting" technique reveals details otherwise invisible and creates a spectacular depth that only professionals know.
A frequently asked question from our readers
"Won't this system consume a huge amount of electricity and drive up my bill?"
An excellent question that shows your practical sense! In reality, a quality LED strip consumes less than a traditional bulb (8-12W for 2 meters). At 4 hours of daily use, this represents less than €15 per year on your electricity bill. Moreover, the lifespan of 25 to 30 years without maintenance makes this investment one of the most cost-effective in decoration. It costs less than an annual streaming subscription!
💡 Personalized calculation: Multiply the power of your LED strip by your daily hours of use and by €0.18 (average kWh rate) to know your exact daily cost. You will be pleasantly surprised!
— Our selection


Pitfalls to absolutely avoid (even the most experienced fall into them)
After supporting hundreds of installations, we have identified the recurring mistakes that can spoil your project. Fortunately, they are all avoidable once you know these points of vigilance. Consider this section your insurance against disappointment.
- ⚡ Choosing an LED strip that is too powerful out of caution: The idea that "more power is better" is a classic trap. Too intense a strip turns your hushed ambiance into office lighting. The result: impossible to achieve the subtlety so characteristic of artistic backlighting. Prioritize rendering quality over raw power. This beginner's mistake is hard to fix without starting over.
- 🔧 Neglecting the quality of the power supply: Skimping on the power supply while investing in a good LED strip is like putting adulterated fuel in a luxury car. A low-end power supply generates tiring flickering and premature degradation. Budget 20% of your total cost for this component. Your visual comfort and durability depend on it.
- 📐 Installing the profile too close to the painting: Less than 2 cm creates an unsightly "neon" effect, more than 8 cm loses the halo effect. This critical distance determines 80% of the aesthetic success. Measure precisely and test before fixing permanently. A simple rule: the distance should equal the thickness of your painting plus 2 cm.
- 🎨 Forgetting the color temperature of the wall: A very white wall amplifies light reflection, a colored wall alters it. Always test your installation on a small section before generalizing. This subtle interaction between the color of the surface and the lighting can radically transform the final result. Anticipation spares you disappointments.
- 🔌 Underestimating the importance of the dimmer: A non-adjustable system deprives you of 70% of creative possibilities. It's like owning a piano you can only play loudly. Investing in a good dimmer will multiply your daily enjoyment. This feature is essential for a successful installation.
🛡️ Final safety checklist: Verify that the halo is uniform (no dark zones), that the minimum intensity remains comfortable for the eyes, that the fixings do not move even after several switchings on and off, and that the electrical connections are perfectly insulated. These checks guarantee years of trouble-free operation.
— Also worth discovering


Answers to essential questions about LED backlighting
Count between €80 and €150 for a medium-sized painting (60x80 cm) with professional-quality equipment. This investment is amortized in 2-3 years compared to the cost of traditional lighting, not counting the immediate aesthetic added value. To optimize: start with a single painting to validate the effect, then generalize if the result pleases you.
A motivated beginner completes the full installation in 2 to 3 hours, breaks included. The most delicate part (positioning the profile) takes 30 minutes of focus. Rest assured: it's more accessible than assembling an IKEA piece of furniture! Plan a quiet afternoon to enjoy every step.
An excellent concern for tenants! Magnetic profiles exist for paintings on metal supports, and high-performance adhesive systems support light installations. For walls, micro-holes (2mm) are enough and easily filled. The visual impact is negligible compared to the result obtained.
Backlighting particularly enhances monochrome works, black-and-white photographs, and geometric creations. Be careful with paintings that have a lot of relief (thick impasto), which can create stray shadows. For mixed-media works, test on a small section before generalizing. In 90% of cases, the effect is spectacular.
Quality LEDs emit very little heat (unlike the halogen lamps of the past). At 3-5 cm distance, the temperature rise is negligible (less than 2°C). It is far safer than direct sun exposure! For high-value works, opt for LEDs specified as "museum conservation" that meet the strictest museum standards.
Your living room transformed into a private art gallery
In a few weeks, when you walk into your living room and your gaze is immediately drawn to this enhanced minimalist painting, you will feel that deep pride of having created something unique. Your guests will spontaneously stop in front of your work, fascinated by an atmosphere they won't quite be able to explain. This discreet yet powerful transformation reveals your refined personality and your developed sense of aesthetics.
Beyond the decorative aspect, you will have acquired a valuable technical skill that will serve you for all your future interior design projects. This mastery of LED lighting gives you the confidence to dare other creations and transforms your approach to decoration. You will now look at every space with the eye of a true creator of atmospheres.
The hardest part was understanding the hidden mechanisms behind successful lighting. Now that you hold these keys, start by measuring the space around your painting and already visualize the final result. Your living room awaits, ready to reveal its artistic potential thanks to your new expertise!
✨ Your moment of truth is approaching: In 48 hours, you could admire your first LED backlighting creation. This creative satisfaction is priceless and will mark the beginning of a new passion for illuminated art. Your talent is just waiting to express itself!
Also read: 💡 Read more articles on artistic lighting
— In the same spirit


Explore our collections


