

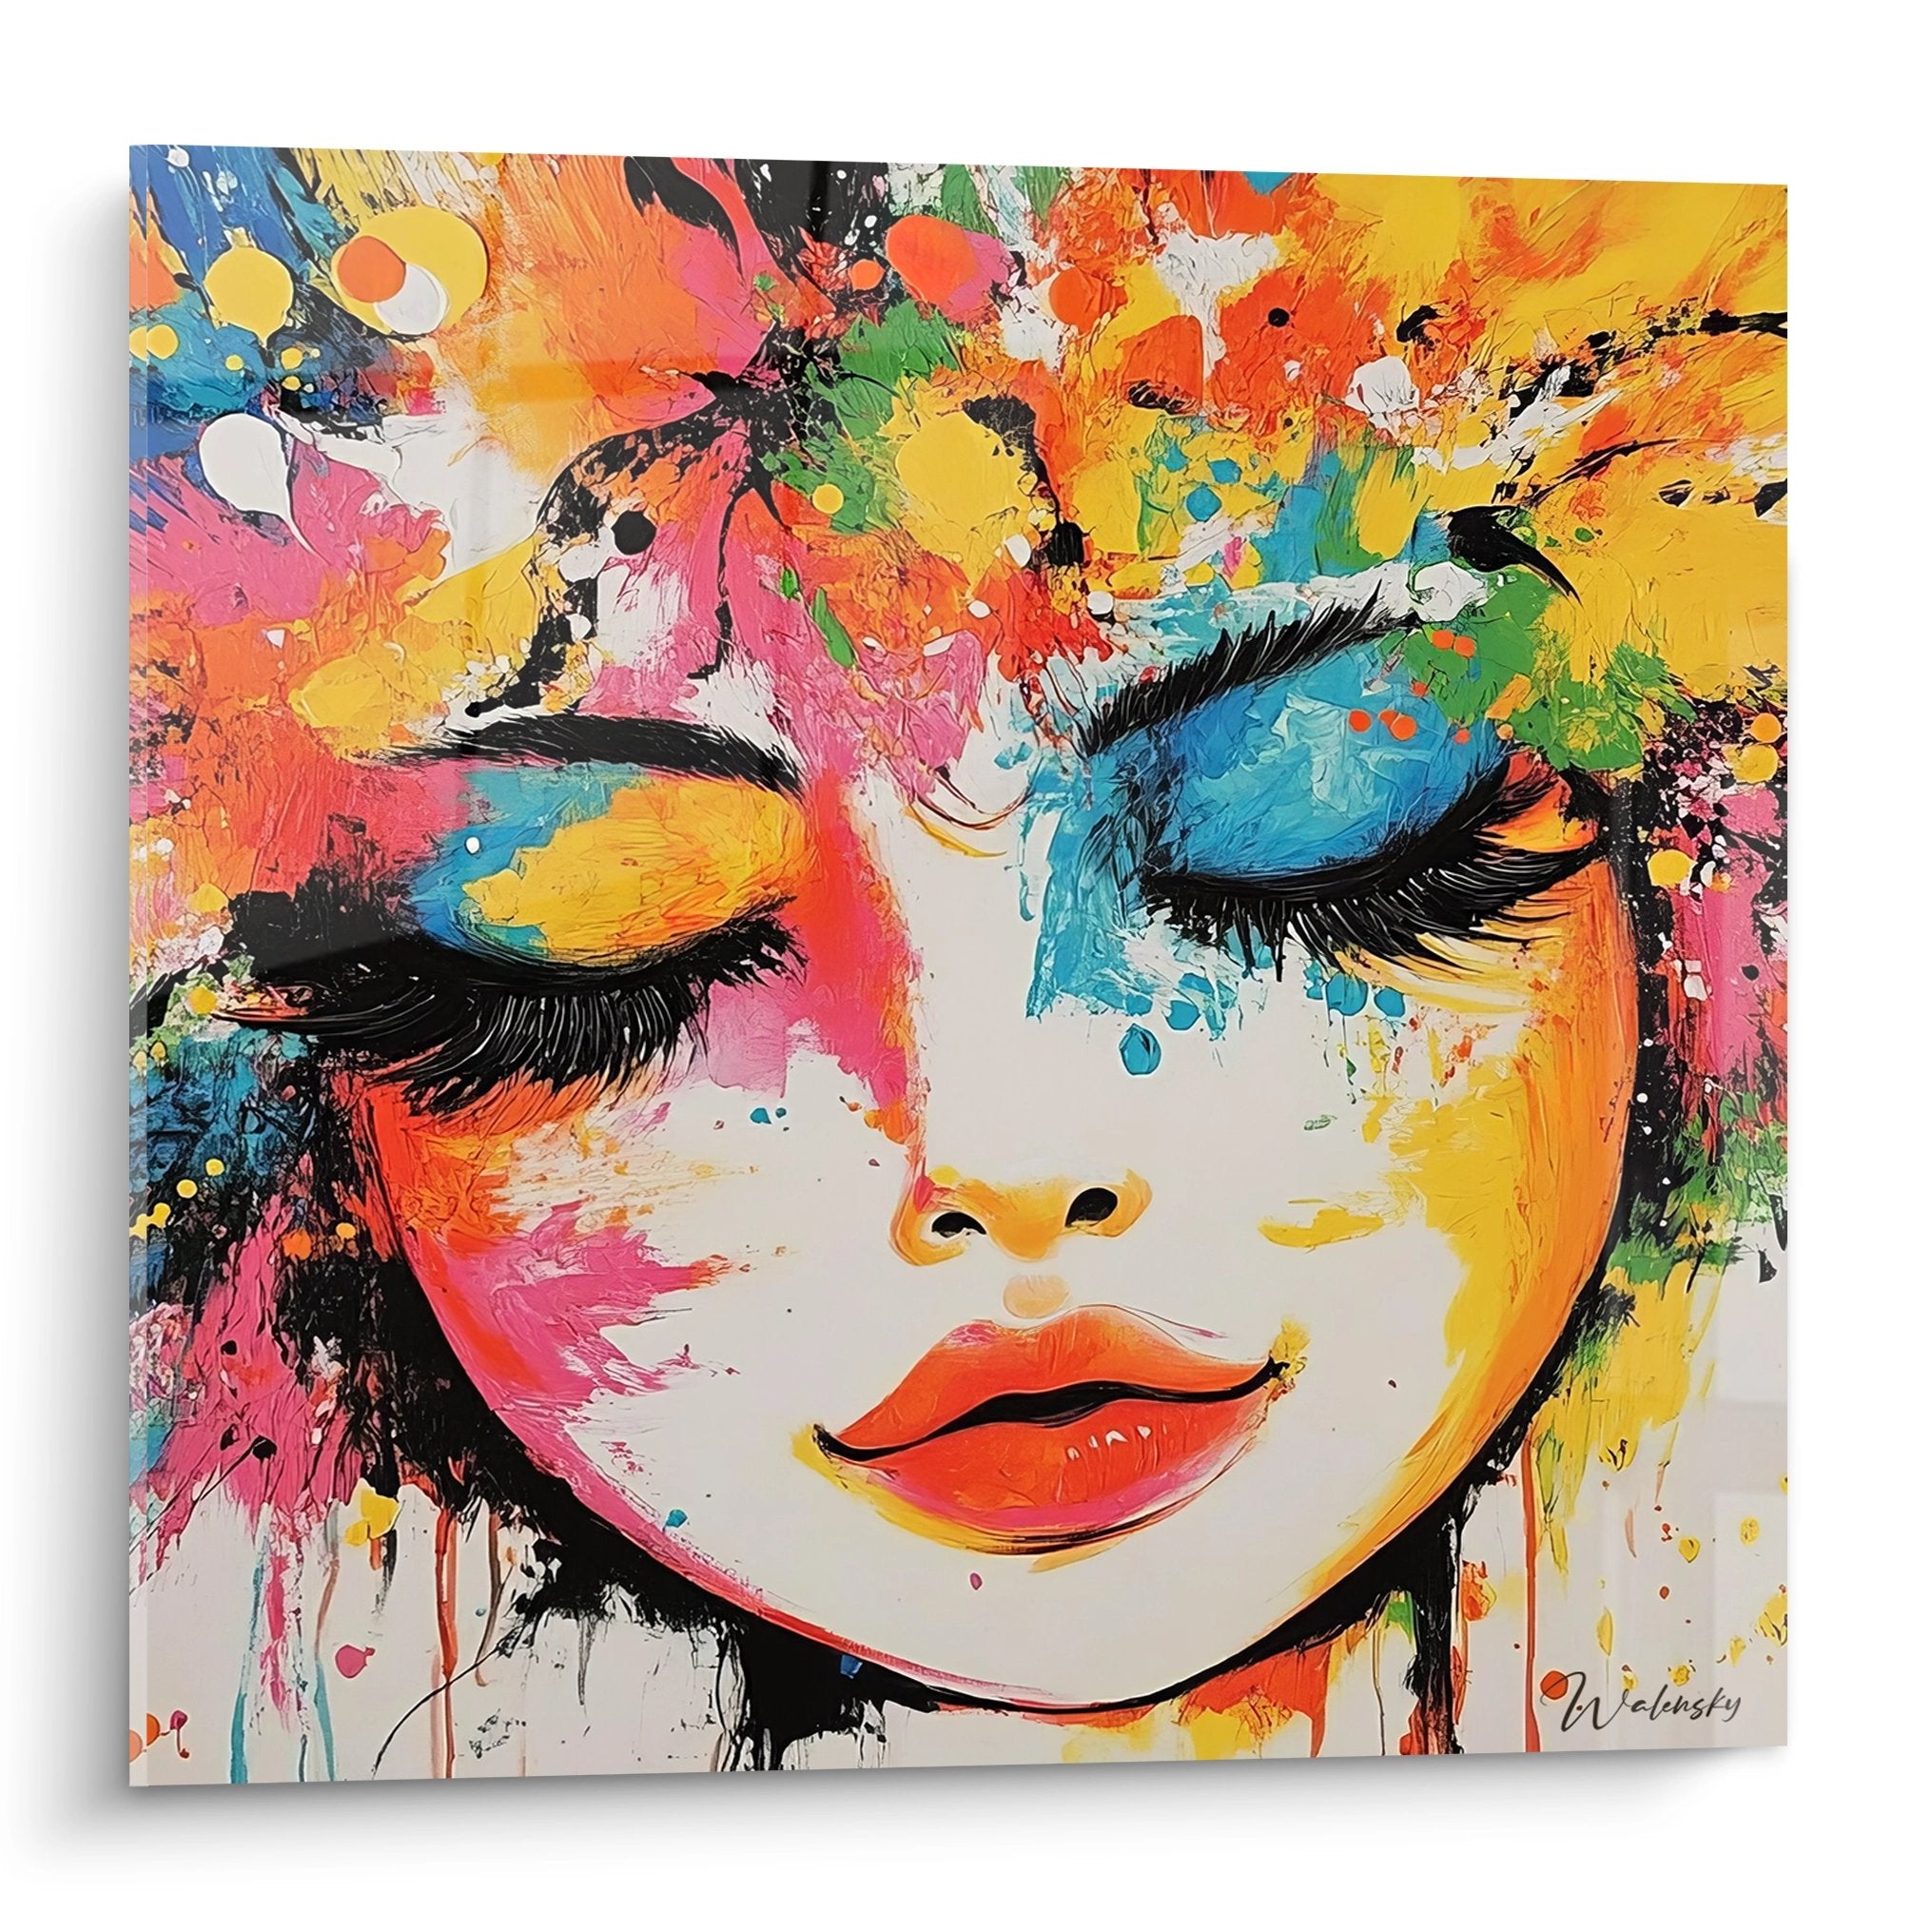






Dust Protection: Keep Your Wall Art Immaculate Without Constant Cleaning
October 11, 2025 · 20 min read · by Walensky
You've just installed this stunning artwork that completely transforms your living room, and a few weeks later, you notice this fine layer of dust dulling the colors. Your heart sinks: more cleaning ahead, with the constant fear of damaging your work of art.
You gently wipe it with a cloth, holding your breath, hoping not to scratch the surface. Each speck of dust seems to cling even more, and you wonder if you're doing more harm than good to your precious painting.
You’ve tried specialized cleaning products, antistatic cloths, even that can of compressed air recommended by a friend. But the dust always comes back, sometimes faster than before, as if it were magnetically attracted to your artwork.
Rest assured, it's not your fault. The real cause isn’t in your cleaning technique, but in the lack of an appropriate preventative protection. Your painting is exposed to drafts, temperature variations and suspended particles, without any protective barrier.
By the end of this article, you’ll discover how to effectively protect your paintings from dust without harming their beauty, and you can finally enjoy your artwork without constant maintenance stress.
Why does dust really threaten your works of art?
Dust is not just an aesthetic nuisance. Each day of exposure without protection represents an irreversible accumulation of particles that become embedded in the fibers and reliefs of your painting. It's like leaving your car outside without a cover: at first, you don’t see anything, then one day, the impact becomes visible and difficult to correct.
🏠 Customer testimonial: "I bought a Van Gogh reproduction for my office. In six months, the vibrant yellows became dull due to accumulated dust. I tried cleaning it with a damp cloth... and I created irreversible streaks on the canvas. A disaster at €200."
Conversation with a decor expert
The golden rule of preventive conservation: It is easier to prevent dust from reaching your artwork than to remove it safely once it has settled. With appropriate protection, you divide the cleaning needs by 10, and your colors remain vibrant for years.

Finally understand why your paintings attract so much dust
Is this situation familiar to you? You dust your furniture, but two days later, only your paintings seem dirty. You change the location, but the problem persists. You invest in an air purifier, without noticeable improvement on your artworks.
What is happening has nothing to do with your housekeeping. Your paintings are subject to a specific physical phenomenon: static electricity combined with micro-thermal movements of the air. It's not you who are doing wrong, it’s the environment that acts against your artworks.
Imagine your painting as an invisible magnet for particles. The more textured the surface is, the more it "catches" dust, just like a wool sweater attracts hair. This understanding will change your approach to protection.
Static charge: the invisible enemy of your paintings
Contrary to what one might think, it's not the large grains of dust that are problematic, but the micro-particles invisible to the naked eye. These, being electrically charged, are literally attracted to the surface of your painting like iron filings to a magnet.
It’s exactly the same principle as when you rub a balloon on your hair: it becomes charged and then attracts small pieces of paper. Your painting, through air friction and humidity variations, develops this same attractive charge.
Result: even in a "clean" room, your painting continuously captures suspended particles. The more you try to clean with a dry cloth, the more you reinforce this electrostatic charge, creating a vicious circle of dust attraction.
🔬 Immediate test: Gently pass your hand 2 cm from your painting without touching it. If you feel slight resistance or attraction, this is proof that your artwork is electrically charged and actively attracting dust.
Air currents: these invisible highways of dust
Many think that a picture hung on the wall is protected from drafts. In reality, every temperature difference in the room creates micro-convection currents which carry dust directly to vertical surfaces.
It's like those invisible rivers in the ocean: you don’t see them, but they constantly carry elements from one point to another. In your living room, the hot air rising from the radiator, the cool air descending from the window, create these "dust rivers" that converge towards your walls.
That's why your paintings seem dirtier than your horizontal shelves: they intercept these vertical flows of particles. That’s also why moving them doesn’t solve the problem - it simply moves it.
The texture effect: when beauty becomes a trap
The more relief and texture your painting has, the more "hiding places" it offers to dust particles. It's a cruel paradox: the most expressive and textured works are also the most vulnerable to soiling.
You can observe this yourself: carefully look at the raised areas of your painting in the slanted light of a lamp. You will see that dust accumulates preferentially in the hollows and on the edges, creating a progressive dulling of the details.
This selective accumulation explains why a simple dusting is never enough: the "hidden" dust in the reliefs immediately reappears and redeposits on the surface. It’s a losing battle without preventive protection.
🔍 3 warning signs to watch out for:
- Fading of bright colors: If your reds become dull or your whites turn grayish, it means that dust is already forming a uniform veil over the entire work
- Accumulation in the corners of the frame: When dust visibly accumulates in the grooves of the frame, this indicates that your painting is bathed in a constant flow of particles
- Roughness to the touch: If you gently run your finger across the frame and feel a grainy texture, the particles are beginning to become permanently embedded
The humidity factor: the unknown accelerator of the problem
The humidity in the air plays a role as an invisible accelerator in the adhesion of dust. In humid weather, particles become slightly sticky and adhere more strongly to surfaces. It's the "powdered sugar" effect: when it’s dry, it slides; when it’s wet, it sticks. You can spot this phenomenon when your painting seems harder to dust after a rainy period or in winter with intermittent heating.
The rule of smart protection: Rather than fighting these physical phenomena, you need to create a barrier that neutralizes them before they reach your artwork. A well-designed protection breaks up air currents, dissipates static electricity and regulates the impact of humidity.
| ❌ Misconception | ✅ Scientific reality | 💡 Simple explanation | 🎯 Practical benefit |
|---|---|---|---|
| A good cleaning is enough to protect my paintings | Dust redeposits in a few hours | The air constantly carries micro-particles | Preventive protection = 90% less cleaning |
| The more I clean, the less dust there will be | Frequent cleaning creates static electricity | Each friction increases the attraction of particles | Physical barrier = zero friction on the artwork |
| Only old paintings need protection | Wear and tear begins from the first day of exposure | Accumulation is gradual but constant | Immediate protection = colors preserved for life |
| Dust is just aesthetic | It chemically modifies exposed pigments | Oxidation reaction accelerated by particles | Preservation = value and beauty maintained |

The progressive method for durable and invisible protection
Good news: you don't need to turn your living room into a museum or invest thousands of euros. Effective dust protection relies on three simple principles that work like the floors of a house: first the foundations (environmental control), then the walls (physical barriers), and finally the roof (preventive maintenance). Each level reinforces the previous one for a durable and discreet result.
🎯 Overview of your transformation: In 3 progressive steps, you will create a protected micro-environment around your artworks. Step 1: neutralize dust sources (visible results in 48h). Step 2: install discreet barriers (active protection in 1 week). Step 3: optimize maintenance (5-minute routine per month). Final result: your paintings keep their original brilliance for years.
Before protecting your paintings, you need to turn off the tap of particles that reach them. It's like wanting to keep a car clean: it’s better to park it under shelter than to wash it every day in the rain. This first step will give you the immediate satisfaction of seeing your paintings stay cleaner for longer.
Essential neutralization tools
- Compact air ionizer: Small, silent device that neutralizes static electricity within a radius of 2 meters. Look for a model with an LED indicator light, available in electronics stores or online (50-80€). Avoid low-cost models that generate ozone: prioritize "negative ions" technology. Impact: your paintings stop magnetically attracting dust.
- Specialized antistatic microfiber: Fabric treated to dissipate electrical charges, recognizable by its slightly shiny texture and “permanent antistatic” label. Look for the mention
- Neutralizing spray for textiles: Solution based on natural antistatic agents, to be sprayed on curtains and surrounding fabrics. Choose an unscented formula to avoid attracting other particles. The protective effect lasts 2-3 months and creates a "buffer zone" around your artworks.
Now let's take action with a methodical approach
Practical implementation: area neutralization
Strategic placement of the ionizer: Position the device 1.5 meters from your main artwork, at a height (shelf or furniture), with the intake facing down to avoid dust on the appliance itself. The logic: negative ions naturally descend and neutralize the positive charges of suspended dust. Test by placing a piece of tissue paper near your painting: after 2 hours of operation, it should no longer be attracted to the surface.
⏱️ Time: 15 minutes | ✅ Successful when: Stable LED indicator, no parasitic noise, negative paper test | ⚠️ Attention: Avoid placing the ionizer directly facing the painting - concentrated ion flows can create areas of dust buildup
Treatment of surrounding textiles: Lightly spray the antistatic spray on curtains, cushions and rugs within a radius of 3 meters around your paintings. The goal: transform these "dust reservoirs" into surfaces that no longer release particles into the air. Technique: spraying at 30 cm, circular motion, natural drying for 2 hours.
⏱️ Time: 20 minutes | ✅ Successful when: Fabrics dry, no visible traces, hair attraction test negative | ⚠️ Attention: Never spray directly on the painting or its frame - chemical residues can create permanent stains
Optimization of airflow: Identify and reduce direct drafts by adjusting the orientation of ventilation grilles and placing discreet deflectors (plants, light screens) to break up the flows. Principle: redirect the "dust highways" that converge towards your walls. Verification: light an incense stick and observe the smoke - it should not point directly at your paintings.
⏱️ Time: 30 minutes | ✅ Successful when: Incense smoke deflected or dispersed before reaching the artworks | ⚠️ Attention: Drastic ventilation redirections can create areas of stagnation and humidity - maintain general circulation while protecting sensitive areas
✅ Step 1 verification: After 48 hours of implementation, your paintings should show a visibly reduced dust deposit compared to the previous week. Simple test: compare with a witness object (small photo frame) placed temporarily next to it. If the difference is not striking, check the position of the ionizer and the effectiveness of the textile treatment. Encouragement: this step alone already divides dust accumulation by 3!
— Our selection


OUR RECOMMENDED PRODUCTS
Step 2: Install Discreet Protective Barriers
Now that you have reduced the source of the problem, it is necessary to create a physical protection that intercepts any remaining residual particles. This is the principle of an umbrella: even if it rains less, you stay drier with direct protection. This step will bring you the peace of mind of knowing your works are actively protected, even in your absence.
Physical Protection Systems
- Anti-reflective glass with antistatic treatment: Transparent protection that is fixed 5-10mm in front of the painting, creating an airtight barrier. Recognizable by its perfectly smooth appearance and absence of colored reflections. Available custom-made from professional framers (€80-€150 depending on size). Less effective standard alternative: standard plexiglass which accumulates static electricity. Benefit: total protection without visual alteration.
- Invisible fixing system: Transparent fasteners or discreet rails that hold the protection in place without drilling into the wall or altering the aesthetics. Look for "double-sided adhesive" systems: strong on the wall, repositionable on the protection. Quality is recognized by the fineness of the elements (less than 2mm thick). Impact: reversible installation that preserves your decoration.
- Microfine sealing gasket: Transparent cord that ensures an airtight seal between the protection and the wall, preventing dust from seeping in on the sides. Choose a medical grade silicone model (hypoallergenic and durable). The effect: creation of a protected micro-environment around the artwork.
Installing Physical Protection
Measuring and ordering protective glass: Accurately measure your painting (height, width) and add 4cm on each side for fixing. Order the glass with polished bevels and permanent antistatic treatment. Specify "98% light transmission" to preserve color vibrancy. Professional tip: ask for a slightly curved cut (1mm curve) which improves resistance and avoids stress points.
⏱️ Time: 30 minutes of measuring + 1 week lead time | ✅ Success when: Exact dimensions, perfectly smooth surface, no scratches | ⚠️ Attention: An incorrect measurement of 1cm can make installation impossible - check 3 times, measure in 2 different points
Installing the fixing system: Mark the fixing points at level, 2cm from the corners of the painting. Perfectly clean the contact surfaces with isopropyl alcohol. Apply the fasteners by applying firm pressure for 30 seconds. Principle: create 4 solid anchor points that distribute the weight of the glass evenly. Solidity test: each point must support 2kg without moving.
⏱️ Time: 45 minutes | ✅ Successful when: Attachments perfectly aligned, total adhesion, load test validated | ⚠️ Caution: Alcohol can damage some wall paintings - test first on a hidden area or use special delicate surface wipes
Final installation and sealing: Carefully position the protective glass over the fixings, check uniform spacing with the painting (5-8mm ideal). Unroll the sealant around the perimeter pressing firmly. Objective: create a stable air chamber that completely isolates the artwork from the external environment. Verification: no airflow detectable with a paper towel near the edges.
⏱️ Time: 1 hour | ✅ Successful when: Stable glass, continuous seals, conclusive leak test | ⚠️ Caution: An air bubble in the seal creates a weak point - redo the placement over 10cm on each side of the imperfection
🔍 Stage 2 quality control: Your installation is successful if you see no visual difference with the unprotected painting, while having the guarantee of an airtight barrier. Definitive test: place a small piece of colored fabric behind the protection for 1 week - it should remain impeccable while a witness outside becomes dusty. Congratulations: your works are now in their own "conservation showcase"!
Step 3: Optimize your preventive maintenance routineWith your protective systems in place, you access the expert conservation level. Your maintenance becomes simple, quick and efficient. It's the difference between maintaining a collector's car under cover versus outdoors: a few precise gestures are enough to maintain excellence. You will feel the pride of perfectly mastering the preservation of your works.
Expert maintenance kit
- Museum grade precision microfiber: Ultra-thin fabric (less than 0.1 micron) specially woven for delicate surfaces, without chemical treatment. Recognizable by its exceptional softness and total absence of lint. Available from restoration supply providers (€15-€25 per pack of 3). Inadequate alternative: classic cloths that can micro-scratch. Usefulness: cleaning the protection without any risk. Specialized cleaning solution: Ammonia-free, alcohol-free product specially formulated for anti-reflective glasses. The formula contains anti-redeposition agents that prevent dust from sticking back immediately. Look for the mention "neutral pH" and "streak-free drying". Efficiency: perfect cleaning in one pass. Precision digital hygrometer: Instrument for measuring ambient humidity, essential to anticipate periods of risk. Choose a model with adjustable alarms and data history. Monitoring allows you to adapt your routine according to climatic conditions.
Optimized maintenance routine
Weekly visual inspection: Each Sunday, examine your protections in natural light from different angles to detect any accumulation. Specifically look for traces on the edges (sign of a leak) and impact points (various projections). Document with a photo if necessary. Principle: detect problems before they become visible to the naked eye.
⏱️ Time: 5 minutes per artwork | ✅ Success when: No traces detected, protection perfectly transparent | ⚠️ Attention: Artificial light can mask some deposits - always prefer daylight
Monthly preventive cleaning: Lightly spray the specialized solution onto the microfiber (never directly on the glass), clean in circular motions from the center outwards, then immediately dry with a second dry microfiber. Professional technique: two crossed passes (horizontal then vertical) guarantee a perfect result. The goal: maintain absolute transparency.
⏱️ Time: 10 minutes for 3 artworks | ✅ Success when: Perfectly transparent surface, no drying traces | ⚠️ Attention: Excess product leaves residues that attract more dust - moderation is key
Climate monitoring and adjustments: Consult your hygrometer and adjust maintenance frequency: bi-monthly cleaning if humidity > 60%, reinforced control if brutal variations (> 20% in 24h). Activate the ionizer continuously during periods at risk (intense heating, heavy rains). Logic: anticipate conditions favorable to dust adhesion.
⏱️ Time: 2 minutes of daily verification | ✅ Success when: Smooth adaptation of routine according to conditions | ⚠️ Attention: Seasonal variations sometimes require 2-3 weeks of adjustment - patience and observation are essential
🏆 Expert mastery achieved: You know your system is working perfectly when your monthly routine is enough to keep your artworks in impeccable condition, while unprotected works at your friends' homes require weekly maintenance. Your new expertise even allows you to advise other art lovers. Bravo: you now master preventive conservation at the level of professionals!
Rule of progression and adaptation: Move to the next step only when the previous one works perfectly for 2 weeks. If you encounter difficulties, return to the problematic step rather than compensating with over-maintenance. Patience in implementation guarantees decades of effective protection.
You are now equipped like a professional conservator, capable of preserving your works with formidable efficiency. These expert techniques will give you a considerable advantage: while other collectors constantly struggle against dust, you serenely enjoy your paintings in their original beauty.
🎯 Expert conservator tip: Discreetly place a small mirror at a 45° angle in a blind spot of your room to monitor the condition of your protections without approaching them. This technique used in museums allows you to instantly detect any change in appearance, even from a distance. A concrete example: altered reflection immediately reveals the beginning of condensation or deposit.
Frequent reader question
"Will this protection really be invisible? I'm afraid it will spoil the appearance of my paintings..."
This concern is perfectly understandable - you invested in works for their beauty, not to hide them behind plastic! The reality will pleasantly surprise you: a museum-quality protection often improves the visual perception. Anti-reflective glass eliminates distracting reflections that hindered contemplation, and the spacing creates an additional depth to the work, like a "window on art". Many customers discover details they had never noticed before!
🔍 Immediate trust test: Ask to see examples at your framer before ordering. Compare a protected painting versus an unprotected one under different lighting conditions. You will find that the quality protection is literally invisible and even improves the visual experience.
— You may also like


Avoid these costly mistakes that ruin the protection
Attention: a few common mistakes can not only cancel out all your efforts, but sometimes permanently damage your works. These mistakes are tempting because they seem logical at first glance, but they hide formidable traps. Fortunately, they are easy to avoid when you know them.
- ⚠️ Cleaning the painting directly "to do a good job": This is the most common mistake of perfectionists. You think that before installing the protection, it's best to start with a clean base. Problem: direct cleaning can create invisible micro-scratches that will become very visible under protection. Alternative: first install the protection, then clean only the outer surface. Rest assured: 99% of people make this mistake before learning. 🔧 Tightening fixings excessively for safety: Instinct leads to "tighten well" so that it holds. But excessive tightening deforms the glass and creates tensions that can cause spontaneous breakage. Modern materials are calculated for a "just firm" tightening - safety comes from the distribution of forces, not pressure. Technique: tighten until resistance, then release a quarter turn. 💨 Placing the ionizer too close for efficiency's sake: Closer = more efficient? False! An ionizer that is too close (less than 1 meter) creates a zone of over-density of ions which can prematurely oxidize certain materials. Furthermore, excessive concentration neutralizes particles directly above the device, creating a "fallout cloud" on the artwork. Optimal distance: 1.5 to 2 meters for harmonious diffusion.
- 🧽 Using "ultra-effective" products to go faster: Powerful degreasers or "multi-surface" cleaners seem perfect for very dirty protection. Fatal error: they attack anti-static and anti-reflective treatments, making the protection less effective than before cleaning. These products also leave invisible residues that attract more dust. Golden rule: use only specialized products, even if it takes longer.
- 🌡️ Ignoring seasonal variations out of negligence: Once the system is installed, we tend to forget that conditions change. Winter with intense heating, summer with air conditioning, create very different environments. A rigid routine becomes unsuitable and can allow insidious problems to set in (fogging, over-ionization). Necessary adaptation: monitor and adjust according to the seasons.
🛡️ Anti-error verification system: Check these 4 points each month: perfect transparency of protection (no veil), stable fixings without visible deformation, correct distance from ionizer with silent operation, routine adapted to current conditions (temperature, humidity). Warning signs: appearance of fogging, abnormal colored reflections, cracking noises, accelerated accumulation despite the protection.
— In the same vein


Answers to essential questions about protection
Allow between 300 and 500€ in total for a complete system: ionizer (60€), custom-made protective glasses (80-120€ each), fixing kit and maintenance products (50€). Optimize budget: start with your most valuable works, then gradually extend. This protection saves you hundreds of euros in professional cleaning and preserves the value of your artistic investments.
The first effects are visible in 48h with electrostatic neutralization, complete protection is active in 1 week, and the impact on the lifespan of your works is measured in years. Concrete example: a protected painting retains its original shine after 5 years, while an unprotected identical painting shows signs of tarnishing after only 18 months.
Your new life of serene art lover awaits
In a few weeks, when your friends notice the perfect shine of your paintings, you will smile as you remember the time when you worried about every speck of dust. Your works now shine as they did on the first day, and you fully enjoy their beauty without maintenance worries. Your living room has become that personal gallery you dreamed of, where each work reveals its most subtle nuances.
This conservation expertise that you have just acquired goes beyond simple anti-dust protection. You have developed an expert eye to assess the environment of your works, a fine understanding of the physical phenomena at play, and above all, the quiet confidence of a collector who masters their subject. These skills will serve you for all your future artistic acquisitions.
The best is yet to come: you will never again feel that frustration of watching your artistic investments degrade before your eyes. A simple 5-minute monthly check is now enough. Start today by ordering your ionizer - you will feel the difference even before having installed the complete protections.
🚀 Your next collector's savvy move: Museum-quality preservation is now within your reach, and your artworks deserve this excellence. In a year, you will thank you for today's decision while contemplating always impeccable paintings!
Also read: 📖 Read more articles on art preservation

Explore our collections


