

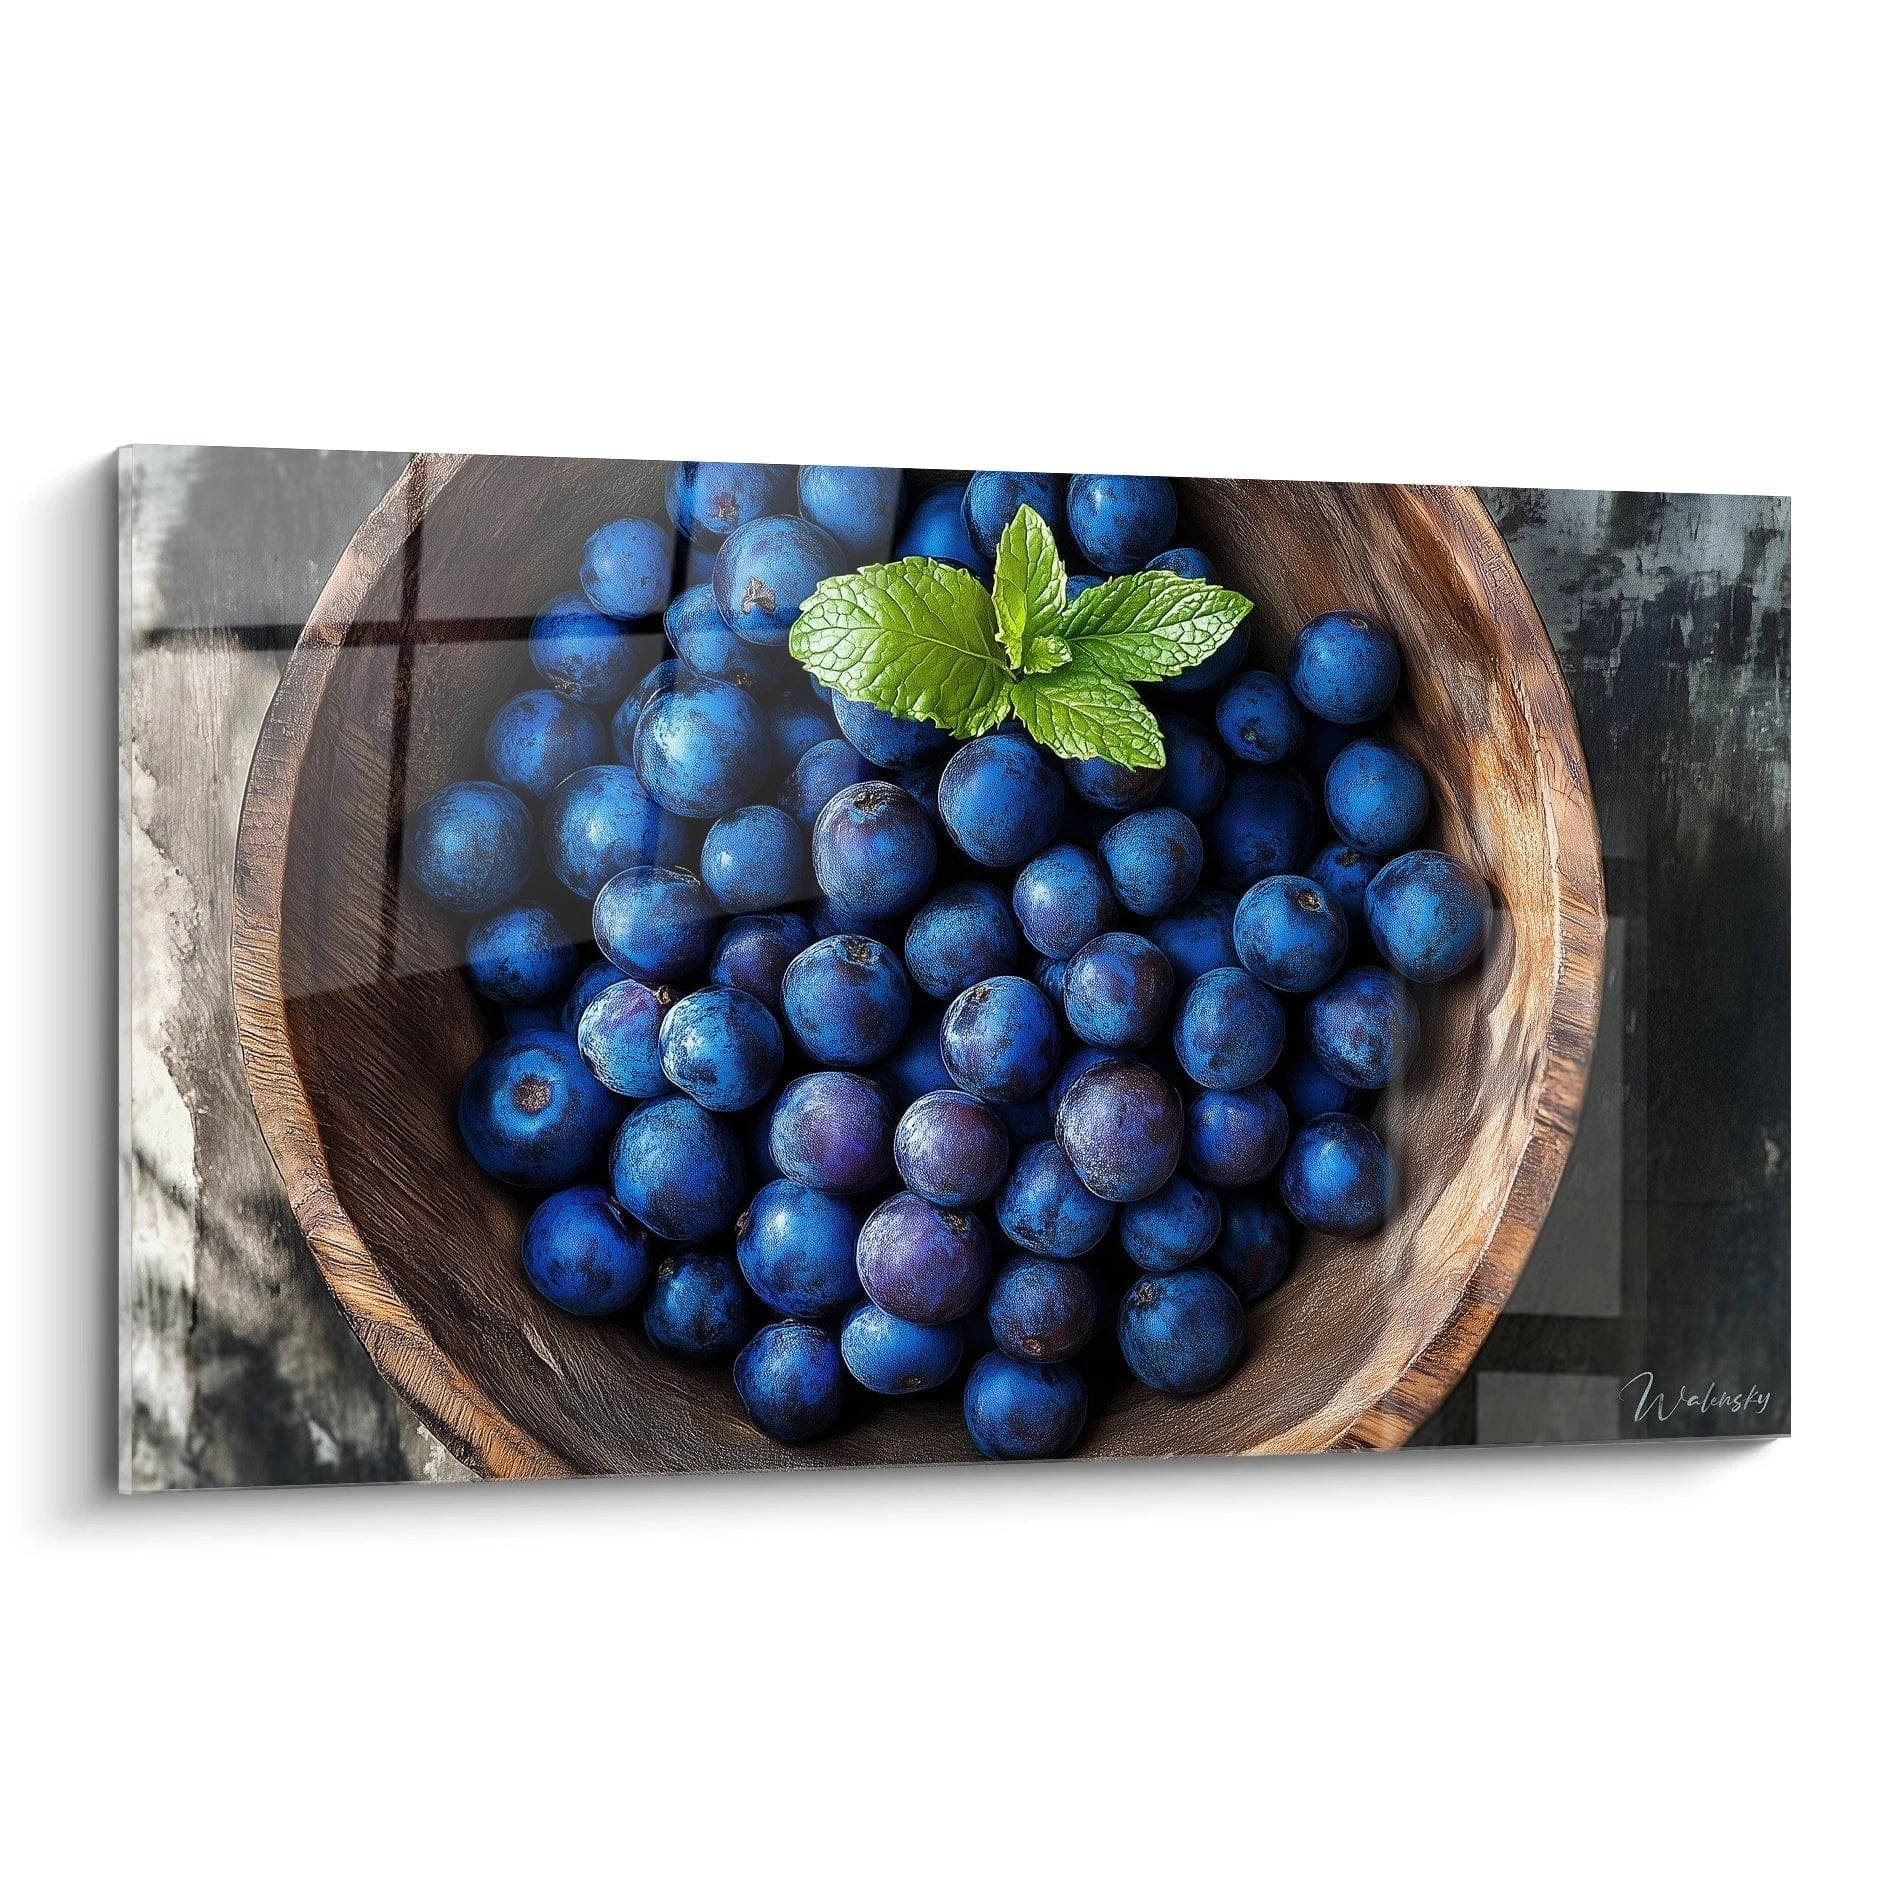






Pairing Plants and Floor-Standing Artwork: A Natural Staging
October 11, 2025 · 17 min read · by Walensky
You’ve just acquired this beautiful artwork that you've been eyeing for weeks, but here it stands sadly against the wall of your living room, like an abandoned decorative object. Despite its beauty, something feels off: it seems disconnected from the rest of your decor, almost artificial in a space carefully arranged.
You feel this particular frustration seeing an element you love not integrate harmoniously into your interior. The artwork seems to float in emptiness, without dialogue with its environment, creating a visual break rather than the natural continuity that all decor enthusiasts dream of.
You may have tried adding some decorative objects around it, moving a piece of furniture, changing the lighting... But nothing works: the artwork remains isolated, as if waiting for something to truly take its place in your world. This feeling of incompleteness annoys you all the more because you know that the room has potential.
Rest assured, this feeling is perfectly normal and does not reveal a lack of taste on your part. The real reason for this failure? A floor-standing artwork needs an ecosystem to reveal its full decorative strength, just as a plant needs the right soil to flourish.
By the end of this article, you will master the art of creating a natural staging around your floor-standing artworks thanks to plants, transforming each corner of your interior into a living gallery that will impress your guests and provide you with the deep satisfaction of a perfectly harmonious space.
Why does your artwork need a "green companion" right now?
An isolated artwork loses 70% of its visual impact, just like an actor who would play alone on stage without scenery. The longer you wait to create this natural synergy, the more your eye gets used to this awkward configuration, making future transformation less obvious. The opportunity? Create a magnetic focal point today that will naturally capture attention and structure all of your space.
🎨 Customer testimonial: Sarah, a Parisian interior architect, says: "I had this sublime abstract artwork measuring 80x120cm in my living room for months. My clients complimented me politely, but I felt that something was missing. The day I installed a Monstera deliciosa to its right and some succulents in front, magic happened. Now, it's the first thing my guests notice: a true natural frame that enhances the artwork."
Conversation with a decor expert
The golden rule of natural staging: An artwork on the floor associated with chosen plants creates a visual "golden triangle" that multiplies decorative impact by three. The result? An irresistible focal point that transforms any dead space into an attraction zone, visible within the first 72 hours of installation.

What really happens when your decor "doesn't work"
Do you recognize these situations? Your magnificent artwork that no one really notices during visits. That strange feeling that your living room lacks personality despite expensive furniture. This persistent impression that your spaces are "pretty but cold", like in furniture catalogs.
What's actually happening? Your brain doesn’t find a “narrative thread” in your decor. It sees isolated objects rather than a coherent ensemble that tells a story. Plants play the role of natural connectors, creating visual and emotional links between your different decorative elements.
Imagine your living room as a book: without plants, you have beautiful but independent chapters. With the right plant staging, you create a plot that naturally connects each element, transforming your space into a captivating visual narrative.
The first hidden cause: the "museum" effect
Contrary to popular belief, the more you isolate your artwork, the more artificial it appears. In nature, nothing exists alone: even the most majestic tree thrives thanks to a whole ecosystem of companion plants. Your artwork follows the same logic.
It’s exactly like those gourmet dishes served alone on an enormous plate: technically perfect but emotionally cold. Your eye needs to "breathe" around the artwork without leaving it in a decorative desert.
The impact? Your artwork becomes a "precious object to protect" rather than a living element of your daily life. As a result, you end up looking at it less yourself, and your guests perceive it as an investment rather than a visual pleasure.
🔍 Instant test: Look at your artwork for 30 seconds, then look away. Did your eye tend to "flee" to other elements in the room? If so, it's a sign that it lacks this vegetal anchor that would naturally maintain your attention.
The second cause: the illusion of "neutrality"
Many think that a white wall and a bare floor constitute the ideal "neutral" backdrop to showcase an artwork. In reality, this neutrality creates an emotional void that draws energy from your work instead of revealing it.
Think of a campfire: what makes it magical is not only the flames, but the entire ecosystem surrounding it - the stones that define it, the wood that fuels it, the space that welcomes it. Your artwork deserves the same respect.
Direct consequence? You feel this dull frustration of not fully enjoying your purchase, as if you were keeping a bottle of good wine without ever finding the right occasion to taste it.
The third cause: the trap of "frozen" decoration
Here's the factor that almost no one notices: a single artwork cannot evolve with the seasons, your mood, or changes in light. It remains static while your life, on the other hand, moves constantly.
Observe your living room at different times: bright morning, subdued evening, rainy day... Does your artwork change its expression? Probably not, because it lacks those vegetal partners that capture and reflect nuances of light, creating a constantly renewed spectacle.
The invisible impact? Your decoration becomes predictable, losing the ability to surprise and discover that makes truly personalized interiors so charming.
The 3 signals that your artwork needs an ecosystem:
- The eye "glides" over it without stopping: Your eye doesn't find a peripheral point of attachment to settle comfortably
- It appears smaller than in store: Without vegetal context, proportions get lost in the space
- You hesitate about its placement: This uncertainty reveals that the work has not yet found its natural "territory"
The trigger element: the "natural magnet" effect
What really makes the difference? Create a visual microclimate where your artwork naturally becomes the focal point of a larger composition. Like a magnet, this staging attracts the eye, invites it to linger, then gently guides it towards the main work. You will know that it is successful when your guests spontaneously stop in front of this space, even without being art lovers.
Universal rule of successful staging: If you can easily imagine removing your artwork without the space appearing empty, it's not yet integrated. Once the right symbiosis is created, removing the work would create an obvious lack.
| ❌ Isolated artwork | ✅ Natural staging | 💡 Why it works | 🎯 Visible benefit |
|---|---|---|---|
| It's noticed by chance | It naturally attracts the eye | Plants create a "visual path" | Irresistible focal point |
| Seems disconnected from the rest | Integrates into a coherent ensemble | Vegetation links with nature | Overall harmony of the space |
| Static and frozen impact | Living composition that evolves | Plants change according to the seasons | Decoration always renewed |
| Difficult to find its place | Obvious natural anchoring | Creation of a defined "territory" | Assurance in placement |

Our favourite
Marine Cave Painting with Golden Reflections - Mysterious Light - Natural Caves Edition
233,90€
Discover this artworkThe gentle method to transform your artwork into a living piece
Breathe : you don't need to revolutionize your living room nor buy an entire jungle. This method works through progressive touches, like a painter delicately adding nuances to their work. In three simple steps, you will create this perfect alchemy between art and nature, transforming your space into a personal gallery that you will be proud of with every glance.
🎯 Overview of the transformation : Like a gardener composes a flowerbed, we will first anchor your artwork with a structural plant, then create relief with complementary volumes, and finally add the finishing touches that make all the difference. Each step will give you immediate satisfaction, until this final revelation where everything harmonizes perfectly.
Step 1 : Create anchoring with your master plant
This first step is crucial because it defines the character of your entire composition. Like the foundations of a house, your main plant will set the aesthetic tone and create the necessary visual balance. Once this base is laid, you will immediately feel that your artwork has found its territory and finally seems in place.
Choosing your ideal companion plant
- Tall plant with graphic foliage (120-150cm) : Think Monstera, Ficus lyrata or Strelitzia which create an elegant verticality. Their large sculpted leaves naturally dialogue with the shapes of your artwork. Avoid overly bushy plants that would create visual competition - favor purified silhouettes found in specialty nurseries rather than common varieties from big-box stores.
- Harmonious planter : Choose a container whose height represents 1/3 of the total height of the plant. The principle? It must visually disappear while providing the necessary stability. A good planter is barely noticeable but its absence would create a glaring imbalance. Test the "gliding eye" rule: your eye should pass from the pot to the plant without snagging.
- Strategic placement: Place your plant 60-80cm from the edge of your artwork, slightly recessed to create depth. This distance allows a visual dialogue without overlap. The desired effect? When you look at your artwork, the plant naturally enters your peripheral field of vision, creating a living frame.
Now let's move on to concrete action
Installing your artistic duo
Positioning the master plant: Place your plant on the right or left side of your artwork (never in the center), creating a slight backward offset. This asymmetry creates visual dynamism while respecting the lines of force of your composition. The goal: create an harmonious "L" between your vertical artwork and your plant.
⏱️ Time: 10 minutes | ✅ Successful when: You can see the artwork and plant in one glance without turning your head | ⚠️ Attention: Never place the plant exactly at the same height as the artwork - this creates competition. Offset by a minimum of 20-30cm.
Visual balance test: Step back 3 meters and observe your composition. Your gaze should naturally go from the artwork to the plant and then back to the artwork. If your eye "hooks" on the plant and stays there, it is too imposing or poorly positioned. The perfect harmony? When both elements seem to converse naturally.
⏱️ Time: 5 minutes | ✅ Successful when: Eye movement is fluid and natural | ⚠️ Attention: If your plant "visually crushes" the artwork, move it away rather than changing it.
Light adjustment: Check that your plant receives enough light without creating shadows on the artwork. Ideally: a soft light that reveals the texture of the leaves without too much contrast. This lighting enhances both the work and its vegetal companion.
⏱️ Time: 15 minutes | ✅ Successful when: No shadow cuts your artwork | ⚠️ Attention: Many neglect this aspect, but poor lighting can ruin even the most beautiful composition.
✨ Validation of the step: Your artwork now seems to "live" naturally in this space rather than simply being placed there. The plant creates a soothing presence that enhances the work without competing with it. If a guest spontaneously notices this ensemble, you've won! Next step: add relief to perfect this harmony.
— Our selection


OUR RECOMMENDED PRODUCTS
Step 2: Create relief with accompanying plants
You now master the art of harmonious pairing. This second step will multiply the visual impact by creating what is called a "miniature landscape". By adding different volumes, you give your composition an almost cinematic dimension. The snowball effect begins here: each new plant enhances the whole without weighing it down.
Selecting Complementary Plants
- Medium plants (60-80cm): Choose varieties with foliage different from your master plant. If you have opted for large leaves, now prefer finer or cut foliage (Dwarf Palm, Dracaena, Calathea). This variation in textures creates richness and depth without visual cacophony.
- Small structural plants (30-40cm): Graphic succulents, small columnar cacti or plants with a compact shape. Their role? Create "punctuation marks" that guide the eye through your composition. Avoid overly flowered plants that would distract from your artwork.
- Tiered planters: Vary the heights of your containers to create an interesting visual rhythm. Golden rule: never more than three different heights to avoid a cluttered effect. Harmony comes from controlled repetition, not anarchic multiplication.
Composition of the Vegetal Relief
Placement of the medium plant: Install it on the side opposite your master plant, but closer to the artwork. This proximity creates an intimate dialogue between vegetation and art. The idea is to form a harmonious triangular visual where each vertex has its own personality.
⏱️ Time: 8 minutes | ✅ Successful when: The composition forms a natural and balanced triangle | ⚠️ Attention: Always keep some "breathing room" between each plant - clutter kills elegance.
Arrangement of small plants: Place them in the foreground, like "visual guides" that naturally lead the eye towards your artwork. Create a slight shift to avoid military alignment. These small volumes add character without stealing the show.
⏱️ Time: 12 minutes | ✅ Successful when: The eye follows a smooth path | ⚠️ Attention: Too many small plants create "visual noise" - limit yourself to a maximum of 2 or 3.
Step 3: Finishing Touches That Make All the Difference
You are now entering the dimension of the expert. This final step transforms a beautiful composition into a true scenic artwork. The details you will add will create this subtle sophistication that differentiates a "well-decorated" interior from a space truly thought out and mastered. This is where your personality fully expresses itself.
Refinement of the Scenography
Adding a mineral element: Incorporate a sculpted pebble, a piece of driftwood, or a natural stone among your plants. This detail adds a tactile dimension and reinforces the "natural landscape" aspect of your composition. Choose an element whose color complements your artwork.
⏱️ Time: 15 minutes | ✅ Success when: The element seems to have "always been there" | ⚠️ Attention: One mineral element is enough - more would create decorative clutter.
Optimizing ambient lighting: Add indirect lighting (adjustable spotlights or floor lamp) that reveals the textures of your plants in the evening. Your composition should be as beautiful during the day as it is at night. This attention to detail reveals a true level of decorative mastery.
⏱️ Time: 20 minutes | ✅ Success when: The overall look retains its charm even in artificial light | ⚠️ Attention: Avoid direct lighting that creates harsh shadows on the artwork.
Expert progression rule: A composition is successful when removing any element would create a visible lack, but adding anything would seem superfluous. Trust this feeling of natural evidence rather than rigid rules.
Congratulations! You now master the subtle art of natural staging. These techniques give you a considerable decorative advantage: where others accumulate objects, you create visual stories. This approach reveals a rare sophistication that impresses without apparent effort.
🎯 Pro tip: For a "private art gallery" effect, vary the height of your artworks slightly using discreet shims underneath some of them. This subtle visual rhythm evokes professional exhibition walls. The result: your guests will feel like they are visiting a private exhibition rather than just a living room.
Frequent question from our readers
"I love the idea but I'm afraid my plants won't survive... What if I don't have a green thumb?"
This concern is perfectly understandable and even reveals a good sense of aesthetics: an unhappy plant would indeed spoil the entire composition. The good news? The plants recommended in this method are specifically chosen for their resilience and ease of care. Monstera, Sansevieria, ZZ Plant... These varieties forgive missed waterings and adapt to different lighting conditions. Start with a single robust plant, observe its reaction in your space, then gradually add the others when you feel comfortable.
💡 Reassuring advice: Download a watering reminder app and start with a Sansevieria (snake plant) - almost indestructible and graphically perfect. You will quickly realize that the secret is not the "green thumb" but simple regularity.
— You may also like


The pitfalls to absolutely avoid (so as not to waste your efforts)
Now that you know the method, let's protect your time and money investment by avoiding common mistakes that turn a beautiful idea into disappointment. These traps are so common that even experienced decorators sometimes fall for them. Fortunately, they are easy to avoid when you know them.
- 🚫 Overloading from the start: Enthusiasm often leads to wanting to "do everything at once". The result? A cluttered space that loses all elegance. Beauty is born of restraint - it's better a simple and mastered composition than a vegetal clutter. Always start with less than you imagine, you can always add.
- 🚫 Neglecting plant care: A sickly plant instantly transforms your natural gallery into a still life. Three thriving plants are better than five surviving ones. Choose varieties adapted to your lifestyle and lighting.
- 🚫 Exactly copying a model seen elsewhere: Every space has its own personality, light, proportions. What works at your neighbor's can create an imbalance in yours. Draw inspiration from the principles, adapt the details to your specific environment.
- 🚫 Forgetting seasonal evolution: Your plants will grow, some will lose leaves in winter, others will change color. Anticipate these natural evolutions rather than suffering them. A successful composition adapts and embellishes over time.
- 🚫 Ignoring harmony with the rest of the room: Your painting-plant composition should not become an isolated "decorative island" disconnected from the rest. Make sure that colors, textures and styles dialogue with your existing furniture to create a natural visual continuity.
🛡️ Checkpoints before finalization: Does your composition work at different times of the day? Does it remain balanced even in artificial lighting? Does each plant have its visual "breathing space"? Are the proportions harmonious when viewed from the entrance to the room? Warning signs: if you feel the constant need to rearrange, it means that the balance has not yet been found.
— In the same vein


Your most frequently asked questions about natural staging
Allow 2 to 3 weeks for a successful composition by proceeding step by step. Optimal budget: €80-150 for a complete composition (main plant €40-60, companion plants €20-40, pots and accessories €20-50). Economical tip: start with a single beautiful plant and gradually expand - the impact will already be visible from the first week.
Your decorative transformation: from idea to inspiring reality
In a few weeks, your view of your interior will have completely changed. The time when you entered your home feeling that "something was missing" is over. Now, each return home will be a renewed visual pleasure. Your guests will spontaneously stop in front of your compositions, asking for advice on your "decorative secret". This discreet pride in owning a truly personal and mastered interior will transform your relationship with your living space.
Beyond the aesthetic aspect, you have developed an expert eye for visual harmony. This newly acquired sensitivity will serve you in all your future decorative choices: choosing furniture, lighting, rearranging a room... You now possess that assurance which distinguishes those who "know how to see" from those who "accumulate objects". This confidence in your taste will naturally radiate in your personality.
Understanding was indeed the most delicate part - now that you master the principles, action becomes an exciting creative game. Start today by observing your painting with a new eye, imagine its ideal companion plant, and take the first step towards this transformation. Your future self will thank you for having dared to create this natural setting that reveals all the beauty of your art.
🚀 Your next step: Your painting-plant composition awaits you to come to life! Each day of postponement is one less day to enjoy this perfect harmony. You now have all the keys - it remains only to turn the lock of your creativity.
Also read: 🎯 Read more articles on decorative art
</div
More selected pieces
Blooming Garden Wall Art from Open Window - Colorful Autumn View - Garden Edition
233,90€
Discover this artwork →Explore our collections


