


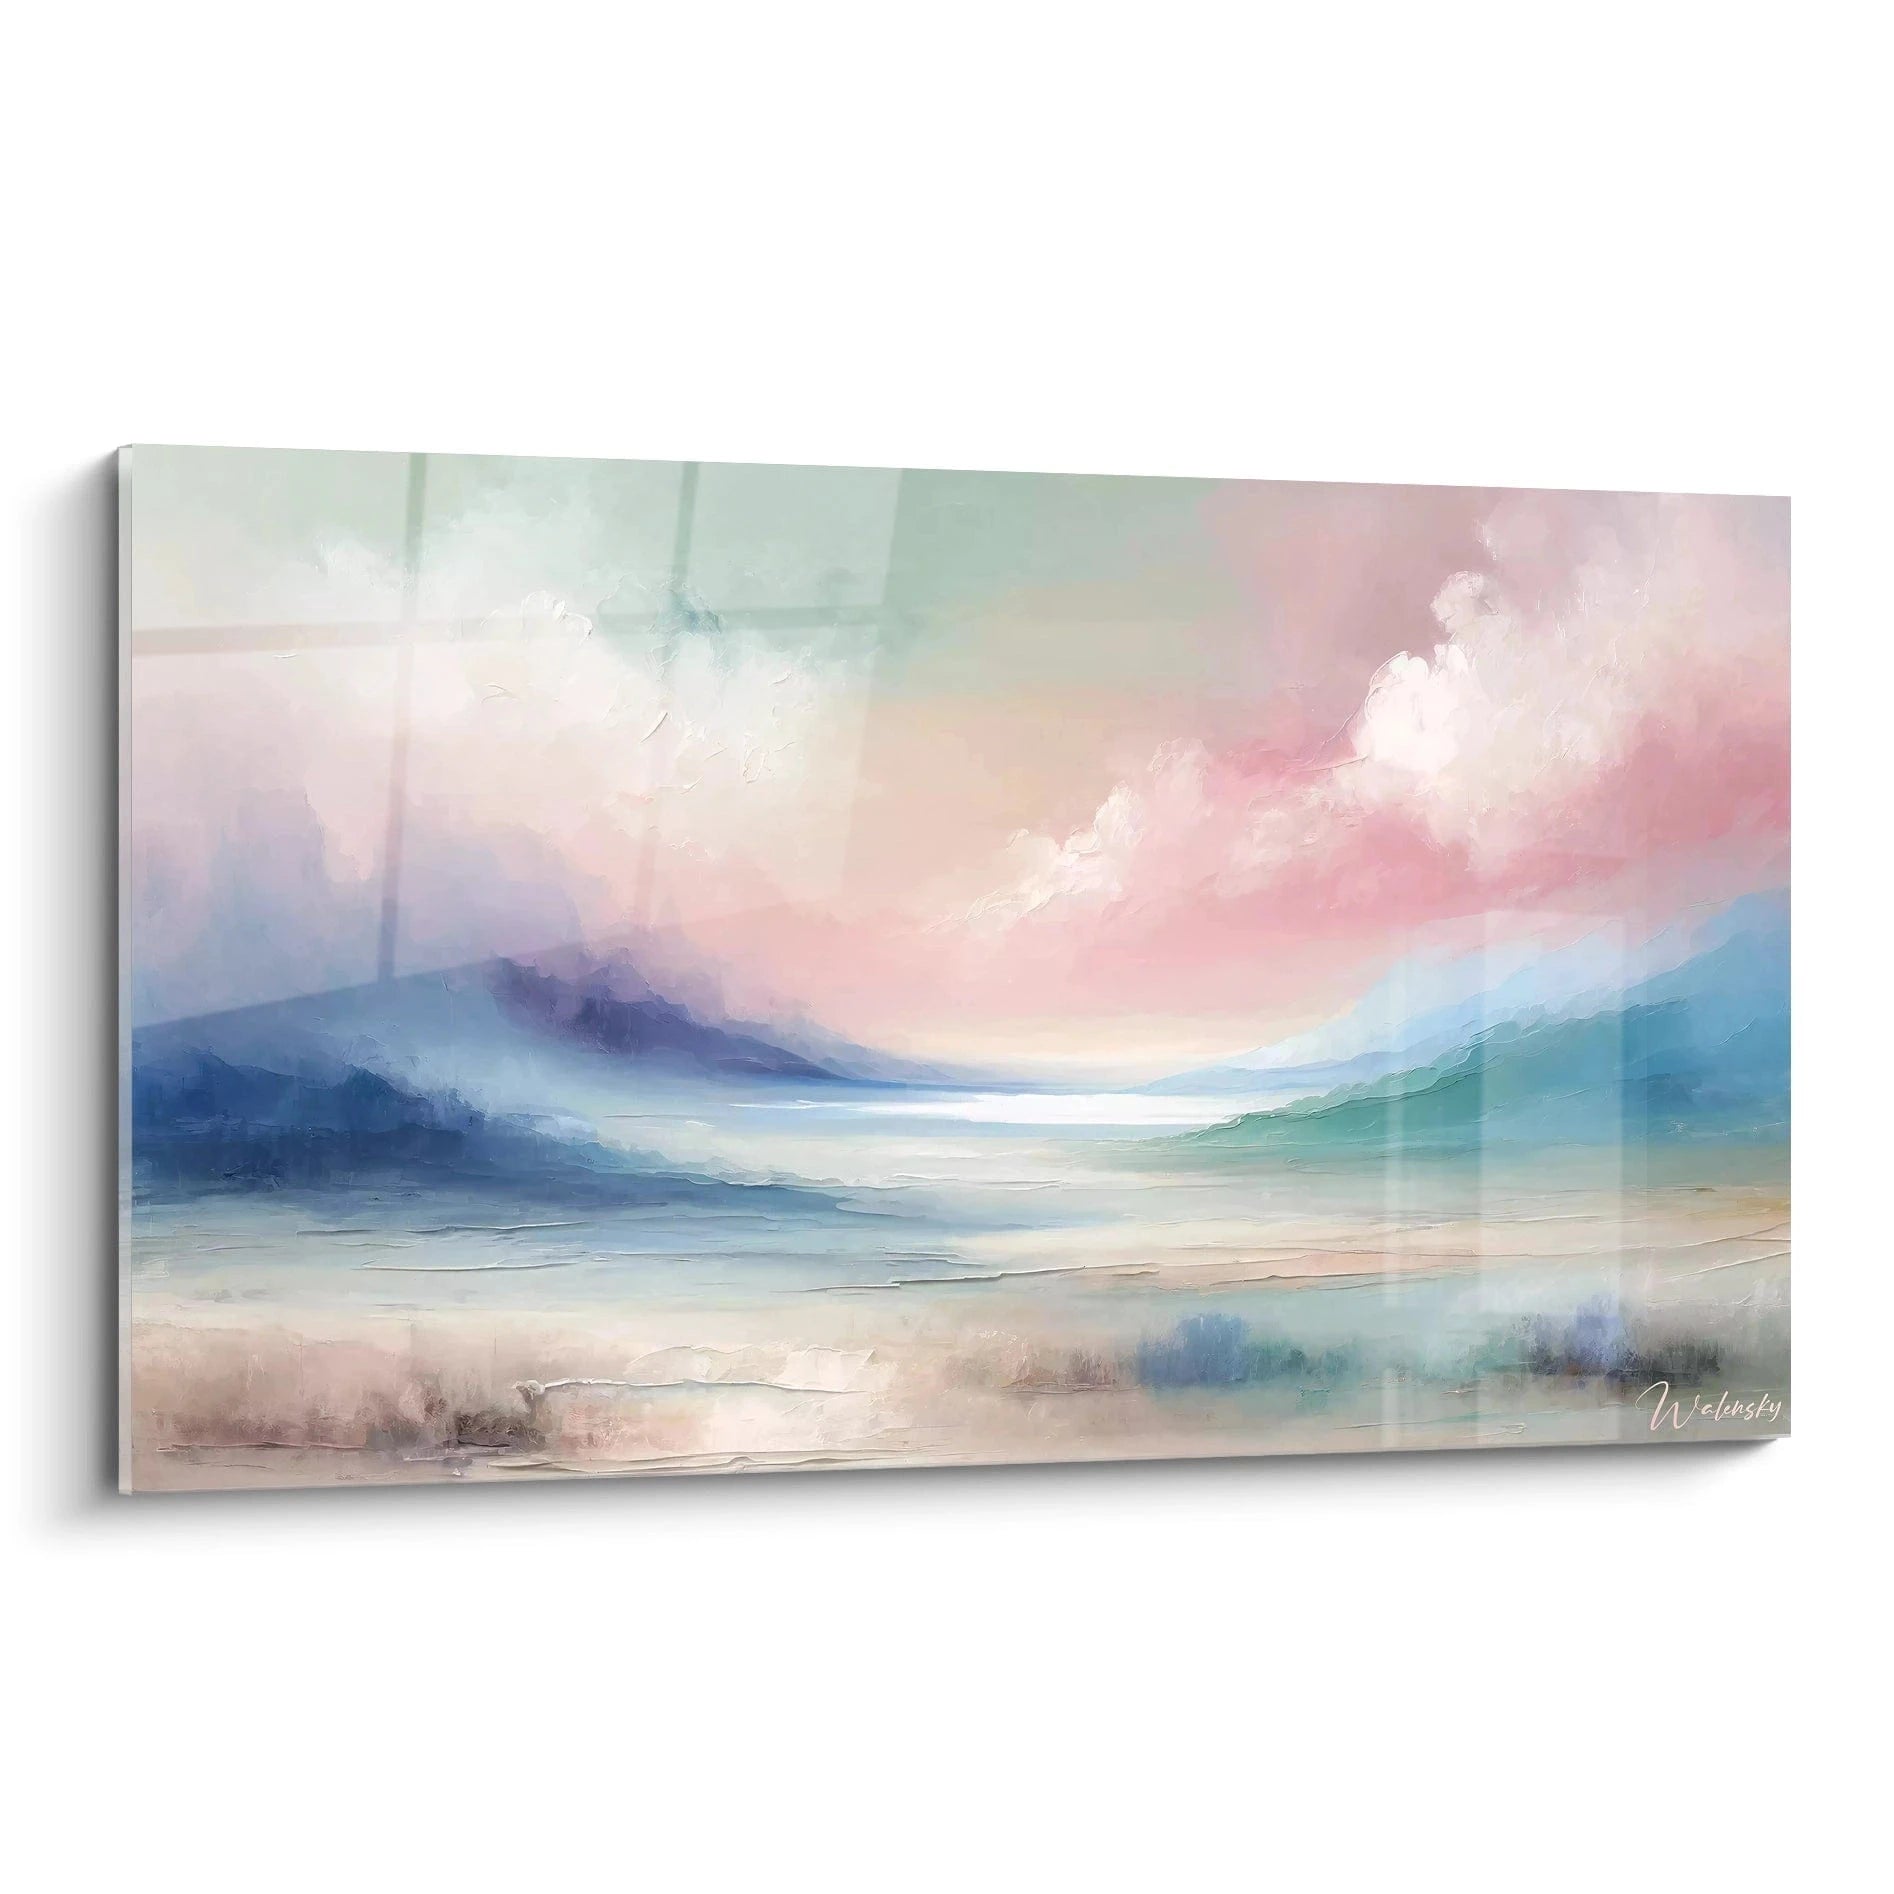

How to transform a blank wall with just one carefully chosen artwork
October 11, 2025 · 19 min read · by Walensky
You've been staring at that immaculate white wall in your living room for months, wondering how to bring it to life without turning your interior into an overcrowded art gallery.
This empty surface taunts you every day, creating a void that literally sucks the soul out of your room. You feel this nagging frustration of a space lacking personality, despite all your efforts to choose the right furniture.
You may have already tried classic solutions: a decorative shelf here, a few framed photos there, or even those trendy wall stickers. The result? A patchwork decoration that doesn't really reflect you.
That’s perfectly normal, and it’s absolutely not a lack of taste on your part. The real reason for these failures? You are searching for quantity when the magic lies in the unique and confident choice.
By the end of this article, you will master the art of radically transforming a blank wall with a single artwork perfectly chosen, and you’ll discover why this minimalist approach instantly revolutionizes the atmosphere of your interior.
Why can a single artwork revolutionize your decor now?
In our era of hyper-choice in decoration, we have forgotten the transformative power of a unique element. Hesitating is letting go of this opportunity to create an immediate visual impact. It's like having a play without a leading actor: all the supporting elements stir without creating true emotion. The longer you wait, the more your wall becomes a symbol of indecision that resonates throughout the room.
🏠 Decor testimonial: Sarah, an interior architect, tells how she transformed the dull living room of her Parisian clients with a single abstract painting in ochre tones. "In 30 minutes of hanging, the entire room changed its identity. Guests stopped looking at their phones; they contemplated this artwork that finally gave the space a soul."
Conversation with a decor expert
The golden rule of decorative impact: One strong element is better than ten mediocre ones, just like a signature fragrance marks the mind more than a blend of fragrances. Guaranteed result in less than 24 hours of hanging: your room will finally have found its character.

Why haven’t your previous attempts worked?
You might recognize yourself in these three situations: you accumulate small decorative items without ever creating a focal point, you hesitate between several artworks without ever deciding, or you choose safe elements that end up blending into the decor.
What’s really happening is that your brain is subconsciously seeking a visual anchor in the room. Without it, the eye wanders without settling, creating this feeling of incompleteness. The problem isn't your sense of aesthetics, but the lack of clear visual hierarchy.
It’s like a conversation where no one takes the lead: everyone whispers, but no one really communicates. Your wall needs a strong and assertive voice.
Mistake #1: The fear of being "too flashy"
Contrary to what you might think, an impactful painting doesn’t shout, it inspires respect. The difference? A vulgar element seeks attention, a carefully chosen artwork naturally commands the gaze.
That's exactly like the difference between someone who speaks loudly to get noticed and a charismatic person who captivates with their mere presence. Elegance lies in quiet confidence.
This fear prevents you from creating that moment of contemplation that every visitor subconsciously seeks. As a result, your decor remains functional but doesn't evoke any emotion.
✨ Instant test: Look at your current wall and time how long your eye naturally lingers on it. Less than 3 seconds? That’s proof that it lacks the magnetic focal point that a well-chosen painting brings.
Mistake #2: Seeking perfect coordination
The obsession with "matching everything" kills the originality of your decor. In reality, the most beautiful interiors are born from controlled contrast, not perfect uniformity.
It’s like an orchestra where all the instruments play the same note: technically harmonious, but utterly boring. Beauty is born from creative tension between elements.
This approach condemns you to a "catalog" decor that looks like thousands of other interiors, without ever revealing your unique personality.
Mistake #3: Underestimating the emotional impact
Many choose their artworks as neutral decorative objects, forgetting that a painting tells a story and subtly influences the mood of the room.
You can easily observe this: note your feelings entering a room with bare walls, then in a space adorned with an inspiring artwork. The psychological impact is immediate and measurable.
This neglect deprives you of creating those daily moments of escape that a painting that truly speaks to you provides, transforming your living room into a personal sanctuary rather than just a place of passage.
3 signs that your wall lacks character:
- The visitor test: Guests settle with their backs to the wall rather than facing it, a sign that it offers nothing interesting to contemplate
- The revealing photo memory: In your family photos at home, this wall consistently creates a dull background that tarnishes the overall atmosphere
- The negative domino effect: This empty area demotivates you from taking care of the rest of the decor, creating a vicious cycle of decorative abandonment
The trigger factor: The positive domino effect on decor
What really makes the difference is the positive ripple effect that a well-chosen painting has on the rest of your decor. Like a magnet, it naturally reorganizes all the other elements in the room, creating a visual coherence that you can't explain but feel immediately. Observe: as soon as a wall finds its identity, you spontaneously want to take care of the surrounding details.
The law of the dominant focal point: In any successful room, an element naturally commands attention without monopolizing it, allowing all others to play their role as a harmonious support. Verify this by observing interiors that resonate with you.
| ❌ "Accumulation" approach | ✅ "Single focal point" approach | 💡 Why it works | 🎯 Immediate benefit |
|---|---|---|---|
| I add lots of small elements to "decorate" | I choose a strong artwork that structures the entire room | The eye needs a clear visual hierarchy | Sense of organized and intentional space |
| I look for colors that blend perfectly | I embrace a controlled contrast that creates character | Visual tension generates interest and memorability | Distinctive decor that leaves a lasting impression |
| I prioritize decorative safety | I choose based on my personal emotion | Emotional authenticity is felt instantly | Space that tells your unique story |
| I think too long before acting | I trust my instinct and experiment | Action reveals possibilities invisible in theory | Concrete and motivating decorative progression |

The simple method for choosing and installing your transformative wall art
Rest assured, we will proceed methodically, like an architect who first designs the foundations before building. This three-step progression follows the natural logic: understand your space, choose the artwork that suits it, then install it for maximum impact. Ultimately, you will have transformed an anonymous wall into a magnetic focal point that redefines the identity of your entire room.
🎯 Overview of the transformation: Step 1 - Analyze the space to identify the hidden potential of your wall (satisfaction: finally understanding why it didn’t work before). Step 2 - Select the artwork according to specific criteria (satisfaction: the certainty of making the right choice). Step 3 - Install with professional techniques (satisfaction: the immediate visual impact that exceeds your expectations).
Step 1: Unlock the Secret Potential of Your Wall
Starting with this step avoids the costly mistake of buying first and then thinking later. It’s like laying foundations before building: invisible but absolutely crucial for final success. Once this analysis is complete, you'll feel that sense of mastering your project rather than navigating blindly.
The Essential Analysis Tools
- A precise measuring tape: Not the approximate one from the kitchen drawer, but a real 3-meter (approximately 10 feet) long measuring tape that holds straight. Available at any hardware store for less than €10. Quality criterion: it must have clear graduations to the millimeter. Why not a smartphone app? Because perspective errors will cost you dearly in the final proportions.
- A flashlight or smartphone with flash: To analyze lighting variations throughout the day. The principle: a painting changes completely depending on the light that illuminates it. Quality tip: you must be able to create a directed beam, not just diffused lighting. Impact: avoid disappointment from a perfect-looking painting in store that becomes dull at home.
- A notebook and pen: To note your observations without relying on your memory. Recommended format: A5 size with ruled pages to sketch proportions. Visible benefit: having a record of your thinking avoids impulsive purchases you later regret.
Now, let's move on to the concrete analysis of your space.
The Measurements That Determine Your Entire Project
Measuring the actual available surface area: Take the full dimensions of the wall, then subtract 40cm (approximately 16 inches) from each side occupied by furniture. Reason: the eye needs space to appreciate a work of art; otherwise, it appears cramped. Technical detail: an effective painting occupies between 60 and 75% of the free wall space. It’s larger than most people imagine, but that's what creates impact.
⏱️ Time: 5 minutes | ✅ Success when: Your measurements give you a clear rectangular area, with width/height proportions noted | ⚠️ Attention: Many forget to measure the available height and end up with a painting that is too small and hangs sadly
Testing the lighting of your wall: Photograph the wall at different times (morning, afternoon, evening) and with artificial lighting. Goal: identify areas of shadow and light that will reveal or dull your future painting. Pro tip: a dark painting needs more light to reveal its details than a light painting.
⏱️ Time: 15 minutes spread over a day | ✅ Success when: You have identified the best hanging zone according to the dominant natural light | ⚠️ Attention: Never judge a location solely with artificial evening lighting
Identifying the dominant style of your room: List the 3 main colors of your decor and the overall “mood” (modern, classic, industrial, cozy...). Objective: your painting must dialogue with what already exists, not fight against it. Simple method: if a friend entered your living room, what 3 words would they use to describe it?
⏱️ Time: 10 minutes | ✅ Success when: You can summarize the identity of your room in a clear sentence | ⚠️ Attention: Avoid listing 10 different styles - it’s a sign of a lack of coherence that needs to be corrected first
🔍 Validation of Step 1: You must have a complete specification sheet with dimensions, optimal light zones, and decorative identity defined. If there is any ambiguity on a point, repeat this measurement rather than moving on to the next step. You are now ready to choose knowingly rather than randomly.
Step 2: Select your artwork according to the method of decorators
You are now moving to the next level: choosing with method rather than a blind impulse. This step becomes more intuitive as you now know what you are looking for. The snowball effect begins: each respected criterion reinforces the final coherence. You will feel this confidence of the connoisseur who knows why they choose.
The professional selection criteria
- The rule of golden proportions: For a 3m wide wall, aim for an artwork measuring 1.8 to 2.2m wide. Principle: the work should "live" in the space without totally dominating it. Where to check: ask for the exact dimensions before any purchase, frame included. Quality criterion: the artwork must never appear "lost" on the wall. Avoided cheaper alternative: artworks that are too small and create a timid effect.
- Strategic chromatic harmony: Choose an artwork that picks up 1 to 2 colors from your existing decor, plus a new accent color. Functionality: this creates a link with the existing while bringing renewal. Quality tip: you should be able to point out the colored correspondences between the artwork and your furniture. Impact result: immediate impression of thoughtful and sophisticated decor.
- The personal emotion test: The artwork must provoke a lasting positive reaction, not just please you for the moment. Evaluation criterion: after 30 seconds of contemplation, you should still discover details. Benefit: avoid rapid fatigue that characterizes impulsive decorative purchases.
The methodical selection in 3 filters
Filter 1 - Technical compatibility: Check that the dimensions, weight and hanging system correspond to your wall and constraints. Crucial verification: a drywall wall requires specific fixings for heavy artworks. Never neglect this aspect: an artwork that falls damages both the artwork AND the wall.
⏱️ Time: 15 minutes per pre-selected artwork | ✅ Successful when: You have confirmed technical feasibility and installation cost | ⚠️ Attention: Many underestimate the final weight with a quality frame
Filter 2 - Decorative coherence: Mentally overlay the artwork in your space using your analysis photos. Pro technique: print an image of the artwork to the correct scale and temporarily place it on the wall to judge the actual effect. This step avoids 90% of post-purchase disappointments.
⏱️ Time: 20 minutes | ✅ Successful when: The visual integration completely convinces you | ⚠️ Attention: The lighting of your test must match that of your initial analysis
Filter 3 - Emotional validation: Live with the image of the artwork as a wallpaper or displayed in your living room for a few days. Objective: confirm that the positive emotion lasts beyond the novelty effect. Decisive criterion: you must be eager to install it permanently.
⏱️ Time: 3 to 5 days of observation | ✅ Successful when: Enthusiasm is maintained or even intensifies | ⚠️ Attention: If you start to have doubts, it means that the artwork is not the right one
Step 3: Professional installation that reveals all potential
You are now reaching the level of complete mastery where every gesture counts to reveal the maximum impact of your choice. This final step transforms a simple hanging into a true staging of your artwork. The final result will exceed your expectations because you now master all the parameters that distinguish between an "placed" painting and a "highlighted" painting.
The professional installation equipment
- Spirit level of at least 60cm: Essential for perfectly horizontal hanging that doesn't strain the eye. Available in hardware stores from €15. Quality criterion: bubbles must be perfectly centered and readable. Smartphone alternative not recommended: apps are too inaccurate for a professional result.
- Fixings suitable for the weight and wall: Molly plugs for plasterboard, fischer plugs for concrete, wood screws for partition walls. Safety calculation: allow double the weight of the artwork. Where to find out: any serious seller should tell you the exact weight and recommend the appropriate fixings.
- Drill with suitable drill bits: Concrete bit for solid walls, wood bit for partition walls. Technical detail: the diameter of the drill bit must exactly match that of the wall plug. Benefit: precise drilling guarantees solidity and prevents cracks.
The hanging technique that makes all the difference
Positioning at the ideal height: The center of the artwork should be between 1.45m and 1.60m from the floor according to your average family height. Pro rule: in a living room where you often sit, go down 10cm below the standard. Verification technique: the eye should naturally fall on the work without effort to raise or lower the head.
⏱️ Time: 10 minutes of precise measurements | ✅ Successful when: The height looks natural from all points of view in the room | ⚠️ Attention: Many hang too high for fear that the artwork will obstruct the passage
Perfect centering on the defined area: Use the rule of thirds to position the artwork in relation to the surrounding furniture. Method: the artwork should be centered on the free space, not on the total wall. Pro tip: lightly mark the reference points with pencil before drilling, you will avoid irreversible mistakes.
⏱️ Time: 15 minutes | ✅ Successful when: The visual balance with the furniture is perfect | ⚠️ Attention: Take a step back regularly to check the overall effect
Accent lighting: Adjust existing lighting or add a spotlight to reveal the colors and textures of the artwork. Technical principle: light should come from slightly to the side to avoid reflections while creating relief. Expected result: the artwork naturally becomes the luminous focal point of the room.
⏱️ Time: 20 minutes of adjustment | ✅ Successful when: The artwork stands out perfectly without dazzling | ⚠️ Attention: Test the lighting at different times to avoid backlighting
The expert progression rule: Each step must fully satisfy you before moving on to the next. Objective criteria: before/after photos showing the transformation, feedback from loved ones confirming the positive impact, and your own daily pleasure in contemplating the result. Impatience is the enemy of final perfection.
You now master the expert subtleties that distinguish a simple hanging from a true artistic enhancement. These advanced techniques give you the advantage of professional decorators, creating that "je ne sais quoi" effect that your guests immediately notice without being able to explain it.
🎨 Professional decorator's secret: Create a "visual dialogue" by placing a small decorative object (vase, sculpture, art book) that subtly picks up a color from the painting, but at a distance from it. This "chromatic echo" technique unifies the room and reveals your refined aesthetic sense. Concrete example: a painting with blue touches can converse with a blue cushion on the opposite sofa, creating an unconscious but very effective visual circuit.
Frequent question from our readers
"I love a wall art piece but it costs more than expected. Can I start with something less expensive in the meantime?"
I perfectly understand this budgetary hesitation; it is very legitimate. However, here's why this "waiting" strategy risks frustrating you: a "transitional" painting will never create the emotional impact you truly seek. It’s like wearing uncomfortable shoes while waiting to be able to afford the ones you really love. It’s better to save for a few more months to get the artwork that moves you directly. A practical tip: many galleries and artists offer payment installments, so inquire! Investing in an artwork that inspires you pays off every day with the pleasure it brings.
💡 Immediate action: Calculate the daily cost of your favorite item over 5 years of use. A €800 wall art piece only costs you 44 cents a day of decorative happiness! This perspective will help you make an informed decision rather than an emotional one.
— Also to discover


The 5 mistakes that ruin everything (and how to avoid them)
Even with the best method, some classic pitfalls can destroy all your efforts. I prefer to warn you now rather than have you discover them through disappointment. These errors are so common that recognizing them already gives you a head start on the vast majority of enthusiasts who commit them innocently.
- ⚠️ Choosing according to store lighting: The most expensive mistake! Galleries use professional lighting that enhances everything. Result at your place: the artwork appears dull and you blame your lighting. Simple solution: always ask to see the artwork under different lighting conditions, or better yet, obtain a few-day return right. This is a perfectly legitimate request for an important purchase.
- ⚠️ Hanging too close to a heat source: Radiator, fireplace, halogen spotlight... heat degrades colors and can warp the canvas. Safety distance: minimum 1.5m from any direct heat source. Clever alternative: use this constraint to create a fresh and pleasant contemplation corner.
- ⚠️ Neglecting home insurance: A valuable artwork should be declared to your insurer, especially if it exceeds €1000. Simple procedure: photo + invoice + declaration by mail. Why? In the event of a disaster, you will be reimbursed at the declared value, not the "standard decorative object" price.
- ⚠️ Installing without UV protection: Sunlight is enemy number 1 for colors, even through glass. Warning signs: if your wall receives direct sunlight for more than 2 hours a day, invest in UV-blocking glass or reposition the artwork. A faded artwork has no value.
- ⚠️ Buying as a couple without consensus: Art polarizes! If your partner doesn't agree, the artwork will create daily tension instead of the expected pleasure. Winning strategy: involve them in the choice, even if you have to make some compromises. A painting that pleases both of you 80% is better than a 100% crush for you alone.
🔍 Safety checklist before finalization: Verify that the artwork withstands 48 hours of your daily gaze without fatigue, that the lighting enhances it at all times, that the fixings support 3 times its weight, and that you fully embrace this choice in front of those close to you. Warning signs: persistent doubts, complicated justifications, or need to convince your surroundings.
— In the same spirit


Frequently asked questions: everything you really want to know
For a real impact, allow between €300 and €1500 depending on the size of your space. This range includes the artwork, professional framing, and installation. Budget optimization: always prioritize the quality of the artwork over the richness of the frame - you can upgrade the latter later. Concrete example: it's better to have an original painting for €800 with a simple frame than a reproduction for €200 with a luxurious frame.
Allow 2 to 4 weeks for complete transformation: 1 week of reflection/choice, 1 week of ordering/delivery, and a few days for installation and lighting adjustments. Patience pays off: this delay avoids impulsive purchases and guarantees a thoughtful result. The most beautiful decor successes require this maturation.
Absolutely! It's even the perfect opportunity for a monumental artwork that will create a spectacular impact. Principle of proportion: aim for 60 to 70% of the total width, or 3 to 3.5m for your wall.
The law allows you to do so for "small renovation works" including hanging artworks. Legal tip: photograph the initial state and plan to patch it up properly when leaving. Alternative solution: drilling-free mounting systems that support up to 20kg, perfect for most paintings. Ask at specialized stores.
Failproof test: if the artwork reveals new details after several contemplations, it has this richness that avoids boredom. Technical criterion: prioritize artworks with different depths of reading (overall impact + fine details). Sign of lasting quality: you discover new nuances after 6 months of daily observation.
Your transformed wall: the new soul of your interior
In a few weeks, that white wall that used to frustrate you so much will become the magnetic focal point of your living room. Your guests will immediately notice this transformation without being able to explain why the atmosphere has completely changed. You will feel that discreet pride of the homeowner who managed to create a distinctive interior, and this new confidence will inspire you to take care of every detail in your decor.
Beyond aesthetics, you will have acquired the decorator's eye which knows how to prioritize the elements of a room. This skill will naturally transfer to all your future decorative choices, transforming your approach to interior design from an accumulation reflex to a thoughtful strategy for highlighting.
The most difficult thing was to understand the hidden mechanisms of decorative impact. Now that you master them, take action today : measure your space and start searching for an artwork. Your future self will thank you for transforming this daily frustration to a source of permanent visual pleasure.
✨ Your transformation starts now: You have all the tools to succeed in this metamorphosis that will change your relationship with your interior. The expertise is acquired, it remains only to go from dream to reality. In 30 days, you will look at this wall with the satisfaction of a challenge accomplished.
Also worth reading: 🎯 Read more articles on wall decor
— Other selected rooms


Explore our collections


