

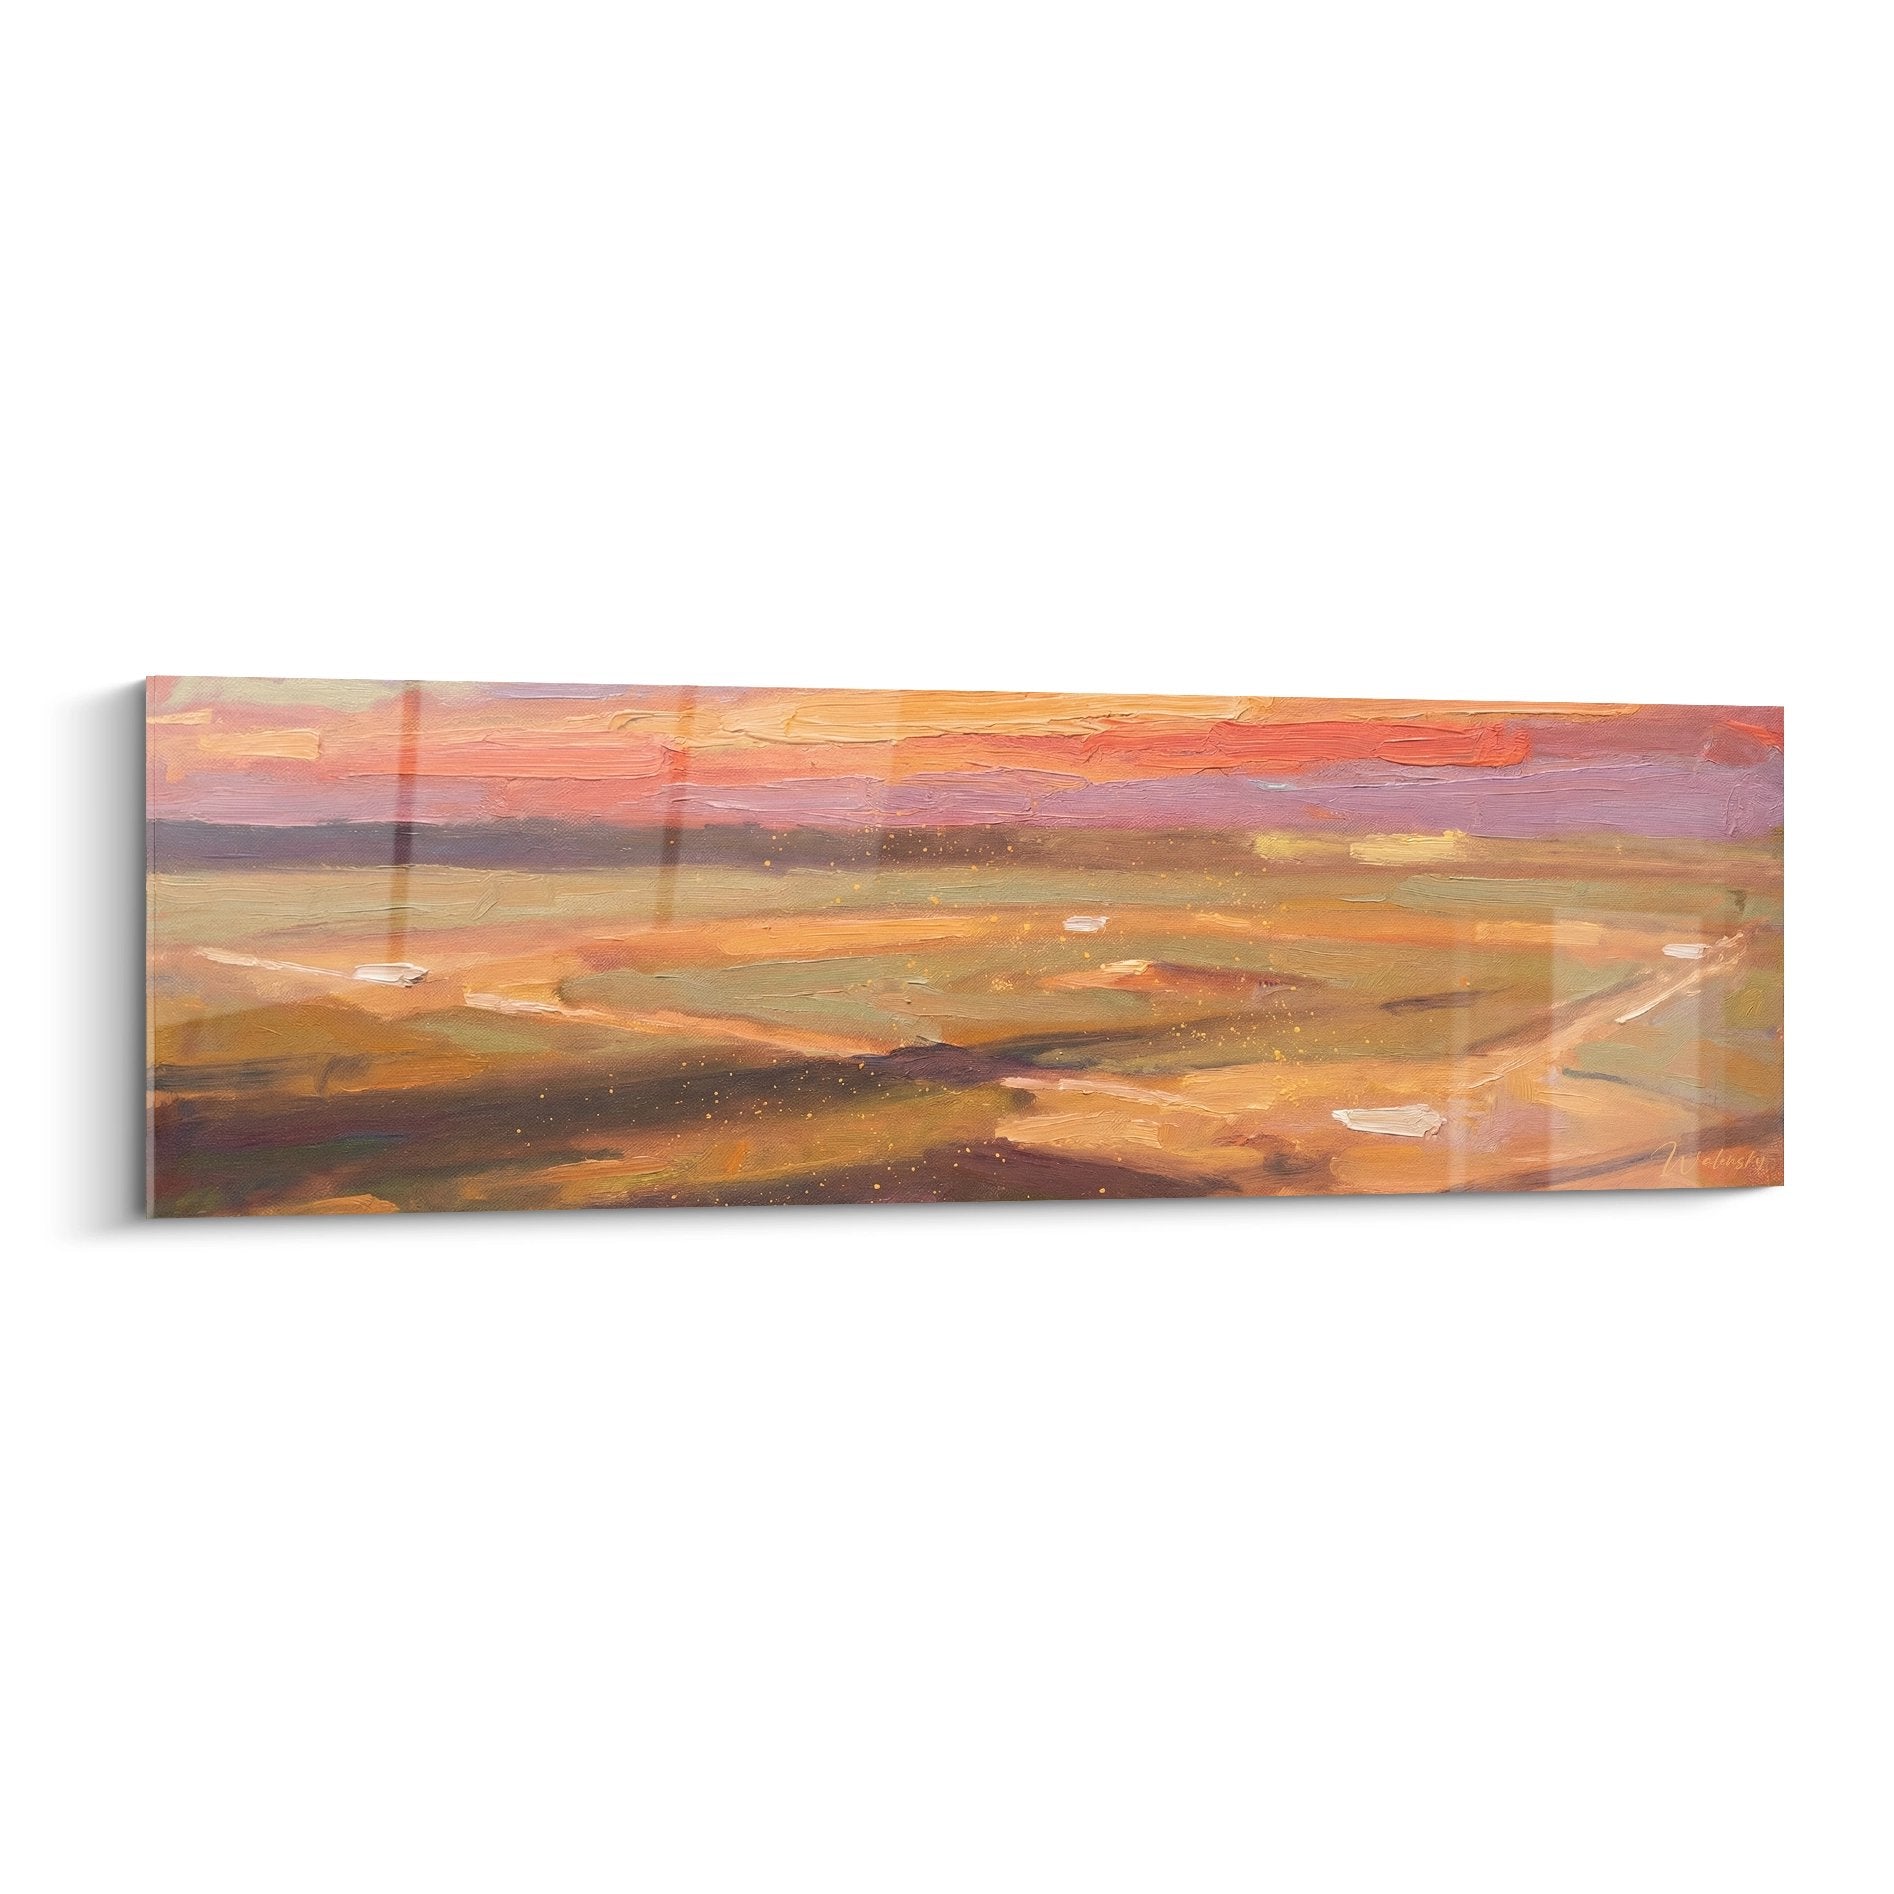






Arrange the room around the artwork as a visual focal point
October 11, 2025 · 16 min read · by Walensky
You pace back and forth, mentally moving each piece of furniture, imagining different locations. The sofa here? No, it hides part of the artwork. The console there? It’s too cluttered. And that natural light which changes according to the time of day, completely transforming the atmosphere and colors...
You've tried following classic decorating rules: “hang the artwork at eye level,” “respect the rule of thirds,” “balance the volumes.” But the result never really satisfies you. Something is off, and you don’t know what.
It’s perfectly normal, and it's not your fault. Most decorating advice treats the artwork as a simple decorative element among others, when in reality, organizing a room around a work of art requires a completely different approach.
By the end of this article, you will master the art of making your artwork the true heart of your decor, and you will know how to create a harmonious space where each element naturally dialogues with your favorite work.
Why does your artwork deserve to be the center of your decoration?
Unlike fleeting decorating trends, an artwork chosen from the heart remains timeless. Now is the time to act, because postponing this reorganization means depriving yourself every day of the pleasure of living in a space that truly resembles you. Imagine: every morning, you wake up in a living room where your gaze naturally rests on this work that inspires you, and where all the space breathes harmony.
🎨 Revelation from a decorator: "I saw a client completely transform the energy of her living room in 48 hours, simply by repositioning her sofa facing her favorite abstract artwork and adjusting the lighting. She told me: 'For the first time, I feel like I'm really home.'"
Conversation with a decorating expert
The principle of the visual pivot: Like a magnet, your artwork naturally attracts the gaze and sets the tone for the entire room. Once this aesthetic anchor is in place, all other elements find their place intuitively, creating a cohesive ensemble in 2-3 weeks maximum.
Understanding what's really happening in your space
You may be feeling this sense of discomfort when you enter your room: the impression that "something is wrong" without being able to put your finger on it. Or even the frustration of never knowing where to look, as if the space lacked soul and direction.
This isn't a lack of taste or skill. It’s simply that your space lacks a "focal point" – that visual anchor that gives meaning to everything else. Without it, even the most beautiful furniture seems to float in emptiness.
Think of an orchestra without a conductor: each musician plays well individually, but the overall harmony is lacking. Your artwork can become that visual conductor that coordinates all elements of your decor.
The real cause: lack of visual hierarchy
Contrary to what many think, the problem isn't a lack of decorative objects, but an absence of clear hierarchy between them. Your brain naturally seeks a dominant element to understand the space, and without it, it remains in permanent discomfort.
It’s like trying to read text where all words are the same size: tiring and confusing. In interior design, visual hierarchy allows the eye to rest and the mind to feel at peace.
This discovery will change your approach to decorating: you'll no longer seek to "fill" the space, but to create a harmonious conversation between your artwork and the rest of the room.
🔍 Immediate test: Enter your room and count to three. Where did your gaze settle first? If it wasn't your artwork, then it’s not yet your visual pivot – and you’ve just discovered your margin for improvement!
The mistake of "universal" placement rules
The famous "eye-level" rule completely ignores the real function of your space. An artwork in a dining room is viewed differently than in a living room where you spend time sitting.
It’s like wearing shoes that are the right size but designed for another sport: technically correct, but ineffective in practice. Generic rules don't take into account your daily use of space.
Result: you follow the advice to the letter, but you never feel that deep sense of satisfaction from a space perfectly suited to your lifestyle and sensibility.
The trap of perfect symmetry
Many try to create a perfect balance by centering everything absolutely. But real life isn't symmetrical, and neither are our spaces. A slightly off-center artwork can create a much more dynamic feel.
Observe your own behavior: you don't always sit in the exact center of the sofa, you don't walk through the room in a perfect straight line. Why force your decor into this artificial rigidity?
This revelation frees your creativity and allows you to create more natural compositions that accompany your daily movements instead of constraining them.
3 signals that your space is looking for its pivot:
- You often rearrange cushions or decorative objects: It's your instinct seeking to create visual order. Your space lacks a stable reference that would give each element its place.
- Your guests don’t know where to sit naturally: Without an obvious focal point, they hesitate because the space doesn't indicate the comfort zone. A well-positioned artwork intuitively guides you to the right spot.
- You avoid certain views of your room: This reveals "dead" zones where harmony breaks down. A successful visual pivot creates a 360° coherence that makes every perspective enjoyable.
The trigger: the radiating effect
When an artwork truly becomes the pivot of a space, it creates what is called a "radiating effect". Like a stone thrown into water forms concentric circles, your work naturally influences the placement of each piece of furniture, the orientation of lighting, and even the choice of surrounding colors. You'll recognize it by that feeling of obviousness: suddenly, you instinctively know where to place each element, as if the room dictated its own logic.
The golden rule of the visual pivot: A well-positioned artwork should be visible from at least 80% of the seating areas in the room, without effort or contortion. Test it by sitting in different places – if you have to search for your work with your eyes, it's not yet your true pivot.
| ❌ Scattered decor | ✅ Mastered visual pivot | 💡 The difference | 🎯 Daily benefit |
|---|---|---|---|
| We search where to focus our gaze | The eye immediately finds its anchor point | Clear visual hierarchy | Feeling of calm and mastery |
| Each element seems isolated | Everything dialogues harmoniously | Global narrative coherence | Pride in hosting guests |
| Constant desire to rearrange | Sustainable satisfaction of your space | Balance found and stable | Energy released for other projects | Impression of a "cold" space | Warm and personal atmosphere | Authentic expression of personality | Well-being on a daily basis |

Our favourite
Honfleur Harbor Artwork - Colorful Reflections on the Old Basin - Normandy Edition
233,90€
Discover this artworkThe 3-step method to create your perfect focal point
Rest assured: transforming your space around your artwork doesn't require major work or a significant budget. It’s more like revealing a photo: all the elements are already there, you just need to organize them according to the right logic. By following these 3 progressive steps, you will see your room transform naturally, becoming a little more harmonious each day. At the end, you'll have that deep satisfaction of a space that truly reflects you.
🎯 Overview of your transformation : Step 1 - Positioning the artwork (foundations), Step 2 - Arranging furniture (structure), Step 3 - Harmonizing lighting and details (finishing touches). Each step immediately reveals a visible improvement, creating a natural motivation effect for what follows.
Step 1: Finding the magnetic location of your artwork
This first step is crucial because it determines everything that follows. It's like choosing the location of a house: once the foundations are laid, everything else naturally follows. You will feel immediately when you have found the right place: it’s that feeling of obviousness, almost of relief, that makes you say "Ah, that's where it should be!"
What you need for this step :
- A measuring tape : To measure distances and heights accurately. Choose a model of at least 3 meters that remains rigid when stretched vertically. Avoid sewing tapes that are too flexible, which distort measurements – accuracy to the nearest centimeter makes all the difference for visual harmony.
- Kraft paper or newspaper : To create a template with the exact dimensions of your artwork. This pro technique avoids unnecessary holes in the wall and allows you to visually test several locations. Kraft is more resistant and adheres better than ordinary newspaper.
- Repositionable masking tape : To temporarily fix your template without damaging the paint. Prefer painter's tape, specially designed not to leave any trace even after several days. It’s the investment that saves you a paint touch-up.
Now, let's move on to practice step by step :
How to proceed without risk of error :
Create your test template : Cut out a rectangle of paper with the exact dimensions of your artwork, then add a 5 cm margin all around. This margin allows you to visualize the breathing space needed around the work. Write "TOP" in pencil on one side so you never get the orientation wrong.
⏱️ Time: 10 minutes | ✅ Successful when: The template stands straight against the wall and you can move it easily | ⚠️ Attention: Measure twice before cutting – many people make mistakes by confusing the width and height of the artwork.
Test the ideal height: Place the template so that the center of your future artwork is 1.45m from the floor (not the top edge!). This height corresponds to eye level for an average-height person. Look from your different seating points: sofa, armchair, dining table.
⏱️ Time: 15 minutes | ✅ Successful when: You can comfortably see the artwork from all your favorite seats | ⚠️ Attention: If your ceiling is low (less than 2.40m), lower the artwork by 10-15 cm to avoid a feeling of being overwhelmed.
Identify the impactful wall: Choose the wall you see when entering the room, or the one facing which you spend the most time. Avoid walls with too many openings (doors, windows) that create visual competition. A "full" wall allows your artwork to reign supreme.
⏱️ Time: 5 minutes | ✅ Successful when: The chosen wall naturally catches your eye | ⚠️ Attention: Don't choose a wall by default because “there’s space” – always prioritize visual impact.
✨ Validation of step 1: Your template is in place and you feel a sense of "rightness" when you look at the whole thing. Invite someone else into the room: their gaze should naturally be drawn to your future artwork. If you're still unsure, leave the template for 24 hours and observe it at different times of the day.
— Our selection


OUR RECOMMENDED PRODUCTS
Step 2: Arrange your furniture in dialogue with the artwork
Now that your artwork has found its place, your furniture will naturally want to organize around it. This is the most rewarding step because you see the space transform before your eyes, each movement creating more harmony than the previous one. This reorganization creates a positive domino effect: as soon as the first piece of furniture finds its logical place, the others follow intuitively.
The principle of "visual conversation":
Position the main furniture: Place your main sofa or armchair so as to create an optimal viewing angle on the artwork. Neither perpendicular (you crane your neck), nor perfectly facing (too frontal). An angle of 30-45° creates this "natural conversation" between the seating and the artwork.
⏱️ Time: 20 minutes | ✅ Successful when: Sitting comfortably, your gaze naturally rests on the artwork | ⚠️ Attention: Keep a minimum of 1m50 between the furniture and the wall of the painting to avoid the "collision visual" effect.
Create sight lines: Orient other furniture (console, bookcase, coffee table) so that they subtly "point" towards your artwork. No need for it to be mathematical, just that the whole thing naturally guides the eye to your focal point.
⏱️ Time: 25 minutes | ✅ Successful when: Even when looking elsewhere, your peripheral vision "feels" the presence of the painting | ⚠️ Attention: Don't over-direct: a perpendicular piece of furniture can create an interesting counterpoint.
This final step transforms your successful arrangement into a true sensory experience. This is where you go from "informed amateur" to "connoisseur", mastering these subtleties that make all the difference between a pretty space and a magical space. The final result: a room where you want to spend time, where your guests feel immediately comfortable, and where your painting lives and breathes according to the moments of the day.
Create the perfect lighting:
Install dedicated lighting: Add a light source that specifically highlights your painting: track spotlight, adjustable wall lamp, or floor lamp directed. The goal is not to dazzle, but to create a luminous presence that reveals the nuances of the work.
⏱️ Time: 30 minutes | ✅ Successful when: The painting "lives" even when general lighting dims | ⚠️ Attention: Avoid LED lights that are too white (over 4000K) which distort the colors of paintings.
The rule of progression: Move on to the next step when you feel a stable satisfaction with the current step. If you are still hesitating, it means that the balance has not been found - take the time to adjust before moving forward. Patience at each stage avoids you having to start all over again.
Congratulations! You now master the fundamentals of visual pivot. But true connoisseurs go further with a few subtleties that make the difference between a successful arrangement and an exceptional arrangement.
🎓 Professional decorator tip: Create a "visual path" by placing 2-3 small objects of the same color family as your painting in the room. For example, if your artwork contains deep blue, a blue cushion on the sofa and a vase of this shade on the console create a harmonious circulation that unifies the entire space effortlessly.
Frequent question from our readers
Excellent question that reveals your artistic sensibility! Hesitation is normal when you have several favorites. Here's an infallible test: stand in the center of your room, close your eyes, and open them again. Which artwork do you instinctively seek with your gaze? That’s the one that best corresponds to the energy you want to give this space. The others will have their moment of glory in other rooms, creating an artistic journey through your interior.
🔄 Rotation test: Try your choice for a week, then change if you wish. Your daily feeling will guide you to the right artwork – the one that provides you with a constant positive emotion, even after several days.
— You may also like


The mistakes to absolutely avoid (without guilt)
After accompanying hundreds of people in this process, I have identified some recurring errors that can compromise your result. The good news? They are all easily avoidable when you know them, and perfectly normal when you start.
- ⚡ Trying to do everything at once: The excitement of the new often leads to wanting to redecorate everything on the same day. Result: we exhaust ourselves, we make hasty choices, and we lose the necessary perspective. Proceed step by step allowing 24-48h between each phase to appreciate the change. This is a mistake that 8 beginners out of 10 make!
- 📏 Ignoring the proportions of the room: A large artwork in a small space can create an oppressive effect, and vice versa. The golden rule: your artwork should occupy between 1/4 and 1/3 of the width of the wall you choose. Neither more (crushing), nor less (lost). Use your template to visually check before final installation.
- 💡 Neglecting natural light: Placing your artwork facing a window creates annoying reflections, and against the light it visually disappears. Observe your room at different times: morning, afternoon, evening. The ideal location remains legible and vibrant throughout the day.
- 🎨 Seeking perfect color matching: Contrary to popular belief, your artwork does not need to "match" exactly with your furniture. A controlled contrast often creates more impact than a too-wise harmony. Trust your eye: if you like it daily, then it's right.
- 📐 Blindly following standard "rules": “Eye level”, “center of the wall”... These rules ignore your specific lifestyle. In a dining room, you mainly look when seated. In an entrance hall, rather standing. Adapt to your actual use, not to generic magazine advice.
🛡️ Checkpoints before finalization: Is your artwork visible from at least 3 different seating positions? Does the work remain legible with evening lighting? Do you feel a sense of calm when you scan the room with your gaze? If in doubt about any of these points, take the time to adjust – your long-term satisfaction depends on it.

Frequently asked questions about decorating around a painting
Allow a relaxed weekend for the 3 steps, with almost zero budget if you rearrange what already exists. The main investment? Possibly new lighting (30-80€ for a decent spotlight). The secret to optimizing: start with step 1 one evening during the week, you'll have the whole weekend to perfect it without stress. Guaranteed result and preserved wallet!
Absolutely, it's even more effective there! In a limited space, a well-chosen visual pivot immediately creates a sense of order and expansion. The trick: choose a piece with light tones that reflects the light, and don't hesitate to place it on the longest wall to create perspective.
That’s precisely what can create magic! A contemporary painting in a classic interior, or a vintage work in a modern setting bring that creative tension that avoids monotony. Start by applying the method without changing anything else, you will be surprised how harmony can arise from assumed contrasts.
The paper template technique (step 1) solves exactly this problem! Zero holes, zero traces, and you can test as many locations as necessary. Once the perfect location is found, a single drilling is enough. For perfectionists: use a basic metal detector (15€) to avoid pipes.
Congratulations on your progress! The next step is to create subtle "visual echoes": discreetly repeat a color or shape from your painting elsewhere in the room, play with reflections using a strategically placed mirror, or create rhythm with 2-3 objects of different heights that guide the eye towards your artwork. It's the art of advanced composition!
Your new life with a space that resembles you
In a few weeks, when your friends cross the threshold of your door, they will immediately feel this difference: your interior tells a story, yours. The look they cast on your artwork, then on the harmonious whole you have created, will give you that discreet but profound pride in having a truly unique home.
Beyond the aesthetic aspect, you will have developed a decorative eye which will serve you for all your future interior design projects. This ability to see the overall space, to anticipate balances and harmonies, will become your new creative superpower.
The best part of it all? You now know that creating an interior that reflects you does not require a huge budget or a special gift. Just method, a little patience, and above all confidence in your own tastes. Your paper template awaits you, so why not start tonight?
✨ Your first step towards transformation : Take 10 minutes tonight to cut out your template and position it. This simple action will trigger your motivation and make you want to see the final result. You deserve a space that inspires you every day!
Also read: 🎯 Read more articles about art and interior design
</divExplore our collections


