

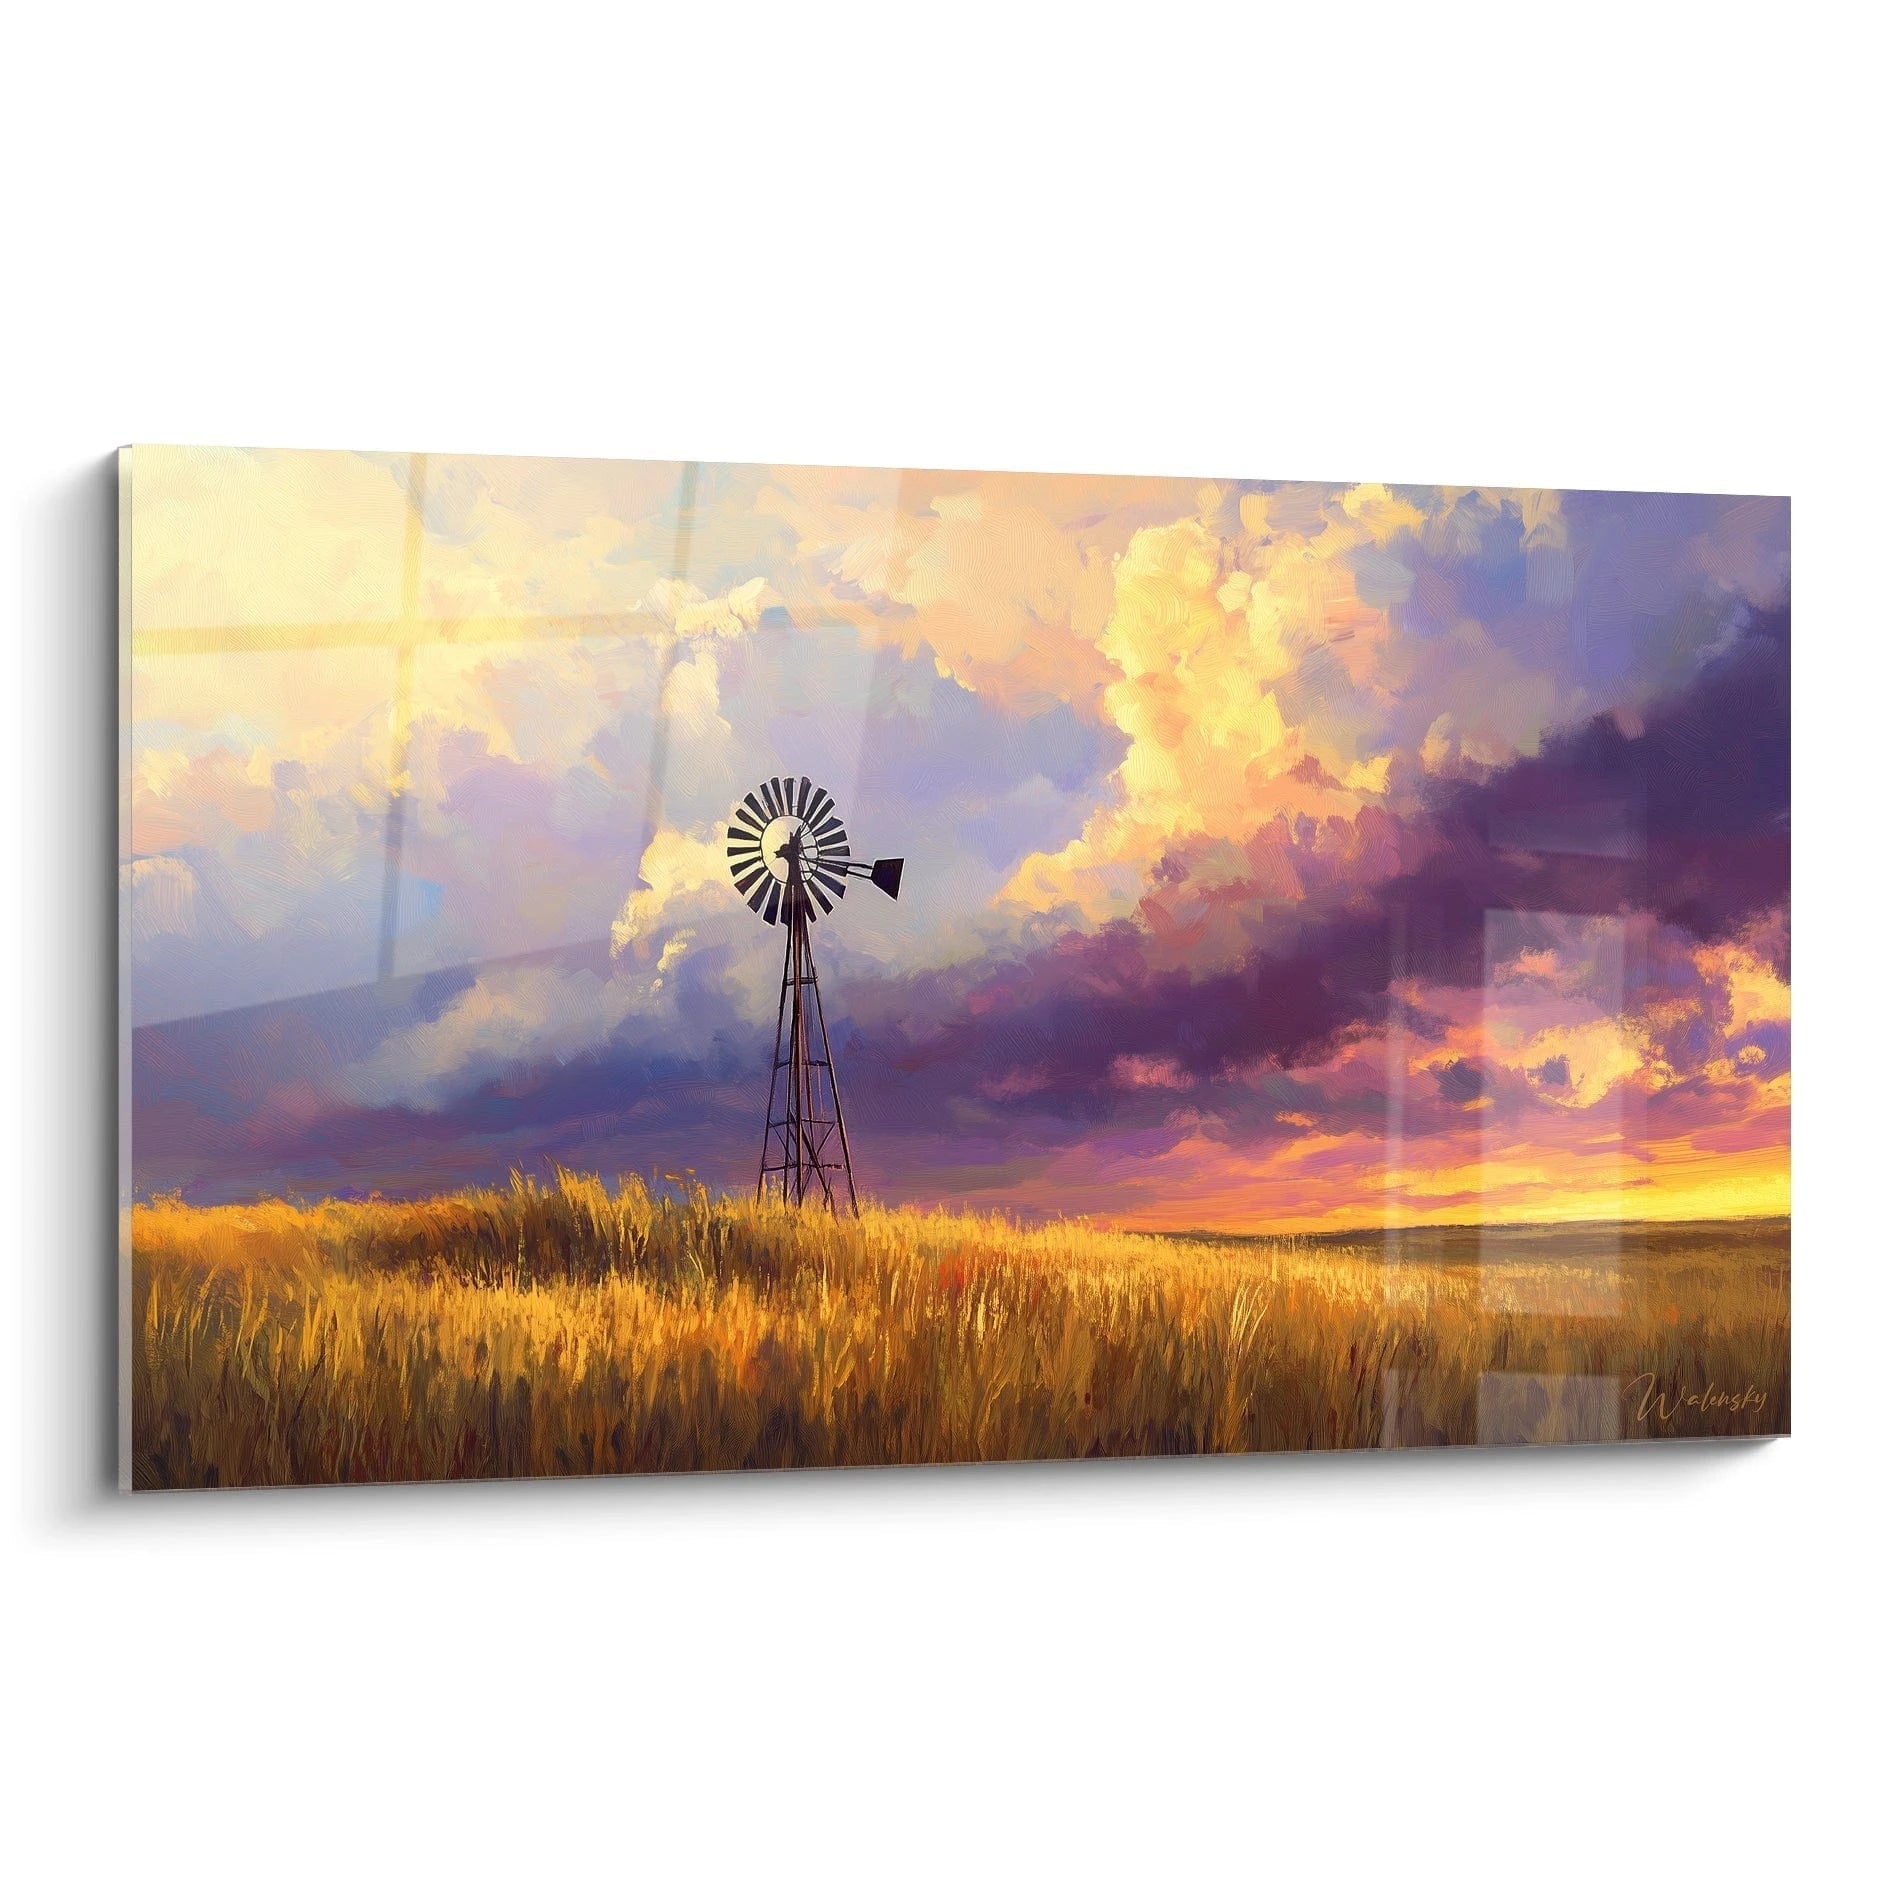






Maintaining your artwork in a dusty house
11 October 2025 · 18 min read · by Walensky
You admire your magnificent painting that you have chosen with such care, but a thin layer of dust comes to tarnish its vibrant colors. Each week, you vacuum, you dust your furniture, but this persistent dust seems to have taken up residence on your favorite work of art.
You feel this dull frustration: seeing your artistic investment lose its luster due to accumulating particles. The fine details of the work disappear under this grayish veil, the contrasts fade, and you no longer dare to invite friends for fear they will notice this neglected appearance.
You have already tried to gently clean with a cloth, a duster, or even a vacuum cleaner on low power. But either the dust returns faster than expected, or you fear damaging the delicate surface of your artwork. Result: you oscillate between inaction and hesitant gestures.
This is not your fault! Most maintenance advice ignores the specificity of very dusty environments and simply recommends generic recommendations that do not take into account the persistent nature of this problem in some homes.
By the end of this article, you will master preventive techniques and gentle cleaning methods specifically adapted to dusty environments, and you will finally be able to admire your artworks in their original splendor, week after week.
Why does dust threaten your artworks?
Ignoring the accumulation of dust on your artworks is like allowing slow but certain erosion to settle on your artistic investments. The longer you wait, the more the particles become embedded in the micro-reliefs of the paint, making dusty artwork cleaning more delicate. It's exactly like a car that would never be washed: the dirt eventually adheres and requires more aggressive methods.
🏠 Customer testimonial: Marie, owner of an industrial loft, recently told us her frustration: "I loved my abstract painting with vibrant colors, but after six months without proper maintenance, the subtle nuances had completely disappeared under a layer of urban dust. I realized I wasn't even looking at it anymore!"
Conversation with a decor expert
The golden rule of conservation: It's better to prevent accumulation than to suffer from incrustation. A 2-minute weekly maintenance preserves your work better than intensive cleaning sessions every six months, and you will rediscover the original shine from the first week.

Finally understand why dust accumulates on your artworks
Three situations will certainly resonate with you: you notice that your artworks hung near windows are dustier, that certain works "attract" more dust than others, and that traditional cleaning never lasts long.
What's actually happening is a phenomenon of electrostatic charges and air circulation that no one has ever explained to you clearly. The problem isn't your usual cleaning method, but the ignorance of these invisible mechanisms.
Imagine dust as dandelion seeds: they don't settle randomly, they follow air currents and stick to surfaces that "call" them electrically.
Air circulation: the invisible but decisive factor
Contrary to what one might think, the dustiest areas are not necessarily the most exposed to the outside. The reality: interior air currents create privileged deposition zones.
It's like the leaves in your garden: they don't fall evenly, they accumulate in corners where the wind slows down and swirls.
This discovery completely changes your approach: instead of cleaning blindly everywhere, you can target critical areas and adapt your dust protection strategy.
🔍 Quick test: Observe your artworks for 30 seconds at the end of a sunny day. The areas where you see particles dancing in the light are those where dust settles the most. Mentally note these "aerial corridors".
The electrostatic effect: why some materials attract more
You've surely noticed that your artworks under glass dirty faster than your bare canvases. The actual mechanism: certain materials accumulate electric charges that literally attract suspended particles.
It's exactly like when you rub a balloon on your hair and it attracts small pieces of paper: your artworks become "dust magnets" according to their composition and environment.
As a result, you exhaust yourself cleaning the same areas over and over, without understanding why this particular area becomes dusty so quickly.
Relative humidity: the secret amplifier of the problem
Here's what almost no one notices: on days when the air is dry, dust "sticks" more to surfaces. A painting in a room with 30% humidity accumulates three times more persistent particles.
You can easily verify this: on cold winter mornings with the heating on full blast, after a day of dry wind, or in permanently air-conditioned rooms.
This knowledge transforms your daily life: some days require increased vigilance, others allow you to relax a bit.
🎯 The 3 warning signs to watch out for:
- Visible particles moving in the light: This means active air circulation constantly depositing new particles. It's like snow falling constantly.
- Uneven accumulation on the same artwork: Reveals local micro-air currents. Like salt traces on a car after winter, the distribution tells you about the flows.
- Quick return after cleaning: Indicates an electrostatic or humidity problem. The artwork "recalls" dust like a magnet that recharges.
The trigger factor: surface temperature
What really makes the difference is the relative temperature of your artwork compared to the ambient air. An artwork that is colder than the air (north wall, proximity to a cold window) acts as a condenser that attracts and retains particles. This is the "fogged windshield" effect: temperature differences create adhesion phenomena. You can identify this by gently touching the frame: if it is colder than your fingers, it actively draws in dust.
The rule of balanced temperatures: An artwork at room temperature accumulates 50% less dust than a "cold" artwork. Check with a simple touch and adjust ventilation if necessary.
| ❌ Common misconception | ✅ Reality | 💡 Explanation | 🎯 Practical benefit |
|---|---|---|---|
| The more you clean, the better it is | The optimal frequency avoids embedding | Excess can create static electricity | Less effort, better result |
| Dust comes from the outside | 70% comes from inside the house | Textile fibers, skin, domestic activity | Preventive strategy is more effective |
| All artworks get dirty the same way | The material and location change everything | Variable electrostatic and air circulation | Personalized and targeted maintenance |
| You should avoid touching the artworks | Gentle regular maintenance protects them | Prevention avoids heavy interventions | Long-term preservation ensured |
— Our selection


The progressive method for flawless paintings
Rest assured, restoring and maintaining the brilliance of your paintings requires neither expensive equipment nor specific skills. This method follows a gardening logic: you prepare the ground (prevention), you sow good habits (regular maintenance), then you reap resplendent works of art. In three weeks, you will see a visible and lasting transformation of all your wall art.
🗺️ Overview of your journey: Step 1 - Diagnosis and preparation (result: you master your environment), Step 2 - Adapted maintenance techniques (result: effective routine in place), Step 3 - Advanced preventive protection (result: complete autonomy and artworks protected durably).
Step 1: Personalized environment diagnosis
Starting with this step avoids costly mistakes and saves you valuable time later on. It's like laying the foundations of a house: invisible but essential for the solidity of the whole. Once this mapping is complete, you will feel the relief of finally understanding why certain areas are problematic.
Your diagnostic kit (completely free):
- Your smartphone with flashlight: The perfect tool to reveal suspended particles. Unlike a duster which only moves dust, direct light shows you the reality of air circulation. Orient the beam parallel to the wall, the particles will appear as dancing sparkles.
- A white paper towel: Your instant electrostatic charge detector. The neutral paper reveals attraction zones without risk to your artworks. If the towel "sticks" near the painting, you have identified a zone with high electrostatic risk.
- Your hands (clean and dry): The most reliable thermometer to detect temperature differences. Unlike digital thermometers that are too precise, your palms perceive significant differences that actually influence dust accumulation.
Now, let's move on to concrete action
Your methodical inspection:
Map the air flows: At the end of the afternoon, turn on your flashlight and slowly sweep the space around each painting. This technique reveals the "invisible highways" of dust. Observe where the particles swirl the most: these are your priority critical zones.
⏱️ Time: 10 minutes per room | ✅ Success when: You identify 2-3 clear "dust corridors" | ⚠️ Attention: Don't do this with windows open, you would see external flows masking your real interior problems
Test electrostatic charges: Gently approach a tissue to each painting without touching. If the paper is attracted or "floats" towards the surface, you have detected an electrostatic accumulation zone. Mentally note these "magnetic" paintings that will require special treatment.
⏱️ Time: 2 minutes per painting | ✅ Success when: You clearly distinguish "neutral" paintings from "attractives" | ⚠️ Attention: A damp tissue falsifies the test, your hands must be perfectly dry
Evaluate relative temperatures: Place your palm 5 cm from the wall, then the painting, then the frame. Surfaces cooler than your hand are "dust condensers". This information determines your personalized maintenance frequency.
⏱️ Time: 30 seconds per artwork | ✅ Success when: You clearly feel the temperature differences | ⚠️ Attention: Avoid just after touching hot or cold objects, let your hands acclimatize for 2 minutes
✅ Step 1 validation: You must be able to mentally map out the "risk chart" of each room: flow areas, electrostatic fields, cold surfaces. If it's blurry, start over one zone at a time. This solid foundation saves you hours of inefficient maintenance later!
Step 2: Master gentle maintenance techniques
Now that you know your terrain, you will develop precise and effective gestures. This step transforms your hesitant approach into a confident and quick routine. The snowball effect begins here: the more you practice these techniques, the longer your artworks remain beautiful, the less you need to intervene.
Your professional's tools:
- Large natural hair brush (2-3 cm): The tool of choice for art restorers. Unlike cloths that can snag, natural bristles glide and lift dust without friction. Look for it in the fine arts section; it should be flexible enough to bend under light pressure but retain its shape.
- Special optical microfiber: The kind from opticians, not the kind for household cleaning! Its ultra-fine structure captures particles without redistributing them. The quality test: it should glide on your skin like silk, never snag. This texture reveals its ability to respect delicate surfaces.
- Distilled water atomizer: Your secret weapon against static electricity. Tap water contains minerals that leave traces; distilled water evaporates without residue. A light mist neutralizes charges and greatly facilitates the dusting of problematic areas.
Your master's gestures:
The floating brush technique: Hold your brush like a watercolor brush, perpendicular to the artwork. Gently sweep the surface in parallel movements, from top to bottom, letting the bristles do the work. This method lifts dust without ever pushing it into the reliefs.
⏱️ Time: 1 minute per average artwork | ✅ Successful when: No visible streaks, dust fallen to the floor | ⚠️ Attention: If you press, you embed instead of releasing - the brush must "float" above the surface
Dusting by zones: Mentally divide your artwork into four quadrants. Treat each zone completely before moving on to the next. This systematic approach avoids redistributing dust and allows you to see your progress in real time.
⏱️ Time: 2-3 minutes for a large artwork | ✅ Successful when: Each zone regains its original colors | ⚠️ Attention: Never go over a zone that has already been cleaned; you would redeposit the brush's particles
Electrostatic neutralization: For "magnetic" artworks identified in step 1, spray very lightly into the air 20 cm from the artwork (never directly on it). Ambient humidity neutralizes charges and facilitates cleaning. Wait 30 seconds and then proceed normally.
⏱️ Time: 2 minutes including pause time | ✅ Successful when: The brush glides without resistance | ⚠️ Attention: Too much humidity creates streaks; it's better to repeat the operation lightly than to apply too much at once
🎨 Step 2 validation: Your artworks should regain their original luster and maintain it for at least a full week. If dust returns in 2-3 days, it means you have not neutralized the causes (return to step 1) or that your technique redistributes the particles.
Step 3: Advanced preventative protection system
You have now reached the level of expertise that makes you autonomous and confident. This final step teaches you to anticipate instead of reacting, transforming your relationship with artistic maintenance. You develop the eye of a connoisseur that identifies and corrects imbalances before they become problematic.
Your preventative arsenal:
- Portable humidifier or saucers of water: Your atmospheric regulator to maintain 45-55% relative humidity. Balanced air reduces electrostatic accumulation by 60%. Place it strategically according to your map from step 1, in areas of intense air circulation.
- Fabric softener sheets (unscented): The little-known trick of professionals! Passed discreetly over frames once a month, they create an invisible antistatic barrier. Choose unscented to avoid chemical reactions with varnishes.
- Personalized visual schedule: Your dashboard to never suffer the effects of accumulation. Noting interventions makes you aware of your home's natural cycles and optimizes your efforts.
Your expert routine:
Weekly climate monitoring: Every Sunday, assess the condition of your paintings and the atmosphere of each room. Look for early signs: slight tarnishing, uneven accumulation, new problematic area. This vigilance allows you to adjust before problems settle in.
⏱️ Time: 5 minutes of complete tour | ✅ Successful when: You anticipate needs before dust is visible | ⚠️ Attention: Don't fall into anxious over-monitoring, the goal is serenity, not obsessive perfection
Preventive frame treatment: Once a month, gently pass a fabric softener sheet over the frame surfaces (not on the artwork itself). This operation creates an invisible barrier that repels particles for 3-4 weeks. Focus on metallic and varnished frames, which are more conductive.
⏱️ Time: 30 seconds per frame | ✅ Successful when: Visible reduction in accumulation the following month | ⚠️ Attention: Never on painted parts or porous surfaces, only on smooth and sealed materials
Environment optimization: Adjust the position of your artworks according to your observations: slightly offset those in airflows, add targeted humidification sources, modify orientation to avoid temperature effects. These micro-adjustments have a major impact on durability.
⏱️ Time: 15 minutes of monthly adjustments | ✅ Successful when: Stabilization of conditions, maintenance need halved | ⚠️ Attention: Change only one parameter at a time to identify what really works
🏆 Validation of step 3: You must be able to accurately predict when and where to intervene, your paintings remain impeccable with minimal effort, and you feel a true serenity towards the maintenance of your artworks. Congratulations, you have achieved complete autonomy!
The rule of intelligent progression: Master each step perfectly before moving on to the next. You are ready for the next step when the results are maintained effortlessly for at least two weeks. Expertise is built layer by layer, not by rapid accumulation.
You have just developed expertise that few owners of artworks possess. These subtleties of preventive maintenance give you a considerable advantage: your artistic investments retain their value and your aesthetic pleasure remains intact year after year.
🎯 Curator's tip: Professionals use the "three-look rule": if you have to look closely to see dust, it's the perfect time to intervene. Too soon, it's wasted energy; too late, it's incrustation. This technique preserves your artworks while optimizing your time.
Frequently asked question from our readers
"I'm afraid of damaging my valuable painting by cleaning it myself..."
This concern is perfectly legitimate and reveals your respect for your investment. The reassuring truth: a gentle preventative maintenance protects your artwork infinitely better than a major restoration every ten years. Imagine the difference between brushing your teeth daily and undergoing major dental work: preservation is delicate, intervention is brutal. Start with a less valuable painting to gain confidence and safe gestures, then gradually apply to important pieces. Your confidence grows with practice, and your artworks will thank you for their longevity.
💡 Quick tip: First test your technique on the frame or a less valuable painting. Observe the result for a week: if no problems appear, you can confidently apply the method to your valuable pieces.
— Also to discover


The mistakes that can compromise everything (and how to avoid them)
Some mistakes seem insignificant but can irreversibly damage your artworks. I share these frequent pitfalls with you to avoid costly regrets and protect your artistic investments.
- ⚠️ Vacuuming directly on the painting: This approach seems logical to quickly remove dust, but vacuuming creates a depression that can detach paint fragments or damage the canvas. Even at low power, the risk exists. Use the vacuum cleaner at least 10 cm away, never in direct contact.
- 🚫 "Gentle" household products: Even diluted, they contain chemical agents incompatible with artistic varnishes. Soap and water, white vinegar, "delicate" wipes leave invisible residues that attract more dirt. Only pure distilled water is truly neutral.
- ❌ Cleaning in humid weather: Excessive moisture can cause canvases to swell or create halos on painted surfaces. Always choose a dry day, windows closed, for your maintenance operations. Humidity must be controlled, never suffered.
- ⛔ Ignoring warning signs: Localized color changes, a permanent dull appearance, new cracks indicate underlying problems. Do not insist on an area that resists gentle cleaning: consult a restorer rather than aggravating the situation.
- 🔥 Exposure to direct sunlight after cleaning: A freshly cleaned surface is more sensitive to temperature variations. Avoid direct sunlight for 24 hours after intervention. It's like avoiding the sun after a skin exfoliation: sensitivity is temporarily increased.
🛡️ Your safety system in 4 steps: Always test on a discreet area first, stop immediately if you feel resistance, photograph the before/after state to track the evolution, document what works to reproduce safely. If in doubt, it is better to under-clean than over-clean.
— In the same spirit


Our curated selection
French Bulldog painting No. 1 - Animals Edition
233,90€
Discover this painting → Your questions, expert answers
In a very dusty environment, the optimal frequency is a weekly inspection with light intervention if necessary, rather than a rigid schedule. Some weeks will require 2 minutes of a light brush, others none. The trick: as soon as you need to look closely to see if it's dusty, that's the perfect time to act. This preventative approach divides the total maintenance time by three.
Allow €15 to 25 maximum for a complete professional-grade kit: natural bristle brush (€8-12), optical microfiber (€3-5), distilled water (€2), atomizer (€3). This one-time investment saves you hundreds of euros in professional cleaning and protects your works for years. Compared to the price of a single quality painting, it's negligible.
Three warning signs require the intervention of a restorer: dust that won't come off despite a gentle correct cleaning (deep embedding), the appearance of new stains or discolorations, and any permanent change in appearance after cleaning. The golden rule: if your usual technique no longer gives visible results, the problem goes beyond routine maintenance. Do not insist, document the evolution and consult quickly.
Absolutely, but with important adaptations. For large paintings, work in methodical sections and use a stable ladder rather than stretching your movements. For works under glass, the optical microfiber replaces the brush, and antistatic becomes a priority as glass attracts more dust. The technique remains the same, only the tools change depending on the surface.
Enormously! In very humid regions (coastal areas, rainy zones), monitor for mold and ventilate more. In dry regions (mountainous areas, continental zones), static electricity becomes your main enemy, requiring more targeted humidification. Your region determines 70% of your maintenance strategy: adapt the techniques to your local climate for optimal results.
Your new life with radiant paintings
In a few weeks, you will contemplate your works with a profound and lasting satisfaction. Each morning, the light will reveal vibrant colors, finely detailed details perfectly visible, contrasts that catch the eye. Your guests will immediately notice this refined and cared-for atmosphere that characterizes true art lovers. You will feel that discreet pride of owning perfectly maintained works.
Beyond aesthetics, you have developed a preventive conservation expertise that transforms your relationship with domestic art. This skill gives you confidence to acquire new works, makes you autonomous in the face of climatic hazards, and allows you to advise your entourage with the assurance of a connoisseur.
The most difficult part was understanding the invisible mechanisms that govern the accumulation of dust on your paintings. Now that you master these principles, start today by inspecting a single piece with your smartphone. This first mapping will motivate you to continue and to savor the first results next week.
🌟 Your next step: Your paintings deserve this kind attention, and you now have all the keys to offer them a setting worthy of their beauty. Art has already given you so much pleasure, it's your turn to cherish it with expertise!
Also to read: 📖 Read more articles about art every day
Explore our collections


