

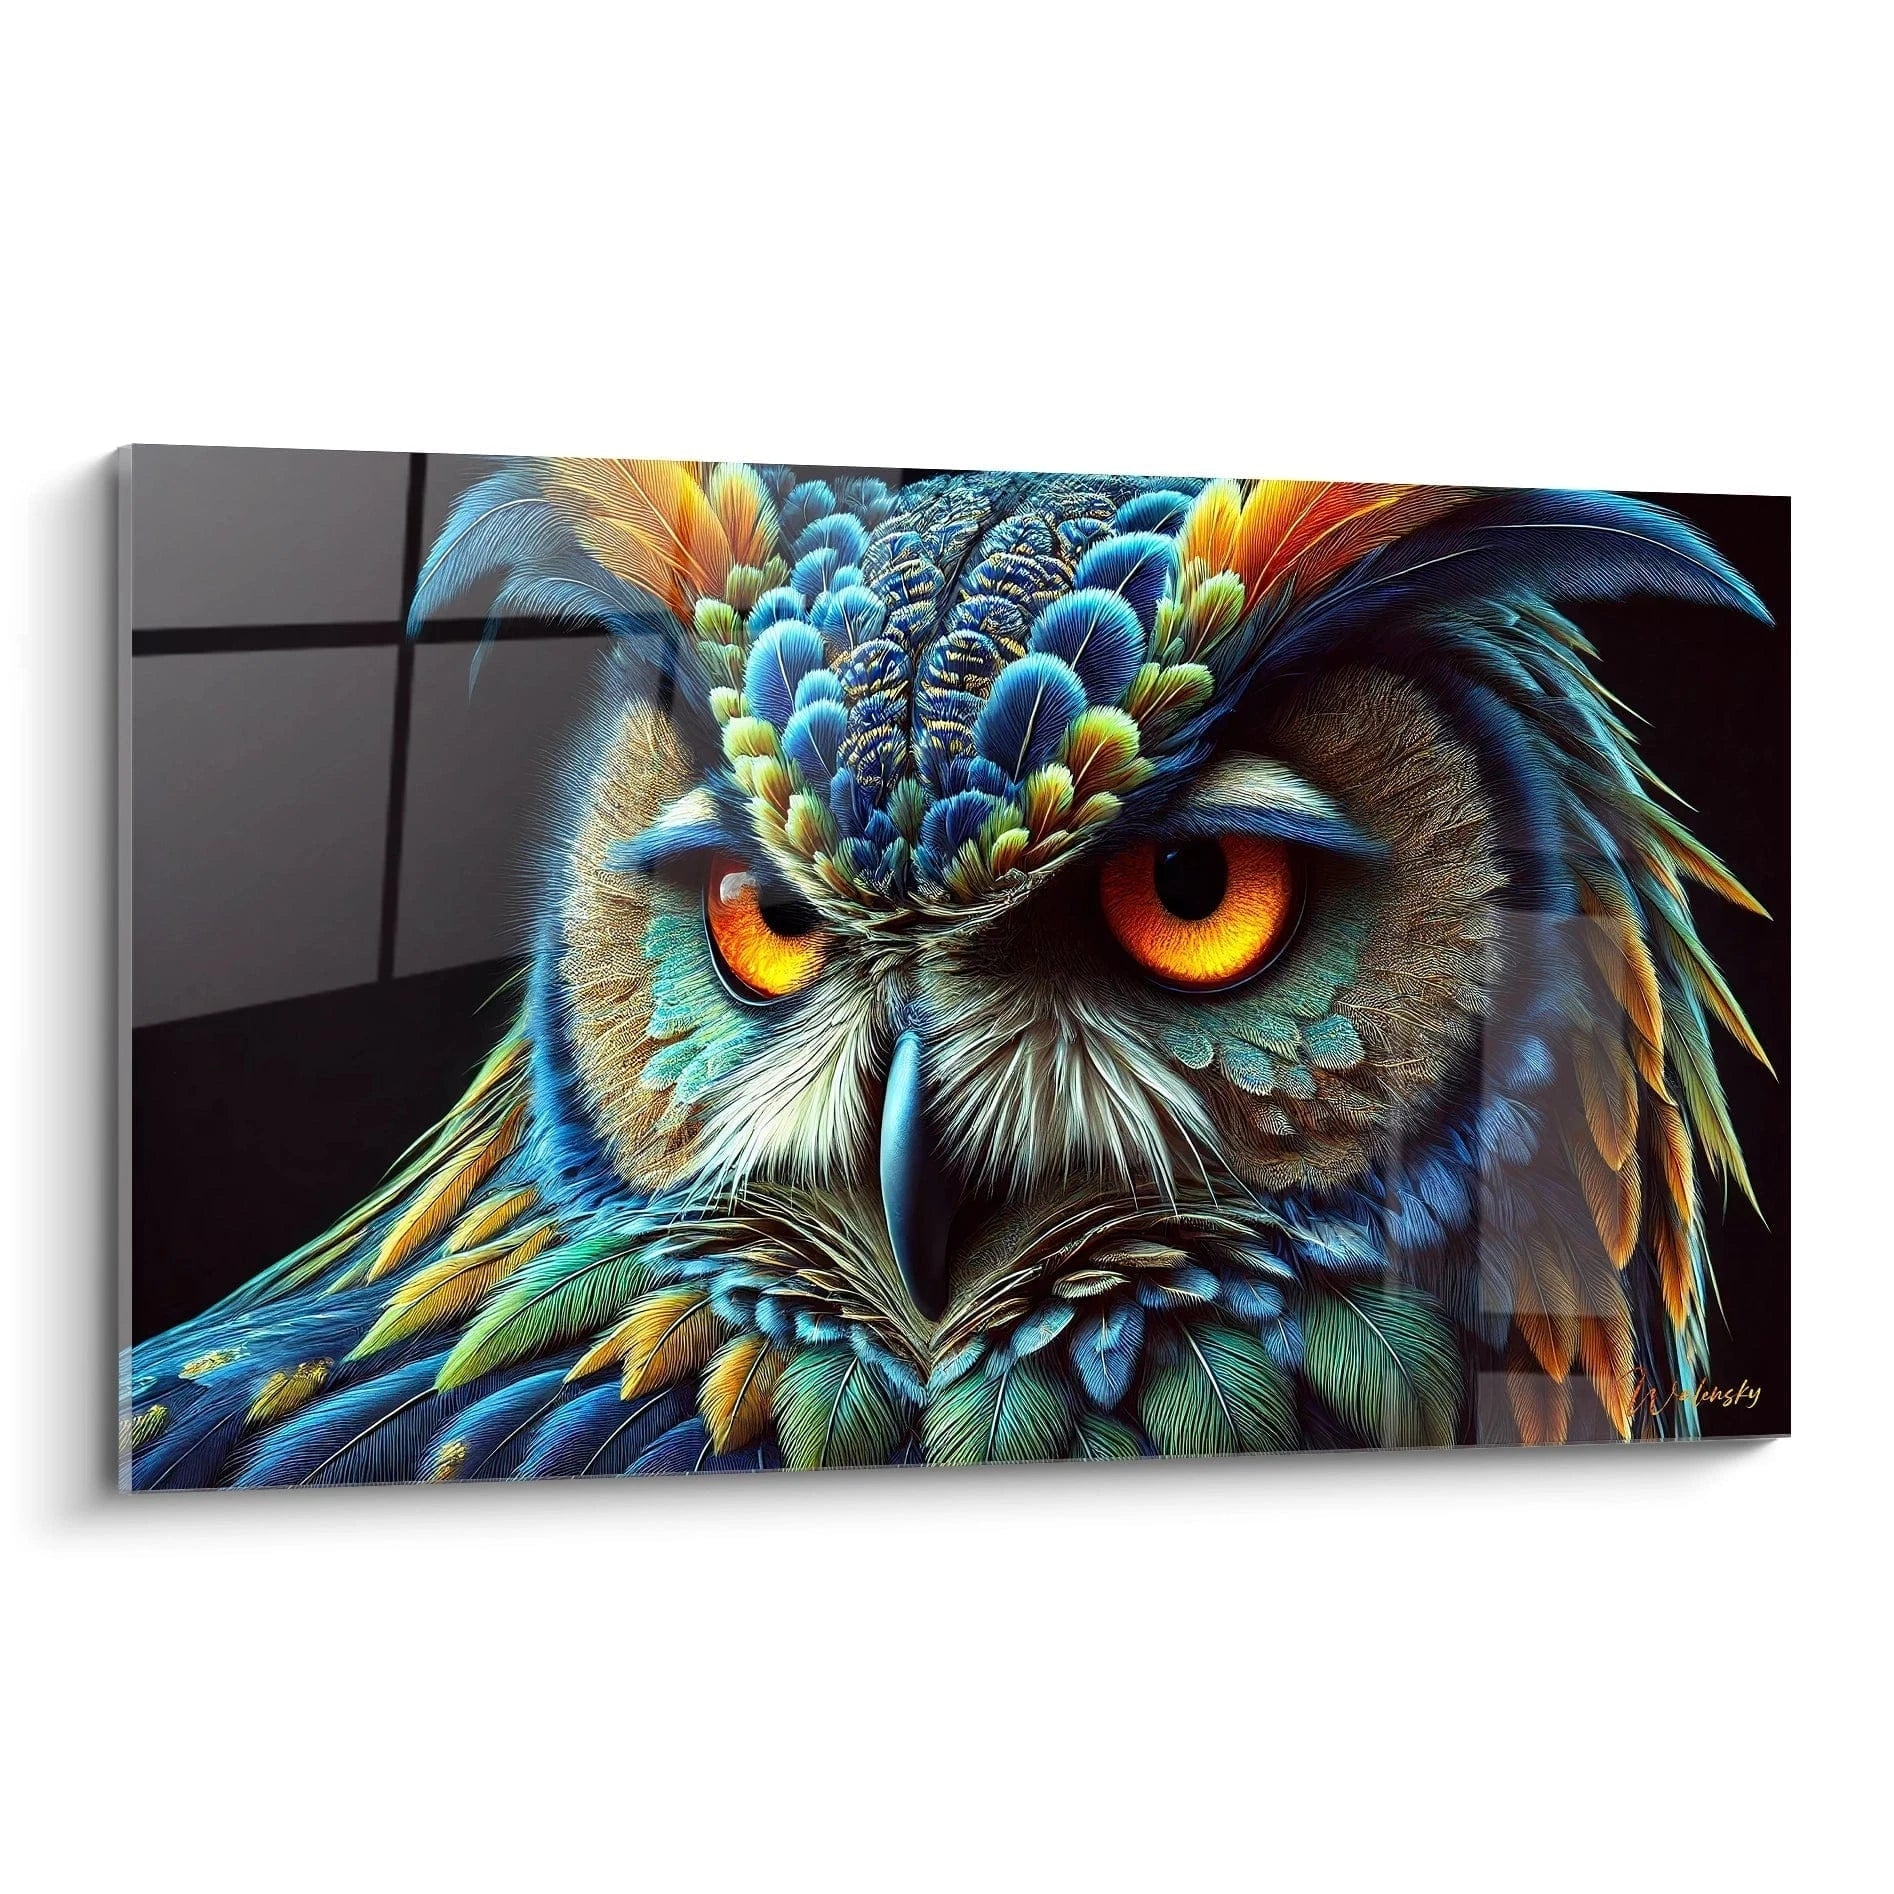






How to Avoid Micro-Scratches on an Acrylic Glass Artwork?
11 October 2025 · 16 min read · by Walensky
You just hung your magnificent acrylic glass artwork and already, you notice these little bright marks in the light. These micro-scratches that spoil the perfect mirror effect you were hoping for so much.
Every time you walk past, your gaze automatically rests on these imperfections. The reflection of the light cruelly reveals each little mark, turning your work of art into a source of daily frustration.
You may have tried cleaning with your usual glass cleaner, or worse, with a dry cloth. Result? Even more micro-scratches forming a network of fine white traces on your acrylic plexi.
Rest assured, it’s not your fault. Acrylic glass, despite its incomparable beauty, simply requires a different approach than traditional glass. Most of the advice you find everywhere is not suitable for this sophisticated material.
By the end of this article, you will master the gentle techniques to preserve the brilliance of your wall art and permanently avoid these micro-scratches that tarnish the beauty of your decor.
Why do these micro-scratches appear so easily?
Acrylic glass has a very different hardness index than traditional glass. It's like comparing the skin of a peach to that of an apple: even if both are smooth, one marks much more easily than the other. This sensitivity is not a defect, it is the price of its exceptional lightness and clarity.
💡 Customer testimonial: "I wiped my new artwork with a wool sweater to remove dust. The next morning, with the sunlight, I discovered a constellation of micro-scratches in an arc. I thought the artwork was defective until I understood my mistake."
Conversation with a decor expert
The golden rule of acrylic glass: Treat it like a precious jewel rather than an ordinary surface. With the right techniques, you will preserve its shine for decades and avoid premature replacement.
Understanding the real causes of micro-scratches
Three situations surely ring a bell: quick dusting with the first cloth you grab, using classic household products, or even energetic cleaning when a stain resists. Each of these habits, though logical, attacks the surface of your wall art.
The problem is not your cleaning technique, but the inadequacy between traditional methods and the specificities of acrylic glass. It's like using fine-grit sandpaper on velvet: even with good intentions, the result is catastrophic.
Imagine your acrylic surface as a perfectly smooth ice skating rink. Each speck of dust becomes a small pebble that, under the pressure of the cloth, carves a microscopic furrow. This is exactly what happens during a poorly prepared cleaning.
Dust: the invisible enemy number 1
Unlike traditional glass, acrylic glass develops an electrostatic charge that attracts and retains particles. This is the "dust magnet" effect that you have surely noticed. This dust, seemingly harmless, becomes abrasive under friction.
Think of microscopic grains of sand glued to your artwork. Each pass of a cloth without preparation transforms them into mini-engraving tools that sculpt these famous micro-scratches into the surface.
This static electricity explains why your artwork always seems dusty and why a simple wipe with a cloth is never enough. On the contrary, it worsens the situation by creating more friction and therefore more scratches.
🔍 Revealing test: Pass your hand 2 cm from your acrylic artwork. Can you feel this slight attraction? This is static electricity at work. The stronger it is, the more dust your artwork attracts.
The error of aggressive chemicals
Many people think that a product that makes traditional glass shine will do wonders on acrylic. This is forgetting that these products often contain ammonia or solvents that can alter the molecular structure of the acrylic polymer.
It's like watering a delicate plant with bleach: the intention is good, but the result is disastrous. These products do not scratch directly, but they weaken the surface, making it more vulnerable to future attacks.
You may notice that your artwork gradually becomes less shiny, even without visible scratches. This is a sign of invisible chemical degradation that prepares the ground for future micro-scratches.
Excessive pressure: when "more force" becomes destructive
When faced with a stubborn stain, the natural reflex is to press harder. On acrylic glass, this concentrated pressure creates mechanical stresses that translate into micro-cracks and characteristic circular scratches.
Imagine trying to remove a stain from a smartphone screen by pressing hard: even if you don't scratch it immediately, you create points of weakness that will give way during the next cleaning. This is exactly the mechanism at work.
These weakened areas become "scratch starting points" that will reveal themselves during the next dusting, giving the impression that scratches appear spontaneously.
🎯 The 4 warning signs to watch out for:
- Distorted or blurry reflections: Indicates an accumulation of micro-scratches that diffuse light instead of reflecting it properly
- "Veiled" appearance from certain angles: Reveals chemical degradation of the surface by unsuitable products
- Dust that returns very quickly: Sign of excessive electrostatic charge due to improper cleaning
- Alternating bright and dull areas: Testifies to uneven wear caused by variable pressures during cleaning
The domino effect of the first scratches
Once the first micro-scratches are established, they create a vicious circle. These small irregularities retain more dust, require more frequent and energetic cleanings, generating new scratches in turn. This is the domino effect that can transform a perfect artwork into a dull surface in just a few months.
Acrylic protection law: A perfect surface remains easy to maintain, but a scratched surface requires increasing effort. Prevention is ten times more effective than repair.
| ❌ Common belief | ✅ Acrylic Reality | 💡 Explanation | 🎯 Practical Benefit |
|---|---|---|---|
| The more I rub, the cleaner it gets | Gentleness prevails over force | Acrylic glass yields under pressure | Effective cleaning without damage |
| All glass products work | Only specific products are suitable | Acrylic reacts to solvents | Preservation of original shine |
| Dust is just dirty | Dust becomes abrasive | Static electricity + friction = scratches | Elimination of the root cause |
| A clean cloth is enough | The type of cloth determines everything | Some fibers are microscopically rough | Scratch-free cleaning |

Our selection
Deer Painting at the Heart of the Rainbow - Animal Edition
233.90€
Discover this paintingThe gentle 3-step method to protect your painting
Now that you understand the mechanisms, let's adopt a methodical and kind approach. Just as with cultivating an exceptional garden, every gesture counts and patience is rewarded tenfold. Your painting will regain its original luster and preserve it durably.
🌟 Overview of the method: Careful preparation to eliminate abrasive particles, gentle cleaning with suitable products, then durable protection against future attacks. Each step prepares the next for a professional result.
Step 1: Preparatory and preventative dusting
This first step is like preparing the ground before planting. If you neglect this phase, all your subsequent efforts will be compromised. This is where you eliminate the abrasive particles that turn a simple cleaning into an involuntary micro-engraving session.
Essential materials for this step
- High-quality microfiber cloth: Look for a tight weave with fibers less than 1 denier. It should feel soft to the touch, with no roughness. Avoid cheap microfibers that may contain stiff fibers. You'll recognize it by its ability to glide over your skin without snagging.
- Natural bristle antistatic brush: Prefer goat or badger hair, long and soft. This brush neutralizes static electricity while dislodging dust without direct contact. The investment is worthwhile for long-term protection of your artwork.
- Special plastic antistatic spray: Choose a silicone-free formula that doesn't leave a greasy film. It should be specifically designed for acrylic surfaces. The antistatic effect lasts for weeks and greatly simplifies future cleanings.
Preparation of the environment and tools
Detailed sequence of execution
Neutralizing static electricity: Spray the antistatic spray onto the brush (never directly onto the artwork). Gently pass the brush 1 cm from the surface, in vertical then horizontal movements. Static electricity disappears and dust detaches naturally.
⏱️ Time: 3-4 minutes | ✅ Successful when: You no longer feel attraction when you bring your hand close to the artwork | ⚠️ Attention: Never touch the surface with the brush, even lightly
Gentle vacuuming: Use a vacuum cleaner with a soft brush attachment, set to the lowest power. Keep the attachment 2-3 cm from the surface and move slowly. This technique captures particles without making them slide across the surface.
⏱️ Time: 2-3 minutes | ✅ Successful when: No visible particles even under oblique lighting | ⚠️ Attention: Too much power can create static electricity
Final check with microfiber: With your perfectly clean and dry microfiber cloth, gently blot the surface in 20x20 cm areas. Rectilinear movements, without pressure, to capture any remaining particles.
⏱️ Time: 2 minutes | ✅ Successful when: The cloth remains clean after passing | ⚠️ Attention: Change sections of the cloth regularly to avoid redepositing dust
🔍 Step verification: Illuminate your artwork with a flashlight from different angles. No particles should be visible, and the surface should have a uniform appearance. If you still see dust, repeat the gentle vacuuming before continuing.
Step 2: Gentle cleaning with suitable products
Now that your surface is perfectly prepared, you can safely approach the cleaning. This step is like polishing a diamond: each gesture must be calculated to reveal the brilliance without altering the material. You'll feel the difference immediately.
Recommended specialized products
- Ammonia-free acrylic cleaner: Special polymer formula with a neutral pH. Absolutely avoid conventional glass cleaners that contain aggressive solvents. A good acrylic cleaner costs more but preserves your artistic investment.
- Distilled or demineralized water: Tap water contains minerals that can leave white streaks when drying. Distilled water guarantees a perfect rinse without residue. Available in supermarkets in the car care section.
- Special optical microfiber cloth: Different from the dusting cloth, this one is designed for wet cleaning. Ultra-fine weave, often used for high-end glasses. It doesn't pill and dries streak-free.
Professional cleaning technique
Preparation of the solution: Dilute the acrylic cleaner according to the instructions (usually 1 to 10 with distilled water). Always test on a discreet corner first. The solution should never be too concentrated, as this may leave streaks.
⏱️ Time: 1 minute | ✅ Successful when: Homogeneous solution without excessive foam | ⚠️ Attention: A solution that is too strong can create a permanent haze
Application by areas: Lightly dampen the microfiber cloth (never soaking wet) and clean in 30x30 cm squares. Very gentle circular motions, without pressure, starting from the center and spiraling outwards. Each area must be treated uniformly.
⏱️ Time: 5-7 minutes depending on size | ✅ Successful when: Complete disappearance of traces and dirt | ⚠️ Attention: Never let the product dry on the surface
Rinsing with distilled water: With a second clean microfiber cloth dampened with distilled water, remove all traces of cleaner. The same gentle circular motion, slightly overlapping the areas to avoid demarcation.
⏱️ Time: 3-4 minutes | ✅ Successful when: No visible residue, surface uniformly clean | ⚠️ Attention: Check that no traces of cleaner remain in the corners
Streak-free drying: With a third perfectly dry microfiber cloth, gently absorb any residual moisture. Blot rather than wipe to avoid micro-droplets that dry leaving mineral traces.
⏱️ Time: 2-3 minutes | ✅ Successful when: Surface perfectly dry and shiny | ⚠️ Attention: Change the area of the cloth as soon as it becomes damp
✨ Quality control: Observe your painting from different lighting angles. The surface should be uniformly shiny, without streaks, halos or matte areas. If you see differences, repeat the rinsing on the areas concerned.
Step 3: Long-lasting protection and preventative maintenance
This final step transforms your occasional cleaning into a permanent protection system. You go from being a "cleaner" to a "work of art conservator". Your painting will now be protected from daily aggressions and will remain beautiful for longer.
Advanced protection system
- Acrylic protection product: Water repellent and antistatic treatment that forms an invisible barrier. Choose a formula that does not yellow over time. Apply every 3-6 months depending on dust exposure.
- Chamois leather finishing cloth: Natural and ultra-soft, it allows the protective product to be spread evenly without leaving streaks. Alternative: special finishing microfiber cloth with ultra-fine weave.
- Removable protective cover: For paintings that are very exposed, a transparent electrostatic film cover prevents dust accumulation between cleanings. Practical for dusty environments.
Applying the protection system
Application of the protective treatment: Spray the product onto the chamois leather cloth (never directly onto the painting). Apply in very light criss-cross motions, starting from the edges then the center. The product should form a uniform and invisible veil.
⏱️ Time: 4-5 minutes | ✅ Successful when: Uniform shine with a discreet pearling effect | ⚠️ Attention: Too much product creates a greasy haze that is difficult to remove
Final polishing: With a dry microfiber cloth, gently polish in circular motions to remove excess and even out the protection. This step reveals the final shine and activates the antistatic properties.
⏱️ Time: 3 minutes | ✅ Successful when: Crystal clear shine without matte areas | ⚠️ Attention: Polish until all traces of product have disappeared
Protection test: Check the antistatic effect by bringing your hand near the painting. The electrostatic attraction should be considerably reduced. Test the hydrophobic effect with a drop of distilled water that should bead without spreading.
⏱️ Time: 1 minute | ✅ Successful when: Water beading and static electricity neutralized | ⚠️ Attention: Immediately eliminate the water droplet after the test
🎯 Final validation: Your painting should have a crystal clear sheen, naturally repel dust, and be easier to clean during future maintenance. The protection will last 3 to 6 months depending on the environment.
Personalized progression rule: Master each step perfectly before moving on to the next. A perfect dusting is more important than an approximate cleaning. Quality always comes before speed.
Congratulations! You now master the professional techniques for preserving acrylic paintings. These skills set you apart from amateurs and guarantee the lasting beauty of your art collection.
💎 Conservator's tip: Professionals use a hygrometer to monitor ambient humidity. Between 45-55% humidity, static electricity is minimal and your painting attracts less dust. A small investment that greatly simplifies maintenance.
Frequently asked question from our readers
"I'm afraid of doing more harm than good with all these special products..."
This concern is perfectly understandable and shows your respect for your artwork. The beauty of this method lies in its progressiveness. Start by mastering antistatic dusting, which alone eliminates 80% of the risk of scratches. You can then add the other steps one by one, at your own pace. Each gesture you learn will be an investment in preserving your art.
🎯 Reassuring action: First test on a piece of inexpensive acrylic glass or on a discreet corner. You will see the immediate difference and gain confidence before applying to your precious painting.
— Also to discover


The 5 mistakes that turn maintenance into a nightmare
Even with the best intentions, some mistakes can undo your efforts. I share these common pitfalls to spare you the disappointments I've seen too often. Each of these mistakes is reversible if you identify them quickly.
- 🚫 Using a cloth that has already been used: It's tempting to reuse a cloth that "seems" clean, but microscopic particles become embedded in the fibers. Result: you spread previous dirt and create more scratches. Always start with a perfectly clean cloth and replace it as soon as it gets dirty.
- 🚫 Cleaning in very dry weather: Dry air increases static electricity and makes cleaning more difficult. Avoid days of intense cold or heating. If necessary, slightly humidify the air with a spray bottle (away from the painting) before starting.
- 🚫 Applying the product directly to the painting: The reflex of a "direct spray" is dangerous. The product can run, create streaks, or concentrate in areas. Always apply to the cloth first, then to the surface. It's a very common beginner's mistake.
- Neglecting lighting during cleaning: Poor lighting prevents you from seeing streaks and uncleaned areas. Use a mobile light source to check your work from different angles. Natural daylight is ideal.
- 🚫 Rushing the drying: Trying to speed up with a hairdryer or direct heating can create tension in the material and drying marks. Let it dry naturally at room temperature. Patience is rewarded with a perfect result.
Error-proof verification system: Before each cleaning, check that your cloths are clean, that the lighting is sufficient, that the humidity is correct, and that you have enough time. These 30 seconds of checking prevent 90% of problems.
— In the same spirit


FAQ: Your technical questions about acrylic maintenance
A complete cleaning costs between 15-30€ for specialized products for 6 months of use. Ideal frequency: dusting weekly (2 minutes), monthly cleaning (15 minutes), quarterly protection (30 minutes). Much cheaper than a premature replacement at 200-500€.
Superficial micro-scratches can be reduced with a special acrylic polish applied with very gentle circular motions. For deep scratches, consult a professional. In any case, immediately stop the aggravation by adopting the gentle method described here.
Increase the frequency of antistatic dusting (2-3 times per week) and invest in an air purifier near the painting. Consider a removable transparent cover for very dusty periods such as renovations or spring cleaning.
Mixing 1 part white vinegar with 10 parts distilled water works as a temporary solution, but specialized products remain superior. Absolutely avoid: alcohol, ammonia, acetone, or perfumed products. Investing in the right products pays off quickly.
Simple test: gently touch a corner with your finger. Acrylic is slightly warmer than traditional glass and may have a very slight flexibility. If in doubt, consult your seller or look for the "PMMA" or "Plexiglas" mention on the label.
Your painting, a treasure of beauty for years to come
In a few weeks, these gestures will become automatic. You will pass by your wall art painting with pride, knowing that it will retain its crystalline shine thanks to your expertise. Your guests will notice this perfect shine and ask you for your secret.
Beyond preserved beauty, you have acquired a valuable skill that applies to all your acrylic glass objects: photo frames, design shelves, decorative elements. This expertise saves you hundreds of euros in premature replacements and gives you the confidence to invest in quality pieces.
Understanding the mechanisms was the most important step. Now, start with a simple antistatic dusting this weekend. You will immediately see the difference and it will motivate you to adopt the entire method. Your painting deserves this care, and you deserve the daily pleasure of preserved beauty.
✨ Your next action: Get a quality microfiber cloth and test dusting without pressure. This first step will convince you that preserving your art is within your reach and will transform your relationship with your precious objects.
Also to read: 📖 Read more articles on painting maintenance
— Other selected pieces


Explore our collections


