


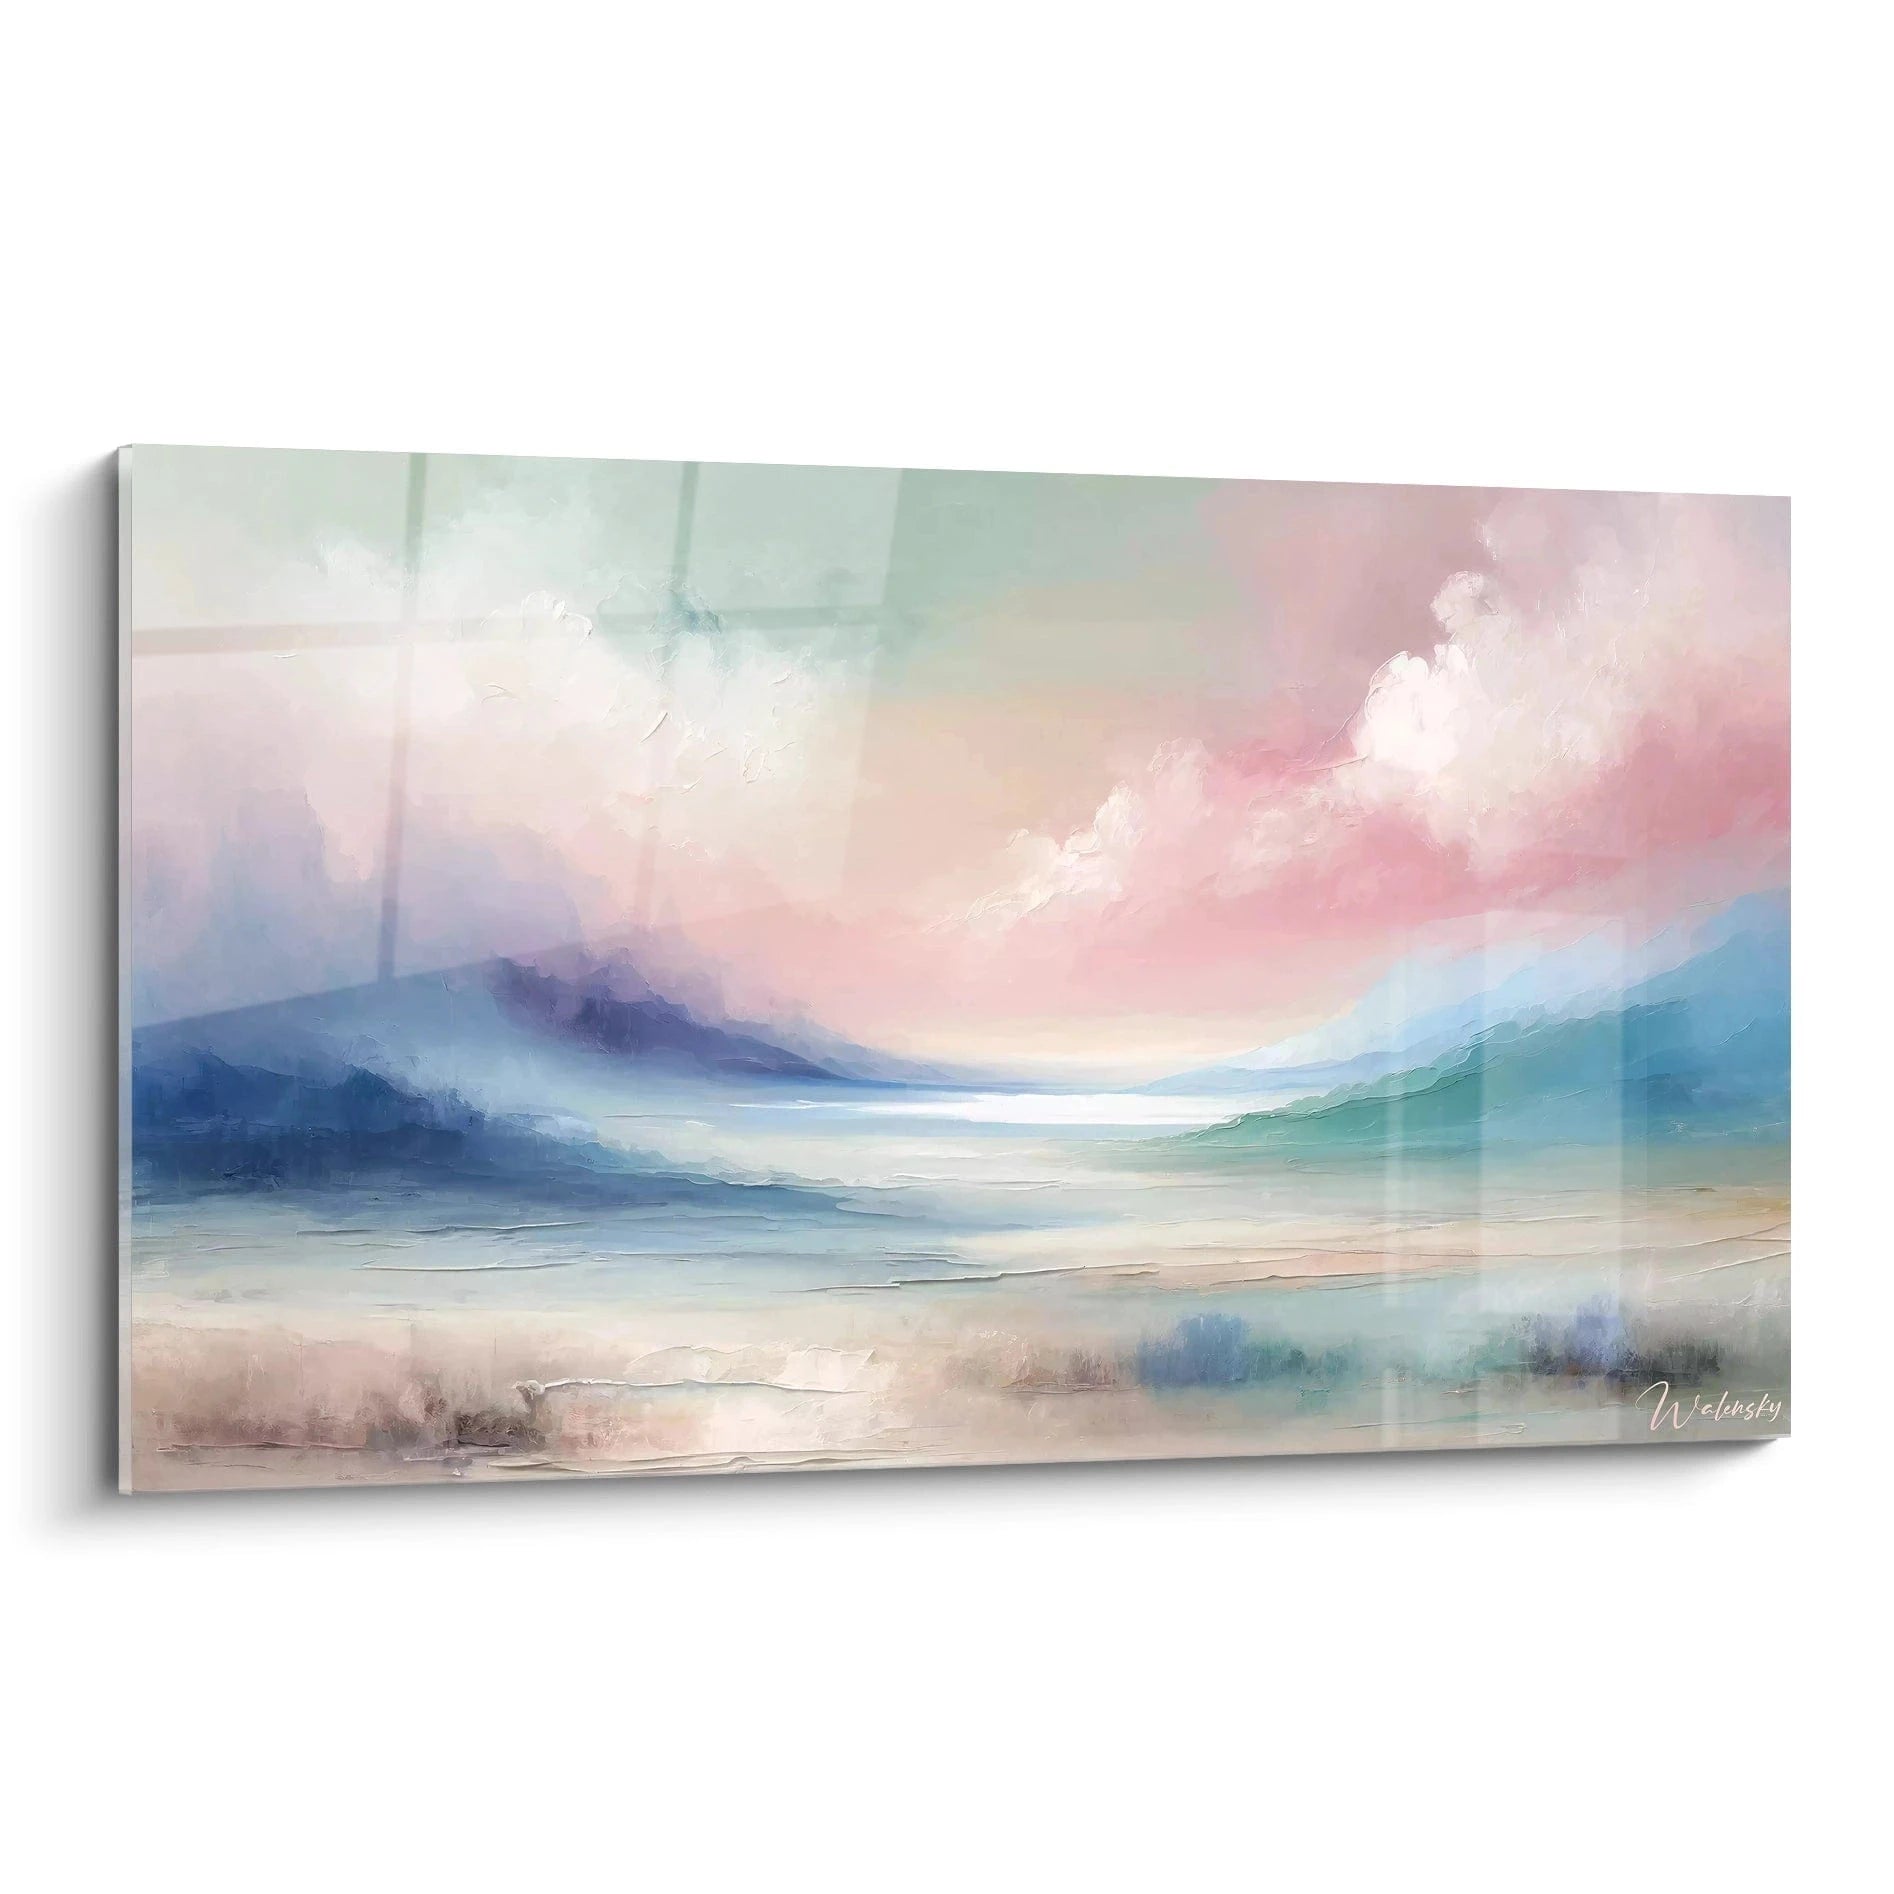

Adjustable color temperature lighting systems: respect the original hue of the painting
11 October 2025 · 16 min read · by Walensky
You just invested in this beautiful painting that made you fall in love with in a gallery, but once hung at your home, something feels off. The colors seem dull, almost faded, and this artwork that moved you so much no longer produces the same effect.
You look at your wall with frustration, remembering the vibrancy of the colors under the gallery’s professional lighting. That vibrant red has become dull, that deep blue turns gray, and the subtle nuances have simply disappeared.
You may have tried moving the painting, adding spotlights, changing the ceiling light bulb. But nothing works: your artwork remains in the shadow of what it could be, a prisoner of inadequate lighting that betrays its original beauty.
This discrepancy is not your fault, and you didn't choose your painting poorly. The problem lies in a technical aspect often overlooked: the color temperature of your lighting which literally distorts the chromatic reality of your artwork.
By the end of this article, you will know exactly how to restore the authentic colors of your paintings thanks to adjustable temperature lighting systems, and you will finally be able to fully enjoy your artworks in all their original splendor.
Why do your paintings lose their soul under your lighting?
The color temperature of your lighting acts like an invisible filter that radically transforms the appearance of your artworks. Imagine looking at a sunset through tinted glasses: that's exactly what happens to your paintings under unsuitable lighting. Every minute spent with poor lighting is a minute you are not fully enjoying your artistic investment, and where your guests cannot appreciate the true beauty of your collection.
🎨 Collector's testimonial: "I bought a still life with magnificent warm colors. At my place, under my cold LED lighting, it seemed dull and lifeless. I even thought about selling it! Until the day I installed an adjustable temperature system. The transformation was striking: the oranges regained their vibrancy, the reds their depth. It was like rediscovering my painting."
Conversation with a decor expert
The golden rule of artistic lighting: Each painting was created under a certain quality of light, and it is under that same light that it reveals its true personality. With an adjustable system, you rediscover this magic in seconds.

Other selected pieces
Painting Murmures du Soleil - Édition Coucher de Soleil Paysage
233.90€
Discover this painting →Finally understand what's really going on with your colors
Do you recognize yourself in these situations? Your paintings seem different depending on the time of day, warm colors appear dull in the evening, or some nuances seem to have simply disappeared from your works.
This phenomenon is not inevitable, but the direct result of the color temperature mismatch between your lighting and the one in which the artist conceived their work. Your eye perceives this dissonance, even unconsciously.
Imagine a musician playing a piece in the wrong key: the notes are there, but the harmony is broken. That's exactly what happens visually with your paintings.
The color temperature: the parameter that no one explains to you
Contrary to what many think, not all "white" lights are the same. The color temperature, measured in Kelvin, determines whether your light tends towards blue (cold) or orange (warm).
It's like cooking with different spices: each reveals or masks certain flavors. A cold light (5000K+) will intensify blues and attenuate reds, while a warm light (2700K) will do the opposite.
This difference explains why your Impressionist painting with golden tones loses all its warmth under a cold LED lighting, or why this contemporary work with deep blues becomes dull under an incandescent bulb.
🔍 Instant test: Look at one of your paintings under your current lighting, then illuminate it with the flashlight of your phone (very cold light). Observe how the colors change instantly. This is direct proof of the impact of color temperature.
The trap of automatic visual adaptation
Your brain automatically adapts to different color temperatures, a phenomenon called chromatic adaptation. This explains why you don't always notice the problem immediately.
It's like wearing sunglasses: after a few minutes, you forget that they tint your vision. Your eye gets used to seeing your paintings "distorted" by the wrong lighting.
This adaptation masks the problem on a daily basis, but it deprives you of the true aesthetic experience that your works can offer under appropriate lighting.
The overall lighting environment influences everything
A detail that few people notice: natural light changes temperature throughout the day, from 2000K at sunset to 6500K at noon. Your paintings therefore live in a constantly evolving chromatic environment.
You can identify this phenomenon by observing how your paintings seem to "light up" or "dim" depending on the time of day, even without changing your artificial lighting.
This natural variation explains why a fixed lighting can never be optimal permanently, and why adjustable systems are revolutionizing the home art experience.
5 signs that your lighting is betraying your paintings:
- The colors seem "flat" or without relief: Your color temperature does not correspond to the desired rendering by the artist
- Certain nuances completely disappear: The lighting crushes the chromatic subtleties in a range of colors
- The atmosphere changes radically in the evening: The contrast between natural and artificial light creates a visual break
The Trigger: Chromatic Coherence
What really makes the difference is the coherence between the color temperature of your lighting and the artistic intention of the artwork. It's a domino effect: when this coherence is respected, all visual elements harmonize naturally. You can identify this coherence when you immediately feel the emotion the artist wanted to convey, without any effort on your part.
The 3-Second Rule: If a painting doesn't "speak" to you in the first 3 seconds, check your lighting before questioning the artwork. Good lighting instantly reveals the artistic intention.
| ❌ Misconception | ✅ Technical Reality | 💡 Simple Explanation | 🎯 Immediate Benefit |
|---|---|---|---|
| "The more it's lit, the better" | Quality over Quantity | Like in cooking: too much salt masks the flavors | Revelation of Subtle Nuances |
| "Neutral white works everywhere" | Each artwork has its optimal temperature | One suit doesn't flatter every body type | Personalized Enhancement |
| "Economical LED lighting is enough" | Adjustable temperature transforms the experience | It's the difference between black/white and color | Rediscovering Your Artworks |

Favorite
Psychedelic Forest Painting - Rainbow River - crazy color edition
233.90€
Discover this paintingThe simple method to reveal the true personality of your paintings
Now that you understand the stakes, let's move on to the concrete solution. This progressive method will allow you to transform the lighting of your artworks in three logical steps, like a professional photographer sets up their studio lighting. You will feel the difference from the first step, then you will gradually refine until you obtain the perfect rendering that will bring out all the beauty of your collection.
🎯 Overview of the transformation: We will first install the right equipment (the foundations), then learn to adjust the temperature according to your artworks (the tuning), and finally master the advanced settings for a professional rendering (the virtuosity). At each step, your paintings gain presence and emotion.
Step 1: Choose and install your adjustable lighting system
This first step lays the foundation for your artistic transformation. Like a painter who prepares their canvas, we create the optimal conditions to reveal your artworks. Once this step is complete, you will already feel a noticeable improvement in the visual presence of your paintings.
Essential hardware to get started
- Adjustable temperature LED spotlights: These luminaires look like classic spotlights but incorporate bicolor LED chips. They allow you to switch from warm white to cool white continuously. Choose models with a minimum Color Rendering Index (CRI) of 90 to preserve color fidelity. Avoid low-end LEDs that create unpleasant green casts.
- Wireless controller or smartphone app: This unit captures your settings and transmits them to the spotlights. The principle is simple: you adjust the temperature on your phone, the signal transforms the LED mix in your spotlights. Check compatibility with your existing home automation system. The quality of the controller determines the smoothness of temperature transitions.
- Rails or adjustable supports: These elements allow you to direct light precisely onto your artworks without creating reflections. They must support the weight of your spotlights and offer smooth rotation. The optimal lighting angle is 30° relative to the perpendicular of the wall painting to avoid cast shadows.
Let's now move on to practical installation
Secure and efficient installation
Spot placement: Place your spotlights at a distance equal to 1.5 times the height of your wall painting, with a 30° angle. This geometry avoids annoying reflections while ensuring uniform light distribution. Always test the placement before permanently fixing.
⏱️ Time: 45 minutes per wall painting | ✅ Success when: No visible reflections, uniform lighting across the entire surface | ⚠️ Attention: Avoid direct lighting in the line of vision, this creates an unpleasant luminous veil
Connecting the control system: Pair your spotlights to the controller by following the pairing procedure (usually a long press on the button of each spotlight). Create logical groups according to your spaces (living room, office, hallway) to simplify future settings.
⏱️ Time: 15 minutes | ✅ Success when: All spotlights respond to the app commands | ⚠️ Attention: Respect the indicated radio range, a controller that is too far away creates malfunctions
Initial calibration test: Set all your spotlights to 3000K (warm neutral white) with 70% intensity. This configuration serves as a reference base for your future adjustments. Observe the overall rendering before personalizing wall painting by wall painting.
⏱️ Time: 10 minutes | ✅ Success when: Uniform and pleasant-to-the-eye lighting | ⚠️ Attention: Too high intensity fatigues the eyes and masks the nuances
✅ Verification of step 1: Your wall paintings should appear more "alive" than with your previous lighting, even without specific settings. If you observe shadows or reflections, readjust the position before moving on to the next step. This solid foundation guarantees the success of the following steps.
Step 2: Adjust the temperature according to the style of your artworks
Now that your system is operational, you are going to learn how to "tune" your lighting like a musician tunes their instrument. This step is particularly rewarding because you will see your wall paintings transform before your eyes. The effect is progressive but spectacular: each adjustment reveals new nuances and reinforces the emotional impact of your artworks.
Understanding temperature-style correspondences
- Impressionist and landscape artworks: These paintings with golden tones and plays of natural light flourish under warm lighting (2700K-3200K). This temperature restores the warmth of the daylight painted by the artists and makes the characteristic yellows, oranges and reds of the movement vibrate.
- Contemporary art and abstractions: Modern creations with pure and contrasting colors reveal their strength under a neutral lighting (3500K-4200K). This temperature preserves the color balance intended by the artist without favoring any color range.
- Black and white photographs and engravings: These monochrome works gain contrast and subtlety under a slightly cool lighting (4500K-5500K). This temperature accentuates the nuances of gray and reinforces the depth of the blacks.
Custom adjustment method
Temperature range test: For each painting, start with 2700K and gradually increase by increments of 500K up to 5500K. Observe how the colors evolve and mentally note the setting that seems most faithful to the original work.
⏱️ Time: 5 minutes per painting | ✅ Successful when: A temperature makes the work "click" | ⚠️ Attention: Don't rely on the first setting that pleases you, test the entire range
Zone refinement: If your painting has areas with very different tones, create a multi-zone lighting with slightly different temperatures. Use separate spotlights for the warm and cool zones of the work.
⏱️ Time: 15 minutes | ✅ Successful when: All parts of the work are highlighted | ⚠️ Attention: Avoid temperature differences that create an artificial feel
🎨 Validation of step 2: Your paintings should now reveal details and nuances that you have never noticed before. The optimal setting gives you the impression of rediscovering your works. If the effect seems subtle, return to the default settings and then go back to your optimized setting: the difference will be striking.
Step 3: Mastering advanced settings for a professional result
This final step moves you from the status of an informed amateur to that of lighting connoisseur. You will learn the subtleties that only professionals in museums and galleries master. The final result will transform your interior into a true private gallery where each work radiates its authentic personality.
Perfectionment techniques
Programming according to the times: Create different atmospheres depending on the time of day. Warmer lighting in the evening (2700K) for a cozy atmosphere, more neutral during the day (3500K) for a precise vision. Program these automatic transitions in your application.
⏱️ Time: 30 minutes of configuration | ✅ Successful when: Transitions are smooth and natural | ⚠️ Attention: Avoid abrupt changes that break the atmosphere
Balancing with natural light: Install an ambient light sensor that automatically adapts the temperature of your spotlights according to the outside light. Your paintings thus maintain a constant rendering despite natural variations.
⏱️ Time: 1 hour | ✅ Successful when: Stable rendering throughout the day | ⚠️ Attention: Calibrate the sensor in cloudy weather to avoid overcorrections
🏆 Final validation: Your system should now function invisibly and automatically. Your guests notice the exceptional beauty of your paintings without identifying why they are so striking. This is a sign of perfectly mastered lighting that enhances without ever being noticed.
Rule of professional progression: Master each step perfectly before moving on to the next. A good basic setting is better than a complex system that is poorly configured. Patience in adjustment is rewarded with years of visual pleasure.
You now master the fundamentals of professional art lighting. Here are the advanced subtleties that will make the difference between good lighting and exceptional lighting, the kind that makes your guests instinctively stop in front of your artworks.
🎓 Curator's secret: Slightly vary the temperature between the center and edges of the painting (±200K). This micro-gradual technique, invisible to the conscious eye, creates exceptional depth and presence. The greatest museums use this trick to make their major works "breathe".
Reader's concern question
"I'm afraid of damaging my paintings with too much light, even LED. How can I be sure not to damage them?"
This concern is perfectly legitimate and shows your respect for your artworks. Modern LEDs emit very little UV and heat compared to older lighting. For maximum safety, keep a minimum distance of 50cm between the spotlight and the painting, and use lighting below 200 lux (measurable with a smartphone app). Your artworks will be safer than with traditional lighting.
📱 Instant safety test: Download a brightness measurement app on your phone and check that your settings remain below the recommended 200 lux. You will be reassured to see that your optimized lighting perfectly respects your artworks.
— Our selection


The pitfalls that ruin the effect of your beautiful lighting
Even with the best equipment, some common mistakes can spoil your efforts. These mistakes are tempting because they seem logical, but they subtly sabotage the quality of your art lighting.
- 🔥 Wanting to light too strongly to "see well": It's the natural reflex, but too intense lighting saturates the colors and strains the eyes. Think museum lighting, not workshop lighting. Always start with softer lighting that you can intensify if necessary.
- ⚡ Changing color temperature abruptly: Rapid transitions create an unpleasant artificial feeling. Program gradual changes of at least 10-15 minutes. Your eye naturally adapts without perceiving the modification.
- 🎯 Lighting all paintings at the same temperature: Each artwork has its own chromatic personality. A single setting, even a good one, cannot suit an entire collection. Take the time to optimize each piece individually.
- 🌈 Neglecting the overall chromatic environment: A perfectly lit painting can seem strange if the surrounding walls have a different color dominance. Consider the coherence of your entire space.
- 🔧 Installing the system without testing beforehand: Every interior has its own specificities. Test different positions and settings before permanently fixing your spotlights. A thoughtful installation avoids regrets and costly modifications.
🛡️ Checkpoints for successful lighting: Check that your paintings "breathe" visually without dark areas or reflections, that the colors seem richer than with your old lighting, that your guests spontaneously notice your artworks, and that you yourself rediscover details in your favorite paintings.
— Also to discover


Your practical questions about adjustable lighting
Allow between 150€ and 400€ per painting depending on the size and complexity of the system chosen. An investment that quickly pays for itself through the rediscovered pleasure of your artworks. Start with your favorite painting to test the impact, then gradually extend to your collection.
LED systems consume very little (5-15W per spot compared to 50W for a classic halogen bulb). Your current installation is perfectly suitable. If in doubt, an electrician can check in 5 minutes whether your circuits can support the minimal additional load.
If you have invested more than 200€ in a painting and it is dear to you, good lighting will always reveal unsuspected aspects. The emotion you feel when facing a well-lit artwork is priceless and transforms your daily relationship with art.
Quality LEDs have a lifespan of 25,000 to 50,000 hours (or 15-30 years of normal use). Modern controllers are designed to evolve with updates, like your smartphone. Choose recognized brands that guarantee future compatibility.
Absolutely! Opt for spotlights with clips or magnetic supports that require no drilling. Many systems simply plug into a standard outlet. Your landlord will even appreciate this temporary aesthetic enhancement of their property.
Your art collection finally revealed in all its splendor
In a few weeks, when you return home in the evening, your paintings will welcome you with a presence and warmth unlike any other. Each artwork will tell its story with the intensity that the artist had imagined, and your guests will spontaneously stop to admire details they had never noticed before.
This transformation goes far beyond the decorative aspect: you develop a knack for lighting, a sensitivity to chromatic nuances that will enrich your appreciation of art in general. This skill will accompany you in your future acquisitions and museum visits.
Setting up your adjustable lighting system was the most complex technical challenge. Now that you master the principles, each new painting will be a joy to optimize. Start today by identifying your favorite artwork and imagine it under lighting that finally does it justice.
✨ Your first step towards excellence: Every great art lover has begun by understanding the importance of light. You are now joining the circle of those who know how to reveal the true beauty of artworks. Your paintings are waiting for you to reveal their secrets.
Also read: 💡 Read more articles on painting lighting
— In the same spirit


Explore our collections


