


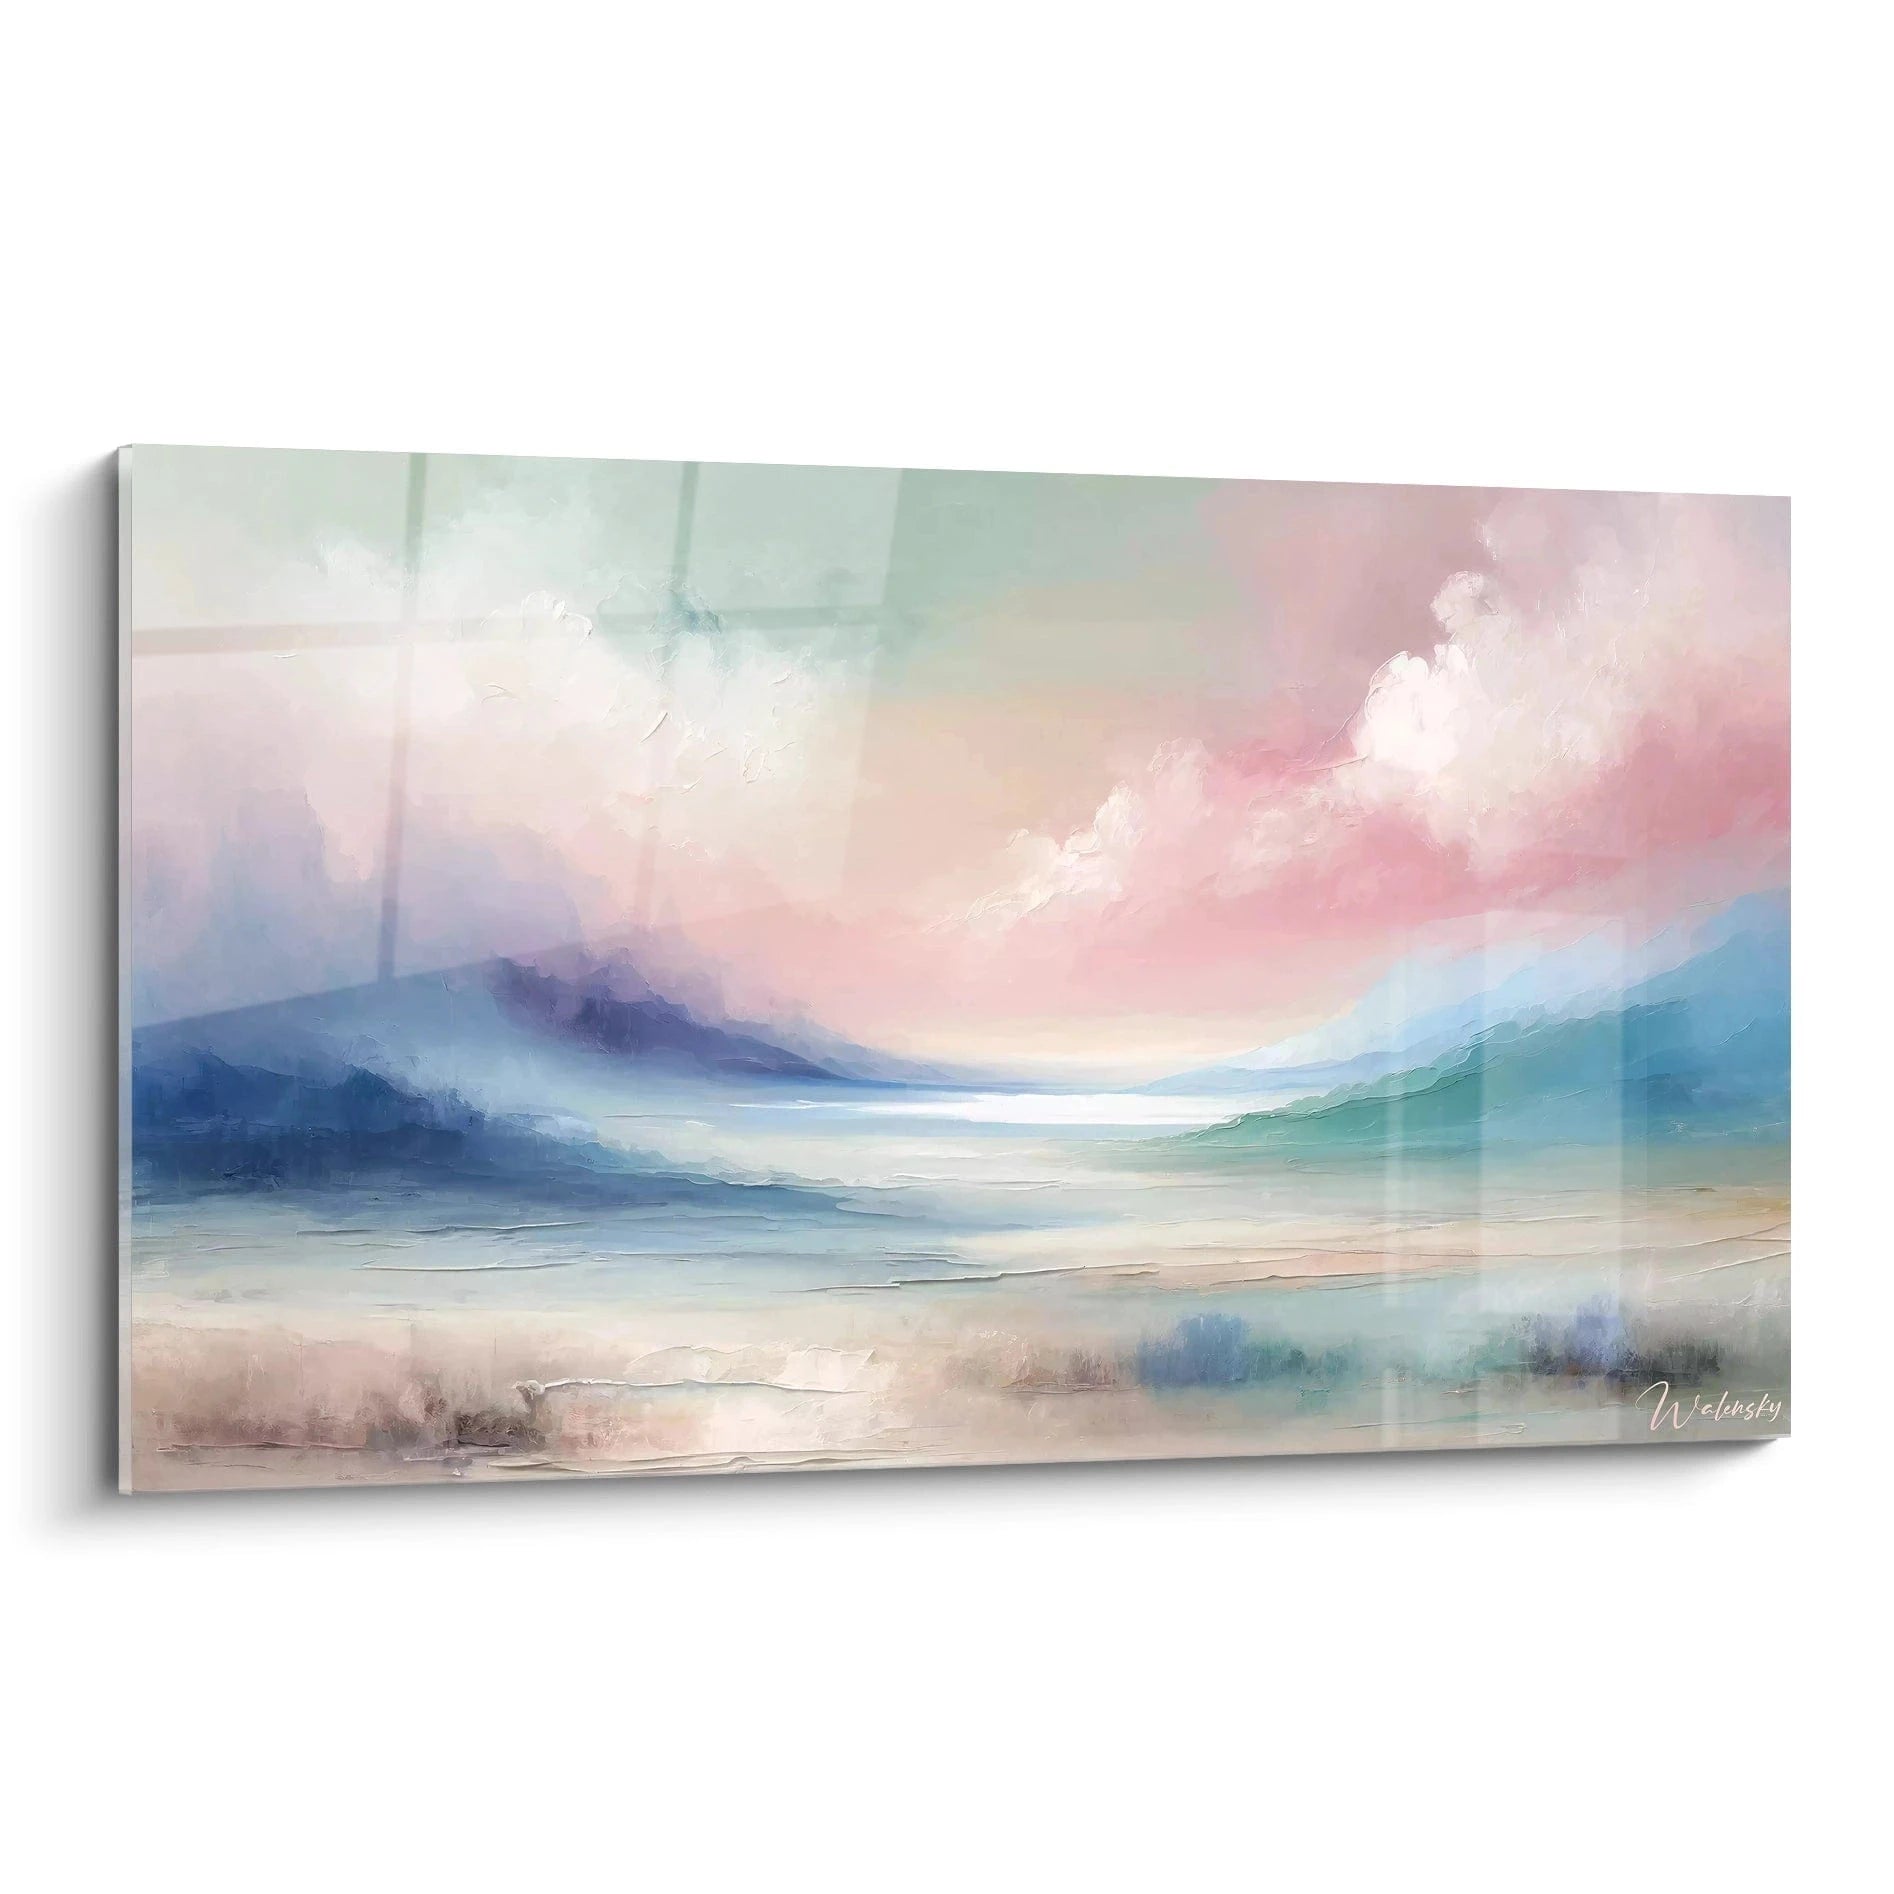

Painting and UV light: how to filter harmful rays?
11 October 2025 · 22 min read · by Walensky
You’ve just hung your favorite wall art in your light-filled living room. For the first few days, you proudly admire the artwork that transforms your space. But a few months later, you notice with bitterness that the colors are fading, that the bright red becomes pinkish and the deep blue turns gray.
This feeling of disappointment mixed with guilt overwhelms you. You wonder if you made the right choice of location, if your painting was of poor quality, or worse, if you have ruined a precious artistic investment. Every glance at your wall reminds you of this growing frustration.
You may have tried moving the painting, installing thicker curtains, or even putting it away in a closet for fear of worsening the damage. But nothing works: the damage seems to be done, and you no longer know how to protect your other works of art.
Rassurez-vous, this phenomenon affects 8 out of 10 painting owners, and it is absolutely not your fault. The real cause ? The invisible UV rays that pass through your windows and silently attack the pigments in your painting, even on cloudy days. It's a insidious process that no one explains to you at the time of purchase.
By the end of this article, you will perfectly master UV filtering techniques to preserve the vibrancy of your paintings for decades, and you will be able to finally display your favorite works without fear in any room of your home.
Why are your paintings in danger right now?
Every minute that passes, your paintings are suffering irreversible damage, even if you don't see it yet. It's like a silent erosion that slowly gnaws at the beauty of your works. Imagine a newspaper page left in the sun: in a few weeks, it yellows and becomes fragile. Your paintings follow exactly the same process, but in such a progressive way that you only notice the damage once it is visible. Waiting means permanently losing nuances that you will never be able to recover.
🎨 Troubling testimony: Sarah, an interior designer, discovered that her 1200€ abstract painting, displayed near a bay window for only 18 months, had lost 40% of its chromatic intensity. Expertise revealed that the UV rays had decomposed the organic pigments irretrievably, dividing its value by three.
Conversation with a decor expert
The golden rule of preservation : 100% UV filtered = 100% of your colors preserved. This invisible protection acts as a permanent shield that maintains the chromatic intensity intact for 20 to 30 years, exactly as if your painting remained in total darkness.

Editor's Pick
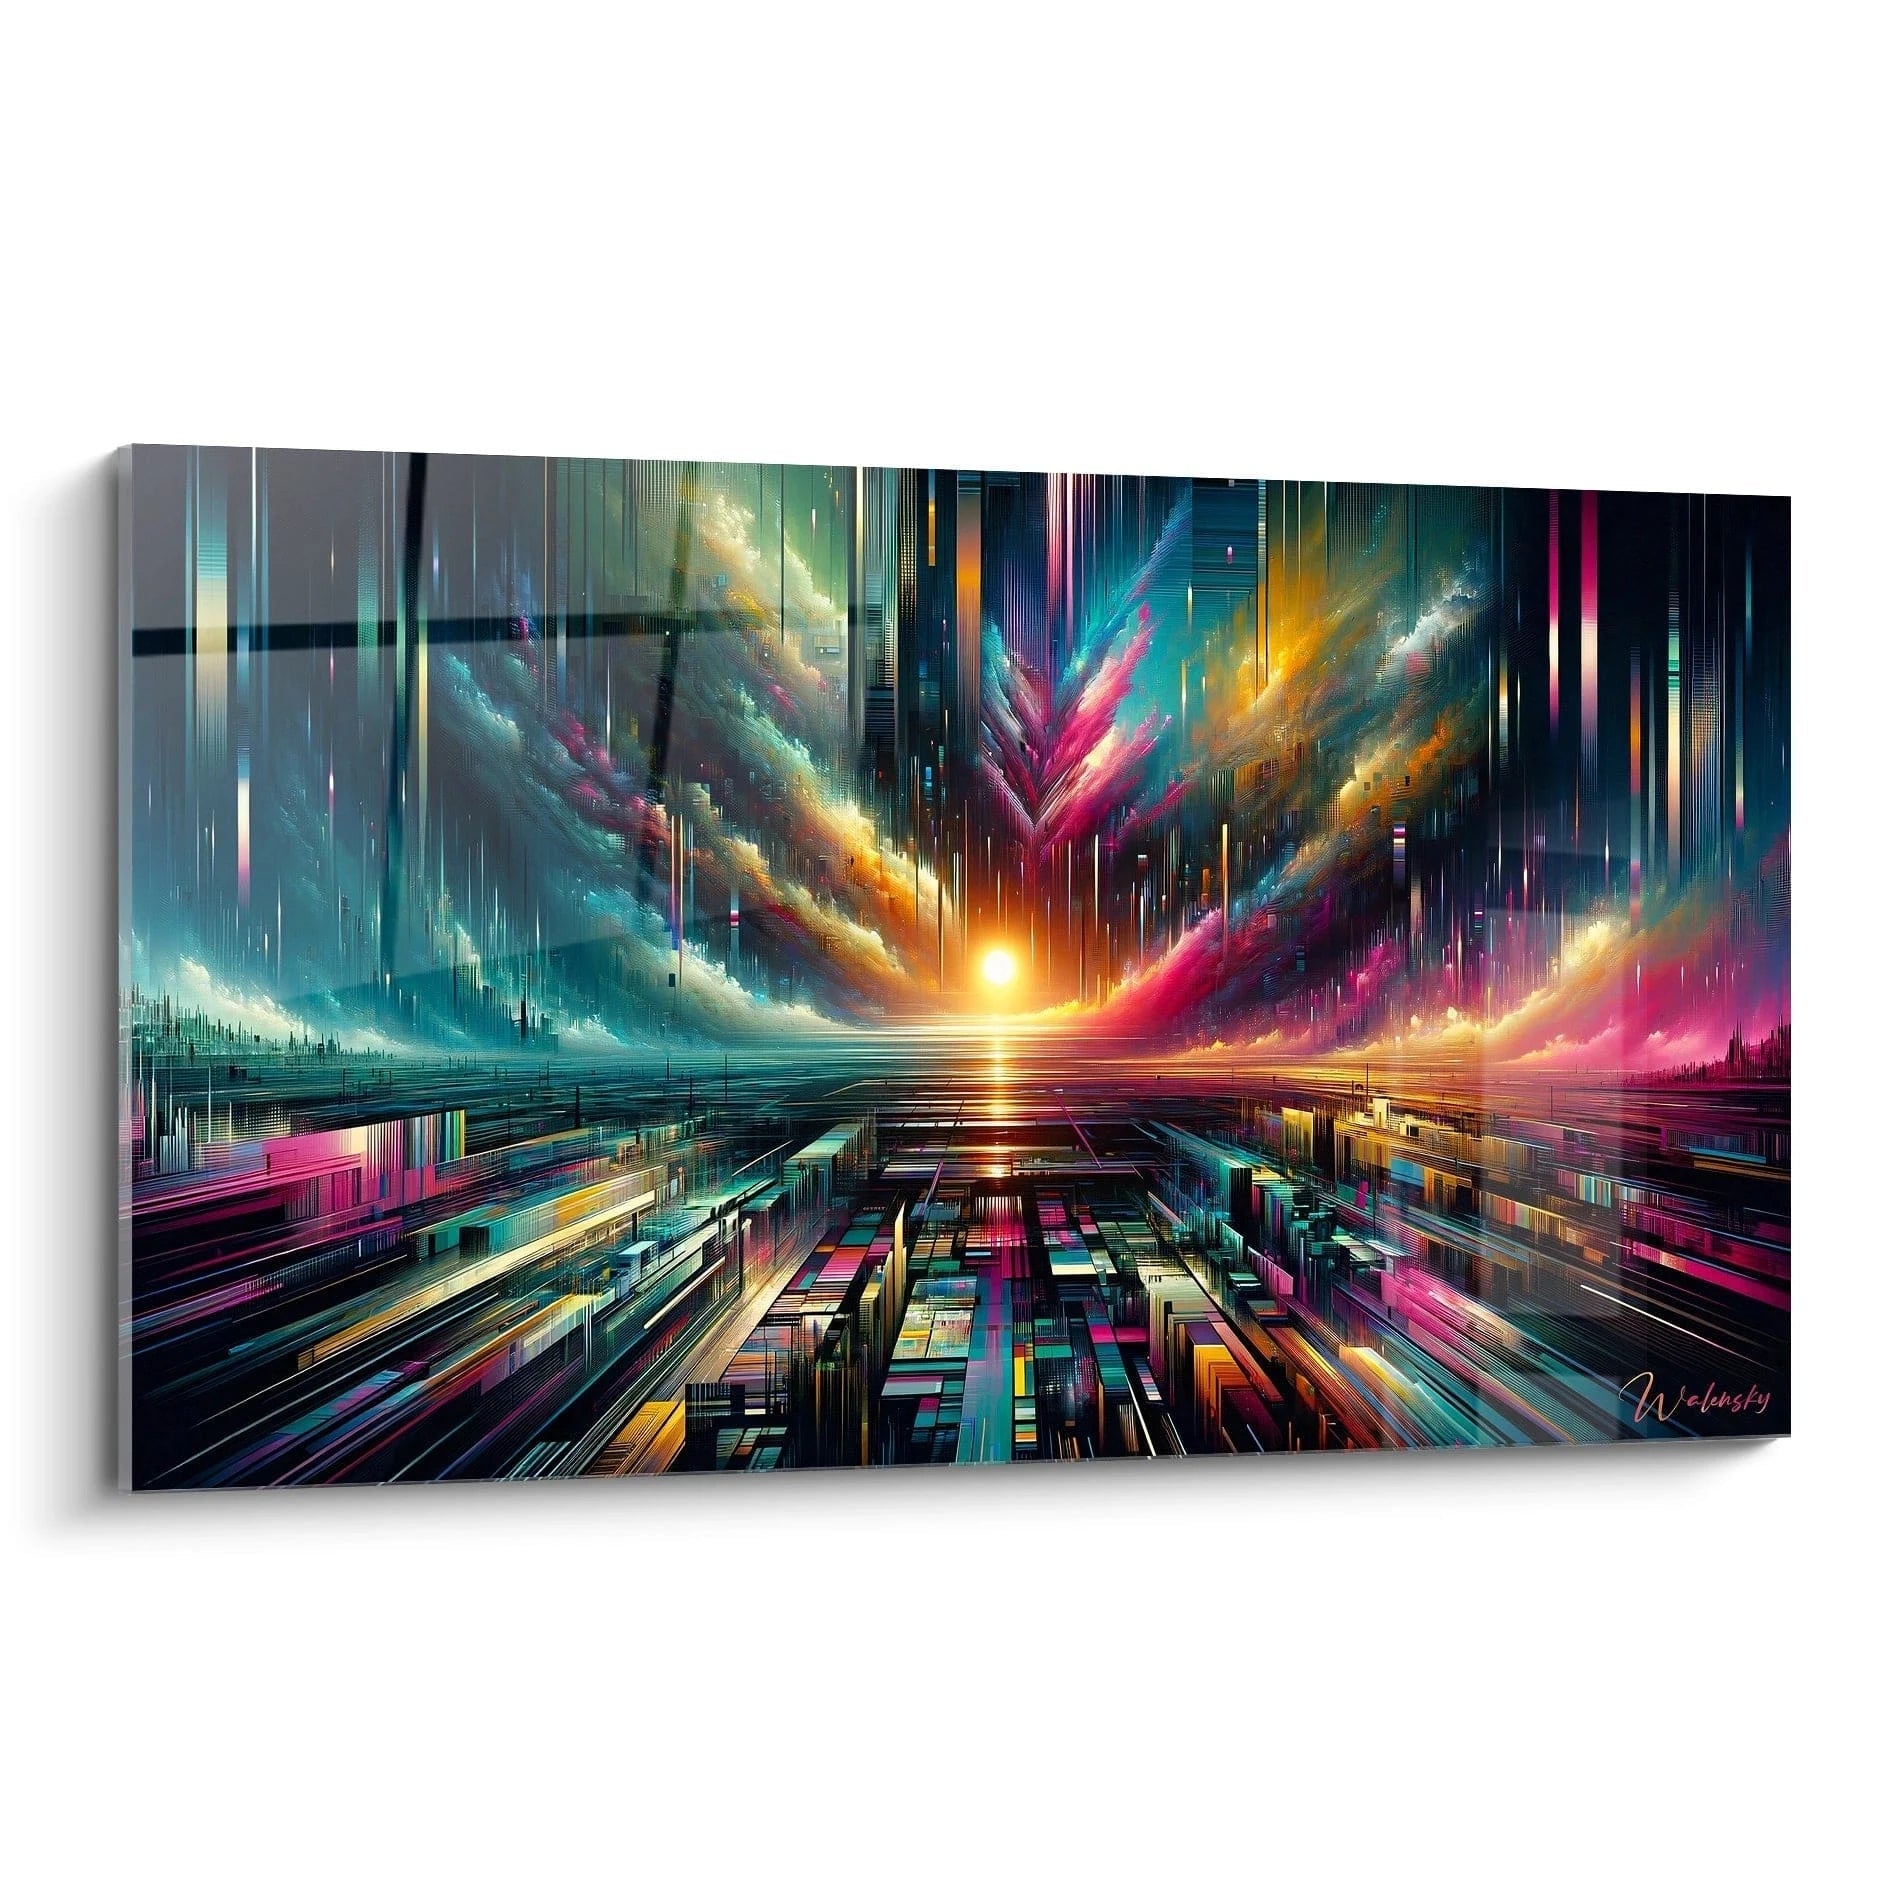
Painting Golden Light Rays - Stellar Explosion - modern abstract edition
233.90€
Discover this paintingWhat's Really Happening in Your Living Room (and No One Tells You)
Do you recognize yourself in these situations? Your paintings gradually lose their luster despite your precautions, you hesitate to hang new ones for fear of damaging them, or you notice that certain areas of your artworks age faster than others. These signals reveal that your home environment exposes your paintings to permanent oxidative stress.
What's really happening is that pigment molecules decompose under the action of UV photons, just like autumn leaves lose their chlorophyll. The problem isn't your vigilance or the quality of your paintings: it's that no one has explained to you that natural light contains invisible destructive radiations .
Imagine your house as a giant aquarium bathed in constant UV radiation. Your paintings are like delicate corals : beautiful but vulnerable to this constant radiation. Without proper protection, they undergo progressive bleaching, just like coral reefs.
UV Light Passes Through Everything (Even What You Think is Opaque)
Contrary to popular belief, UV rays easily penetrate through thin curtains, blinds, and even some standard window glass. Many think a sheer curtain is enough, but in reality, 70% of UV rays still pass through. It's like wearing a white t-shirt to protect yourself from the sun: the illusion of protection masks a more complex reality.
This truth completely changes your approach to decorating. No location in your home is naturally safe for your paintings, even the walls that seem sheltered to you. UV rays bounce, diffuse, and accumulate silently.
This means you can finally stop feeling guilty about choosing the "wrong" location. The real issue isn't the location, but the protection technology you put in place.
🔍 Revealing test: Place a piece of colored paper behind your thickest curtain, and another in total darkness. After 48 hours in the sun, compare: you will see that even "protected", the first has already begun to fade. Revealing, isn't it?
Your Windows Amplify the Problem (Greenhouse Effect)
Modern windows create a real "magnifying glass" effect that concentrates and amplifies UV rays in your interior. It's the same principle as a magnifying glass that ignites paper: glass lenses converge light energy towards your walls.
Think of your car parked in the sun: the interior becomes an oven because the glass lets energy in but prevents it from escaping. Your living room works exactly the same way with UV rays.
This amplification explains why your paintings deteriorate faster than expected. Indoor exposure can be 3 times more aggressive than outdoor exposure in the shade.
The invisible factor: UV rays bounce everywhere
Here's what almost no one notices: UV rays don't just come from windows. They bounce off your white walls, lacquered furniture, and light-colored tiles, creating a diffused UV "bath" throughout the room. Marie, an art collector, discovered that her paintings hung on the wall opposite her window were also deteriorating due to this invisible reflection.
You can identify this phenomenon in your home: observe how light reflects off your light surfaces. Each reflection carries its destructive UV rays towards your artworks.
This discovery transforms your perception of space: your entire interior can potentially become hostile to your paintings, requiring global protection rather than spot protection.
3 UV alert signs in your home:
- Selective discoloration on your furniture: If your sofas or rugs show lighter areas, your paintings are undergoing the same aggression. It's like a visible UV barometer of your environment.
- Heat felt near windows: This sensation of a "solar oven" indicates a concentration of destructive light energy. The hotter it is, the more intense the UV rays are.
- Dazzling reflections on your screens: These areas of intense light reveal the "UV highways that run through your room. Your paintings intercept part of this energy flow.
The hidden trigger: progressive accumulation
The real betrayal of UV rays is their invisible cumulative effect. Like radiation, they act in doses: one minute of exposure seems harmless, but 10,000 minutes create irreversible damage. It's the drop of water that pierces the stone. Your painting silently absorbs each UV photon until the tipping point where deterioration suddenly becomes visible.
The 1000-hour law: After 1000 hours of unfiltered UV exposure, the first signs of discoloration appear on sensitive pigments. This represents only 4 months for a painting exposed 8 hours a day near a window. The counter is always running!
| ❌ Common belief | ✅ Scientific reality | 💡 Simple explanation | 🎯 Benefit of understanding |
|---|---|---|---|
| "Shadow protects my paintings" | 60% of UV rays still pass through | UV rays bounce like invisible balls | Understand that only a filter really stops UV rays |
| "Curtains are enough" | 70% of UV rays pass through thin fabrics | Like a leaky parasol in the sun | Invest in real technical protection |
| "Damage is immediately visible" | Damage accumulates over months | Drop of water effect on stone | Act preventively rather than curatively |
| "My windows already filter" | Standard glass lets through 95% of UV rays | Transparency ≠ protection | Understanding the need for specialized treatment |
The foolproof method to protect your wall art (without hiding it)
Now that you understand the invisible enemy, the solution becomes clear. You don't need to transform your house into a bunker or store your artworks in closets. Modern UV protection allows you to keep your wall art exactly where you love it, bathed in natural light, but free from their destructive components. It's like having a water filter for your light: you keep the best and eliminate the toxic. The logical progression follows three steps: block UV at the source (windows), create a local barrier (in front of the artwork), then optimize ambient lighting (UV-free LEDs). Each level adds an extra layer of security, like three overlapping umbrellas that guarantee total protection even during the most violent storm.
📋 Overview - The 3 UV Shields: Window level (filtering films/glasses) that blocks 80-99% of incoming UV, artwork level (UV anti-reflective glass/Plexiglas) that neutralizes the remaining 20%, ambient level (LED lighting) that eliminates any residual UV source. Result: 99.9% protection and colors preserved for a minimum of 30 years.
Step 1: Secure your windows (the essential foundation)
Starting with the windows is the most cost-effective and efficient decision. It's like installing a general filter on your house's water supply: everything that enters is automatically purified. This approach protects not only your wall art, but also your furniture, carpets, books, and even your skin. Once this step is completed, you will immediately feel a sense of freshness in your sunny rooms and a reduction in glare.
Window filtering solutions
- Transparent anti-UV films: These microscopic films are applied directly to your existing windows. They filter 99% of UV while retaining 70-80% of visible light. You can find them with glazing specialists or online (3M, Llumar brands). Check for the "UV 400" indication, which guarantees complete filtering. Avoid cheap tinted films that unnecessarily darken your rooms without effective protection.
- UV anti-reflective laminated glass: These glazing units integrate an invisible filtering layer between two panes of glass. The principle: UV is absorbed before entering your home, like giant sunglasses for your house. Require a UV transmission coefficient of less than 1% (mandatory CE marking). The investment pays for itself through savings on air conditioning and the preservation of all your belongings.
- Orientable anti-UV roller blinds: These systems combine lighting control and UV filtering thanks to their treated slats. The advantage: modulate the protection according to the time of day. Look for a "UV Protection Factor" (UPF) rating greater than 50. They provide an immediate aesthetic benefit by unifying the light.
Let's now move on to practical installation
How to proceed without stress
Measure and order your films: Measure each window to the nearest millimeter (height × width) and add 2cm of margin for the final cut. This margin avoids air bubbles and allows for perfect adjustment. Order 10% extra surface area to anticipate cutting errors - it's infinitely less expensive than a new order.
⏱️ Time: 30 minutes per panel | ✅ Successful when: Film is perfectly smooth, without visible bubbles, with even adhesion across the entire surface | ⚠️ Caution: Air bubbles appear when you go too fast - take the time to gradually remove the air with a squeegee
Preparing the glass surface: Clean thoroughly with a degreasing product (diluted dish soap), then dry with a lint-free cloth. Any traces of grease or dust will create a delamination zone later. Work in dry weather (humidity < 70%) to avoid condensation under the film.
⏱️ Time: 15 minutes per panel | ✅ Successful when: Surface is perfectly clean, with no visible traces against the light | ⚠️ Caution: Never use abrasive products that scratch the glass and compromise adhesion
Applying the film progressively: Peel 5cm of the protective film and position the top edge while keeping the rest rolled up. Unroll centimeter by centimeter, removing air with a soft squeegee. The secret: maintain constant pressure and move forward regularly without going back.
⏱️ Time: 20 minutes per m² | ✅ Successful when: Smooth unfolding, no creases, immediate adhesion | ⚠️ Caution: If you create a crease, immediately peel back this area - waiting hardens the adhesive and makes correction impossible
✅ Stage 1 quality control: Your panels should look visually unchanged but block 99% of UV rays (testable with a UV detector or by observing the absence of a feeling of heat). No bubbles larger than 2mm should remain. If you still feel heat near the windows, check the complete coverage of the glazed areas. Congratulations, your paintings are now 90% protected!
Stage 2: Protecting each artwork individually (maximum security)
You are now moving to the next level : close protection of each painting. This step eliminates the last 10% of UV rays that might have passed and gives you complete peace of mind. It's like adding a bulletproof vest after installing bulletproof walls: security becomes absolute. The snowball effect is immediately felt: your colors remain vibrant even after years of exposure.
Individual protection systems
- UV-resistant glass for framing: These special glasses incorporate invisible UV filters directly into their structure. They block 99.5% of UV rays while maintaining perfect transparency. Available from all professional framers, check for the mandatory "UV400" standard. Unlike normal glass, they never yellow and retain their filtering properties for life.
- Museum Quality Plexiglas: This lighter alternative offers equivalent protection to glass with the advantage of not breaking. The principle: special polymers that selectively absorb UV rays. Look for the "Conservation Grade" certification, which guarantees stability over time. Avoid standard plexiglas which yellows and scratches easily without actually protecting.
- Temporary protective films: For artworks that you move regularly, these removable films stick directly to your existing frames. The advantage: total flexibility and minimal cost to get started. They last 2-3 years before replacement. Choose electrostatic models that leave no adhesive residue.
Installation of individual protections
Measure and order acrylic glass: Measure the inside of your existing frames to the nearest tenth of a millimeter. Order 2mm less on each dimension to allow for expansion. Be sure to specify "UV anti-reflective glass with UV400 certification" - the additional cost (20-30%) is justified by the absolute protection obtained.
⏱️ Time: 10 minutes per painting | ✅ Success when: Measurements noted precisely, order placed with UV specifications | ⚠️ Attention: Glass that is too large cracks with expansion - always allow for a safety margin
Replacing existing glass: Carefully disassemble your frames, noting the order of the elements (sandwich system: glass/artwork/backing/fixing system). Carefully clean the new UV anti-reflective glass before assembly - any dust will be permanently trapped. Reassemble in reverse order, checking for airtightness.
⏱️ Time: 15 minutes per frame | ✅ Success when: Perfect assembly, no visible dust, fixing system secured | ⚠️ Attention: Fixing springs loosen - check that the pressure remains even around the entire perimeter
🛡️ Individual protection verification: Each painting must now benefit from double UV protection (window + glass). Check for parasitic reflections that would indicate incorrect glass positioning. Test with a UV lamp : no fluorescence should appear on the artwork. You have now reached a museum-level protection!
Step 3: Optimize artificial lighting (the final touch of an expert)
You are now entering the big leagues : highlighting lighting without compromise. This step transforms your paintings into true luminous jewels, revealing nuances you have never noticed before. The difference between an amateur and a connoisseur lies here: you create an atmosphere worthy of an art gallery while maintaining absolute protection. The final result far exceeds your initial expectations: your guests immediately notice the refined atmosphere and exceptional brilliance of your artworks.
Professional UV-free lighting
- Museum Grade LED Spotlights: These specialized lights emit a perfectly controlled spectrum, completely free of UV and infrared. They reveal the exact colors of your paintings without alteration. Look for a Color Rendering Index (CRI) greater than 95 and a temperature of 3000K for a warm rendering. Their lifespan (50,000h) makes them economical in the long term.
- Modular lighting tracks: These systems allow you to adjust the orientation and intensity for each artwork individually. The principle: create personalized lighting that follows the geometry and dominant colors of each painting. Prefer models with an integrated dimmer to modulate the atmosphere according to the moments. They are easy to install on the ceiling or as a wall-mounted fixture.
- Hidden LED strips: For ultra-modern indirect lighting, these light strips are hidden behind the frames or in wall profiles. The effect: your paintings seem to float in a halo of soft light. Imperatively choose "Pure White" LEDs certified without UV. Installation requires a suitable transformer and an aluminum profile for heat dissipation.
Expert lighting installation
Calculate angles and distances: The optimal lighting angle is 30° from the perpendicular to the painting to avoid reflections. The recommended distance: 1.5 times the height of the artwork. Mark these points with a pencil before drilling - a wrong angle creates shadows or glare that spoil the visual effect.
⏱️ Time: 20 minutes per spot | ✅ Successful when: Homogeneous light beam across the artwork, no visible reflections | ⚠️ Attention: A closed angle creates dark areas at the bottom of the wall art - always check the final lighting is on
Install supports and connections: Securely fix the supports to the ceiling or wall using appropriate anchors for the weight (LED spot + transformer = minimum 2-3kg). Strictly adhere to electrical standards : main switch-off, protective conduits, certified domino connectors. Test each connection before restoring power.
⏱️ Time: 45 minutes per installation | ✅ Successful when: Solid fixation, secure connection, successful ignition test | ⚠️ Attention: LEDs heat up despite their efficiency - provide ventilation if installed in a closed enclosure
Adjust intensity and temperature: Start with 50% maximum intensity and adjust according to the desired ambiance. For wall art with warm colors (reds, oranges), use 3000K. For artworks with cool tones (blues, greens), prefer 4000K. Lighting should reveal without dazzling - you should be able to look at the wall art for 10 minutes without eye fatigue.
⏱️ Time: 30 minutes for fine adjustments | ✅ Successful when: Perfect color rendering, optimal visual comfort, "art gallery" effect | ⚠️ Attention: Excessive lighting is tiring in the long run and can create local overheating - prefer gentleness
🎯 Expert level validation: Your wall art now benefits from integral UV protection (99.9%) and prestige lighting. The ultimate test: invite friends and observe their reactions - they should immediately notice the exceptional atmosphere and the revealed beauty of your artworks. If you feel the same emotion as in an art gallery, you've got it! Your wall art is protected for the next 30 years.
The 3-month progression rule: Master each step for 4 weeks before moving on to the next. This allows you to observe intermediate results, adjust if necessary, and gain confidence to invest in the next step. Haste is the enemy of perfection.
You are now a master of UV protection ! These expert techniques give you a considerable advantage: your wall art will retain its original beauty for decades, while those of your friends gradually fade. You now master subtleties that even some professionals neglect.
🏆 Technique of a master collector: Alternate artificial lighting with periods of total darkness (minimum 6h/day). This "light breathing" slows down aging even further and preserves color intensity spectacularly. The greatest museums apply this method to their millennial masterpieces.
Frequent question from our readers
"All this equipment must cost a fortune... I'm starting with 2-3 wall art pieces, I can't afford to invest thousands of euros right away!"
Your concern is perfectly legitimate and shows that you are thinking like an astute investor! The beauty of this method is that it adapts to all budgets thanks to its progressive approach. Start with the essentials : a basic anti-UV film (30-50€ per window) already effectively protects your most valuable artworks. The important thing is not immediate perfection, but to stop today the degradation of your favorite wall art. You can then complete your protection at the pace of your acquisitions and your budget.
💡 Smart Start: Identify your 2 most valuable paintings (affective or financial) and focus your initial budget on their complete protection. This targeted investment will give you confidence and experience to gradually protect the rest of your collection.
The fatal pitfalls that ruin everything (even with the best intentions)
Attention, these mistakes are more common than you think and can compromise all your protection efforts! I'm sharing these pitfalls not to discourage you, but to avoid the disappointments experienced by most beginners. Knowing these pitfalls already puts you in the 40% who succeed first time.
- ⚠️ Mixing UV protection and thermal insulation: Many choose tinted "all-in-one" films that promise coolness AND UV protection. Result: your rooms become dark and you lose the pleasure of natural light without gaining real protection. The solution: separate the functions with a transparent UV film + thermal management by ventilation. This mistake comes from the legitimate desire to optimize, but the two needs require different technologies.
- 🔧 Underestimating existing lighting: "My neon/halogen lights are bright enough, no need to change..." A serious mistake! These sources emit UV and cancel out your window protection. You protect on one side and attack on the other, like watering while it rains. Replace systematically with UV-free LEDs, even your accent lighting. This negligence explains why some still notice degradation despite their efforts.
- 📏 Neglecting precision measurements: "It should be fine at a glance..." This approximation will cost you! A poorly sized film leaves unprotected areas, creating partial discoloration that is even more visible than uniform degradation. Invest in a laser measure (20€) - millimeter accuracy is not perfectionism, it's efficiency. The mistake comes from underestimating the impact of details.
- 💨 Rushing the installation: Enthusiasm leads to doing everything in a weekend. Result: air bubbles, false creases, poorly adjusted corners that compromise the aesthetics and effectiveness. Plan 3-4 weeks to master everything calmly. A sloppy installation will haunt you for years - it's better to take the time to do it right. This mistake is born from the legitimate impatience to protect your artworks.
- 🎯 Forgetting indirect UV rays: Focusing only on the main windows while neglecting skylights, glass roofs, or reflective surfaces. These "secondary" sources create unexplained degradation zones. Map all light paths in your rooms before acting. Ignoring 10% of UV sources can explain 50% of residual damage.
🔍 Anti-error verification system: Weekly checklist : Are all your lights UV-free LEDs? Is any glazed area overlooked? Are the films still adhering perfectly? Are there heat sources near the artworks? Warning signs : Feeling of heat near windows (faulty film), abnormal reflections (poorly positioned glass), glare (poor lighting angle), eye fatigue (excessive intensity).
— Our selection


Your essential questions about UV protection for paintings
Between €200 and €800 depending on your level of requirement. Basic solution (window films + UV-resistant glass): €200-€300. Premium version (high-performance films + museum LED lighting): €600-€800. Optimization tip: start with your 2 most valuable artworks with complete protection (€100), then gradually extend. Concrete example: Marine protected her living room (3 windows + 4 paintings) for €280 by combining basic transparent films and custom-made UV-resistant glass. Result: no visible degradation after 2 years of intensive exposure.
The benefits are immediate but invisible - just like sunscreen on your skin! You will instantly notice: reduced heat near windows, less glare, sharper colors under LED lighting. Real validation: compare with an unprotected control painting after 6 months. Testimonial: Julie installed her protection in January and kept an identical painting at her sister's without protection. In July, the difference in brightness was spectacular and confirmed the effectiveness of the system.
Simpler than assembling an IKEA piece of furniture! Window films are applied like giant stickers (similar technique to auto-tinted windows). UV-resistant glass is replaced like standard windows. Only real difficulty: LED lighting sometimes requires an electrician (2h of labor = €100-€150). Alternative solution: floor lamps or LED strips that plug directly in - no drilling required. Reassuring advice: 80% of our readers manage it themselves by following the steps. The remaining 20% delegate the electrical work.
On the contrary, it improves it! By filtering UV rays (invisible) while retaining visible light, you get a softer and more even brightness. Say goodbye to glare and harsh contrasts. Speaking comparison: it's like wearing quality sunglasses - you see better with less fatigue. Unexpected bonus: your wall colors and furniture appear more true, your TV screens less reflected. Real-world experience: "I thought I would lose brightness, but my rooms are actually more pleasant to live in" (Sophie, interior architect).
It's even recommended as a priority! Antique artworks are more vulnerable because their natural pigments degrade more easily. Special precaution: avoid any direct contact (films only on windows, never on the artwork itself). For valuable pieces: consult a restorer before intervention - some artworks require specific conditions. Particular case of pastels/watercolors: mandatory UV protection + humidity control (dehumidifier if necessary). Proof example: The Musée d'Orsay uses exactly these techniques to preserve its Impressionist masterpieces for 20 years.
Your transformation into an expert art guardian
In 3 months, when you contemplate your paintings with their always vibrant colors, you will feel that deep satisfaction of a job well done. Your guests will immediately notice the refined atmosphere of your interior, that perfect light which reveals every nuance of your artworks. You will have joined the closed circle of discerning collectors who preserve their artistic heritage with the rigor of a museum curator. This discreet pride in mastering expert techniques will transform your relationship with art and decoration.
Beyond protecting your paintings, you have acquired a deep understanding of light, materials, and their interaction. This expertise will prove valuable for all your future decorative choices: optimal furniture placement, lighting selection, even real estate negotiation (you will know how to assess the luminous impact of a property). Your confidence in interior design has significantly strengthened.
Understanding was indeed the key - now that you know "why", the "how" becomes natural. Your first step? Order the anti-UV film for your main window today and observe the difference. Each day of delay represents irreversible degradation of your favorite artworks. You have all the keys in hand to transform your home into a protective showcase worthy of the finest galleries!
🚀 Your mission, should you choose to accept it: Your paintings deserve the same protection as in the greatest museums - you now know how to offer it to them. This expertise will accompany you throughout your life and enrich each new artistic acquisition. Excellence awaits!


