



How to arrange several small frames on a large Airbnb wall?
March 1, 2026 · 10 min read · by Walensky
I recently redesigned a Marseille loft converted into a short-term rental. Five meters of bare white wall in the living room. The owner wanted to "hang a few frames." What he hadn't anticipated is that this empty wall was precisely what was dragging his decor score down from 3.8 to 4.9 stars in three weeks. Guests no longer want anonymous walls. They are looking for that personal touch that turns a functional space into a memorable experience.
Here is what a well-planned wall composition brings to your Airbnb: it immediately elevates the perceived quality of your property, it creates photo-worthy moments that your guests will spontaneously share on Instagram (free marketing!), and it psychologically justifies a rate 15 to 20% higher than neutral listings.
The trap? Hanging frames at random has the opposite effect: amateurish, visual clutter, the impression of a poorly organized flea market. Your guests won't articulate exactly what feels off, but their impression will weigh on your overall rating. The good news: using a method proven across more than forty rentals I have styled, you can turn that intimidating large wall into a major asset. No need to be an interior designer. Just understand three fundamental principles, which I am about to share with you.
The two-thirds rule nobody tells you about
Before even choosing your frames, lightly mark out (mentally or with a soft pencil) a zone on your wall. This zone should cover two-thirds of the wall's height, starting from 145-150 cm above the floor as the visual center. Why this precise height? It is the natural eye level of a person standing in a room.
On a four-meter-wide wall, your frame composition should occupy roughly 2.5 to 3 meters horizontally. The classic mistake of Airbnb hosts: concentrating all the frames within a square meter in the center of the wall, leaving huge gaps on either side. The result: the "postage stamp on an envelope" effect.
I systematically use kraft paper on the floor to reproduce the exact shape of the wall at full scale. I lay out all the frames on it, photograph from different angles, and adjust. This floor simulation spares me fifteen unnecessary holes in the plaster and three hours of frustration. For your guests it is invisible. For your process, it is revolutionary.
The magic number depending on surface area
For a wall of 12 to 15 m² (what you find in most Airbnb stays), the comfort zone lies between 7 and 12 frames. Fewer than 7? You are underusing the space. More than 15? You visually saturate it, especially with small formats.
I tested it: 9 frames of varied sizes (between 20x30 cm and 30x40 cm) create a perfect rhythm. Enough to tell a visual story, not so many that it tires the eye. Your guests should be able to take in the whole arrangement at a glance, then explore the details one by one.
The three layouts that work every time
The ordered grid remains my favorite for Airbnbs with a modern or minimalist positioning. Picture a grid of 3 rows by 4 columns, with a regular spacing of 8 to 10 cm between each frame. All formats identical (for example 21x30 cm). This symmetry subconsciously reassures your guests: order, cleanliness, attention to detail. It works particularly well with black-and-white photographs or clean graphic illustrations.
The professional tip: use a horizontal laser level (rental around 15 € per day) and discreetly mark the alignments in pencil. A single frame hanging crooked in a grid, and the whole composition looks unsteady.
The organic constellation suits bohemian, artistic Airbnbs or those located in older buildings with character. You create an irregular cloud of frames of varied sizes, with a central focal point (your largest frame or the one with the strongest visual) and satellites all around. Spacing varies from 5 to 15 cm, creating a natural visual rhythm.
The secret: still maintain three invisible alignments (top, middle, bottom) that only about 20% of the frames touch. This hidden structure prevents chaos while preserving the apparent spontaneity.
The ascending lifeline
The staircase composition visually follows a staircase or a corner sofa. You create a rising diagonal of 6 to 8 frames of progressively increasing sizes. This layout naturally guides the eye upward, giving an impression of ceiling height. Remarkably effective in studios where every perceived centimeter counts.
I used this technique in a 28 m² attic in Lyon. Guests systematically mentioned in their reviews the "surprising space," even though the surface area had not changed. The magic of directed perspective.

Favorite
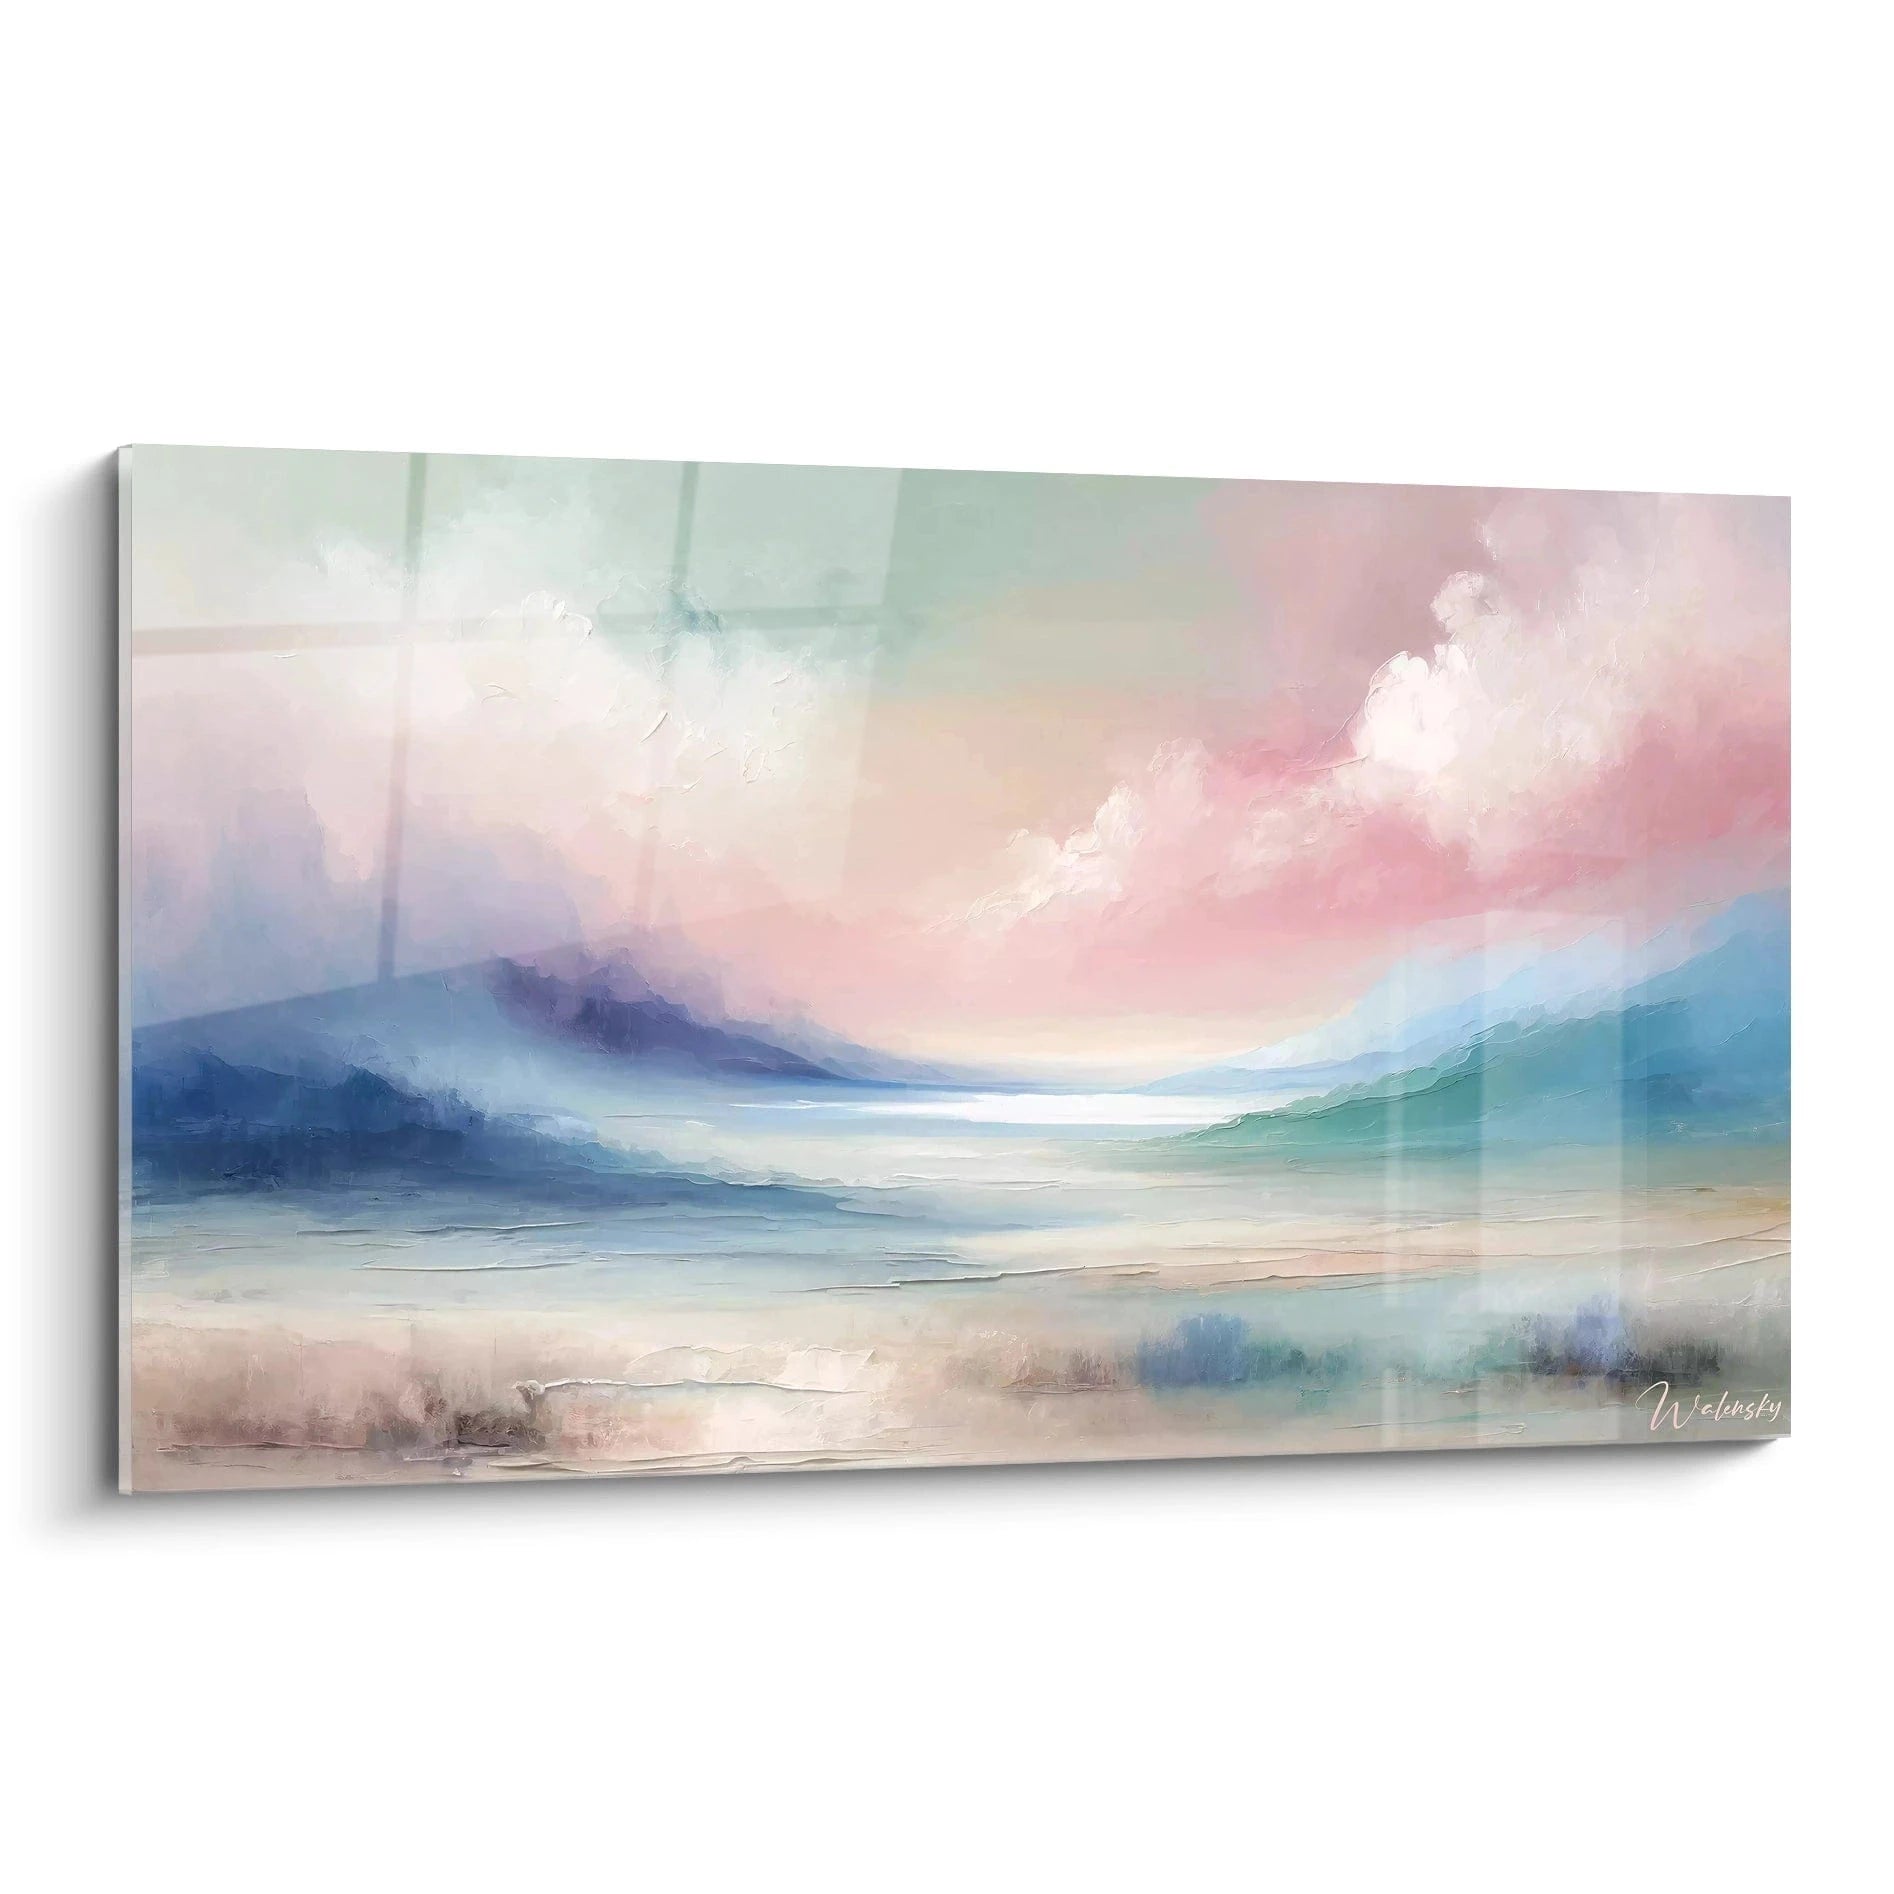
Cosmic Haze and Mountains painting - Celestial Fusion - abstract spiral edition
213,90€
Discover this paintingThe color-frame-theme trio that raises your ratings
Your frames tell a story before anyone looks at their content. In an Airbnb, this story must be immediately readable and emotionally neutral-to-positive. No controversy, no overly personal references, no niche humor that divides.
My tested formula: 70% visuals linked to the destination (local architecture, regional landscapes, stylized urban life scenes), 30% timeless universals (botanicals, geometry, soft abstracts). A guest in Bordeaux wants to feel Bordeaux, not New York. But without falling into heavy tourist clichés.
For physical frames, the golden rule: no more than two different finishes across the whole composition. Either all light natural wood. Or light wood plus matte black. Or white plus brushed brass. Mixing four different frame styles (baroque gilt, dark wood, aluminum, glossy white) creates a visual cacophony that your guests will perceive as amateurish.
The limited color palette
Within the visuals themselves, restrict yourself to a palette of 3 to 4 dominant colors at most, in harmony with your existing décor. If your sofa is terracotta and your cushions sage green, integrate these tones into your image choices. This invisible chromatic coherence makes all the difference between "pretty" and "professional."
I systematically avoid bright red and saturated orange in short-term rentals. Too stimulating, they tire over time and photograph poorly (your future guests look at your photos before booking). Soothing blues, natural greens, powdery pinks and earthy ochres work far better.
— Our selection


The hanging technique that saves three hours and your plaster
Essential equipment: kraft paper, scissors, masking tape, spirit level, pencil, measuring tape. Optional but valuable: laser level, stud finder (if the wall is plasterboard).
Cut out rectangles from the kraft paper matching the exact dimensions of each frame. Number them on the back. Fix these paper templates to the wall with masking tape according to your chosen composition. Step back three meters. Take a photo. Live with this simulation for 24 hours. You will immediately see what feels wrong: a frame hung too high, an unbalanced gap, a group that drifts to the left.
Once satisfied, drill directly through the paper. The hole is exactly in the right place. Remove the template, install the fixing, hang the frame. Zero approximation, zero unnecessary holes to fill before the next guest's inspection.
For small lightweight frames (under 2 kg), Command adhesive hooks hold perfectly and remove without a trace. For heavier items, screws and wall plugs remain essential, but invest in toggle bolts for plasterboard if needed. A frame falling at 3 a.m. means a guaranteed bad review.
The optimal spacing between frames
Rule of thumb: between 6 and 12 cm between each frame depending on the desired style. 6-8 cm for a dense contemporary gallery effect. 10-12 cm for a more airy, Scandinavian feel. Beyond 15 cm, the frames read as separate elements and you lose the unified composition effect.
Maintain this spacing consistently in a grid. In an organic constellation, vary it slightly (7 cm here, 11 cm there) to create rhythm, but keep an average around 9 cm.
Turn your bare wall into a 5-star asset without losing a weekend
Discover our exclusive collection of Airbnb paintings that charm your guests and increase your spontaneous bookings.

— Also to discover


The fatal mistakes I've seen ruin promising compositions
Hanging too high. I see it in 60% of the Airbnbs I visit during scouting. Owners hang as they would in their family home, to admire while standing. But your guests spend 70% of their time in the property seated (sofa, table, bed). A frame whose center sits at 180 cm from the floor will look suspended from the ceiling when seen from the sofa. Aim for 145-155 cm for the center of your overall composition.
Neglecting lighting. Your magnificent frame wall disappears into darkness once evening falls. I systematically install an adjustable LED strip or track spotlights aimed at the wall. The investment (80-200 €) turns your composition into a nocturnal architectural feature. Your evening Airbnb photos become spectacular.
Choosing reflective glass. With standard glossy glass, half your frames reflect the windows by day and the lamps by night. Your visuals become unreadable. Opt for matte anti-reflective glass or simply remove the glass on quality paper prints (this works very well indoors, in a protected space).
Forgetting seasonal rotation
A detail that distinguishes superior Airbnbs: change 30% of the frames twice a year. Keep the structure, the layout, the physical frames. Simply replace some of the visuals. Your returning guests (yes, you will have some) will notice this freshness. And you avoid photographic fatigue across your listings.
I put together two complete collections: a summer one (bright colors, luminosity, lightness) and a winter one (warm tones, cocooning, depth). The change takes an hour, and the impact on seasonal bookings is measurable.

Your wall becomes your silent best salesperson
That large wall that intimidated you? It is now your visual signature. Your future guests will see it in photo 3 of your listing and instantly picture themselves there. Your current guests will photograph it for their Instagram stories, generating organic visibility. Your reviews will mention "the beautiful décor" without you having to suggest it.
Start this weekend: measure your wall, order your frames, print your visuals. In two weeks, your Airbnb will have reached a visible quality milestone. And in three months, when you analyze your statistics, you will see the tangible impact: higher conversion rate, longer average stays, higher average daily rate.
Your wall will never be a problem again. It will become your solution.
Frequently asked questions
How many frames do you need for a 4-meter wall in an Airbnb?
For a wall 4 meters wide and 2.5 meters high (a standard living room surface), I recommend between 9 and 12 small frames. This quantity creates a balanced visual presence without saturation. If your frames measure between 20x30 cm and 30x40 cm, 9 frames are more than enough to cover roughly 60% of the wall surface, which is the ideal ratio. Fewer than 7 frames will give an impression of incompleteness; more than 15 risk overloading and visually tiring your guests. Remember: in a short-term rental, visual balance takes precedence over decorative density. Your guests should feel they are in an airy space, not a crowded art gallery.
What height should you hang several small frames on a large wall?
The ideal height for the center of your overall composition lies between 145 and 155 cm from the floor. This is the natural eye level of a seated person on a sofa, the position in which your guests will spend most of their time. Concretely, if your composition measures 120 cm in total height, its bottom edge will start at roughly 85-90 cm from the floor, and its top edge will reach 205-210 cm. The common mistake: hanging too high by aiming for standing eye level. The result is that your frames seem to float near the ceiling when viewed from the sofa. Use a laser level to trace a horizontal line at 150 cm; this will be your central reference axis for the entire composition. This simple precision turns an amateur installation into a professional hanging.
How do you arrange frames of different sizes without it looking messy?
The secret to a harmonious composition with varied formats lies in invisible alignment lines. Even in an apparently free organic layout, maintain at least three hidden alignments: a top line, a middle line, and a bottom line. About 30% of your frames should touch at least one of these imaginary lines. For example, align the top edges of three frames even if their heights differ; this creates a reassuring underlying structure. Also limit yourself to three formats at most (for example: 20x30, 25x25, and 30x40 cm) repeated several times rather than ten formats all different. And keep relatively constant spacing between the frames, between 7 and 10 cm. This regularity in spacing offsets the variety of sizes. Finally, place your largest frame, or the one with the strongest visual, slightly off-center (not exactly in the middle); it will serve as a visual anchor for the whole group.


