


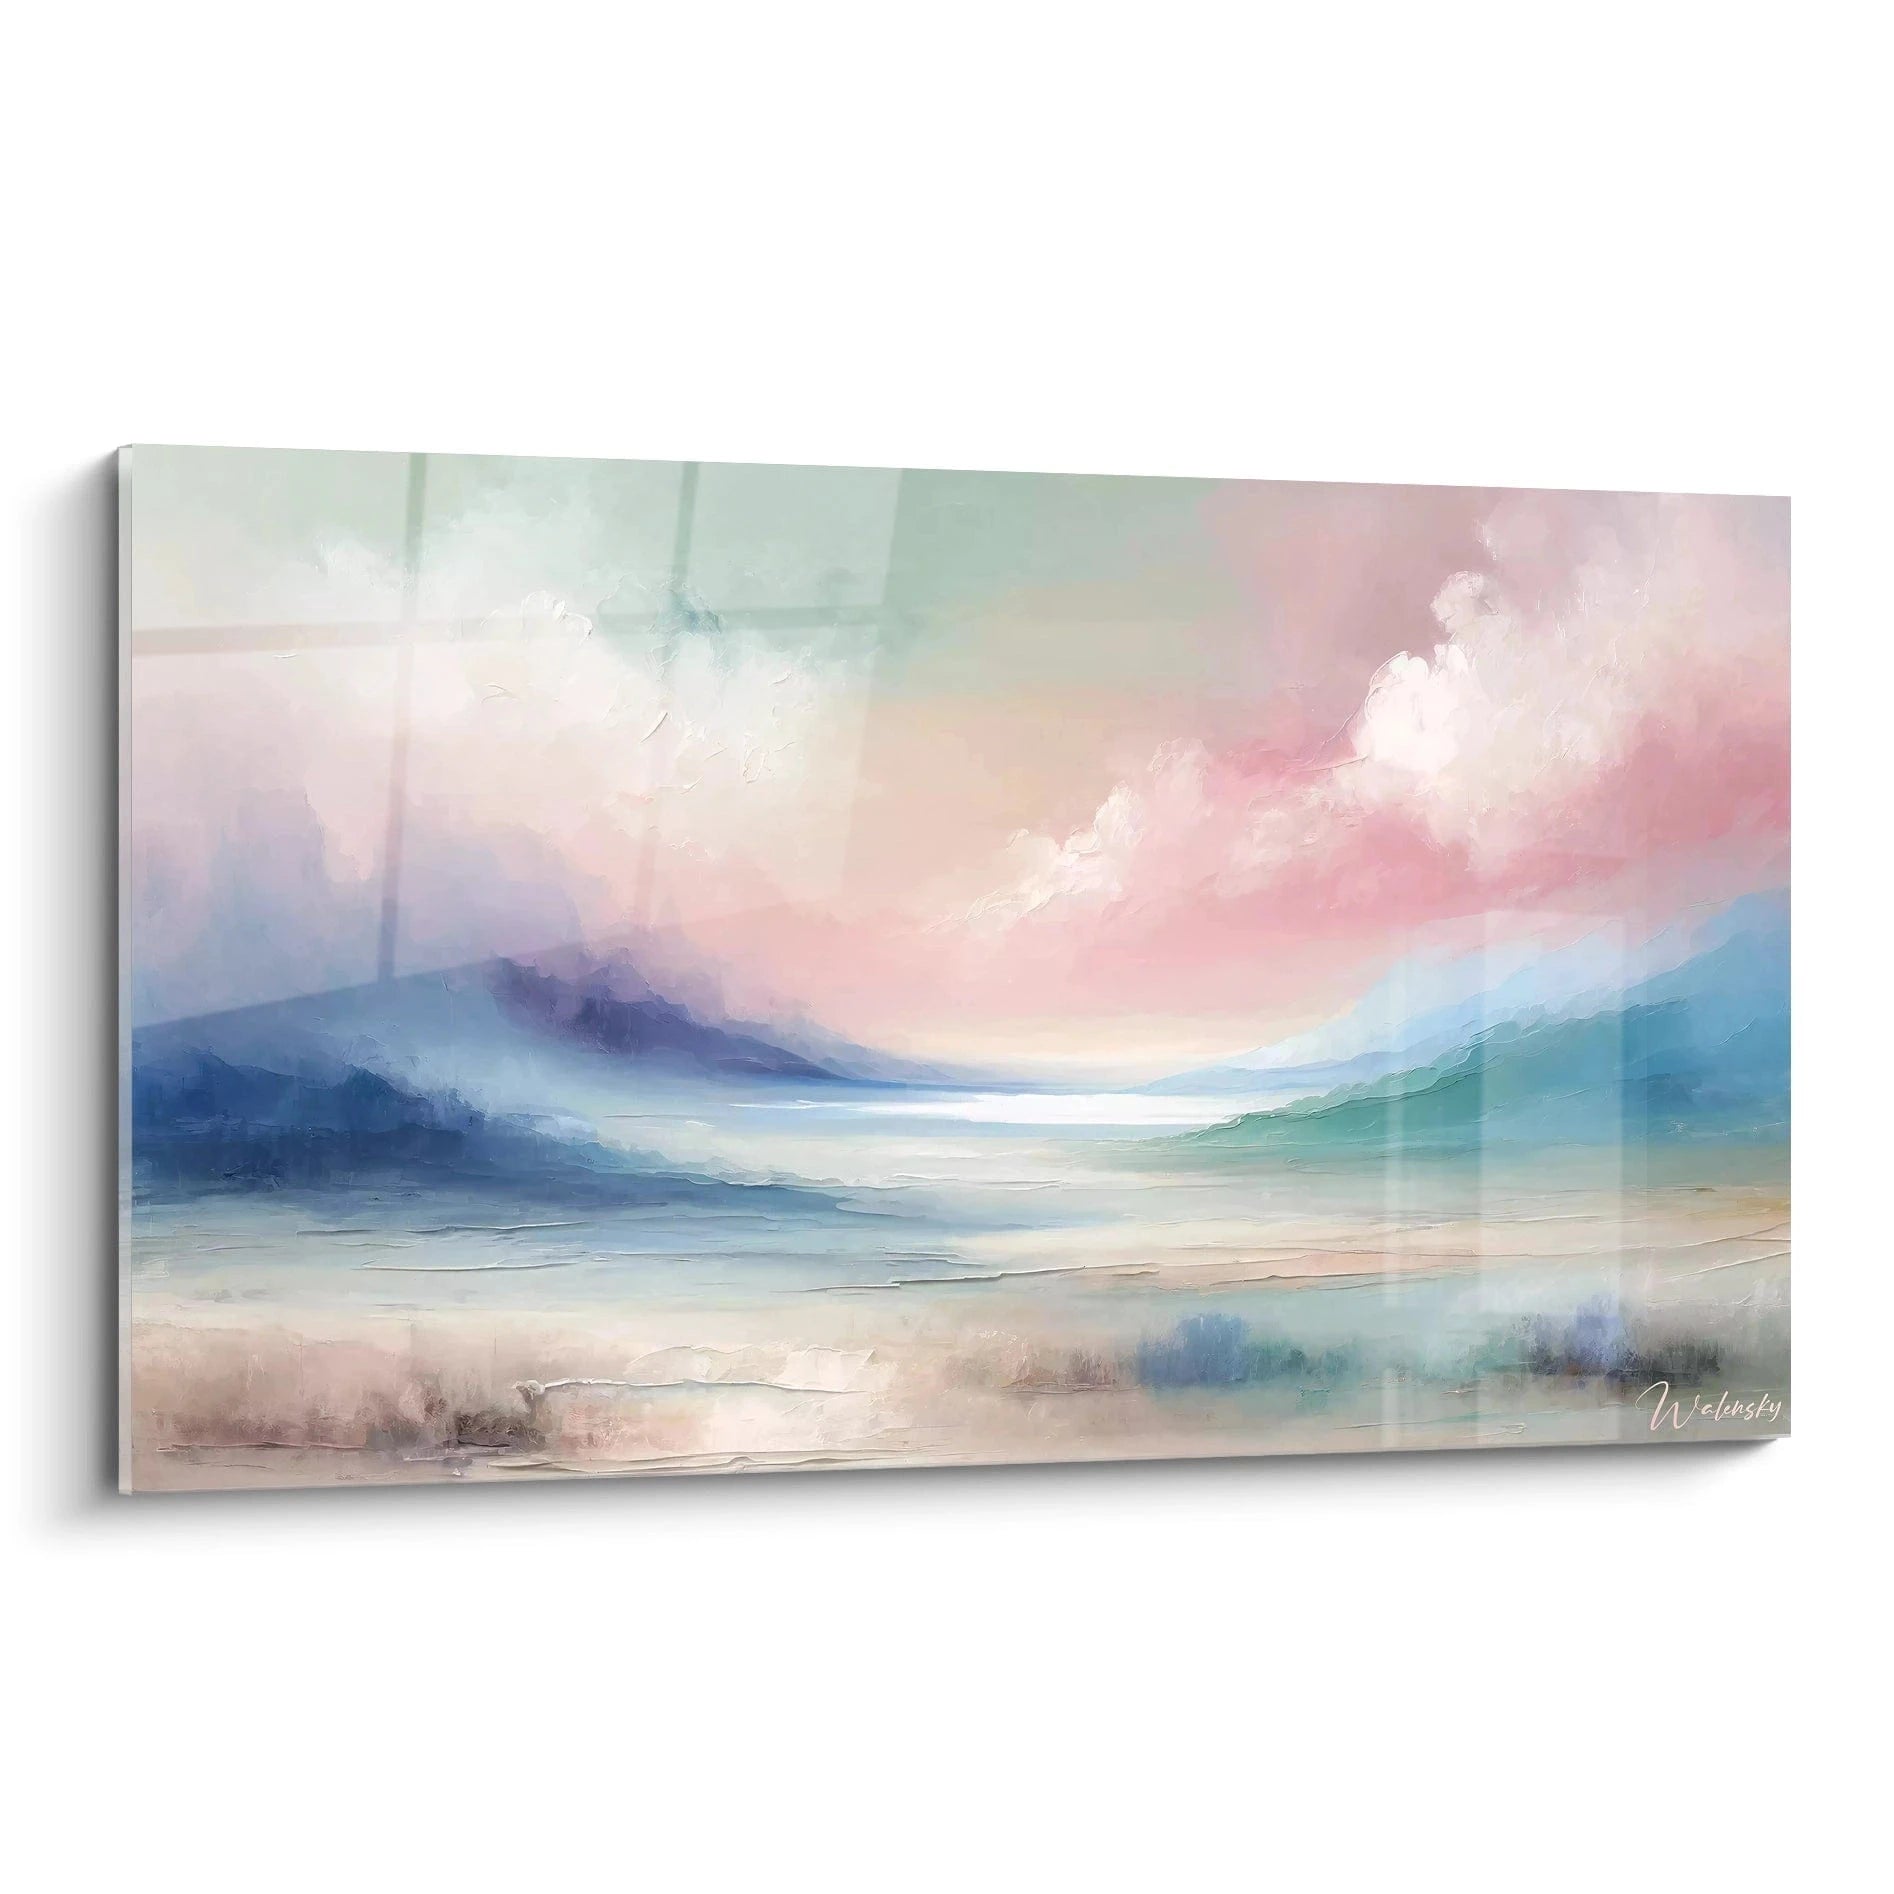

Wall art as a decorative element in a recording studio
October 11, 2025 · 16 min read · by Walensky
You’ve just invested thousands of euros in your recording studio, the acoustics are perfect, but the atmosphere remains cold and impersonal like a medical laboratory.
Your musician clients enter this aseptic space, look around, and you feel they struggle to relax, to unleash their creativity in an environment that desperately lacks soul and visual inspiration.
You may have tried adding a few posters or colorful neon signs, but the result looks more like a teenager's room than a professional studio, and you now fear that any decorative addition will disrupt your precious acoustics.
This frustration is perfectly normal: most studio owners believe they must choose between acoustic performance and aesthetics, when in fact there is a solution that harmoniously combines both.
By the end of this article, you will know exactly how to integrate wall paintings into your studio without compromising acoustics, and you will discover why this approach can even improve the creative experience of your clients.
Why does your studio's aesthetics influence recording quality?
The visual environment of a recording studio acts as a creative catalyst for artists. Imagine a musician entering your space: if the bare, cold walls send them a feeling of a hospital, their creativity subconsciously contracts. It's exactly like a chef working in a gloomy kitchen rather than an inspiring space.
🎵 Studio testimonial: Sarah, owner of a Parisian studio, has observed that since the installation of three abstract paintings with warm tones, her clients extend their sessions by an average of 30% and recommend her 3 times more often to their contacts.
Conversation with a decor expert
The golden rule of the inspiring studio: Well-integrated wall art creates a creative bubble that releases artistic expression while preserving technical excellence. You will observe this change from the first session, often in less than 30 minutes.

What Really Happens When Your Studio Lacks Soul
Three telltale signs: your clients finish their sessions sooner than expected, they seem tense even after the warm-up, and they don’t return spontaneously despite the impeccable technical quality of your services.
What lies behind these symptoms is a phenomenon of "environmental stress" : the absence of warm visual cues subconsciously puts the artist in a "defensive" mode rather than a "creative" one.
It's like asking someone to relax in an interrogation room: technically possible, but emotionally difficult.
The Illusion of Perfect Neutrality
Contrary to what one might think, a visually neutral studio is not emotionally neutral: it subconsciously conveys coldness and distance, two enemies of musical creativity.
It's exactly like a restaurant with stark white walls: technically clean, but that makes you want to eat quickly and leave.
This false neutrality pushes your clients to constrain their artistic expression , to play "safe" rather than explore new, bold sounds.
🔍 Instant Test: Observe your next client’s body language in the first 5 minutes: do they lean comfortably against something or remain stiff? This observation instantly reveals the emotional impact of your space.
The Myth of Visual Distraction
Many believe that adding decorative elements will distract musicians from their performance, but that’s confusing distraction with inspiration: a well-chosen painting becomes a soothing visual anchor .
Imagine the difference between a landscape that captivates your gaze (soothing) and a flashing billboard (distracting): true art nourishes the soul without stealing attention.
As a result, your ultra-neutral studio compresses creativity and limits the expressive potential of your artists.
Acoustics as a Pretext for Blandness
Many studio owners use acoustics as an excuse to avoid any aesthetic personalization, when the real acoustic issues lie elsewhere: isolation, absorption, and diffusion.
A canvas painting can even improve sound diffusion when properly positioned, unlike smooth surfaces that create unwanted reflections.
This unfounded fear deprives you of a major competitive advantage : the ability to create a memorable overall experience for your clients.
🚨 3 Alarm Signs in Your Studio:
- Sessions consistently cut short: Your clients leave as soon as the technical objective is reached, without exploring further
- Persistent tense atmosphere: Even after 30 minutes, the atmosphere remains formal and constrained
- Lack of spontaneous recommendations: Despite the technical quality, word-of-mouth remains limited
The Trigger Factor: Emotion Before Technique
What really makes the difference is your studio’s ability to create an "emotional bubble" where the artist feels free to explore without judgment. It’s like a domino effect: once the emotion is released, technical performance follows naturally. You can identify this trigger when you see your clients’ shoulders relax and their gestures become more fluid.
The Rule of Creative Comfort: A visually relaxed artist invests 50% more energy in their musical performance. Test by observing eye intensity and gesture spontaneity from the first takes.
| ❌ Traditional Neutral Studio | ✅ Studio with Personality | 💡 Psychological Mechanism | 🎯 Concrete Benefit |
|---|---|---|---|
| Immaculate white walls | Paintings with Warm Tones | Reduced Visual Stress | 30% Longer Sessions |
| Cold Technical Lighting | Light/Art Balance | Gentle Creative Stimulation | More Spontaneous Captures |
| Laboratory Atmosphere | Inspiring Atmosphere | Release of Expression | Increased Customer Loyalty |
| Focus Solely on Technique | Memorable Overall Experience | Positive Emotional Activation | Multiple Recommendations |

The progressive method for integrating art without compromising acoustics
Rest assured: transforming your studio into an inspiring space requires neither revolution nor a large budget. It's like gardening: you start by preparing the ground, then you plant strategically, and finally you refine the details. In 3 clear steps, you will create an environment that stimulates creativity while preserving your acoustic excellence.
🗺️ Overview of the transformation: First, we assess your space and its acoustic constraints, then we select and position the first paintings strategically, and finally we refine the atmosphere with details that make the difference. Each step brings you a visible improvement in the creative atmosphere.
Step 1: Assess your space and define opportunity zones
Starting with this step avoids costly mistakes and allows you to maximize the impact of each painting added. It's like building a house: the foundations determine the solidity of the whole. Once this analysis is complete, you will already feel excited to see your studio transformed.
What you need for the assessment
- Measuring tape and notebook: To measure distances between sound sources and walls, note acoustic reflection zones. Avoid mobile applications that are less precise for this crucial step that determines the optimal location of your future paintings.
- Camera or smartphone: To document the viewing angles from the position of the musicians and identify available wall spaces. Quality doesn't matter, only the framing to visualize the proportions and potential visual impact.
- Spirit level: Essential to verify the horizontalness of the walls and anticipate hanging adjustments. A misaligned painting in a professional studio immediately undermines the credibility of the space.
Now, let's move on to concrete action
Detailed procedure
Map acoustic sensitive zones: First, identify the surfaces that actively participate in acoustics (acoustic panels, diffusers) and mark them as off-limits for decorations. These zones must remain functional above all. This step avoids regrets and preserves your acoustic investments.
⏱️ Time: 15 minutes | ✅ Success when: All acoustic surfaces are clearly identified and photographed | ⚠️ Attention: Do not confuse bare wall and acoustically neutral wall - some smooth walls create reflections that a textured painting can improve
Identify "visual comfort" walls: Identify the wall surfaces within the direct field of vision of the musicians during recording. These walls are your priority zones as they directly influence the emotional state of the artists. Prioritize walls facing the instruments rather than behind them.
⏱️ Time: 10 minutes | ✅ Success when: You have photographed from each instrument position | ⚠️ Attention: Some walls seem obvious but are never looked at - test by physically placing yourself in the musician's position
Measure available dimensions: Record the precise dimensions of each candidate wall area, taking into account existing switches, sockets and equipment. A measurement error would force you to return the painting or modify your electrical installation.
⏱️ Time: 20 minutes | ✅ Success when: You have a sketch with all measurements and obstacles noted | ⚠️ Attention: Wall sockets are often forgotten in the enthusiasm, systematically check their location
✅ Validation of step 1: You must have a clear map of your studio with no-go zones, priority zones and their exact dimensions. If you are still unsure about certain zones, that's normal: photograph them to decide later. You are ready to choose your first paintings!
Step 2: Select and position your first strategic painting
Now that you know your playing field, it's time to choose the painting that will make a difference. This step is the most rewarding because you will immediately see the impact on the atmosphere. It's like adding the first spice to a bland dish: the effect is spectacular and creates a momentum for the rest.
Selection criteria for the ideal painting
- Canvas stretched over wooden frame: Prefer this structure which slightly absorbs high frequencies without creating parasitic reflections. Rigid supports like metal or glass should be avoided in a studio. The thickness of the frame (minimum 3-4cm) adds a beneficial acoustic dimension.
- Warm and soothing colors: Opt for ochre tones, sienna earth, deep blue or forest green that promote creative concentration. Avoid bright red and saturated orange which stimulate agitation rather than artistic reflection. Colors should inspire without distracting.
- Proportionate dimensions: Choose a format that occupies 15 to 25% of the visible wall surface from the recording position. Too small, it would go unnoticed; too large, it would dominate the space and could intimidate the most sensitive musicians.
Strategic installation
Positioning at seated eye level: Install the center of the painting 140-150cm from the floor, as most musicians record sitting or leaning slightly over their instrument. This height creates a natural visual contact during creative breaks without straining the neck position.
⏱️ Time: 5 minutes of measurement | ✅ Successful when: The center corresponds to your eye level when sitting on a studio chair | ⚠️ Attention: The standard "gallery" height (160cm) is too high for a studio where you sit
Choose a professional mounting system: Use suspension rails or robust wall fixings capable of supporting 1.5 times the weight of the wall art. In a studio, the vibrations of low frequencies can move a poorly secured wall art, creating parasitic noises during recordings.
⏱️ Time: 15 minutes of installation | ✅ Successful when: The wall art doesn't move when you tap the wall lightly | ⚠️ Attention: Test the solidity with low frequencies before your first recording
🎵 Integration test: Play a track with marked bass and observe whether the wall art vibrates or produces noises. Ask a musician to test the position: their gaze should naturally cross the wall art during moments of creative reflection. If validated, you have succeeded in your first integration!
Step 3: Create a complete visual harmony
With your first wall art in place, you now master the studio integration principles. This last step transforms you into a true creator of atmosphere: you will develop a coherent visual environment that makes your studio a unique place, that your clients will remember and naturally recommend.
Complementary elements for overall harmony
- Second complementary wall art: Choose a different format (vertical if the first is horizontal) within the same color palette but with varied nuances. This diversity in unity creates a soothing visual rhythm, like a harmonious musical chord.
- Indirect ambient lighting: Add soft lighting that enhances your wall art without creating reflections on recording surfaces. Warm LEDs (2700K) discreetly integrated reveal the colors without dazzling or generating electronic noise.
- Textile accent: A cushion, a small rug, or a curtain in the same tones as your wall art unifies the space and adds a touch of visual comfort that subconsciously reassures artists.
Expert finalization
Create a balanced visual triangle: Position your decorative elements to form an imaginary triangle in the space, creating a dynamic visual balance. This composition technique subtly guides the eye and creates a feeling of professional harmony.
⏱️ Time: 25 minutes of testing and adjustment | ✅ Successful when: The eye naturally circulates between the elements without getting stuck | ⚠️ Attention: Avoid perfect alignment which creates a rigidity contrary to creativity
Test the impact on different artist profiles: Invite 2-3 musicians of different styles to test your new studio and observe their spontaneous reactions. Their comments will reveal the emotional effectiveness of your layout and the final adjustments needed.
⏱️ Time: 3 observation sessions | ✅ Successful when: The feedback is unanimously positive about the atmosphere | ⚠️ Attention: Don't change everything if only one opinion diverges - look for general consensus
🌟 Final validation: Your studio should now exude a warm personality while maintaining its technical professionalism. Musicians should spontaneously comment on the improved atmosphere. If you yourself feel a new sense of pride when entering your studio, then the transformation is successful!
Gradual progression rule: Wait at least 3 recording sessions between each addition to observe the real impact on your clients. Impatience is the enemy of harmony - it's better to build gradually than to have to remove poorly integrated elements.
You now master the subtle art of marrying aesthetics and acoustic performance. It's time to discover the secrets that only the most renowned studio owners know, these details that make the difference between a good studio and a studio that is remembered.
🎩 Pro tip: Major studios use the "7% rule": no more than 7% of the total wall surface is occupied by decorative elements. This proportion creates the optimal visual impact without risking perceptual clutter. Calculate your surfaces to respect this rule of gold and achieve a harmonious result.
Question from a studio owner
"I'm afraid my paintings will look amateurish in a professional environment..."
This concern is very understandable and reveals your commitment to quality, which is reassuring! In reality, it's exactly the opposite that happens: a studio that assumes its aesthetic personality exudes a self-confidence that reassures clients about your overall mastery. Abbey Road, Electric Lady Studios, or La Fabrique in France all have marked decorative elements that contribute to their reputation. Amateurism is when you copy without thinking - you, you create a thoughtful identity.
✨ Reassuring action: Start with a single gallery-quality painting in your reception area rather than in the booth. You will immediately notice the positive effect on the welcome of your clients and their perception of your professionalism.
— Our selection


The 5 mistakes that turn your studio into a failed art gallery
Now that you know the method, let's protect your investment by avoiding common pitfalls. These mistakes are common because they seem logical at first glance, but they can ruin months of effort in a few days.
- 🚫 Choosing "decorative" paintings at the lowest price: The temptation to save on art is understandable, but a low-quality painting in a professional studio creates a qualitative dissonance that your clients immediately perceive. It's like wearing worn-out shoes with a bespoke suit. Prioritize one quality painting over three mediocre ones.
- 🚫 Overloading the space visually: Enthusiasm often leads to wanting to transform everything at once, but an overloaded studio is more stressful than inspiring. This is a very common mistake among passionate decoration owners. Respect the "3 maximum focal points per space" rule.
- 🚫 Ignoring reflections and shadows: Installing a painting under direct lighting without checking for reflections on instruments or control screens can create visual annoyances during recording. This technical error spoils the desired effect. Always test the lighting from the musicians' position.
- 🚫 Copying the aesthetics of another studio: Reproducing the exact atmosphere of a famous studio makes you look like an imitator without personality. Your clients will notice this lack of authenticity. Be inspired without copying, create your own visual identity.
- Neglecting maintenance and protection: A dusty or degraded artwork in a professional studio seriously damages your image. The studio environment (humidity, vibrations, handling) requires particular attention. Plan a simple but regular maintenance protocol from installation.
Monthly checkpoints: Check that the fixings remain solid, the colors do not fade under the lighting, no reflections appear in new equipment positions, the whole remains consistent despite your studio's evolution. These 5 minutes a month preserve your aesthetic investment.
— Also to discover


Frequently asked questions about art in studios
The effect is immediate but progressive : from the first session, you will observe changes in body language (relaxed shoulders, more curious gaze). The complete impact on loyalty is measured after 4-6 weeks, the time it takes for your regular clients to discover the change and for word-of-mouth to operate. To accelerate, don't hesitate to subtly mention your redecoration.
Allow between €300 and €800 for a complete transformation of an average studio (20-30m²) with 2-3 quality artworks and accessories. This is the equivalent of a week of sessions, but the investment pays off quickly through increased customer loyalty and referrals. Start with a budget of €200 to test the impact.
For standard artworks, you can install yourself by following our fixing advice. Hire a professional only if your walls are reinforced concrete, if you want integrated lighting, or for artworks of significant value requiring specific insurance. Most installations are done with a spirit level and a standard drill.
Opt for the rule of complementary colors : if your equipment is predominantly black/grey/silver, choose artworks with warm tones (ochre, burnt sienna, brown). If you have colored equipment (blue, red facades), stick to neutral tones with a single accent color. Always request a digital preview before the final purchase.
Absolutely! It is even recommended to maintain the creative freshness of your space. Provide a modular hanging system that allows for easy changes. Many owners alternate between 2-3 collections according to the seasons or the musical styles of their main clients. This flexibility becomes an additional marketing asset.
Your studio, a reflection of your creative excellence
In a few weeks, when you see your artist clients settling naturally into your transformed space, their shoulders instantly relaxing, their eyes sparkling with inspiration as they discover your artistic choices, you will measure the power of this transformation. Your sessions will naturally lengthen, the atmosphere will become more creative, and your clients will spontaneously talk about your studio as a "special" place to their contacts.
Beyond aesthetics, you will have developed a global vision of the customer experience that definitively sets you apart from the competition. This holistic approach - technical AND emotional - positions you as a professional who understands that music is born as much from the heart as from technique. This reputation will open the doors to a more demanding and loyal clientele.
Now that you have mastered the principles, start today by analyzing your space as we saw together. This first free step will immediately make you want to take action, and in a month you will no longer recognize your studio!
🚀 Your first step towards excellence: Your creative vision deserves a setting worthy of it. In a one-afternoon assessment session, you will launch the transformation that will make your studio the local benchmark that all musicians recommend.
Also read: 📖 Read more articles on acoustics and wall art
— In the same spirit


Our eye-catcher
Painting Modern Muse - Contemporary Abstract Painting Edition
233.90€
Discover this painting →


