

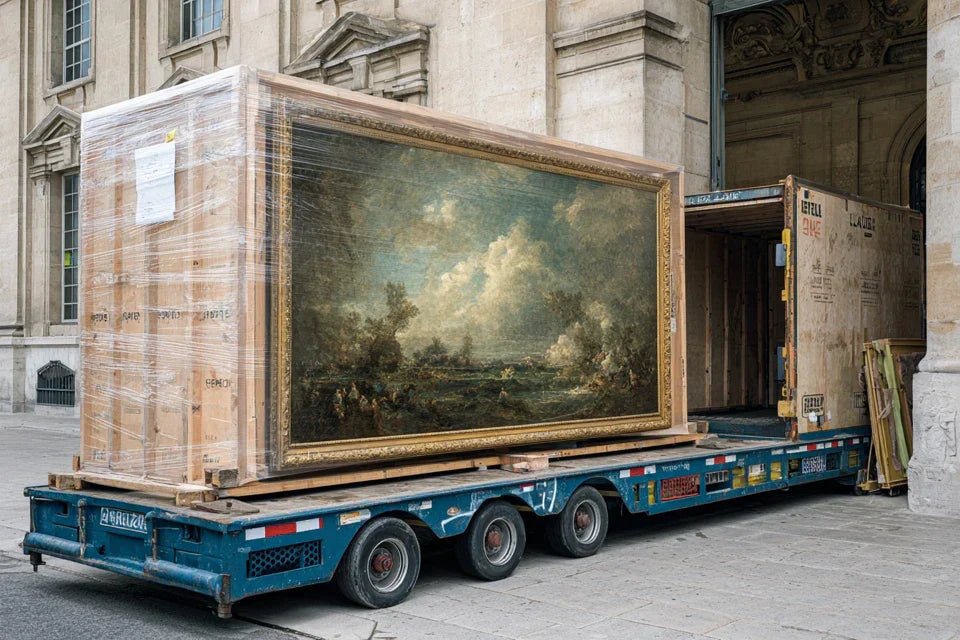
You've just acquired this exceptional work of art that brightens up your living room, but the thought of having to move it fills you with dread. What if it cracks? What if the frame breaks? What if years of savings go up in smoke because of inadequate packaging?
You can already imagine the corners being damaged, the canvas sagging, or even worse, that irreparable scratch running through your masterpiece. Your hands tremble at the thought of handling your artistic investment without professional protection materials.
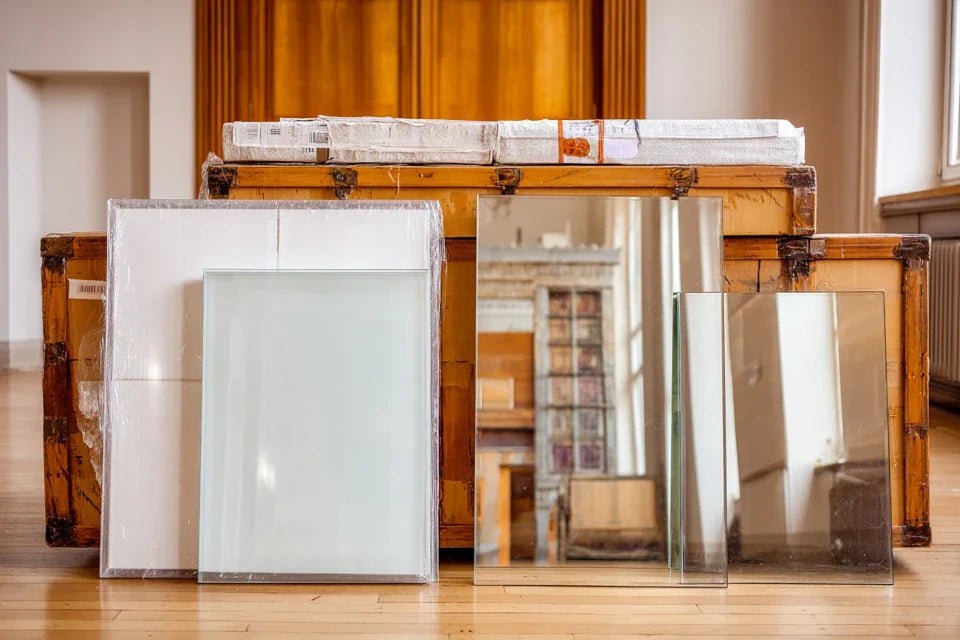
You may have already tried bubble wrap, recycled cardboard, or even moving blankets. The result? Anxiety persists, and you know deep down that these makeshift solutions are not up to par for your valuable artworks.
It's perfectly normal to feel this concern! The problem isn’t your caution, but the lack of reliable information on the real professional materials used by art transporters. Most general advice ignores the specificities of high-end paintings.
In the next few minutes, you will discover exactly which protection materials professionals use to transport artworks, how to choose them according to your type of painting, and above all, how to pack like an expert. You’ll regain that total peace of mind knowing your artistic investment is perfectly protected.
Why protecting your paintings can't wait?
Every day that passes without adequate protection exposes your artworks to variations in humidity, micro-impacts, and UV rays. It’s like leaving a classic car out in the rain: damage accumulates silently. The longer you wait, the more you risk losing the opportunity to preserve your artistic heritage in its optimal condition.
🎨 Expert testimony: Sarah, a Parisian gallery owner, still remembers the collector who lost €15,000 in a single scratch. "He had used classic plastic film which reacted with the fresh paint. Inadequate protection can cause more damage than no protection at all.”
💬 Conversation with a decor expert
The golden rule of art transportation: All materials in contact with the artwork must be chemically neutral and reversible. Think museum conservation: we protect for 100 years, not for 100 kilometers!
What's really happening to your artworks
Your precious painting is already undergoing three major attacks: temperature variations create canvas expansion, humidity causes the support to warp, and micro-vibrations progressively crack the pictorial layer. Even in your living room, these phenomena operate silently.
What happens isn't visible to the naked eye at first. It’s like the erosion of a cliff: grain by grain, your investment degrades. The problem is not your negligence, but the lack of a professional protective barrier between the artwork and its environment.
Imagine your skin exposed to the sun without cream: damage accumulates before it becomes visible. Your paintings work exactly the same with humidity and temperature variations.
The real cause of damage: the effect of condensation
Contrary to what is thought, it's not shocks that most damage paintings, but micro-condensations. When warm air meets a cold surface (your canvas), invisible droplets form and penetrate the layers of paint.
It’s exactly like condensation on a windshield: it forms inside, where you can't wipe it away. On your painting, this humidity creates microscopic blisters that permanently weaken the adhesion of the paint.
This discovery will transform your approach: instead of looking for only mechanical protection, you will understand why humidity regulation is a priority. No more unpleasant surprises upon unpacking!
🔍 Instant test: Bring your hand close to your painting for 30 seconds. Do you feel a temperature difference? This is a sign that your artwork is undergoing temperature variations that create these invisible condensations.
The mistake of "breathable" materials
Many think that paintings should be allowed to “breathe” with porous materials. In reality, a stable work of art needs a constant environment, not permanent fluctuations.
It’s like trying to put a baby to sleep with the windows open in a storm: the intention is good, but the result is catastrophic. Barrier materials create a protective cocoon that maintains stable conditions.
This revelation explains why your previous attempts with "natural" fabrics haven't worked. You will discover that modern technical films offer superior protection without stifling the artwork.
The trap of over-protection
The other extreme is to wrap so tightly that the pressure deforms the canvas. It’s a understandable reflex: the tighter it is, the better it's protected, right?
You can check this by observing the pressure marks on your old packaging. These traces reveal that your canvas has undergone mechanical stress during transport.
This constant pressure creates permanent deformations in the frame and can even cause the pictorial layer to crack at points of contact. Your protection then becomes the main cause of damage.
🎯 The 3 warning signs to watch out for:
- Traces de pression sur les bords: Indicate excessive tightening that gradually deforms the frame
- Condensation after unboxing: Reveals a thermal shock caused by unsuitable materials
- Persistent chemical smell: Signals the migration of compounds from the packaging to the artwork
The trigger factor: the quality of the first contact
What really determines the success of your protection is the first layer in direct contact with the artwork. Like a foundation, if it fails, all protection collapses. This layer must be chemically neutral, anti-static and perfectly smooth. It's your artistic life insurance: ensure it by checking that it leaves no residue to the touch and does not generate static electricity.
The 24-hour rule: If your protective material still emits an odor after 24 hours of ventilation, it is not suitable for artworks. The nose never lies when detecting dangerous volatile compounds.
| ❌ Common misconception | ✅ Professional reality | 💡 Why it works | 🎯 Concrete benefit |
|---|---|---|---|
| The tighter, the better protected | Calibrated space avoids pressure | The canvas retains its natural tension | No deformation upon unboxing |
| Bubble wrap protects against everything | Only neutral materials are suitable | Avoids chemical reactions | Preservation of artistic value |
| You need to let the artwork “breathe” | Climate stability is paramount | Eliminates destructive variations | Zero condensation, zero stress |
| All plastic films are equal | Each material has its own characteristics | Precise adaptation to the type of artwork | Optimal custom protection |
Your professional protection system in 3 steps
Worry no more! The method you are about to discover follows the same logic as a millefeuille of protection: each layer has its specific role. Like a pastry chef layering textures, you will build an invisible armor around your artwork. In the end, you will have the same peace of mind as a museum curator shipping a Monet.
🛡️ Overview of your artistic armor: First the neutral contact layer (chemical protection), then thermal insulation (climate regulation), finally the outer shell (mechanical protection). Logic from the inside out, like dressing a child for skiing!
Step 1: The contact layer - Your first line of defense
This step determines everything else! It's like choosing a quality primer before painting: invisible but fundamental. This initial protection creates a chemical barrier between your artwork and the outside world. You will immediately feel this peace of mind knowing that nothing can contaminate your investment.
Professional contact materials
- Tyvek film (special conservation): Resembles ultra-thin white paper but is tear-resistant. Creates a barrier against moisture while allowing water vapor to pass through. Available from professional art suppliers. Make sure it is marked "museum grade". Avoid construction Tyvek which contains additives. Crosslinked polyethylene foam: Microbubble white foam, not the large bubbles of bubble wrap. Acts as a stable air cushion without chemical migration. Recognize quality by its odorlessness after 24 hours. Transforms vibrations into absorbed energy instead of transmitting them. Metallized polyester film: Ultra-thin silver film resembling aluminum foil but without toxicity. Regulates temperature variations by reflecting heat. Essential for artworks sensitive to UV and thermal shocks.
Serene application of your first layer
Preparation of work surface: Spread a clean white sheet over a table larger than your artwork. This neutral base prevents any particle transfer onto the artwork. Check for creases that could create pressure points. It's simpler than it seems!
⏱️ Time: 5 minutes | ✅ Successful when: Perfectly flat and clean surface | ⚠️ Attention: Avoid colored surfaces that may bleed under pressure
Cutting the contact film: Cut your Tyvek, leaving a 10 cm margin on each side. This margin allows for folding without tension on the edges of the frame. Use clean scissors and cut in one smooth stroke to avoid frayed fibers.
⏱️ Time: 3 minutes | ✅ Successful when: Clean cut without fraying | ⚠️ Attention: Too tight = tension on corners, too wide = unsightly creases
Bubble-free application: Place the film starting from the center, then smooth towards the edges as if sticking a giant sticker. The Tyvek naturally follows shapes without forcing. Fold the edges without tightening, just hold them in place.
⏱️ Time: 8 minutes | ✅ Successful when: No bubbles, uniform contact | ⚠️ Attention: Never pull on a stretched film, reposition it entirely instead


