

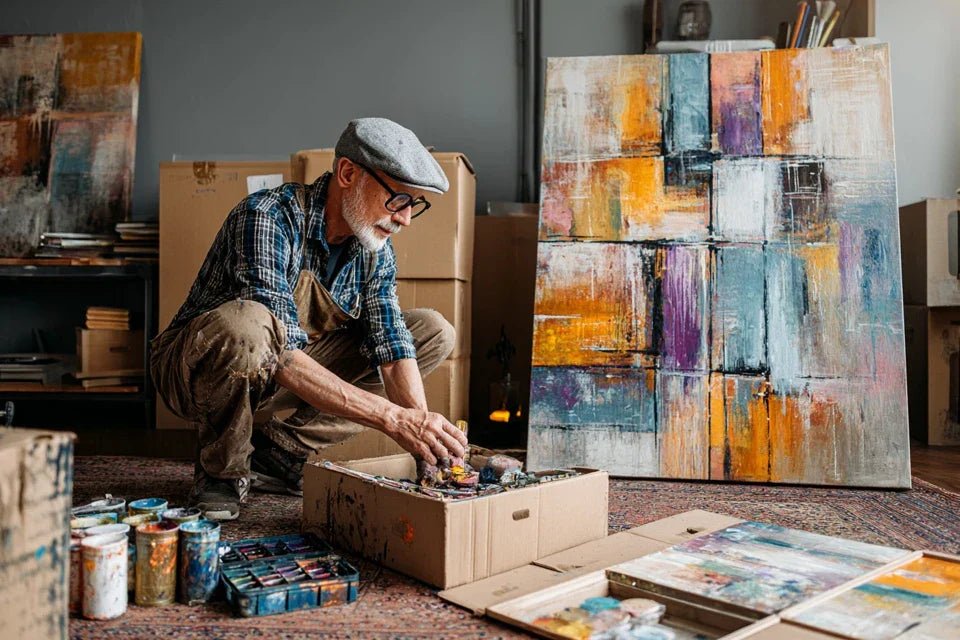
You can already imagine your works of art scratched, cracked or even completely destroyed during transport. This express moving anxiety is driving you crazy, desperately searching for last-minute solutions.
You may have tried to urgently look for professional bubble wrap, custom boxes or specialized straps. But the stores are closed, deliveries take too long, and your moving budget is already tight.
Rest assured, this situation happens more often than you think! The real reason for this stress? No one has ever explained to you that quick moving painting protection can be done with everyday objects, provided you know the right techniques.
By the end of this article, you will master express methods to protect your paintings with what's on hand, transforming your stress into confidence for a serene moving of your works of art.
🚨 Why are your paintings more fragile than you think?
Most people underestimate the real vulnerability of paintings during a move. Between the vibrations of the truck, temperature changes and inevitable shocks, your works undergo a real ordeal. Waiting until the last minute is like playing Russian roulette with your most precious memories.
📖 Customer testimonial: "I lost an irreplaceable family canvas during my Parisian move. It was just wrapped in a blanket... The frame split and the canvas tore over 15 cm. I still feel heartbroken."
💬 Conversation with a decor expert
The golden rule of express moving: 2 hours of smart preparation are worth more than 2 weeks of regrets. With the right techniques, you transform any household material into effective professional protection.
🔍 The 3 Hidden Dangers Threatening Your Artwork
You might think the main risk is major impacts. In reality, three silent enemies destroy more artwork than spectacular accidents: moisture that causes warping, friction that scratches, and temperature variations that cause cracking.
The problem isn't your negligence, but the fact that no one has explained to you how these microscopic aggressions accumulate during transport. It’s like erosion: invisible at first, but devastating in the end.
Imagine your artwork as delicate skin. Every vibration, every change of environment leaves a micro-trace which, multiplied by transport hours, becomes visible and irreversible deterioration.
🌡️ Enemy #1: Thermal Shocks
Contrary to popular belief, it's not the major impacts that damage your artwork the most, but sudden temperature variations. A piece of art that goes from 20°C to 5°C and then to 25°C in a few hours experiences destructive expansions.
It’s exactly like taking a dish out of the oven and plunging it into cold water: it cracks under the thermal shock. Your canvases react the same way, but more subtly and slowly.
The result: you discover micro-cracks in the paint or canvas warping a few weeks after moving, when it’s too late to act.
🧪 Immediate test: Touch the surface of your artwork with the back of your hand. If it's colder or warmer than room temperature, it will experience a thermal shock as soon as it leaves that room!
Many people think that avoiding rain is enough to protect an artwork from humidity. In reality, condensation inside packaging does more damage than external raindrops.
It’s like wrapping a hot sandwich in plastic wrap: the steam condenses and soaks the bread. Your artwork "sweats" in its airtight packaging, creating a humid environment perfect for mold.
This trapped humidity causes the canvas to warp, detaches layers of paint and can even cause irreversible brownish stains to appear in just a few days.
⚡ Enemy #3: Repetitive Micro-Vibrations
You don't see it, but every kilometer traveled subjects your artwork to thousands of micro-shocks. This is what’s called “material fatigue” in the industry.
Imagine someone gently but constantly tapping on your shoulder for 3 hours. At first, it’s imperceptible, but after a while, it becomes unbearable. Your artwork experiences the same thing.
These vibrations slowly cause the paint to detach from its support, create invisible cracks that widen over time and permanently weaken the work.
🎯 The 3 Warning Signs to Watch Out For:
- The artwork "sounds hollow" when tapped gently: The canvas has relaxed, a sign of support fatigue Unusual reflections appear at certain angles: The surface has deformed almost imperceptibly
- Colors seem "dull" after transport: Micro-particles of dust have become embedded in the paint's reliefs
🎯 The Domino Effect: A Chain Reaction of Negligence
What transforms these three enemies into total destruction is the accumulation effect. Slight humidity + vibrations + thermal shock = irreversible damage. It’s like three small leaks in a boat: separately, they're manageable; together, it sinks. You can identify this domino effect by observing if several "small problems" appear simultaneously after transport.
The Rule of 3 Barriers: Each protection must block at least two of these three enemies. If your method protects against only one danger, it is insufficient and you are heading for failure.
| ❌ Misconception | ✅ Reality | 💡 Why | 🎯 Quick Solution |
|---|---|---|---|
| A thick cover is enough | Multilayered protection is needed | Each layer blocks a type of aggression | Fabrics + plastic + rigidity |
| The tighter it is, the better protected it is | Let the artwork "breathe" | Compression creates trapped humidity | Controlled air spaces |
| Small artworks are less fragile | They are more vulnerable to vibrations | Less weight = less stability | Intelligent weighting with cushions |
| Packing face-to-face saves money | Each artwork must be isolated | Friction creates invisible scratches | Systematic separation with cardboard |
🛠️ The SECURE Method: 3 Steps for Express Protection
Now that you understand the real dangers, let's move on to the practical solution. The SECURE method transforms any home into a professional protection workshop. Like a chef improvising a gourmet meal with the contents of your fridge, you will create a custom protection with what you have at hand. At the end, you will feel that unique satisfaction of having saved your artworks through your own ingenuity.
🎯 SECURE Overview: Three progressive steps like building a house: foundations (insulation), structure (rigidity), finishing (sealing). Each step multiplies the protection, for a final result worthy of a professional.
🛡️ Step 1: Insulation - Create a Protective Cocoon
Starting with insulation is like putting on technical underwear before a hike: it’s invisible but essential. This first layer will absorb micro-shocks and regulate humidity. Once this step is complete, you will already see your artwork transformed into a precious package, and you will feel that first sense of security.
🧳 Smart Recycled Materials
- Old sponges or cotton t-shirts: Their looped texture creates thousands of micro-air cushions that absorb shocks. Avoid new towels that may bleed, prefer those already washed several times. They are found in every household, unlike bubble wrap which requires a special purchase.
- Food grade plastic bags (freezer type): Their thickness and airtight seal create a controlled humidity barrier. The quality criterion: they should make noise when crumpled (a sign of thickness). Avoid garbage bags that are too thin and tear easily.
- Newspaper or thick magazines: Contrary to popular belief, they do not damage artworks and create excellent thermal insulation through their multiple layers of air. The visible benefit: your artwork remains at a stable temperature even if the environment changes abruptly.
Let's move on to step-by-step implementation now:
🎯 Thermal insulation execution
Create the first absorbent barrier: Place your artwork face down on the softest sponge towel you have. The sponge should extend at least 5 cm on each side. This technique reproduces the principle of piano covers: absorbing micro-vibrations before they reach the instrument.
⏱️ Time: 3 minutes | ✅ Successful when: No hard corners of the frame are visible | ⚠️ Attention: If the towel is damp, it will create condensation - it must be perfectly dry to the touch
Install humidity regulation: Slide the entire (artwork + towel) into the plastic bag, but do not close it yet. Add a crumpled sheet of newspaper in each corner of the bag. This paper will absorb excess moisture like a natural dehumidifier.
⏱️ Time: 2 minutes | ✅ Successful when: The artwork moves freely in the bag without being compressed | ⚠️ Attention: A bag that is too small compresses and creates condensation through the greenhouse effect
Controlled anti-condensation closure: Gently release the air from the bag by gently pressing on the sides, then close it, deliberately leaving a small 2 cm opening. This "breathing valve" avoids the pressure cooker effect while maintaining protection.
⏱️ Time: 1 minute | ✅ Successful when: The bag fits the shape without compressing | ⚠️ Attention: A 100% airtight closure creates a destructive sauna for your work
✅ Step 1 check: Your artwork now looks like a precious package, soft to the touch and slightly "padded" by the protection. If you press it gently, you should no longer feel the hard corners of the frame. In case of doubt, add an extra layer of textile rather than risk it.
OUR RECOMMENDED PRODUCTS
🏗️ Step 2: Structure - Rigidify to Withstand Impacts
Now that your artwork is isolated, it needs a rigid structure that distributes impact forces. This is the transition from cocoon to tortoise shell. This step is more rewarding because you see your protection take shape and become truly resistant. The snowball effect begins: the more structure you add, the more confident you become.
🛠️ Domestic Structural Materials
- Flat packaging cardboard (pizza or parcel type): Its internal corrugation creates a honeycomb structure that distributes impacts perfectly. Choose cartons without existing folds that would weaken the structure. They are easily found by keeping recent delivery packaging.
- Large magazines or directories: Their weight and density create a stabilizing inertia that dampens sudden movements. The quality criterion: they must be heavy and compact. Avoid thin newspapers that do not provide enough stabilizing mass.
- Moving adhesive or wide tape: Width is crucial as it distributes stress over a large area. A narrow tape concentrates the force and can tear under tension. The impact on the result: a durable fixing that does not loosen during handling.
🔧 Creating the Sandwich Structure
Position rigidity plates: Place a flat cardboard on each side of your isolated artwork, overlapping by 3 cm on all sides. These cartons will act as reinforcement, like the reinforcing bars in reinforced concrete. The rigidity must be absolute: if it bends, it is insufficient.
⏱️ Time: 4 minutes | ✅ Successful when: The entire assembly no longer deforms when you carry it with one hand | ⚠️ Attention: Damp or crumpled cardboard loses its rigidity and becomes useless
Intelligent anti-vibration weighting: Attach a heavy magazine to each external face of the cartons with the adhesive. This additional weight will create an inertia that resists shocks, like a gyroscope maintaining its stability. The heavier it is, the better it is dampened.
⏱️ Time: 3 minutes | ✅ Successful when: You need both hands to comfortably carry the entire assembly | ⚠️ Attention: An unevenly distributed weight creates an imbalance that aggravates oscillations
Definitive solidarity: Go around the entire "sandwich" with the wide adhesive, pressing firmly at each pass. You are thus creating a monolithic block where all elements work together. Think of the principle of a fagot: a single branch breaks, tied together they resist.
⏱️ Time: 5 minutes | ✅ Successful when: No elements move independently of each other | ⚠️ Caution: Insufficient taping creates weak points where everything can suddenly come apart
🎯 Step 2 resistance test: Lift your creation from one side only: it should remain perfectly rigid like a board. If you feel any flexing, add an extra piece of cardboard. Your painting is now protected as if it were in an armored suitcase!
🔒 Step 3: Sealing - The ultimate final protection
You have now reached expert level: creating a selective seal that protects from the outside while allowing internal regulation. This is the difference between an amateur and a professional mover. The final result you will be proud of: a package that looks like professional transport equipment, capable of withstanding all attacks during the journey.
🛡️ Advanced sealing materials
- Stretch plastic film (like thick cling film): Its ability to stretch without deformation creates an elastic membrane that fits perfectly around shapes while remaining waterproof. Prefer high-quality film that doesn't tear under tension. The advantage: total protection without entry points for external moisture.
- Professional quality trash bags: Their thickness and resistance to punctures make them an impenetrable final barrier. The recognition criterion: they must be opaque and make a dull noise when manipulated. The impact on the result: protection even in case of water projection or piercing shock.
- Visible signage labels: Beyond their informative function, they alert handlers to the valuable nature of the contents. Choose bright colors that are visible from afar. The psychological benefit: they transform your package into a "work of art in transit" in the minds of the movers.
🎖️ Professional level waterproof finalization
Progressive airtight wrapping: Unroll the stretch plastic film starting from one corner, then wrap around the entire thing overlapping by half with each turn. This spiral technique creates a leak-proof seal, like the winding of a high-voltage cable.
⏱️ Time: 6 minutes | ✅ Successful when: The surface is smooth and shiny without creases or air bubbles | ⚠️ Caution: Wrapping too tightly compresses and deforms, too loose leaves entry points for moisture
Final anti-perforation barrier: Slide the entire thing into the professional trash bag leaving a 10 cm overhang that you fold down and tape. This double thickness at the ends reinforces the most vulnerable areas to accidental tears.
⏱️ Time: 4 minutes | ✅ Successful when: Even the sharpest corners are covered without tension | ⚠️ Caution: A bag that is too small forces and eventually cracks at the points of maximum tension
Professional labeling: Attach "FRAGILE - WORK OF ART" labels to all visible sides, emphasizing the top and handling edges. This signage psychologically transforms your package into a valuable object that deserves attention and care.
⏱️ Time: 2 minutes | ✅ Success when: It's impossible to take the package without seeing at least one label | ⚠️ Attention: Labels on only one side go unnoticed during quick handling
🏆 Final expert level test: Your artwork is now in a watertight, rigid cocoon and labeled. The ultimate test: you can place it standing against a wall without fear, slide it gently on the floor, and even support that a light object is placed on top of it. Congratulations, you have just created protection worthy of a professional!
SECURE progression rule: Do not move to the next step until the previous one is perfect. Each step multiplies the protection by 10, but a sloppy step cancels out all subsequent efforts. Patience now avoids tears later.
You have just mastered expert techniques in artwork protection. Now let's discover the subtleties that make the difference between an amateur and museum-level protection. These secrets give you a considerable advantage over 90% of people who move their artworks.
🎓 Museum curator tip: Slip a small label with the date and room temperature inside the packaging. If your artwork experiences extreme variations, you will be able to identify it immediately and take corrective measures before damage becomes visible. Professionals use this technique to trace the history of artworks.
🤔 "What if my artwork is too large for this method?"
"I have a 120x80 cm painting, will it work the same way?"
Excellent question! I understand your concern because large formats seem more complicated. In reality, it's even simpler because you have more space to create protection zones. The technique remains identical, but you will break down your approach by sections: protect the corners first (the most fragile), then the edges, and finally the center. The advantage of large paintings? They are more stable during transport because their weight makes them less sensitive to vibrations.
💡 Immediate action for large formats: Measure your artwork and gather twice as much material than planned. You will simply create a thicker "sandwich" that will be even more protective!
⚠️ The 5 fatal mistakes that destroy your efforts
Now that you've mastered the method, let’s protect ourselves from classic pitfalls that destroy hours of meticulous preparation. These mistakes are so common that even professional movers sometimes make them. It's better to know them now than to discover them too late!
- 🔥 The "super-tightening" mistake: You think you’re doing well by tightening as much as possible, but it's like suffocating someone with a hug that's too tight. Compression creates trapped condensation which does more damage than a direct shock. The solution: always leave room for air to circulate. It's such a common mistake that 7 out of 10 people instinctively commit it.
- 💧 The wet packaging trap: Using a towel or fabric even slightly damp turns your protection into a mold incubator. It’s tempting when you’re short on time, but it's like planting seeds of destruction. Always check systematically: if you have any doubts about humidity, change the textile or dry it completely.
- ⚡ The illusion of speed: Wanting to go too fast makes you skip crucial steps, like someone preparing a recipe by skipping ingredients. Result: you have to start all over again, ultimately losing more time. Allow yourself 30 minutes per artwork, it's the minimum investment for effective protection.
- 🎯 The "that’s enough" mistake: Stopping at 80% of the protection because “it looks solid” is like building a bridge forgetting the last bolts. Those remaining 20% make all the difference between an amateur and a professional protection. If you feel any hesitation, add an extra layer.
- 🏷️ The lack of signage: A perfectly protected package but not labeled will be handled like an ordinary object. It's like wearing evening wear with sneakers: the message is contradictory. Movers adapt their attention to the level of labeling they see.
🛡️ Safety checklist before transport: Check that your packaging doesn't "sound" hollow (sign of dangerous emptiness), that no hard parts are palpable to the touch, that labels are visible from all angles, and that the whole thing does not deform when you carry it with one hand. If a single point fails, repeat this step.
🎁 Special readers offer
Because you took the time to inform yourself, enjoy 10% discount on your first order:
🔧 Express moving FAQs
🎯 Your transformation: from stress to artistic serenity
In a few hours, when you see your paintings perfectly protected lined up near the door, you will feel that unique satisfaction of a job well done. Your works, which seemed so vulnerable this morning, are now in cocoons safer than in some museums. Your surroundings will be impressed by your professionalism, and you will have gained that valuable confidence one feels when mastering an expert skill.
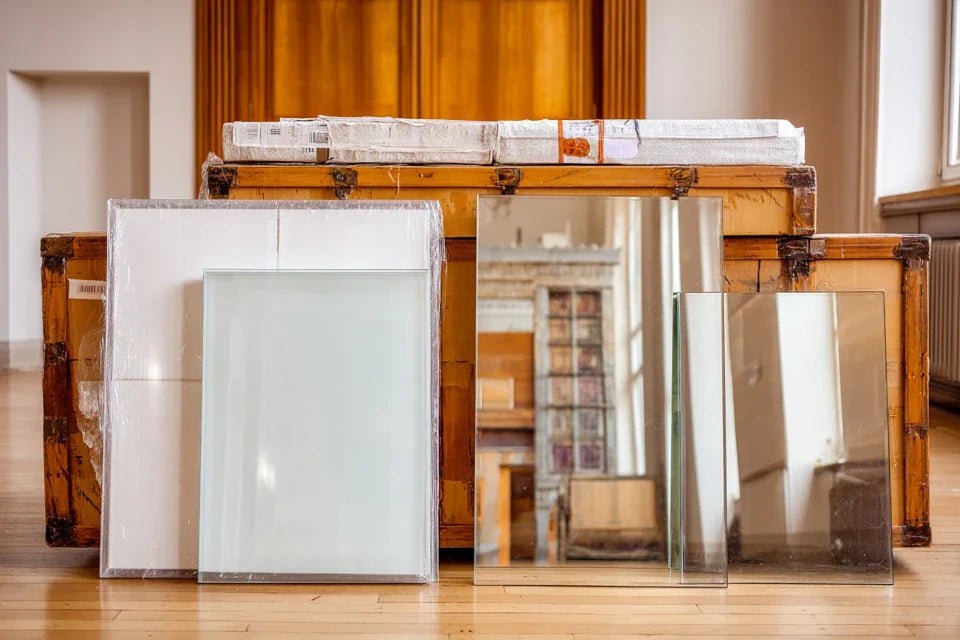
Beyond your saved paintings, you have acquired a universal method of protection that you can adapt to all your precious objects: mirrors, family photos, collectibles. This ability to improvise intelligently will serve you in many other situations. You will never again experience the stress of last-minute improvisation when transporting a fragile object.
Understanding was indeed the most difficult part: now that you know why to protect and how to do it, take action right away. Start gathering your materials while the method is fresh in your mind. In 30 minutes, you will contemplate your first painting transformed into a professional package, and you will know that your works of art will travel safely.
🌟 Your first master gesture: Choose the painting that is most dear to you and apply the SECURE method right now. This first success will give you the confidence to protect all the others. Your works deserve this attention, and you now have the power to offer it to them!


