

In a few minutes, you will know exactly how to transport any painting safely in your car. You will master the protection and fixing techniques that guarantee stress-free transport. Imagine the pride when you hang your new acquisition, impeccable, on the wall!
Why does your next painting purchase deserve special attention?
Every minute that passes, irreplaceable works of art are damaged during transport. If you wait for the “right moment” to learn, you risk turning your next acquisition into an expensive disappointment. It's like driving without a seatbelt: everything’s fine until the first incident.
🎨 Customer testimonial: "I broke a €800 painting last week. Just by braking a little hard, it slipped and the frame cracked. If only I had known how to properly secure it..."
💬 Conversation with a decor expert
The golden rule of art transport: A well-protected and properly secured painting travels more safely than an ordinary object. The difference? You will feel the satisfaction of mastering a connoisseur's gesture from the first transport.
Why have your previous attempts failed?
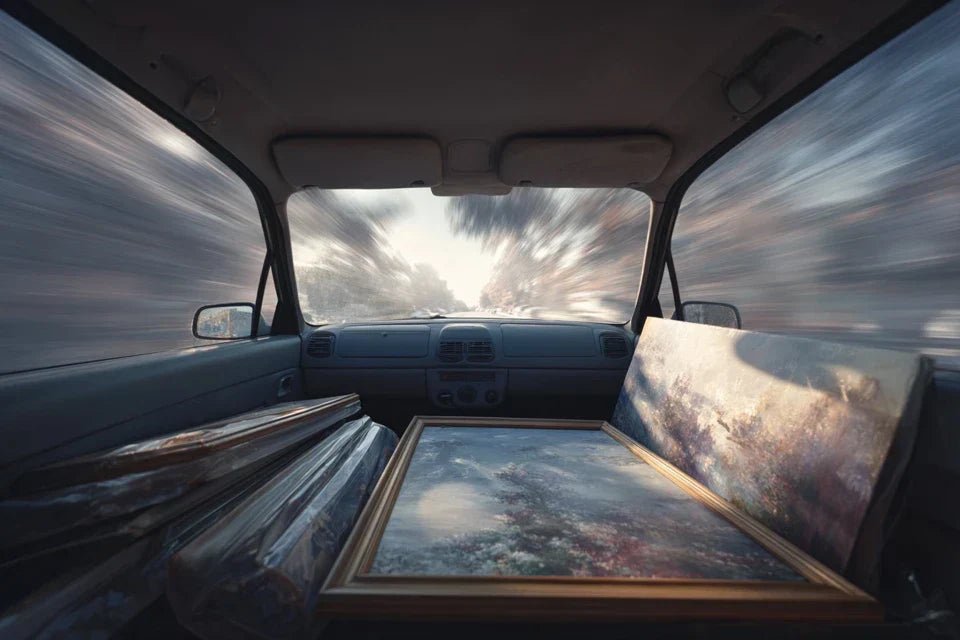
Do you recognize yourself? You’ve already tried to wedge the painting between the seats, wrap it in a blanket, or hold it “just for the journey”. Result: stress, scratches, and that little voice telling you
What's really happening is that the car moves in all directions - even on a straight road. Your artwork is subjected to invisible forces: vibrations, decelerations, changes of direction. The problem isn't your driving; it's the lack of an appropriate protection system.
Imagine a work of art as a very delicate passenger: it needs its seatbelt, its seat, and personalized protection.
Mistake #1: Believing that "gently" is enough
Driving carefully is good, but it's not enough! Engine vibrations and micro-shocks from the road are transmitted throughout the car's structure. What you don't feel, your artwork experiences throughout the journey.
It's like carrying a glass of water to the brim: even when walking slowly, some drops end up spilling over. Physics doesn't forgive approximations.
Result: you arrive with the impression that you succeeded, but it’s upon unpacking that you discover micro-scratches or a slightly detached frame. Frustrating, and avoidable!
🔍 Revealing test: Place a glass of water on your artwork during the next car ride. You'll see how much the water moves - that’s exactly what your work of art experiences!
Many think it is enough to carefully pack the artwork to protect it. But an unfixed artwork becomes a projectile weighing several kilos during any braking.
It's like wearing a bike helmet without attaching it: the protection is there, but it doesn’t play its role at the critical moment. Fixation is as important as protection.
Consequence: your artwork can cross the interior of the car and break against the windshield, or simply get damaged by sliding against other objects.
Mistake #3: Underestimating the importance of orientation
Did you know that the position of the artwork in the car directly influences its resistance to shocks? Most people place it "as it happens," without thinking about the physics of transportation.
You can easily spot this: if your artwork tends to slide forward during braking, or tilt in turns, then its orientation is not optimal.
Impact on your daily life: a journey that should be serene becomes a source of constant anxiety, with worried glances in the rearview mirror.
3 warning signs to watch out for:
- The artwork moves when starting : This means that the fixation is insufficient - like a shelf poorly fixed to the wall
- You hear friction in turns: The work slides against its protections - sign of poor alignment
- You brake excessively: Your instinct tells you that something is wrong - listen to it!
What really makes the difference is understanding that moving a painting requires a systemic approach. Like a puzzle, each element (protection, fixing, orientation) must fit together perfectly. It's the positive domino effect: when one element is mastered, the others naturally follow.
Universal rule of art transport: A properly prepared painting should not move even a millimeter during the journey. If something slips, the preparation needs to be reviewed.
| ❌ Amateur approach | ✅ Professional method | 💡 Why it works | 🎯 Concrete benefit |
|---|---|---|---|
| "I'll be careful while driving" | Integral protection system | Neutralizes invisible forces | Zero stress during the journey |
| "A cover is enough" | Protection adapted to the material | Each surface has its needs | Painting as new upon arrival |
| "I'll put it where there's space" | Orientation calculated according to physics | Exploits natural stability | Normal driving restored |
| "It will hold on its own" | Fixing with a minimum of three points | Distributes impact forces | Total security ensured |
The 3-step method for perfect transport
Now that you understand the stakes, let's move on to practice! Moving a painting is like preparing a delicate dish: you need to respect the order of steps and care for every detail. The result? That satisfaction of mastering a technical gesture and the assurance of arriving with your artwork intact.
🎯 Overview: We will proceed like an orchestra conductor: first protect (pack), then stabilize (fix), and finally optimize (position). Each step reinforces the previous one to create a foolproof transport system.
Step 1: Protect your painting like a professional
Starting with protection is laying the foundations of your successful transport. Like an architect who first ensures stability before aesthetics, you create a bubble of safety around your artwork. With this step completed, you already feel that confidence of a job well done.
Your essential protection tools
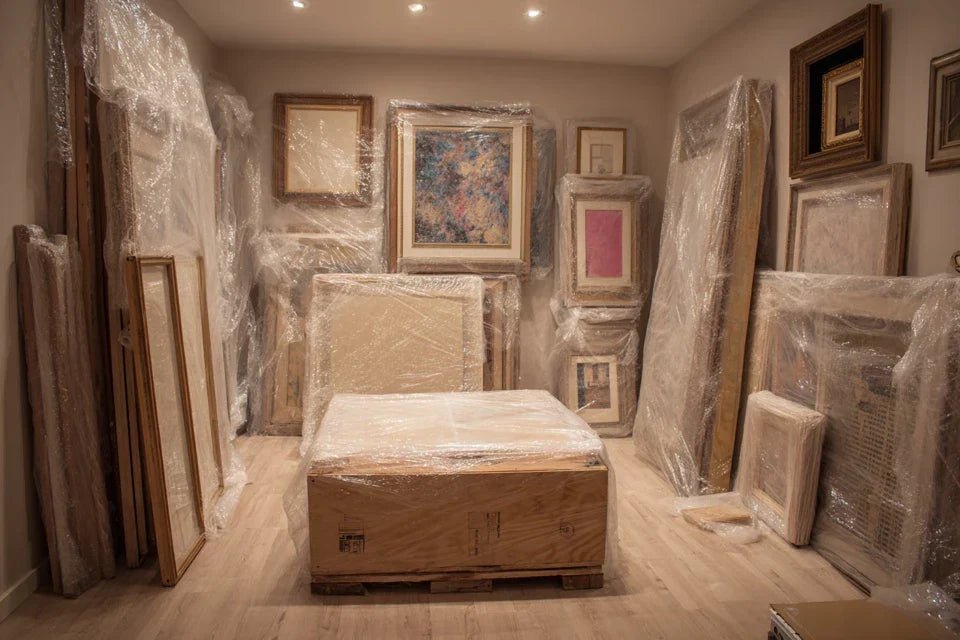
- Bubble wrap film: These little air bubbles that pop under your fingers are your best allies. They absorb shocks like miniature shock absorbers. Choose medium-sized bubbles (neither too small nor too large) - available in any hardware store. Avoid newspaper which can bleed onto your canvas.
- Protective cardboard: Two sheets of corrugated cardboard that frame your painting like a protective sandwich. The cardboard distributes pressures and avoids point impacts. Prefer new cardboard - old cardboard may be damp and damage your artwork. The impact? Your painting keeps its perfect shape.
- Fixation straps: These adjustable links that transform your seat into a professional anchor point. They distribute tension and avoid pressure points. Choose straps with foam protection - they prevent marks on the frame.
Now let's move on to practice, step by step:
Creating your custom protection
Wrap the surface: Unroll the bubble wrap over a flat surface, bubbles facing the canvas. Wrap the painting completely, leaving a 5 cm margin on each side. This margin prevents the corners of the frame from piercing the plastic. Secure with clear tape, never directly on the artwork.
⏱️ Time: 3 minutes | ✅ Successful when: No popped bubbles, smooth surface, tape only on the plastic | ⚠️ Attention: Do not pull too tight - the bubbles must remain inflated to cushion
Create the cardboard sandwich: Place your wrapped painting between two pieces of cardboard slightly larger than the painting. Tape the edges to create a rigid pocket. This rigidity prevents the painting from warping under its own weight. Mark "FRAGILE" and "TOP" with a felt-tip pen.
⏱️ Time: 5 minutes | ✅ Successful when: No movement of the painting in its pocket, cardboard well adjusted | ⚠️ Attention: Check that the cardboard is not damp - it could warp
Finalize the protection: Add extra protection to the corners with foam or crumpled paper. The corners are the most vulnerable points during transport. This step transforms your painting into an almost unbreakable object.
⏱️ Time: 2 minutes | ✅ Successful when: Corners well padded, uniform protection | ⚠️ Attention: Do not use foam that could leave residue
✅ Step 1 Check: Your painting is now in a custom armor. Pick it up: it should be rigid and make no noise. If you hear something moving inside, the protection is not tight enough. No panic, it's an easy adjustment!
OUR RECOMMENDED PRODUCTS
Step 2: Securing your painting in the vehicle
Now that your artwork is protected, it's time to secure. This is where you go from amateur transporter to connoisseur. This step is more rewarding because you immediately see the result: your painting becomes an integral part of your car.
Professional fixing system
- Ratchet straps: These straps with controlled tightening mechanism allow you to adjust the tension millimeter by millimeter. They attach to your car's anchor points (rings under the seats or in the trunk). Choose a minimum capacity of 200 kg for peace of mind. Cushioning pads: These dense foam blocks that conform to the shape of your seat. They create a stable surface and prevent slippage. You can use camping cushions or firm pillows - the important thing is that they do not deform under weight. Non-slip mat: This rough surface that transforms your smooth seat into a natural anchor point. It prevents the artwork from slipping during acceleration and braking. Available in auto parts or hardware stores.
Installing Your Fixing System
Prepare the transport space: Lower the passenger seat back to 45° and place the non-slip mat. Arrange the cushioning pads to create a stable "cradle". The artwork should be able to rest naturally without forcing.
⏱️ Time: 4 minutes | ✅ Successful when: Stable surface, gentle incline, no hard spots | ⚠️ Attention: Make sure nothing can scratch the artwork
Position and strap: Place your protected artwork face down against the seat back in its cradle. Pass the first strap horizontally at the lower third, the second at the upper third. Tighten gradually until the artwork is immobile.
⏱️ Time: 6 minutes | ✅ Successful when: No movement possible, straps well tightened | ⚠️ Attention: Do not overtighten - the carton could deform
🔧 Fixing test: Gently shake your seat. Your artwork should not move a millimeter. Make a few steering wheel movements while stationary - nothing should slip. Congratulations, you now master professional fixing!
You are now at expert level! This final step makes the difference between a successful transport and a perfect transport. You will learn to drive with your artwork as if it were a trusted passenger, in complete peace of mind.
Driving Adapted to Artistic Transport
Adapt your driving style: Anticipate braking and acceleration. Take corners more widely and slow down before speed bumps. This "smooth" driving reduces lateral and longitudinal forces. Your artwork travels like in a cocoon.
⏱️ Time: Entire journey | ✅ Successful when: Smooth driving, no jolts | ⚠️ Attention: Keep a safe distance
Monitor and adjust: Visually check your artwork at each stop (traffic lights, stop signs). A quick glance is enough to ensure everything is in place. This vigilance gives you total confidence and allows you to react quickly if needed.
⏱️ Time: 5 seconds per stop | ✅ Success when: Artwork always in position, straps tightened | ⚠️ Caution: Never detach the straps while driving
Expert progression rule: You know you've mastered it when you stop thinking about it during the drive. Your artwork has become a natural element of your vehicle, and you drive with the same serenity as usual.
Congratulations! You now master professional transport techniques. Here are now the expert tips that few people know, those that make the difference between a good transport and a perfect transport.
🎨 Gallery tip: Always transport your artwork face down against the backrest, never facing you. In case of emergency braking, the artwork presses against the seat instead of moving forward. This simple trick divides the risk of damage by ten!
💭 Frequent question from our readers
"What if my artwork is too large to fit in my car?"
I understand this concern - it's frustrating to fall in love with a work and realize that it doesn't fit! But good news: 90% of standard artworks fit into a classic car with the right technique. First, measure the available space with the seat lowered, then compare with the dimensions of your artwork. Often, an inclination of 30° is enough to gain the necessary centimeters. And remember: it's better to make two trips than a failed transport!
📏 Practical advice: Before any purchase, measure your available transport space and note these dimensions in your phone. You will buy with confidence!
The 5 mistakes that can ruin your transport
Now that you know how to do it right, let's protect your investment by avoiding common pitfalls. These mistakes are natural when you start out, but now you know how to recognize and avoid them!
- ⚠️ Transporting the artwork upright: It's tempting to put it as it will be hung, but standing up, it is subjected to all the force of braking. Vibrations are transmitted directly to the frame. Always lay it down - it’s its most stable position, like us in bed!
- 🔧 Neglecting strap checks: Even when tightened at first, straps can loosen with vibrations. A mid-journey check avoids unpleasant surprises. It's like checking your seatbelt after sitting down - a reflex that saves!
- 🌡️ Forgetting the temperature: A painting that goes from hot to cold contracts and can crack. Avoid sudden changes in temperature - let your car adapt gradually. It's like us avoiding thermal shock!
- 📱 Getting distracted: Even when well secured, a painting requires particular attention. Avoid phone conversations or loud music that would mask an abnormal noise. Stay focused - your artwork deserves it!
- 🏃 Wanting to go too fast: Preparation takes time, that's normal! Rushing the protection or fixing due to lack of time is risking losing everything. Allow yourself 15 minutes of preparation for hours of peace of mind.
🔍 Safety checklist: Before starting, check that your painting doesn't budge a millimeter when you shake the seat, that the straps are well tightened, that nothing is rubbing, and that you have perfect visibility. If one point worries you, take the time to correct it!
🎁 Special offer for readers
Because you took the time to inform yourself, enjoy 10% discount on your first order:
⏰ Valid 72h after reading • Applicable on all our products
Your transport questions, our expert answers
Excellent question! Hiring a specialized carrier costs between €50 and €150 depending on the distance and size of the painting. With our method, you save this money while keeping total control. In terms of time: 15 minutes of preparation saves you hours of waiting and coordination. One customer told us: "I saved €80 and I received my painting the same day!"
Absolutely! This technique adapts to canvases, paintings under glass, framed watercolors, and even relief paintings. The key is to adapt the thickness of protection according to fragility. For a classic canvas, bubble wrap is sufficient. For a relief artwork, add a layer of foam. The principle remains the same: protect, fix, transport intelligently.
Good reflection! Correctly transported, your painting is at no risk. But if you want absolute security, photograph it before transport and keep the invoice. Some car insurances cover goods in transit - check your contract. For high value items (over €1000), contact your insurer for a temporary extension - it often costs less than €20.
Yes, no problem! The plastic protection we created is perfectly waterproof. The real risk isn't the rain during transport, but the humidity that accumulates if you leave the painting in a closed car. Expert tip: after a rainy trip, unpack your painting within 2 hours to avoid condensation.
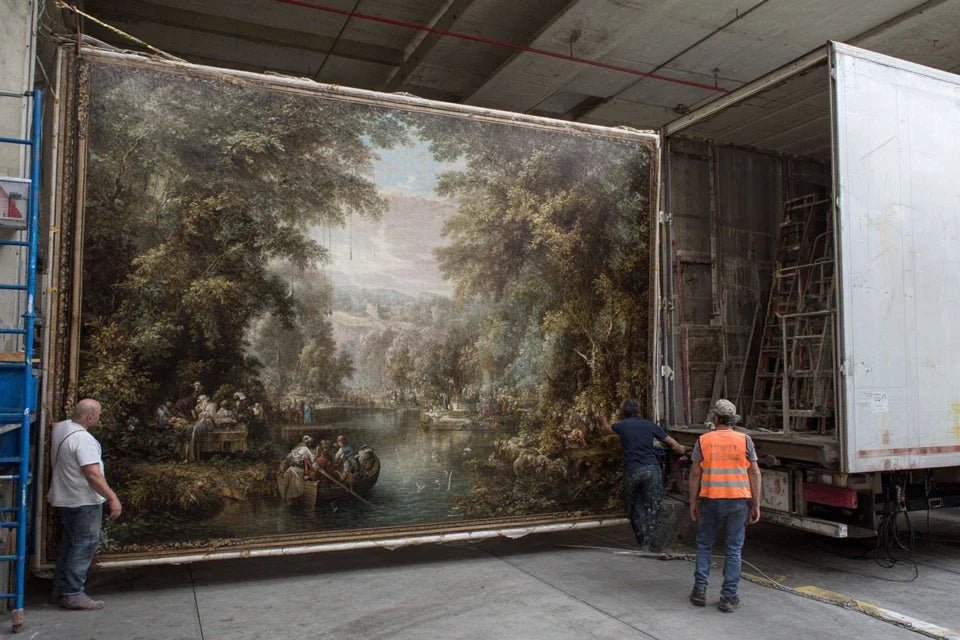
The practical limit is around 120 cm in diagonal for a standard car. Beyond that, even with the seats folded down, the geometric constraints become too important. But be careful: a 100 cm painting well transported arrives in better condition than an 80 cm one poorly secured! Size counts less than technique.
Your new expertise will transform your art purchases
In a few weeks, when you see this painting perfectly hung in your living room, you'll think back to this learning moment. You’ll never be that person who hesitates in front of a magnificent artwork for fear of transport. Your friends will ask you how you always manage to have impeccable paintings - and you'll have that little smile of someone who masters it.
This skill goes far beyond simple transportation. You’ve developed a technical eye, a methodical approach, and the confidence that will allow you to buy serenely in all situations. Flea markets, galleries, private sales: nothing will stop you in your passion for art.
Remember: technique was the only obstacle between you and your artistic crushes. Now that you master it, your first move will be to measure your transport space, then go after that artwork that makes you vibrate. Art is waiting - and now, so are you!
🚀 Your artistic challenge: Your next acquisition awaits somewhere. With these techniques in your pocket, you have all the assets to bring it home safely. Art enriches life - give yourself this freedom!


