

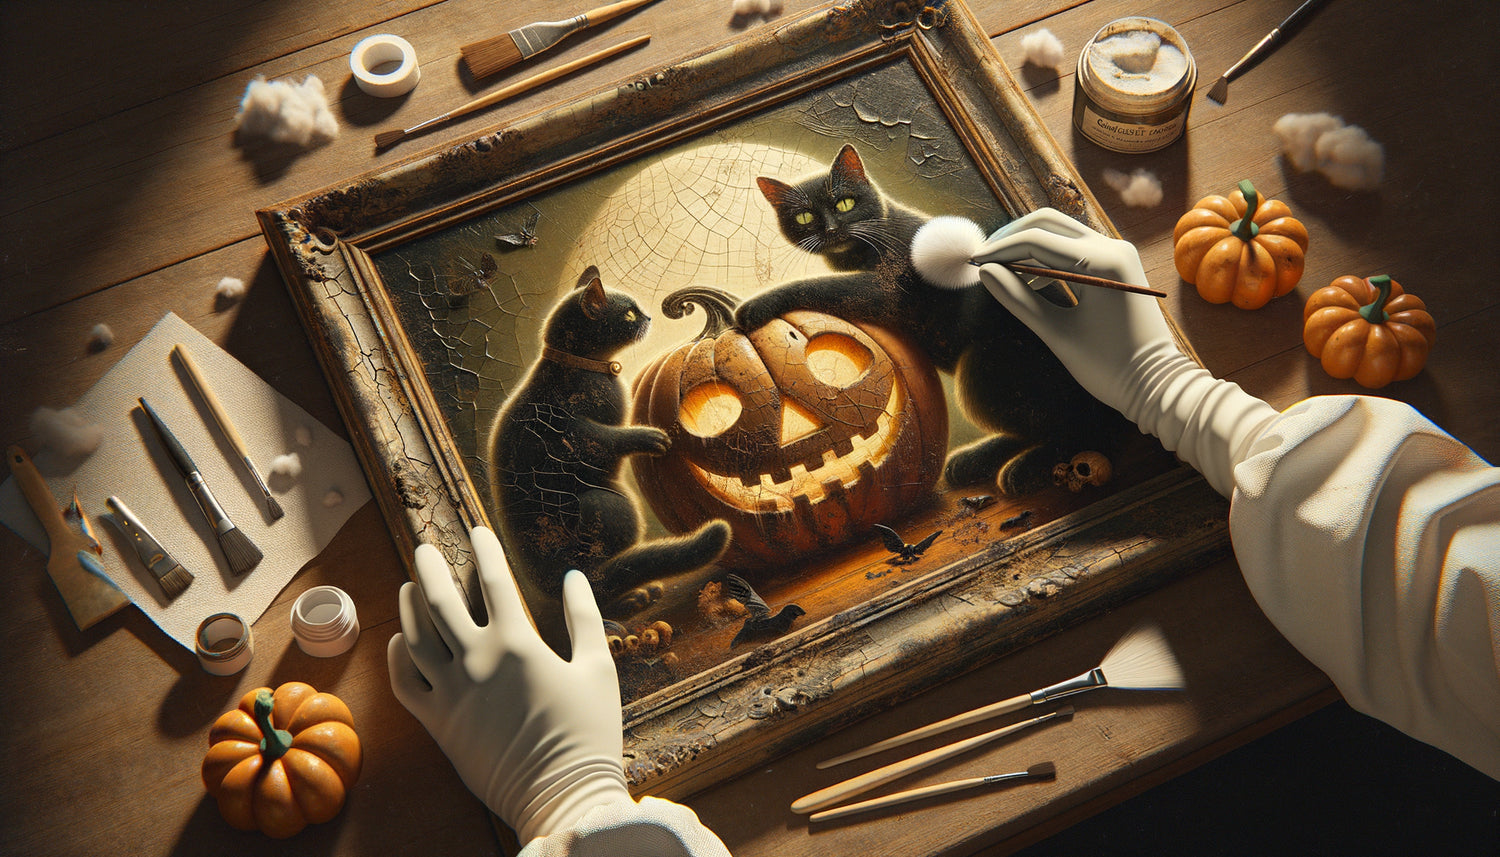
This morning, while rummaging through my grandmother’s attic, I rediscovered a forgotten little treasure: an Halloween painting from the 1940s, depicting a witch with a mischievous gaze. The canvas was dusty, slightly torn on one corner, but this golden patina, these delicate cracks gave it a soul that no modern reproduction could ever match. Yet, between the desire to clean it and the fear of erasing its character, I hesitated. Do you know that feeling?
Here's what a respectful restoration brings to your antique Halloween painting: it preserves its historical authenticity while stabilizing its structure, it enhances its original colors without distorting them, and it guarantees its transmission to future generations with all its emotional charge intact.
Too often, we commit the irreparable: a too vigorous sponge stroke, an unsuitable product, and there go those yellowish nuances, those micro-fissures that tell decades of existence. We are left with a clean but dead surface, without depth. The frustration is immense when you realize that you have erased what made all the charm of the work.
Rest assured: restoring an antique Halloween painting without sacrificing its patina is not only possible, but it is precisely the essence of a successful restoration. There are gentle techniques, proven by museum conservators, which respect the integrity of each pictorial layer. I will guide you step by step in this delicate approach, where every gesture counts.
Diagnosis first: learning to read your painting
Before even thinking about touching your Halloween painting, take the time to observe it. Really. Sit near a window in natural light and examine every square centimeter. This step is not a waste of time, it's your treasure map to avoid disasters.
First identify the support: is it a canvas stretched over a frame, a wooden panel, or cardboard? Each material reacts differently to humidity and cleaning products. Halloween paintings from the 1920s-1950s were often painted on papered cardboard, particularly fragile to rough handling.
Then examine the state of the pictorial layer. Gently run your finger (clean!) over a discreet area. If paint comes off, if you feel liftings, the surface is unstable and will require consolidation before any intervention. Are the colors dull under the grime, or truly altered? Distinguishing reversible dirt from irreversible wear changes everything.
Note the structural alterations: tears, holes, deformations of the support. An antique Halloween painting that has survived in an unheated attic has probably undergone significant temperature variations. These damages will need to be treated with a specific approach, often before surface cleaning.
The patina: this ally we sometimes mistake for dirt
Let's be frank about what’s causing debate: what exactly is patina? It's that fine amber film that naturally develops on old varnishes, that subtle yellowing which softens contrasts, those micro-cracks that draw a fascinating spiderweb under raking light. Patina is the living testimony of time passing.
On an Halloween painting depicting a nocturnal scene or a grinning pumpkin, this warm tone actually reinforces the desired mysterious atmosphere. It creates depth, a visual density impossible to artificially reproduce. That's why discerning collectors consider it an added value, not a defect.
But be careful: patina is not grime. Accumulated dust, cobwebs, fly spots, cigarette or fireplace smoke residue – these are real pollutants that actively degrade the paint. They create an acidic environment which, over time, attacks the pigments. These layers must be removed.
The challenge of restoring an old Halloween painting lies precisely in this distinction: cleaning without stripping. Eliminating harmful dirt while preserving this noble film that is the soul of the work. It's a balancing act that requires patience and skill.

Gentle gestures: respectful cleaning techniques
Let's start with the simplest and least invasive method: mechanical dusting. With an extremely soft natural bristle brush (like a professional-quality makeup brush), gently brush the surface of your Halloween painting. Always work from top to bottom, in small circular motions. This single action often eliminates 30 to 40% of superficial dirt.
For stubborn particles embedded in cracks, use a latex eraser specifically for restoration (available in art supply stores). Knead it in your hands to warm it up, then lightly dab without rubbing. It captures residue without abrasion. On an old Halloween painting, this technique works wonderfully on sky or solid background areas.
If the painting has a layer of greasy grime (typical of artworks that have been in a kitchen or near a fireplace), move on to controlled wet cleaning. Prepare a solution of lukewarm demineralized water with one drop – really just one – of pH 7 neutral soap. Barely dampen a cotton swab, squeeze it between your fingers until it is just damp, never wet.
First test in a discreet lower corner. Pass the cotton swab in gentle linear motions, never circular which could create halos. Change the cotton swab as soon as it is dirty. You will see the dirt transfer to the cotton, gradually revealing the original colors of your Halloween painting. But as soon as you feel resistance or see color appear on the cotton, stop immediately: you have reached the pictorial layer.
Solvents: to be handled with extreme caution
For very dirty or yellowed varnishes beyond reason, some restorers use mild solvents. But let's be clear: this step is for professionals only. A solvent that is poorly dosed or applied dissolves the noble patina along with the dirt, or even attacks the paint directly.
If you absolutely want to try the experience on your antique Halloween painting, limit yourself to a solution of 70% isopropyl alcohol (never pure) or rectified turpentine diluted in 50% odorless white spirit. Same protocol: prior test, barely damp cotton swab, frequent changes, delicate linear movements.
Personally, after having seen too many works irreparably damaged by well-intentioned owners, I recommend entrusting this step to a professional restorer if the varnish really needs lightening. The cost (usually between €150 and €400 depending on size) is largely offset by the preservation of the sentimental and sometimes market value of your Halloween painting.
Consolidate before embellishing: repair structural damage
An antique Halloween painting often has invisible weaknesses. These micro-paint lifting, these areas where the pictorial layer detaches from the support, these small tears in the canvas: as many time bombs that, without treatment, will inevitably worsen.
For paint lifting, the ancestral technique consists of reactivating the original glue. Place a sheet of crystal paper (or baking paper) on the affected area, then gently apply an iron set to the minimum temperature setting (silk position), with brief presses of 2-3 seconds. The heat softens the underlying adhesive which, as it cools, re-adheres to the support. Magical and effective on antique paintings whose glues were based on rabbit skin.
If this method does not work, use rabbit skin glue (available in crystals to be diluted) or, more modernly, sturgeon glue. Slip a tiny amount under the lifting with a fine brush, then gently flatten with a piece of Teflon or silicone paper, chasing air bubbles from the center towards the edges.
For canvas tears, restoration requires more expertise. Ideally, a consolidation patch is applied to the back (very fine linen or cotton canvas glued with hide glue). But on a small Halloween painting in postcard size, often mounted on cardboard, we can stabilize the tear with ultra-thin Japanese paper and wheat paste (a reversible method, therefore respectful of conservation principles).

The final varnish : protect without smothering
Once your Halloween painting is cleaned and consolidated, the question of varnishing arises. Should a protective layer be applied? The answer is not binary: it all depends on the condition of the original varnish and the exhibition environment.
If the original varnish is still present and in good condition (slightly yellowed but uniform, without significant cracks), leave it alone. This old varnish contributes to the patina that you have taken care to preserve. At most, you can apply a thin layer of microcrystalline wax to nourish the surface and restore a slight matte sheen.
If the varnish is very degraded or absent, a varnish retouch matte or satin finish is essential to protect the pictorial layer. Choose a reversible varnish based on natural (dammar) or synthetic (PARALOID B72) resins, never a permanent type polyurethane varnish. Apply it with a wide and soft brush, in thin cross layers, in a dust-free room.
On a Halloween painting depicting nocturnal scenes, I recommend a matte varnish that preserves the mysterious atmosphere and avoids unsightly reflections. For brighter subjects (pumpkins at sunset, autumnal harvest scenes), a satin varnish will enhance the oranges and golds without creating excessive shine.
Your restored painting deserves a setting worthy of it
Discover our exclusive collection of Halloween paintings that celebrate the vintage spirit and authenticity of works from times gone by, perfect for dialoguing with your restored antique pieces.
Conservation after restoration : making the miracle last
You have invested time, patience and delicacy to bring your old Halloween painting back to life. Now protect this investment by creating optimal conservation conditions.
Location is crucial. Absolutely avoid direct sunlight, which fades pigments and causes varnish to crack. UV rays are the sworn enemy of works on paper and canvas. Opt for a wall perpendicular to windows or use UV-filtering curtains. In a dark entrance hall or poorly lit hallway, an Halloween painting naturally finds its thematic place.
Control relative humidity. The ideal range is between 45 and 55%. Below this, organic materials (canvas, wood) dry out and crack. Above this, mold proliferates. In a damp cellar or overheated attic in summer, your restoration will not last ten years. If necessary, invest in a small dehumidifier or, conversely, a humidifier depending on your regional climate.
A stable temperature is as important as its absolute value. Sudden thermal variations (heating that turns off at night, proximity to a radiator) cause repeated expansions and contractions which fatigue the structure of the painting. Aim for constant 18-20°C rather than 22°C with daily variations of 5 degrees.
Finally, dust regularly with your soft brush (every 3-4 months is sufficient) to prevent particle build-up. This light preventative maintenance extends indefinitely the effects of your initial restoration. Your Halloween painting will thus cross the decades, passing on its history and precious patina to future generations.
When to call a professional?
Let's be realistic: some interventions exceed the skills of even the most motivated amateur enthusiast. Recognizing your limits is also respecting the artwork.
You must consult a qualified restorer (minimum 5-year training, often at the Louvre School or equivalent) if your Halloween painting presents: significant areas of missing paint requiring illusionistic retouching, very oxidized varnish requiring chemical lightening, multiple or complex tears, significant deformation of the support, biological attacks (mold, wood-eating insects), or simply if you suspect a significant heritage or market value.
The cost of professional restoration varies considerably depending on the extent of the damage and the reputation of the practitioner. For a small Halloween format 30x40 cm painting requiring cleaning, consolidation and spot retouching, expect between €200 and €500. This sum may seem high, but it guarantees a reversible intervention, documented, carried out with scientifically tested stable materials.
Always request a detailed quote after examining the artwork, and inquire about the restorer's training. Serious professionals will never offer an intervention by phone or photo: they need to see, touch, analyze the artwork before committing. Beware of self-taught “restorers” with suspiciously low prices: the damage they cause often costs much more to correct than the price of initial professional restoration.
Soul Rediscovered
Tonight, my 1940s Halloween painting reigns in the entrance hall, just to the right of the door. The witch's mischievous gaze has regained its black eye intensity, her clothes reveal their shades of purple and brown again, but this golden patina, these delicate cracks are still there, intact. Each visitor stops, captivated by this mysterious presence that seems to have crossed time.
Restoring an antique Halloween painting without losing its patina is accomplishing an act of transmission. It's refusing the logic of newness at all costs, choosing the depth of authenticity over the superficial shine of reproduction. It’s understanding that the marks of time, when preserved intelligently, do not diminish a work: they enrich it with an irreplaceable emotional dimension.
So take your time, respect each step, listen to what the painting tells you through its cracks and yellowing. And if doubt assails you about a delicate intervention, remember this golden rule of restorers: it is better not to intervene than to intervene badly. Your antique Halloween painting will thank you by continuing to diffuse, year after year, that timeless charm that only authentic patina can offer.
FAQ: Your questions about restoring antique Halloween paintings
Can water be used to clean an antique Halloween painting?
Water is both the friend and enemy of restoration. On a varnished painting in good structural condition, lukewarm demineralized water, used sparingly on barely damp cotton swabs, can safely remove surface dirt. However, on unvarnished paint, tempera, or cardboard supports, water causes swelling, halos, and can dissolve some water-soluble pigments. The golden rule: always test in a discreet corner and proceed with minimal touches. If you see any color or texture changes, stop immediately and opt for dry cleaning (latex eraser, soft brush). For a family Halloween painting whose exact technique is unknown, caution dictates limiting yourself to mechanical dusting or consulting a professional for an accurate diagnosis before any wet intervention.
How to differentiate noble patina from simple dirt on my painting?
A crucial question that distinguishes the informed enthusiast from the novice! Noble patination is characterized by a uniform, transparent yellowing of the varnish, creating an amber tone that softens contrasts without masking details. It often presents a network of fine, regular cracks (age cracks) which bear witness to the natural aging of materials. Viewed against a low-angle light source, it shines slightly. Dirt, on the other hand, settles unevenly, accumulates more in recesses and along the edges of the painting, sometimes shows greasy areas or conversely powdery areas, and truly masks the details of the paint. A simple test on an Halloween painting: in an inconspicuous area, gently wipe with a dry cotton swab. If it picks up gray or black dust without changing the color of the surface, it's grime to be removed. If the cotton remains relatively clean and the surface has a warm, even hue, it's patination to preserve. In case of doubt, photograph your painting under different lighting conditions and compare with restored works in museums: you will gradually develop your eye.
My Halloween painting smells musty, can I restore it myself?
A moldy smell signals active fungal contamination that requires prompt but methodical intervention. First urgency: isolate the painting from other works to prevent spore propagation. Place it in a well-ventilated and dry space (never in full sun). If you observe greenish, grayish or blackish visible stains on the surface, or if the support (canvas, cardboard) shows softened areas, consulting a specialist restorer in biological treatments becomes imperative. These professionals have disinfection protocols (sometimes by anoxia, freezing or specific biocides) that eliminate fungi without damaging the paint. If the smell is present but with no visual manifestation, you can try a gentle disinfection: delicate brushing with a dry brush to remove surface spores, then exposure of the back (never the painted face) to a light UV source for a few hours. Then store the painting in an environment with controlled humidity (maximum 45-50%) with silica gel sachets. But let's be clear: mold often leaves permanent stains in the fibers which, even after treatment, irreversibly alter the appearance. On a Halloween painting of significant sentimental value, investing in professional restoration is fully justified to save what can be saved.


