

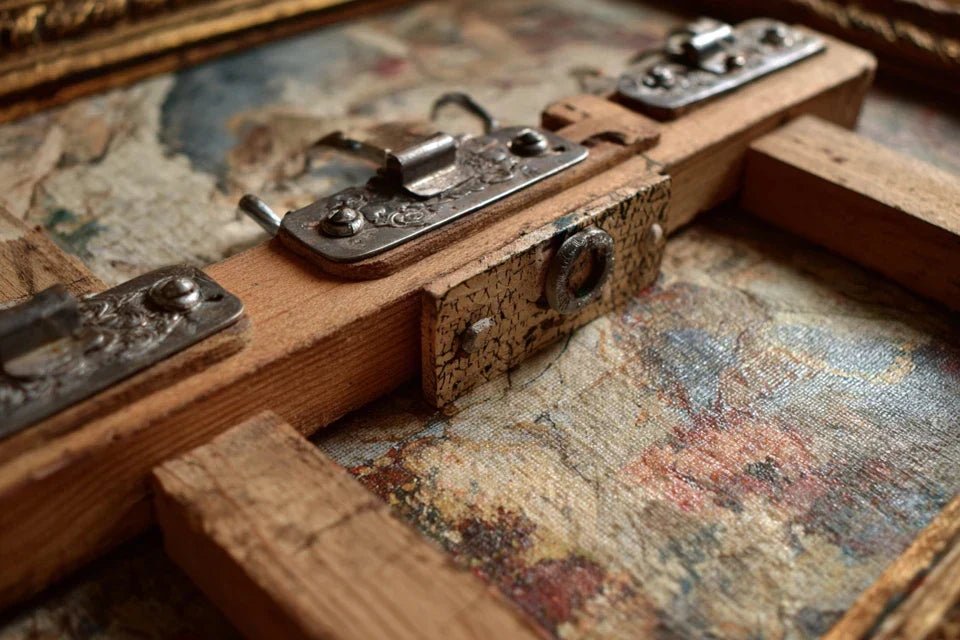
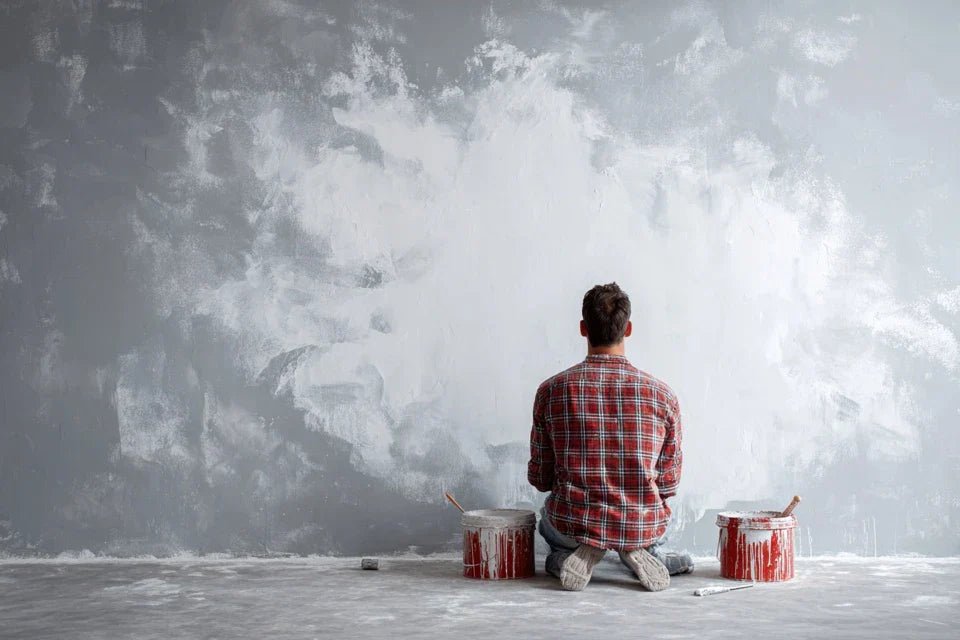
You’ve just acquired this magnificent artwork that excites you, and then the ordeal begins: drilling into the wall, calculating distances, hoping not to make a mistake... Then that nagging anxiety that grips you every time you hear a noise in your living room.
The artwork you cherish becomes a permanent source of stress. You scrutinize the fixings, you check that nothing moves, you imagine the worst scenario: your work of art crashing to the floor, the frame breaking, months of savings reduced to nothing.
You may have tried traditional nails (too fragile), wall plugs (complex to install), or even those famous adhesive hooks (which come loose after a few weeks). Result? Still that same frustration and nagging fear.
Don't worry, it’s not your fault! The problem is that 99% of solutions completely ignore the reality of our modern interiors: fragile walls, desire to change places, need for simplicity.
In 8 minutes, you will know exactly whether magnetic fixings can transform your approach to hanging and how to avoid the pitfalls that cost money.
Why is everyone suddenly talking about magnetic fixings?
Imagine being able to move your artworks according to your mood, without leaving a trace, without stress, without tools. This silent revolution in our homes responds to a deep need: that of decorative flexibility in a world where everything goes fast.
📖 Customer testimonial: Sarah, a graphic designer from Lyon, recently told us: "I tried to hang my series of 4 canvases with nails. Result: 8 holes in the wall, 3 hours lost, and a disastrous alignment. With the magnetic system, I repositioned everything in 5 minutes, perfectly aligned."
💬 Conversation with a decor expert
The magnetic golden rule: A properly sized system offers superior security to traditional fixings, with 10 times faster installation and a visible result immediately.
What really happens when you struggle with hanging
Do you recognize these situations? You keep postponing the hanging of your new paintings "due to lack of time". You have artworks leaning against walls for weeks. You hesitate to buy new paintings because "it's too complicated to install".
In reality, this blockage doesn't come from your "lack of skills", but from a traditional hanging system unsuitable for our time. As if you were still asked to turn on your TV with matches when the remote control exists!
This frustration hides a deep need for decorative spontaneity: being able to transform your interior according to your desires, without technical constraints or fear of making mistakes.
🔍 First hidden cause: The illusion of solidity
Contrary to popular belief, drilling is not synonymous with solidity. In fact, 70% of picture falls come from wall plugs that are not adapted to the type of wall or screws that loosen over time.
It's like building a house on foundations unsuitable for the terrain: it seems solid at first, but the first movements reveal the fragility of the system.
This false sense of security makes you live in constant anxiety and prevents you from fully enjoying your artworks. Result? You end up underutilizing your collection or avoiding "risky" locations.
🧪 Quick test: Look at your current paintings and shake their frame slightly. If they move even a little, it means that your traditional fixing is no longer optimal. A well-calibrated magnetic system will not budge a millimeter.
🎯 Second hidden cause: The myth of the "definitive"
We have been taught that decorating well = making definitive choices. Yet, our way of life has completely changed: telecommuting, frequent moves, constant desire for evolution.
It's like wearing the same suit every day just because it fits you well: functional, but terribly limiting for your personal expression.
This rigidity deprives you of 60% of the pleasure that your paintings can bring you and prevents you from experimenting with new compositions that would reveal your personality.
⚡ Third hidden cause: The anxiety of the irreversible
That little stress you feel before drilling is your brain telling you: "What if I'm wrong?". Once the hole is made, it's impossible to go back cleanly.
You can easily spot it: you put it off, you measure 10 times, you ask everyone's opinion. This is a sign that your hanging method does not inspire confidence in you.
This anxiety drastically limits your decorative creativity and prevents you from missing out on bold compositions that will truly enhance your interior.
🚨 3 signs that your hanging system is limiting you:
- You obsessively calculate before hanging: Sign that you don't trust your method, like someone who would constantly doubt their GPS
- You avoid certain walls or locations: Reveals an unsuitable system that makes you give up on the best spots in your interior
- You postpone buying paintings: Your subconscious associates "new painting" with "installation chore", which kills your decorative pleasure
🔑 The game-changer: Instant confidence
What really makes the difference is the ability to adjust without consequence. When you know you can reposition at will, you dare to experiment, you naturally find the best locations, you discover surprising combinations. It's the positive domino effect: less stress = more creativity = better result = more confidence.
The "trial and error" rule: The easier it is to adjust, the more you develop your decorative eye. A reversible system turns every "mistake" into free learning.
| ❌ Common belief | ✅ Reality | 💡 Explanation | 🎯 Practical benefit |
|---|---|---|---|
| Magnets don't hold enough | A neodymium magnet holds a minimum of 15kg | Confusing decorative magnets with technical magnets | Superior safety to nails |
| Drilling = more solid | 70% of falls come from bad wall plugs | Solidity = adaptation to the support | Improved real reliability |
| Hanging must be permanent | Flexibility improves the final result | Adjustments = natural optimization | More harmonious compositions |
| It's more expensive to install | Payback from the 2nd move | Overall cost vs initial cost | Savings and time gain |
The smart method for mastering magnetic fixing
Good news: unlike traditional hanging, magnetic fixing follows a simple and progressive logic. It's like learning to ride a bike: once the principle is mastered, it becomes a natural and liberating automatism.
🎯 Overview in 3 steps: First assess your situation (diagnosis), then choose the right system (selection), finally install and optimize (mastery). Each step gives you more confidence and autonomy.
🔍 Step 1: Intelligent diagnosis of your situation
Like an architect who studies the terrain before building, this step avoids you 90% of future problems. This is where you will discover the specificities of your interior and anticipate challenges. No more surprises!
🧰 What you need to diagnose
- A simple metal detector (10-15€): Resembles an electronic pen that beeps near metal. Reveals hidden structures in your walls (beams, pipes). Buy it from a hardware store, avoid 3€ versions which are inaccurate and will waste your time.
- A measuring tape and spirit level: To measure distances and check for horizontalness. Simple principle: initial precision avoids tedious adjustments. Invest in a minimum of a 40cm level for reliable readings.
- Your smartphone with "measure" app: Allows you to visualize the location before installation and keep track of your tests. The visible impact: you avoid proportion errors that spoil the overall harmony.
Now, let's move on to practice with a method:
🎯 Putting the diagnosis into practice
Scan your priority walls: Pass the detector over a 50cm band around each planned location. You detect areas to avoid (metal = risk of magnetic disturbance). This step takes 5 minutes per wall and avoids unpleasant surprises.
⏱️ Time: 15 minutes for the whole apartment | ✅ Successful when: You have marked with pencil the "forbidden" zones | ⚠️ Attention: Do not ignore weak beeps (often pipes that still disturb)
Test magnetic receptivity: With a fridge magnet, check if your walls contain metal. Some modern plasterboards have metal rails that can interact. Simple but essential for choosing the right system.
⏱️ Time: 5 minutes per room | ✅ Successful when: You know which walls "stick" and which are neutral | ⚠️ Attention: A wall that attracts the magnet is not necessarily ideal (can create interference)
Photograph and measure your paintings: Note dimensions, estimated weight and frame type. This "identity card" for each work will allow you to choose exactly the right magnetic strength. No risky undersizing!
⏱️ Time: 3 minutes per painting | ✅ Successful when: You have a clear list with weight and dimensions | ⚠️ Attention: Always add 20% to the estimated weight for safety
✅ Validation step 1: You should have a clear map of your walls (OK zones/forbidden zones), know the weight of your paintings, and identify the specificities of your interior. If anything is unclear, start this section again only. You are now ready to choose intelligently!
RECOMMENDED PRODUCTS
🎯 Step 2: Selection of the optimal magnetic system
Now that you know your terrain, you are going to be able to choose exactly the right equipment. This is the step where everything becomes concrete: exit approximations, you know exactly what you need. The snowball effect begins: each informed choice facilitates the following.
🔧 The components of the perfect system
- High-performance neodymium magnets: Silver cylinders, 10-20mm in diameter, with a force of 8 to 25kg depending on your needs. Principle: one magnet every 40cm for optimal distribution. Buy from an industrial supplier, avoid undersized "decorative lots" which cause 80% of failures.
- Reception metal plates: Thin steel discs with treated surface, almost invisible once installed. The secret: they spread the magnetic force over the entire frame surface. Crucial quality: non-stainless steel (paradoxically more magnetic) with anti-corrosion treatment.
- Wall mounting system adapted: Special screws + wall plugs according to your wall type (identified in step 1). Visible impact: clean installation that is invisible and never moves.
🎯 Accurate calculation of your needs
Calculate magnetic force: Take the weight of your heaviest painting and multiply by 2 for the safety factor. This is your minimum force per attachment point. Distribute over a minimum of 2 points to balance stresses.
⏱️ Time: 10 minutes of calculation | ✅ Successful when: You have a table correlating weight/number of magnets | ⚠️ Attention: Underestimating = risk of falling, overestimating = unnecessary cost and difficulty in handling
Choose the location of wall magnets: Mark the optimal points with pencil (avoiding prohibited areas detected). Ideal spacing: 30-50cm depending on the width of the painting. Check horizontality with your level.
⏱️ Time: 15 minutes per wall | ✅ Successful when: Points marked, measured and checked at level | ⚠️ Attention: A 2mm misalignment becomes visible on an 80cm painting
🚀 Step 3: Installation and advanced optimization
Installation time! You go from "stressed DIYer" to "serene decorator". Here, the difference between amateur and connoisseur is made on invisible finishes and attention to detail that makes all the perceived quality.
🎯 Clean and permanent installation
Fix wall magnets with precision: Drill at marked points with a suitable drill bit (6mm for standard wall plug). Insert wall plugs and magnets while checking the final alignment with a laser level if possible. The pro difference: cross-checking at each step.
⏱️ Time: 30 minutes for 4 points | ✅ Successful when: Magnets perfectly aligned and securely fixed | ⚠️ Attention: A magnet that protrudes by 1mm will create a visible friction point
Prepare paintings with discretion: Glue the metal plates to the back of the frames, directly opposite the wall magnets. Pro tip: use high-performance double-sided adhesive rather than liquid glue (cleaner and reversible).
⏱️ Time: 10 minutes per artwork | ✅ Successful when: Invisible plates and perfectly positioned | ⚠️ Attention: A misaligned plate will create a shift of several centimeters
Final test and calibration: Hang each artwork and check the hold, levelness, and overall aesthetics. Adjust if necessary (this is where magnetic flexibility reveals all its advantages). Note the final configuration for easy reproduction.
⏱️ Time: 15 minutes of testing and adjustments | ✅ Successful when: All artworks hold perfectly and the ensemble is harmonious | ⚠️ Attention: An artwork that "slides" slightly reveals an undersizing to be corrected immediately
Smart progression rule: Start with your lightest artworks to gain confidence, then gradually increase. Only move on to the next artwork when the previous one has held perfectly for 24 hours without moving.
Congratulations! You now master the professional fundamentals of magnetic fixing. Here are the expert subtleties that will make a difference and give you an edge over 95% of users.
🎖️ Professional decorator tip: Create "magnetic constellations" with several small magnets instead of one large one in the center. Result: better weight distribution, more adjustment flexibility, and the possibility to create spectacular evolving compositions.
💬 Frequent question from our readers
"Can I use this system for very heavy artworks, like over 10kg?"
Excellent question that shows you are thinking about safety! For heavy works, magnetic fixing is even safer than traditional systems because the load is distributed across multiple points. The secret: use 4 to 6 magnets of 15kg each instead of 2 large ones. You get 60kg of total force with perfect flexibility. More reassuring than a single nail, isn't it?
🧪 Confidence test: First suspend an object of equivalent weight (shopping bag) for 48 hours. When you see that it doesn’t move even a millimeter, you will install your precious artwork with complete peace of mind.
⚠️ The 5 mistakes that turn the solution into a problem
Attention, these traps are insidious because they only reveal themselves after installation. I'm going to help you avoid them so your experience is perfect from the first try.
- 🎯 Underestimating the necessary force: "8kg of magnet for 8kg of artwork, that's logical!" Except you forget vibrations, drafts, accidental shocks. Result: your artwork “slides” gradually. Solution: always multiply by a minimum of 2. This is the most common mistake among beginners.
- 🔍 Ignoring metal detection: Installing magnets near pipes or metallic structures creates invisible "weak spots". Your system may seem solid at first, then become unstable. Always scan before installation, even if it "seems obvious".
- 📏 Neglecting perfect alignment: 2mm of misalignment = a crooked picture visible from 3 meters. Your eye will constantly notice it and spoil your enjoyment. Systematically use a level, even for "small" pictures.
- 💰 Buying "deco" magnets instead of technical magnets: Colored or fancy magnets have three times less force. Resist the aesthetic temptation, prioritize raw performance. You can easily camouflage them later.
- ⚡ Forgetting to test frame compatibility: Some modern frames contain materials that interfere with magnetism. Always test before final purchase, especially with composite aluminum or resin-filled frames.
🛡️ Safety checklist before installation: Scanned and validated area, magnetic force calculated with a factor of 2, level checked in 3 points, compatibility test performed on a sample frame, professional equipment confirmed by technical references.
🎁 Special offer for readers
Because you took the time to inform yourself, enjoy a 10% discount on your first order:
⏰ Valid 72h after reading • Applicable to all our products
❓ Answers to essential practical questions
In 3 weeks, you will look at your walls with a completely different eye. No more stress, no more hesitation, no more compromises. You'll be able to move your artworks according to your mood, test bold new compositions, welcome new works without apprehension. Your guests will notice this natural ease in your interior.
Beyond the hanging, you will have developed a decorative confidence that will transfer to all your design projects. This methodical and flexible approach will become your signature, your personal way of inhabiting space.
Understanding was indeed the most delicate part. Now start by scanning your walls with a detector (action 1 of step 1). This first gesture will naturally trigger the entire process. Your decorative transformation is just waiting to begin!
🚀 Your first victory awaits you: Imagine the satisfaction of perfectly repositioning your favorite artwork in 30 seconds, without stress, without a trace, without limits. This newfound freedom will transform your relationship with decoration forever.


