How to balance a picture that always tilts to one side?
By Alexandre MARY
⏱️ Reading time: 8 minutes
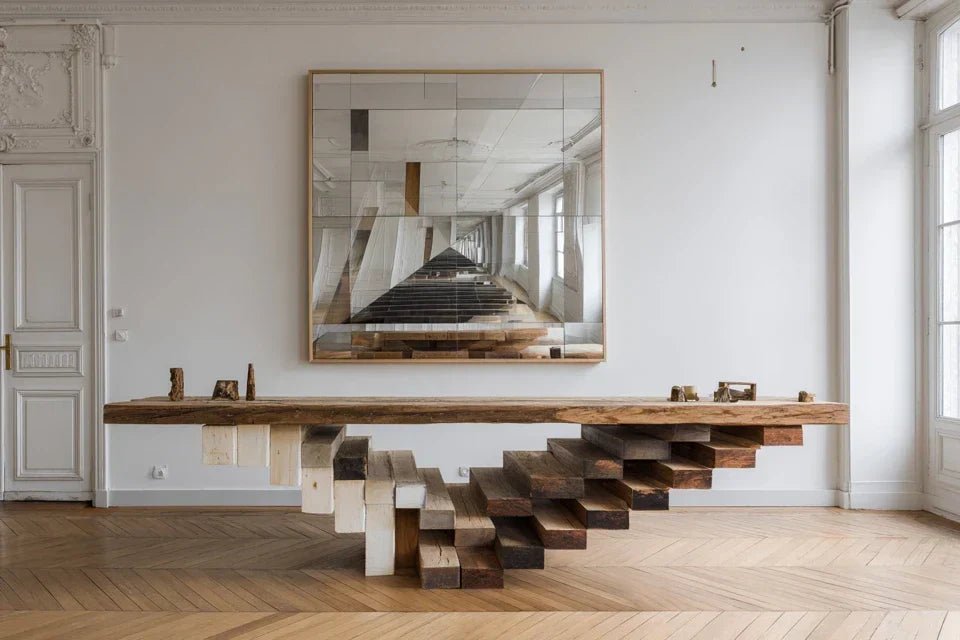
You've just hung your new favorite artwork on the wall with so much enthusiasm, and then... disaster! It stubbornly leans to the right, as if it wants to escape from your living room. You straighten it once, twice, ten times...
And yet, a few hours later, here it is again in its crooked position, defying all laws of physics and your patience. This feeling of imperfection jumps out at you every time you pass the wall, turning your decorating pleasure into a real daily obsession.
You've already tried the level, tightened the screws, changed the hooks... Nothing works! And the worst part is that your guests notice it immediately, discreetly pointing at this anomaly that spoils the harmony of your room.
Rest assured: this problem has nothing to do with your DIY skills! The real reason lies in invisible technical details that 90% of people completely ignore. It's exactly like trying to balance a bicycle without understanding the equilibrium.
In 8 minutes, you will master the 3 professional hanging secrets that guarantee a perfectly stable artwork, and you can finally enjoy your decor without this permanent frustration!
Why does a tilted painting instantly ruin the atmosphere of a room?
A tilted painting acts like a grain of sand in a Swiss watch mechanism. Our brain, programmed to detect imbalances, immediately focuses on this imperfection and cannot detach itself from it. It's like having a thorn in your foot: impossible to ignore!
If you wait any longer, your gaze will constantly be drawn to this defect, and you will end up associating this beautiful painting with a feeling of chaos rather than the serenity you are looking for.
🏠 Customer testimonial: "I had hung my favorite abstract canvas in the entrance. For months, it leaned slightly, and I told myself 'I'll get used to it'. The result: my guests systematically asked me if I had foundation problems in the house!"
💬 Conversation with a decor expert
"My painting is pretty, even if it leans a little... It's not that serious, right?"
Think again! A tilted painting subconsciously sends a message of neglect. It's like wearing a wrinkled suit: even if it’s high quality, it loses all its impact!
"But I'm afraid of making holes in the wall when trying to straighten it..."
Exactly! Professional techniques allow you to achieve a perfect result from the first hanging. No more multiple attempts that damage your walls!
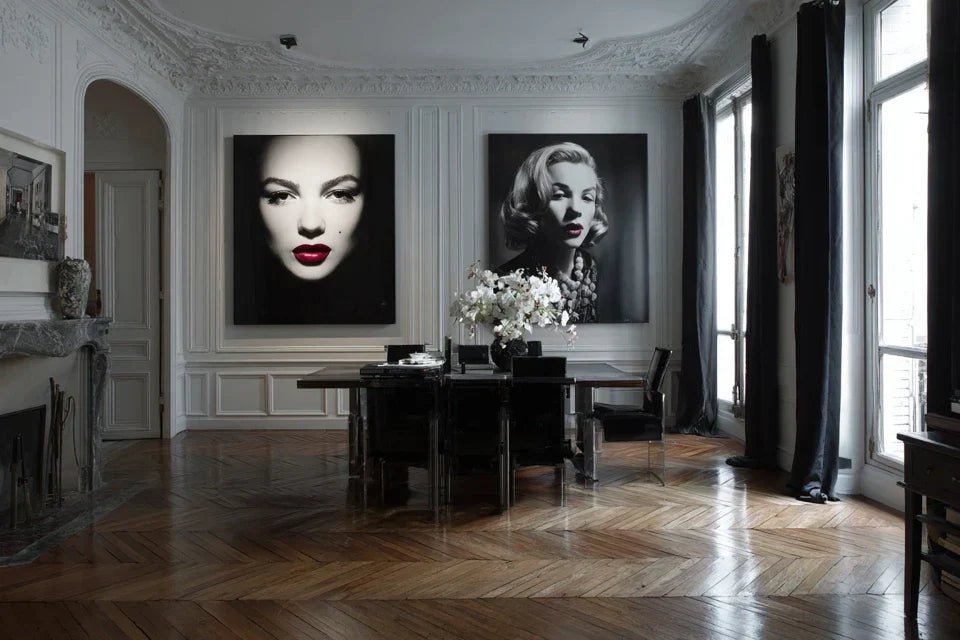
The golden rule of perfect hanging: A well-balanced painting becomes invisible... in the right way! Your gaze focuses on the artwork itself, not its position. The result? An instant harmonious atmosphere that enhances your interior.
But why does your painting refuse to stay straight?
Your painting keeps tilting, you straighten it mechanically every morning while drinking your coffee, and you start suspecting that your wall is crooked. You may have even invested in a more precise level, convinced that the problem lies with your installation...
In reality, the problem doesn't come from you or your wall, but from a set of invisible forces acting on your painting. It’s like trying to hold up a mobile without understanding the balance points: even with the best intentions, it is destined to fail.
Imagine your painting as a tightrope walker on his wire: he needs several perfectly calculated support points to maintain his balance. Without this understanding, you are fighting against physics itself.
🔍 Weight distribution: the secret no one tells you
Contrary to what we imagine, the weight of a painting is not evenly distributed. The frame, the canvas, and the glass (if any) create different density zones that constantly pull to one side. It’s exactly like an unbalanced suitcase that always tips over on the same side.
Here's a telling analogy: try carrying a shopping bag with a bottle of water on one side and chips on the other. Even if both items seem to "weigh the same", the bag will naturally tilt towards the denser bottle.
This inequality in weight explains why your painting always returns to the same tilted position, creating this permanent frustration that makes you doubt your abilities. Once you master this principle, hanging becomes as easy as putting on your shoes.
🧪 Quick test: Hold your painting out in front of you by the center. Observe which side it naturally tilts to. That heavier side will always be the one that "wins" once hung on the wall!
⚡ Micro-vibrations: the silent enemy
Here's something even some professionals ignore: your house is constantly moving. Not visibly, but footsteps in the stairwell, door closures, and even trucks passing outside create micro-vibrations that gradually destabilize a poorly secured painting.
It’s like a house of cards that seems stable, but which collapses with a simple breath. Your painting, subjected to these permanent micro-movements, ends up "sliding" towards its position of least resistance.
Result: you have the impression that your painting moves on its own, which explains this frustrating feeling of having to readjust again and again. The solution is not in tightening more, but in an anchoring technique that absorbs these movements.
🎯 The single hanging point syndrome
Here's the mistake 80% of people make: hanging a painting on a single point. Even with the best hook in the world, it’s like trying to balance on one foot: possible, but inherently unstable.
Observe a professional at work: they always use multiple anchor points that "talk" to each other to maintain balance. That's the difference between a one-legged stool (which tips over) and a four-legged chair (stable by nature).
This revelation explains why your tightening attempts yield nothing: you reinforce an unstable system instead of creating a true balancing system. Once you switch to multi-points, it's like discovering the wheel after pushing loads hand over hand.
🚩 The 3 telltale signs:
The painting always returns to the same angle: Sign of an unbalanced weight not compensated, like a rigged scale
It tilts more after moving it around the room: Reveals fixings sensitive to vibrations, like an unstable house of cards
The tilt worsens over time: Indicates a hanging system that "fatigues" under the weight, like a rope that stretches
⚖️ The domino effect of invisible deformations
Here's the factor no one suspects: your hanging system deforms millimeter by millimeter under constant weight. It’s like an elastic band gradually retaining its new shape after being stretched. This invisible deformation creates a new balance point... off-center! The longer you wait, the more this "new normal" settles in, making straightening increasingly difficult.
The universal law of stable hanging: A well-balanced painting doesn't fight physics; it uses it. Check by lifting it slightly: if it returns naturally to horizontal, your system is perfect.
❌ What we believe
✅ The reality
💡 Why
🎯 The benefit
The more you tighten, the better it holds
Balance is paramount to strength
Physics always seeks natural equilibrium
Durable stability without effort
One large hook is always enough
Distribution of points matters more
Like the wheels of a car: balance is better than size
Invisible and elegant hanging
A spirit level solves everything
You need to compensate for internal imbalances
The weight is never perfectly centered in a painting
Stability that lasts over time
If it tilts, the wall is crooked
It's often a problem with the fixings
Micro-movements reveal weaknesses in the system
Confidence rediscovered in your skills
🔧 The 3-pillar method for perfect hanging
Now that you understand why your painting is acting rebellious, let's move on to the solution! This method follows the logic of an architect: first solid foundations, then structure, and finally finishing touches. In a maximum of 30 minutes, you will get a result that rivals professional galleries, and above all... that lasts!
🎯 Overview of your success: Step 1 - Diagnosis and preparation (like a doctor who examines before surgery), Step 2 - Installation of the multi-point system (creating your stability network), Step 3 - Fine adjustments and locking (the master's final touch). At each step, you will feel the difference!
🧭 Step 1: The precise diagnosis (the key to everything)
This step may seem basic, but it is what determines the success of everything else! Like an architect who studies the terrain before building, you will identify the forces at play in order to master them. The advantage? No more approximations that lead to disappointments!
🛠️ Your professional diagnostic tools
A spirit level of at least 30 cm: Prefer a model with graduation (avoid fancy mini levels). It reveals imbalances invisible to the naked eye. Find it in any good hardware store. Quality criterion: the bubble must return exactly to the center when you turn the level over.
A metal measuring tape: Metal retains its shape unlike plastic which stretches. It ensures perfectly reproducible measurements. Test its accuracy: bend it and straighten it, the measurement should remain identical.A 2H pencil: Harder than a classic pencil, it marks finely and erases easily. This millimeter precision makes all the difference between an amateur and a professional hanging.
Now, let's get to action!
📏 Step-by-step execution
Find the actual center of gravity: Place your painting face down on a bed or sofa, slide your index finger under the frame as you move upwards towards the center until you find the perfect balance point. Mark this point discreetly. Why? Because that point is never exactly at the geometric center!
⏱️ Time: 2 minutes | ✅ Successful when: The painting balances on your finger | ⚠️ Attention: Don't rely on the center of the frame, the internal distribution may be asymmetrical
Measure critical distances: From the center of gravity to the edges, then from that center to the existing hanging points. Note everything! These measurements reveal why your painting is tilting and in which direction to compensate.
⏱️ Time: 3 minutes | ✅ Successful when: You have 4 precise measurements noted | ⚠️ Attention: A 2mm error can ruin the entire balance
Test wall stability: Press firmly 50cm from your future hanging point. A wall that "sounds hollow" or moves slightly will require special anchors. This test avoids unpleasant surprises after installation!
⏱️ Time: 1 minute | ✅ Successful when: You know the nature of your support | ⚠️ Attention: An unstable wall sabotages even the best hanging system
✅ Step 1 Validation: You know the true center of gravity, the exact measurements, and the nature of your wall. If anything seems unclear, restart this section: 5 more minutes now will save you 2 hours of hassle later!
OUR RECOMMENDED PRODUCTS
⚖️ Step 2: Installing the Multi-Point System
Now comes the magic part! You are going to create a stability network that will transform your recalcitrant painting into a model of wisdom. This step marks the transition from chronic instability to total serenity. The effect is so spectacular that you'll wonder why you waited so long!
🔩 Your Stability Arsenal
2 to 4 hooks of identical quality: Choose steel models with anti-corrosion coating. They better support micro-movements than plastic hooks. Where? Hardware stores or specialty sites. Quality test: the hook should not bend under your manual pressure.
Plastic coated wire: More flexible than wire, it absorbs vibrations and distributes tension better. The standard thickness (1.5mm) is suitable for most paintings. Its flexibility naturally compensates for micro-displacements.
Wall appropriate anchors: Molly for hollow walls, fischer for concrete, screw + classic wall plug for solid wall. An unsuitable anchor is like building on sand: everything collapses sooner or later.
🎯 Installing the Stability Network
Position the anchor points: Transfer two points located at equal distance from the calculated center of gravity onto the wall, spaced 15 to 25cm depending on the width of the painting. This distance creates a "force triangle" that naturally cancels imbalances.
⏱️ Time: 5 minutes | ✅ Successful when: Your markings are perfectly symmetrical and level | ⚠️ Attention: A 3mm gap between the two points will create a permanent imbalance
Install the hooks with the watchmaker's technique: Drill with a bit slightly smaller than your anchors, insert the anchors straight, screw in the hooks counting the turns so that they are identically positioned. This precision avoids asymmetrical tensions.
⏱️ Time: 8 minutes | ✅ Successful when: Both hooks point in the same direction with the same inclination | ⚠️ Attention: A crooked hook pulls harder than the other
Create the distribution system: Secure the wire by creating a slight curve between the two hooks (not taut like a guitar string!). This curve absorbs vibrations and naturally distributes the weight. Hang your painting in the center of this curve.
⏱️ Time: 3 minutes | ✅ Successful when: The artwork stabilizes immediately without oscillation | ⚠️ Caution: A wire that is too tight transmits all vibrations to the artwork
🎨 Step 3: Master Adjustments
You're almost there! This final step transforms a good hanging into a masterpiece of stability. It’s the difference between a musician who knows how to play and a virtuoso who moves souls. Your artwork will not only stay straight, but enhance your decor!
🔬 Millimetric Perfection
Micro-adjustment: Slightly move the hanging point on the wire (not the wire itself!) with small 5mm movements. Observe the artwork's reaction. This technique compensates for internal imbalances without redoing the installation.
⏱️ Time: 5 minutes | ✅ Successful when: The artwork remains perfectly horizontal even after a slight shake | ⚠️ Caution: Patience! Large movements break the balance you have just created
Final validation test: Gently lift the artwork 2cm and release. It should return exactly to its initial position, without oscillation. This test reveals whether your system is perfectly balanced or if it "cheats" by relying on external forces.
⏱️ Time: 1 minute | ✅ Successful when: Immediate return to horizontal without swaying | ⚠️ Caution: If the artwork oscillates or stabilizes elsewhere, repeat the previous adjustment
The criterion for absolute perfection: Your system is perfect when you can vacuum nearby, slam a door, or shake the floor without the artwork moving even a millimeter. At this level, you master the art of professional hanging!
Congratulations! You have just discovered the hanging secrets of art galleries. But wait, there are still some pro tips that will make you a true expert. These subtleties make the difference between a good DIYer and a master hanger!
🎓 Expert Level - The Invisible Damper Technique: Slide tiny felt washers between the frame and the wall at the lower corners. They absorb micro-vibrations and prevent marks on the wall. This museum curator trick keeps your artwork stable even in the most "lively" homes!
💭 "But my wall is drywall, will it hold?"
"I'm afraid that my drywall wall won't support this system with multiple hooks..."
Excellent question! Actually, it's the opposite: the multi-point system distributes weight better than a single large nail that concentrates all the load on one point. It’s like distributing the weight of a shelf across multiple brackets rather than just one. With the right Molly anchors and this technique, even drywall can support pictures up to 15kg without any problems. The trick? Space out your hanging points to hit several studs if possible.
🔍 Confidence test: First install the system with a less valuable object (like a small mirror) to validate its solidity. Once reassured, apply the method to your valuable picture!
⚠️ The 5 pitfalls that ruin even the best installation
Attention! Even when following the method perfectly, some sneaky errors can compromise your result. I'll reveal these traps to avoid the frustration of seeing your beautiful work ruined by a "detail" that isn't one.
🚫 Using hooks of different sizes: It’s tempting to use what you have on hand, but different hooks create uneven tension points. Result: your picture tilts towards the weakest hook! Invest in identical hooks, it's a guarantee of perfect balance.
🚫 Installing hooks "by eye": A height difference of just 2mm between two hooks is enough to create a permanent imbalance. Even professionals systematically use a level! Never trust your eye, even an excellent one.
🚫 Tightening the wire like a guitar string: Wire that's too tight transmits all vibrations and prevents the picture from self-stabilizing. The right technique? A slight curve that acts as a natural damper.
🚫 Neglecting the "break-in" period: Any hanging system needs 48 hours to stabilize completely. During this time, minor adjustments may be necessary. That's normal, not a failure!
🚫 Hanging a heavy picture directly: Always start by testing your system with a lighter object. This reveals any potential weaknesses without risking damage to your valuable picture. Caution is intelligence!
🛡️ Your safety checklist: Before declaring victory, check: both hooks are at the same level (±1mm), the wire forms a natural curve, the picture returns to horizontal after a slight shake, no fixing point moves when you pull on it. If all these points are green, your installation is indestructible!
Because you took the time to inform yourself, enjoy 10% discount on your first order:
ART10
⏰ Valid 72 hours after reading • Applicable to all our products
❓ Your expert questions decoded
🕐 "How long does it take to master this technique?"
For your first artwork: allow 45 minutes of concentration. But the good news? From the second one, you're down to 20 minutes, and by the fifth, it’s automatic! The time investment pays off very quickly. Tip: start with a medium-sized artwork in a little-used room to get the hang of it without stress.
💰 "What budget should you allocate for perfect hanging?"
Between 8 and 25€ depending on the size of your artwork and the nature of your wall. It's cheaper than a dinner at a restaurant! In this budget: quality hooks (5-12€), suitable anchors (2-8€), wire (1-3€), small hardware (2€). Prioritize quality: 3€ hooks that break cost more than a 15€ system that lasts 20 years.
🏠 "Does this method work on all types of walls?"
Absolutely! Concrete wall, brick, plasterboard, stone... The principle remains the same, only the anchors change. Solid wall = Fischer or Rawl anchors, hollow partition = Molly anchors, old wall = chemical anchors. Your hardware store salesperson will guide you perfectly with these precise names.
🖼️ "Can this technique be applied to very large artworks?"
Not only can it, but you SHOULD! The larger and heavier an artwork is, the more essential this method becomes. For works over 80cm or 10kg, simply add a third hanging point in the center. The principle remains the same: distribute intelligently rather than concentrate blindly.
🔄 "What to do if my artwork is still tilted after installation?"
No worries! In 95% of cases, it’s enough to adjust the position of the artwork on the wire by a few millimeters. If the problem persists, check that your two hooks are perfectly level. A small level, and that's it! Rome wasn't built in a day, perfection sometimes takes 2-3 micro-adjustments.
🎉 Your transformation: from daily frustration to decorative pride
In a few weeks, when your friends admire the perfect horizontality of your artworks and ask you your secret, you will smile discreetly. No more reflexive straightening as you walk by! Your gaze now rests on the artwork itself, not its position. This visual serenity literally transforms the atmosphere of your interior.
But beyond the aesthetic aspect, you have acquired a valuable technical skill that you will use for all your future hangings. Mirrors, photo frames, decorative shelves... This logic of balance and distribution applies everywhere! Your confidence in DIY has just taken a spectacular leap.
The most beautiful? You only need your hands and 45 minutes to get started. No complex learning, no expensive specialized tools. Just a logical method you'll master for life. So, which artwork will you free from its curse of imbalance first?
🚀 Your mission, should you choose to accept it: Transform your daily frustration into decorative pride! In one hour, your artwork will be the perfect example of what a successful wall hanging is. Your guests will notice... for the right reasons this time!
📚 To go further in the art of wall hanging
Now that you master perfect balancing, discover our advanced fixing techniques for all types of supports and explore our solutions for the most delicate wall hangings.


