

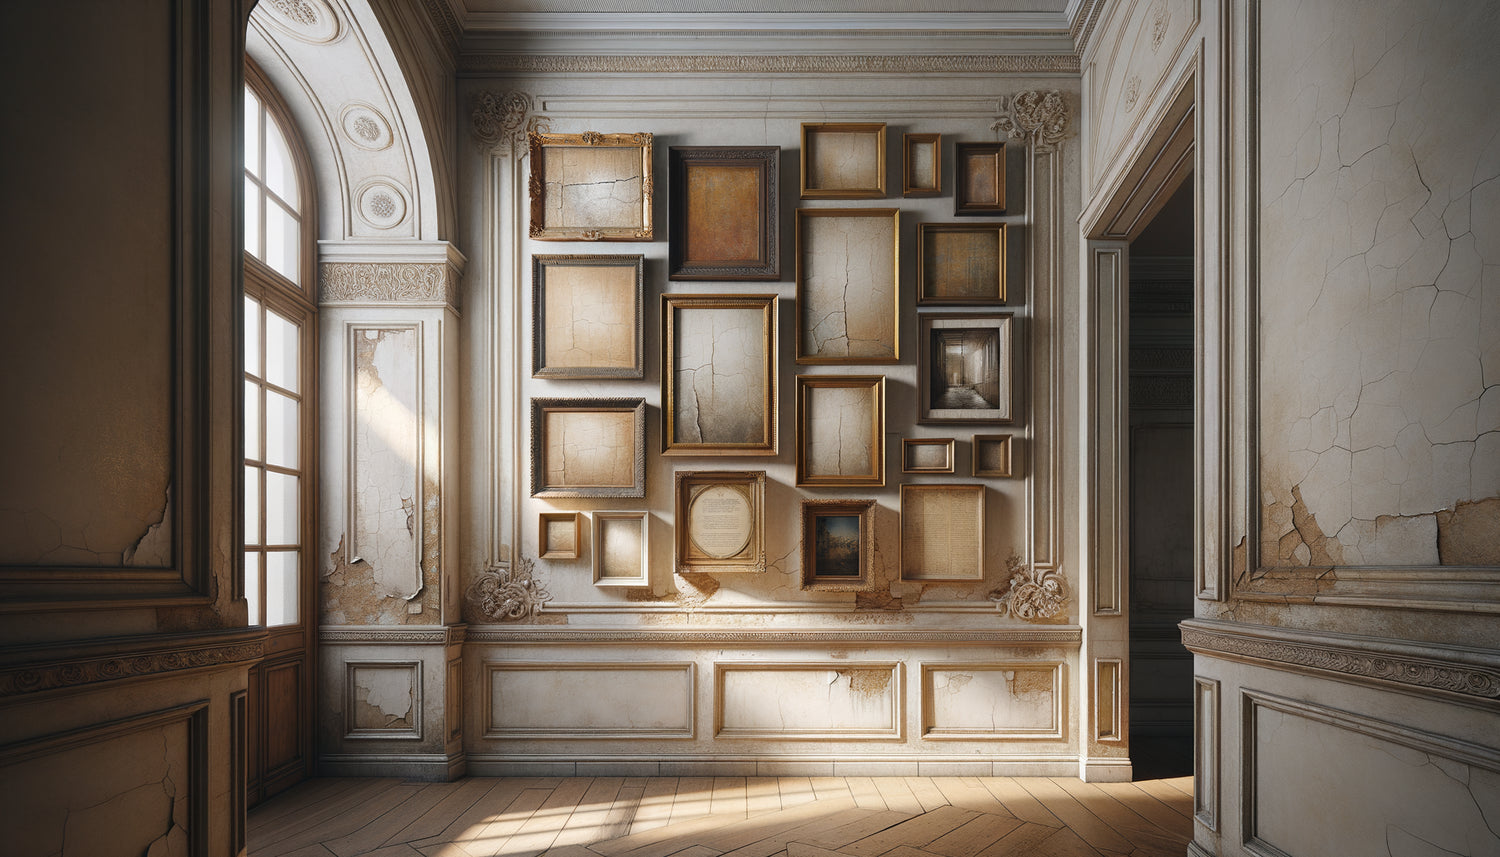
This morning again, as you walked along this hallway that runs through your old apartment, your gaze was drawn to this crack, this trace of past dampness, these imperfections that tell the story of the building but disfigure your daily life. I have restored around fifty listed properties, and I can assure you: these wall defects are not a fatality, but an opportunity to create a real personal gallery. Here's what the strategic placement of paintings in an old hallway brings: it effectively camouflages imperfections while creating a captivating visual journey, it enhances existing architecture by diverting the eye from flaws, and it transforms a simple passage into an artistic expression space. The frustration of living with these damaged walls without being able to undertake major work is legitimate. But rest assured, the art of decorative camouflage is quickly learned, and the results are often spectacular. I am going to reveal the techniques that I have perfected on dozens of heritage hallways, these methods that allow you to elegantly mask defects while respecting the soul of the place.
The art of diagnosis: identifying imperfections to be treated first
Before placing a single painting, take the time for a real visual inventory. Grab a notebook and walk through your hallway noting each imperfection: cracks, old traces of dampness, poorly filled screw holes, peeling wallpaper, variations in color. In old buildings, these defects are generally concentrated at eye level, between 1m20 and 1m70 from the ground, precisely where the eye naturally rests. I have noticed that vertical cracks near corners are often the most visible, followed by halos of resolved dampness that persist despite treatments. Photograph each wall under different lighting: daylight, artificial evening light. You will discover that some defects disappear depending on the angle of the light, while others are cruelly revealed. This precise mapping will guide your hanging strategy. The widest imperfections will require paintings of considerable size, while smaller defects can be masked by grouped compositions of modest formats.
The rule of thirds: position your paintings at the strategic height
In an old hallway with imperfect walls, the hanging height becomes your best ally. Forget the classic museum rule of centering at 5'5": here, we adapt the positioning to imperfections. If a unsightly crack runs across the wall at 4'7", your painting should have its center slightly above, around 5'1", so that the frame completely covers the defect. I have developed a technique that I call positioning by superposition: place a piece of cardboard with the exact dimensions of your future painting against the wall, move it until you find the location that hides as many imperfections as possible while creating visual harmony. Discreetly trace the outline with pencil. For hallways with high ceilings typical of old buildings, don't hesitate to position some paintings higher than normal, creating a vertical rhythm that diverts attention from defects located at the bottom. The eye naturally follows the composition upwards, and lower imperfections become secondary in the overall perception.
Adjustment according to natural light
In old hallways, light sources are often limited and create shadows conducive to camouflage. Position your paintings so that the grazing morning or evening light illuminates them frontally, creating a bright focal point that diverts attention from the dark areas where imperfections hide. If your hallway benefits from a window at the end, place your most colorful or contrasting works on the side walls: natural light will enhance them while wall defects remain in a flattering dimness.

The gallery composition: when number is strength
For walls particularly marked by time, the strategic multiplication of artworks far surpasses the hanging of a single piece. I transformed an 18th-century hallway riddled with micro-cracks by creating a composition of nine frames in various sizes: the eye gets lost in the visual richness of the whole and no longer focuses on individual imperfections. This technique of gallery wall works particularly well in old hallways because it respects the spirit of accumulation of heritage homes. Start by positioning the largest artwork over the major imperfection, then build around with medium and small formats. The spacing between frames should be constant, between 5 and 8 centimeters, creating a visual grid that unifies the wall despite its irregularities. The main advantage of this approach: it allows for millimeter-perfect positioning, each frame masking a specific area while participating in the overall harmony. Favor stylistic consistency, whether through the frames, tones or subject matter, so that the whole is perceived as a strong decorative intention rather than an opportunistic assemblage.
Strategic formats for each type of imperfection
After years of juggling heritage constraints and aesthetic aspirations, I have established a correspondence between types of defects and artwork sizes. Vertical cracks are wonderfully suited to elongated portrait formats (40x60cm or 50x70cm) which completely cover them while echoing the natural length of a hallway. Stain marks, often circular or oval, call for square formats (50x50cm) or grouped compositions in a circle that transform the defect into a center of interest. For areas of peeling wallpaper or extended variations in tone, opt for large landscape formats (70x100cm or 80x120cm) which generously cover the problematic surface. I recently saved a hallway whose lower part presented countless chips by positioning a series of small rectangular artworks (20x30cm) in a low horizontal arrangement, creating a decorative frieze that masks the entire damaged area. Remember that the frame thickness also plays a role: a deep frame of 3 to 5 centimeters creates relief that casts a shadow, thus camouflaging irregularities in its immediate perimeter.
Depth as a camouflage asset
In old hallways with walls that are rarely plumb, using the third dimension becomes a valuable technique. Artworks on thick frames or mounted on spacers create a distance between the work and the defective wall. This depth allows to mask significant irregularities: a slightly domed wall, plaster reliefs poorly sanded, even small protrusions. I used rail mounting systems in a hallway with significant undulations, allowing each artwork to be adjusted independently to create a visually perfect alignment despite a far-from-flat wall.

When color and subject become accomplices of camouflage
The choice of subject and color palette for your paintings significantly amplifies the effectiveness of camouflage. Abstract compositions with rich textures create a visual complexity that makes irregularities in the wall forgotten: the eye, captivated by the nuances and materials of the work, no longer seeks out defects in the support. In a hallway whose walls presented an uneven patina, I positioned paintings with tones similar to the dominant color of the wall: beiges, soft grays, off-whites. Surprising result, the gaze naturally slides from the wall to the painting without disruption, and imperfections blend into a harmonious continuity. Conversely, to radically divert attention from defects, use works with bright and contrasting colors: a deep blue, a vibrant red, a sunny yellow. The eye is immediately drawn to these colored focal points and totally neglects defective neutral areas. Subjects with a strong narrative dimension, detailed landscapes or complex figurative scenes, invite the gaze to linger on the work itself rather than its wall environment.
Complementary lighting: the ultimate touch that enhances and masks
Even perfectly positioned, your paintings will reveal their full camouflaging potential thanks to judiciously oriented dedicated lighting. I systematically install adjustable sconces or track spotlights in old hallways that I restore. Light directed towards the painting creates a luminous halo that visually blurs the contours of the frame and surrounding imperfections. This technique of selective highlighting transforms your hallway into a true intimate art gallery where only the works emerge from the shadows. Prefer warm white LED sources (2700-3000K) which soften reliefs and wall defects while enhancing the tones of the paintings. For a particularly long hallway, create a luminous rhythm by alternating illuminated areas, centered on the paintings, and shaded areas where unmasked imperfections become invisible. Indirect lighting, reflected from the ceiling, also reduces shadows that would reveal surface irregularities. In a recent project, I installed an LED strip behind a series of paintings positioned in height: the diffused light creates a warm atmosphere while distancing attention from defects located in the middle and lower part of the wall.
Transform your hallway imperfections into decorative opportunities
Discover our exclusive collection of hallway art that will enhance your old walls while elegantly masking their imperfections.
Your old hallway will never again be a space you avoid. By strategically positioning your artworks, you have the power to transform each imperfection into a pretext for beauty. Imagine yourself in a few days, walking along this new personal gallery where your gaze lingers on each carefully chosen work, where defects have disappeared behind harmonious compositions that tell your story. Start this weekend by mapping out your imperfections and taking measurements: your transformed hallway awaits you.
Frequently asked questions about hanging artworks in an old hallway
What size artwork should I choose to mask a large crack in my hallway?
To effectively mask a visible crack, your artwork must extend at least 15 centimeters on each side. If your crack is 40 centimeters long, opt for a format of at least 70 centimeters in that dimension. The common mistake is to choose an artwork that is too tight: even the slightest misalignment during hanging would reveal the defect. I always recommend a generous safety margin. For a standard vertical crack, a 50x70cm or 60x80cm format works perfectly in most old hallways. If the crack is particularly long, don't hesitate to segment it visually with two medium artworks rather than one huge one that would unbalance the proportions of the hallway. The important thing is to create complete visual coverage while preserving overall harmony. Measure precisely, add your safety margins, and you won't be mistaken.
Can I hang artworks on an old wall without damaging it further?
Absolutely, and it is even desirable to enhance heritage while preserving it. Prioritize mounting systems adapted to old walls: special plugs for old plaster, picture hooks on a rail if you have original cornices, or drill-free systems for particularly fragile walls. On a lathe plaster wall typical of old buildings, avoid expansion plugs that create lateral pressure. Prefer chemical anchors or X hooks suitable for plaster, which distribute the load. For lightweight paintings (less than 3 kilos), new generation professional adhesive systems offer excellent hold without any drilling. I have equipped several listed hallways with these solutions: they hold perfectly and are removable without leaving a trace. The real risk to an old wall is not a well-made mounting, but the multiple holes poorly placed following unsuccessful attempts. That's why I strongly advise you to use the cardboard template technique: position, check, re-check, and drill only once, in the right place. Your old wall will thank you.
How many paintings are needed to effectively camouflage a very damaged hallway?
There is no absolute rule, but my experience on dozens of old hallways leads me to this recommendation: for a 6 meter long hallway with side walls 2.5 meters high, count between 5 and 9 paintings per wall if the imperfections are numerous. The goal is not to create an overloaded catalog, but sufficient density so that the eye moves from one work to another without ever lingering on defective areas. In a very damaged hallway that I visually restored last year, we positioned 14 paintings of various sizes over 8 meters: the result was spectacular, the owners completely forgot the initial condition of the wall. The key is balance between coverage and breathing: your paintings should respond to each other, create a rhythm, allow the old architecture to breathe while masking defects. Start by positioning the large pieces on major imperfections, then gradually complete with more modest formats. Step back regularly, take photos, let your gaze settle. You will instinctively know when balance is reached: it's that moment when you only see the gallery, and no longer the imperfections.


