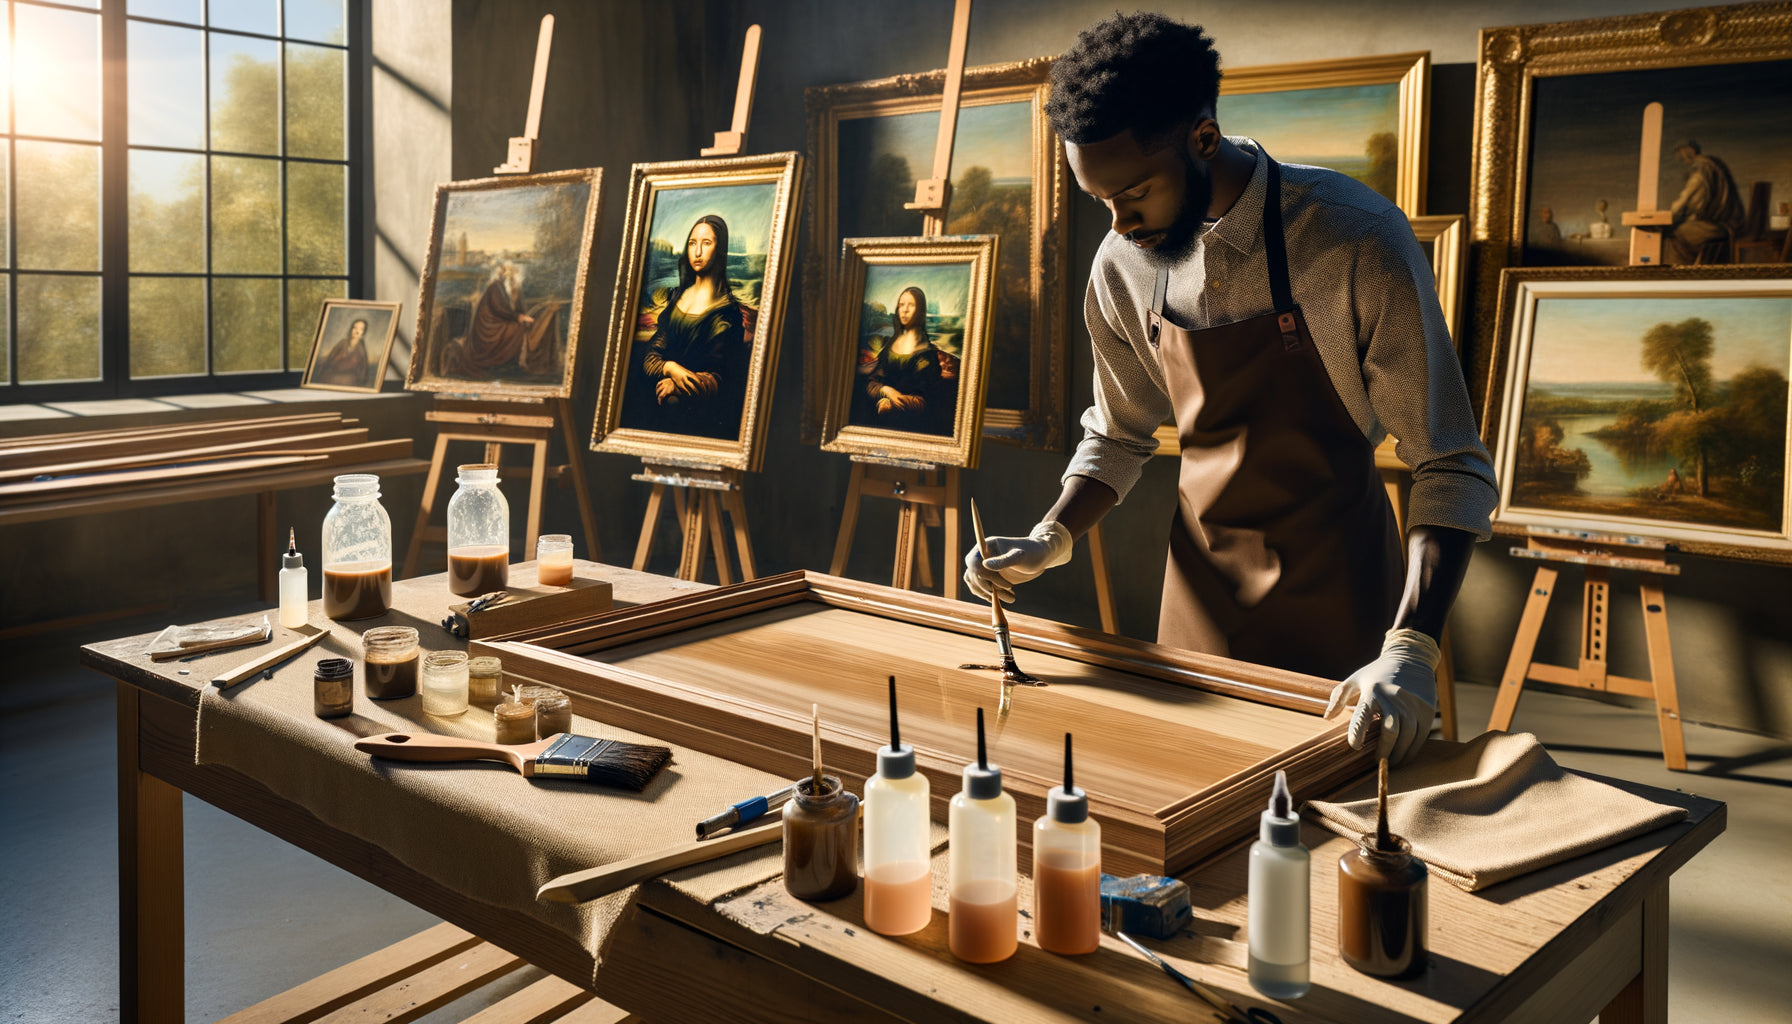
I learned this lesson the hard way during my first year in the workshop. A beautiful Douglas fir board, hours of meticulous carving, then disaster: when it came time to apply the linseed oil, pockets of resin literally bled out, creating greasy streaks that ruined three weeks of work. That day, I understood that wood with a perfect appearance can hide invisible traps.
Here's what rigorous raw wood verification brings: it guarantees a flawless finish without unpleasant surprises, preserves your hours of artistic creation, and ensures the durability of your works over time. Because there is nothing more frustrating than seeing meticulous work spoiled by resin that weeps out six months after varnishing.
You are facing a rough board, seduced by its grain, ready to create. But this anxiety gnaws at you: what if this wood hides resin? You're right to ask the question. Softwoods like pine, spruce or larch can trap pockets of sap for years. And contrary to popular belief, even seemingly dry wood can hold sticky surprises.
Rest assured: there are proven techniques to detect the presence of resin before you even begin your work. Simple methods, accessible to everyone, that will save you many disappointments. Some are tactile, others visual, a few use heat. In the minutes that follow, you will discover how to systematically examine your rough wood and make the right decisions for your artistic creations.
Visual inspection: first line of defense
Before any manipulation, your eye is your best ally. Install your board under a grazing light, one that reveals imperfections. Pockets of resin often appear as darker areas, slightly translucent, sometimes with a characteristic glossy appearance.
Look for knots, these natural scars on the wood. Around them, resin likes to concentrate. Run your finger gently over these areas: do you feel a slight stickiness, a less smooth surface? That's already an indication. Natural cracks and fissures also deserve your attention: resin readily settles in them, sometimes creating crystallized streaks.
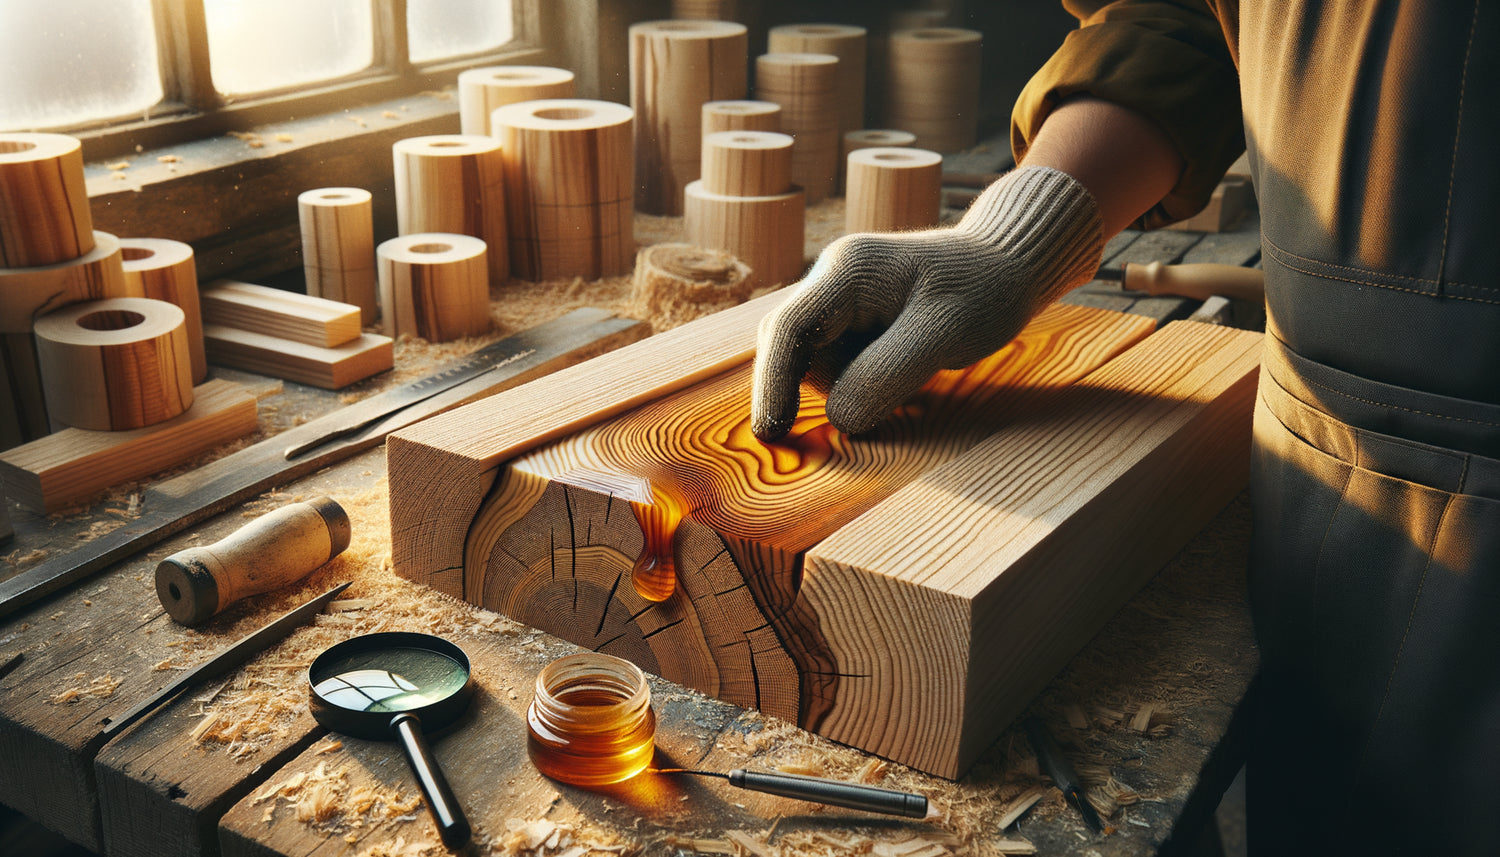
Observe the ends of the board. On end grain wood, resin can appear as small amber pearls, drops frozen in time. Some species like maritime pine show visible resin canals, veritable highways of sap that run through the wood.
The magnifying glass technique
For pieces destined for refined artistic creations, a magnifying glass becomes invaluable. It reveals the micro-pockets invisible to the naked eye, these tiny reservoirs that can nevertheless pose a problem when applying a delicate finish. Scrutinize especially the areas of spring wood, this light and tender wood formed at the beginning of the season: more porous, it retains more resin.
The tactile test: the intelligence of fingers
Your hands possess an extraordinary sensitivity. On a properly dried rough wood, the surface should be uniformly dry to the touch. Slowly pass the palm of your hand over the entire length of the board. A slightly tacky area, even barely perceptible, betrays the presence of resin.
The fine sandpaper test is revealing: lightly sand a suspicious area. If the paper quickly becomes encrusted, forming a sticky paste instead of a fine dust, resin is present. This simple test has saved me from countless disappointments before applying valuable finishes.
For woods intended for carving or turning, the nail test works remarkably well. Gently press your fingernail into questionable areas, especially around knots. If you feel a rubbery resistance rather than the firmness of dry wood, be wary. Resin retains some elasticity even after years.

The thermal method: revealing the invisible
Heat brings out the resin like nothing else. It's my preferred technique for definitive checks before starting an important project. The hair dryer test is remarkably effective: gradually heat the surface of the wood to approximately 50-60°C for two minutes.
Observe carefully. The resin begins to soften, becomes shiny, sometimes even pearls slightly. Areas you thought were healthy suddenly reveal their true nature. The characteristic smell of turpentine often accompanies this test on heavily loaded softwoods.
For a more targeted approach, a soldering iron at reduced temperature, moved a few millimeters from the surface without direct contact, locally heats suspicious areas. Attention: the goal is to detect, not to burn. This method requires delicacy but offers remarkable precision for locating pockets of deeply embedded resin.
The solar exposure test
Longer but risk-free, place your board in full sun on a hot day. UV rays and natural heat do their work. Check back in the late afternoon: resinous areas shine distinctly, sometimes accompanied by small bubbles or bleedings. This gentle method is perfect for antique or precious woods that you don't want to agitate.
The chemical test: scientific confirmation
When in doubt, solvents provide a definitive answer. Turpentine or white spirit applied to a white cloth and rubbed on a discreet area will dissolve the resin present. If the fabric turns yellow-orange and becomes sticky, you have your verdict.
This chemical test has the advantage of simultaneously cleaning the surface being tested. For artistic creations that will receive an oil or varnish finish, this is a step I systematically integrate into my preparation process. It's better to discover the resin now than after applying three layers of precious varnish.
Denatured alcohol also works, although less effectively. It has the advantage of being less aggressive and evaporates quickly. To test raw wood intended for artistic applications, lightly dampen a slightly inconspicuous area. Fresh resin will partially dissolve, leaving a characteristic sticky trace.

Treat or avoid: strategies for the artist
Faced with slightly resinous wood, you have options. Thermal extraction involves gradually heating the wood in the workshop to draw out as much resin as possible before working on it. Some artisans place their boards near a radiator for several weeks, regularly wiping away any bleed-through.
Solvent cleaning, which is more radical, removes surface resin but requires patience. Several passes with turpentine, followed by fine sanding, effectively prepare the wood for artistic finishing. I have saved magnificent pieces of pine that would otherwise have been unusable.
But let's be honest: for demanding artistic creations, nothing beats wood naturally free of resin. Hardwoods such as oak, beech, walnut or cherry never pose these problems. If your project allows it, opt for these noble species which offer safety and durability without compromise.
Choosing the right supplier
The quality of your sawmill makes all the difference. Wood properly dried in a kiln or naturally for several years contains much less active resin. Ask your supplier about drying methods and origin. Artistic quality raw woods cost more, but you save time, frustration and wasted finishes.
Transform your walls into galleries of emotions
Discover our exclusive collection of Library paintings that celebrate the natural beauty of wood and noble materials in refined artistic compositions.
From verification to serene creation
You now have the keys to examine your raw wood with the assurance of a professional. This preliminary verification moment, far from being a waste of time, represents an investment in the success of your creation. Imagine yourself in your workshop, applying the final coat of finish to your sculpture, your furniture or your artwork, with the absolute certainty that no sticky surprise will spoil this moment of satisfaction.
Start today: take this board waiting for you and systematically apply these techniques. Visual inspection first, then tactile testing, followed by thermal verification if necessary. Note your observations, develop your sensitivity to the material. Each wood tells a story, and learning to read it makes you a better creator.
Mastery of the material precedes mastery of art. By checking for the absence of resin in your raw wood before finishing, you lay the foundations for a work that will last through time without alteration, without regrets. And this peace of mind, believe me, is priceless when you sign your creation.