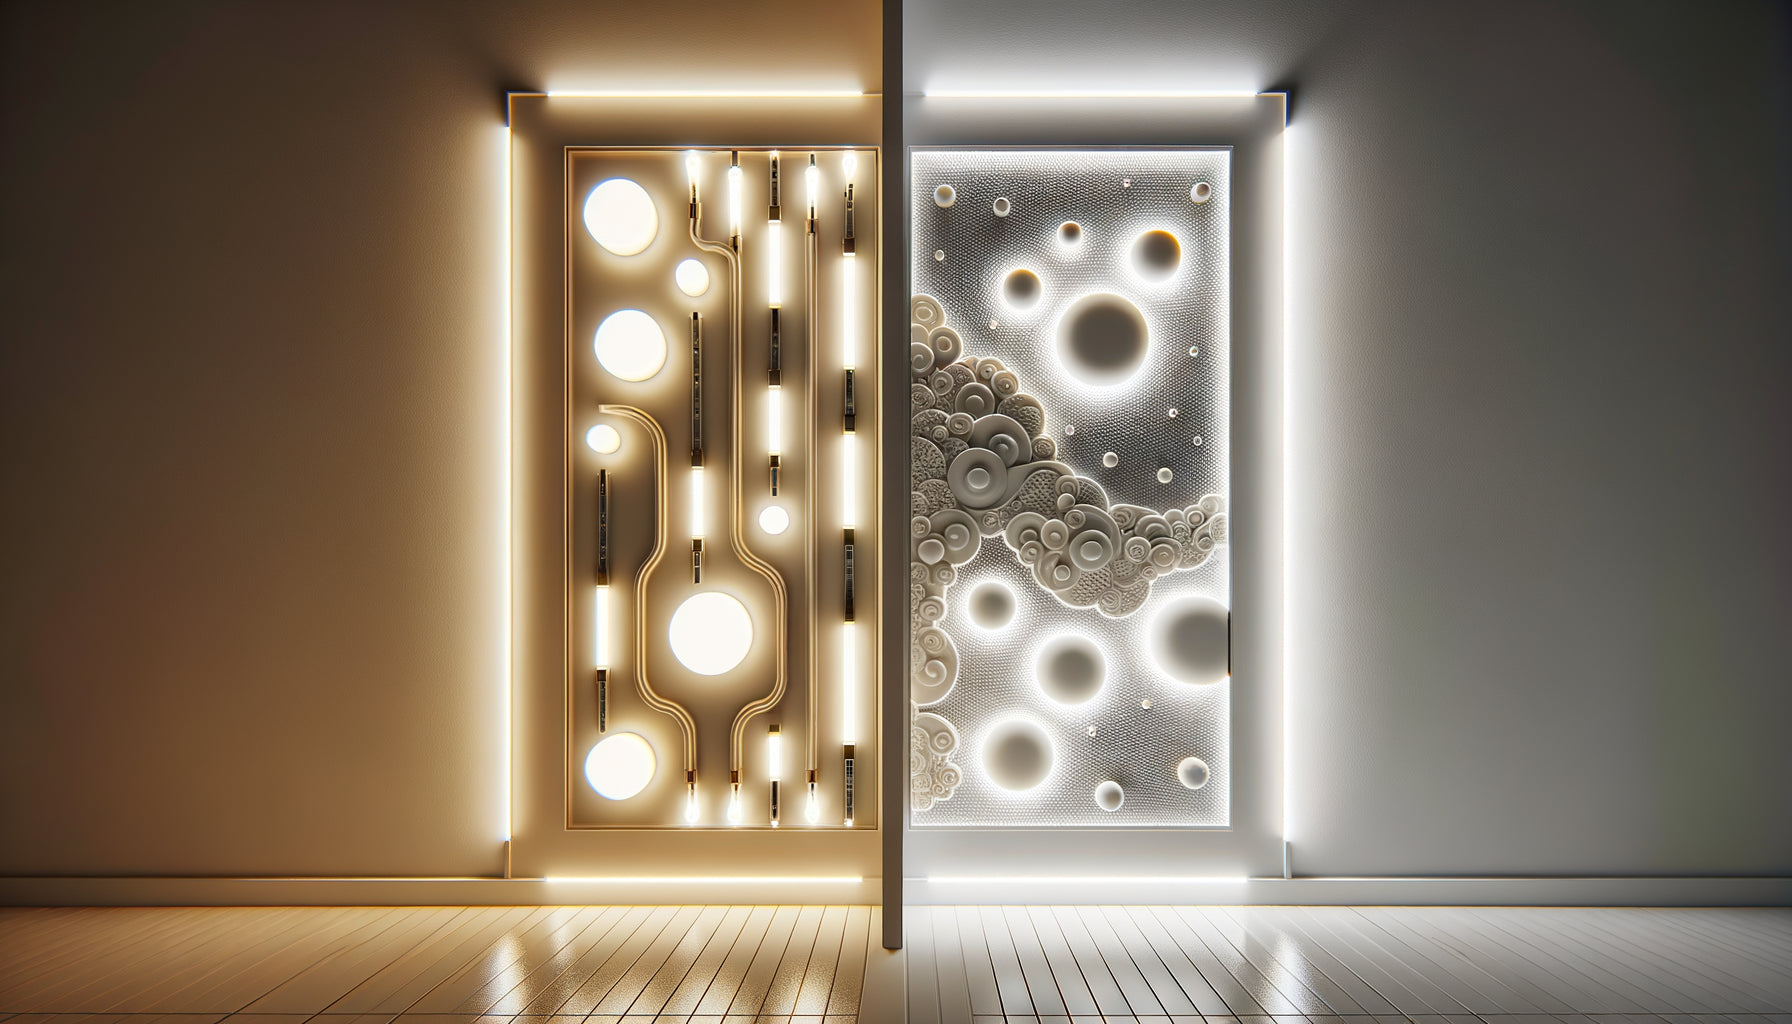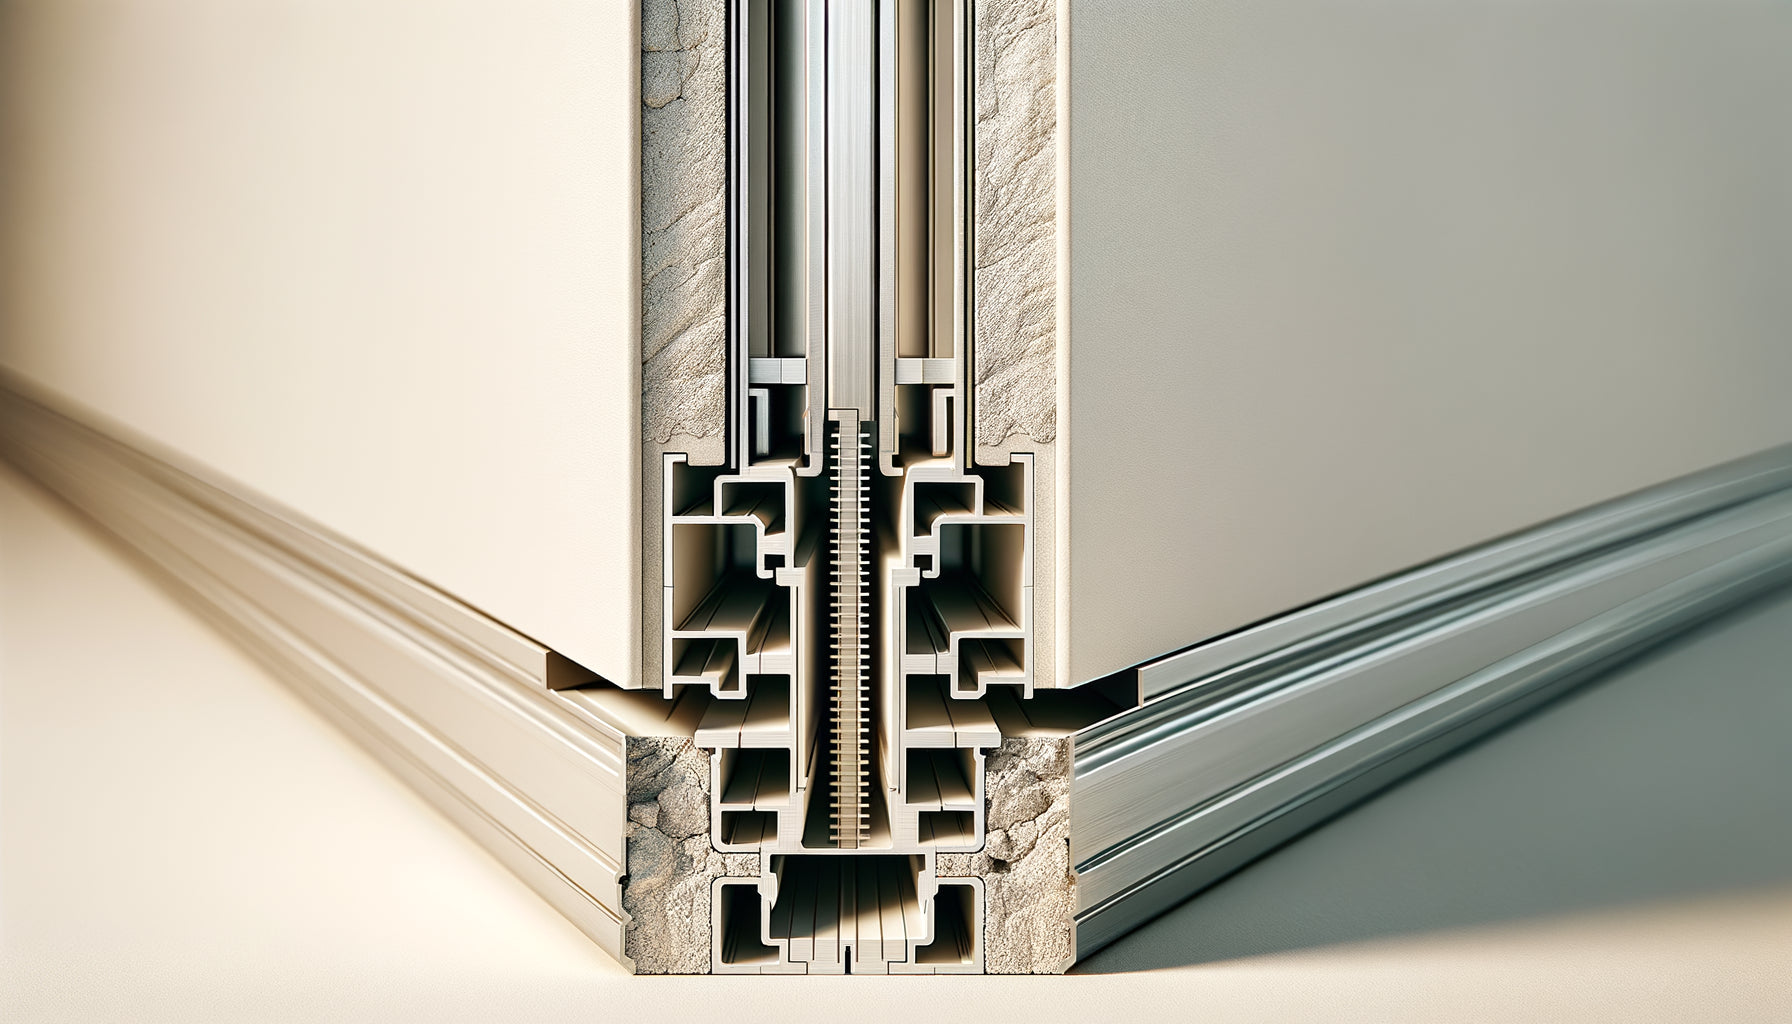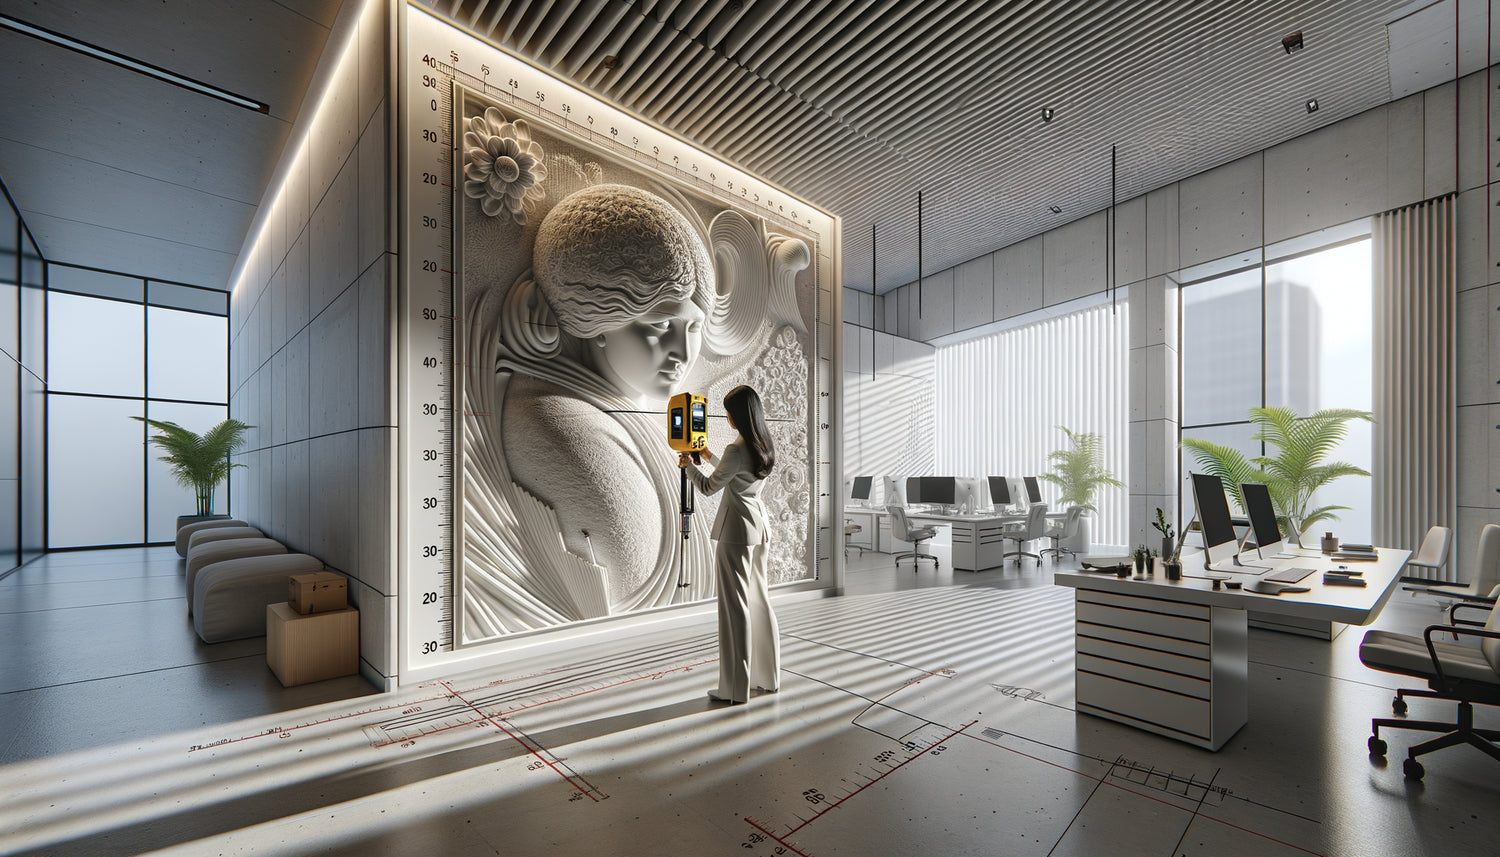
I understood my lesson at the inauguration of a prestigious real estate agency in Neuilly. The director had invested in a magnificent gilded metal wall sculpture, intended to embody the excellence of his brand. Problem: installed too close to the reception wall, it created unsightly shadows and visitors regularly bumped into it. An 8,000 euro artwork became an obstacle rather than an asset. This mishap perfectly illustrates why calculating depth of field before any raised wall installation is not a technical detail, but a strategic decision that transforms your professional space.
Here's what a well-calculated depth of field brings to your agency: optimal highlighting of your wall installations that captures attention without cluttering, a smooth flow that improves the customer experience, and a professional perception that instantly reinforces your brand image.
Many agency managers find themselves frustrated after investing in raised decorative elements. Either the expected visual effect is not achieved, or the installation creates unforeseen circulation constraints. Some even discover that their beautiful wall installation violates accessibility or fire safety standards.
Rest assured: calculating the necessary depth of field requires neither an architect's degree nor complex mathematical formulas. With a structured method and a few proven principles in the field, you will precisely determine the space required to sublimate your walls while preserving the functionality of your agency.
I will guide you through the five essential dimensions that determine the ideal depth, with concrete examples drawn from my interventions in real estate, banking and legal agencies.
Understanding the three zones of spatial depth
Before taking out the measuring tape, let's visualize space together in three distinct dimensions. This approach will transform your way of considering wall installations.
The projection zone: the thickness of your installation
This is the distance between the wall and the most advanced point of your raised element. For a raised picture, count on approximately 3 to 8 centimeters depending on the frame and fixing system. Metal wall sculptures can reach 15 to 25 centimeters. Stabilized plant installations range from 8 to 12 centimeters.
Always measure at the most projecting point, not the average. I saw a geometric cube installation where the manager had calculated based on an average thickness of 10 cm, forgetting that some cubes protruded by 18 cm. Result: constant bumping with visitors' clothes.
The safety zone: the collision-free space
Always add a minimum of 15 to 20 centimeters between the most prominent point and the path of passage. This incompressible margin prevents your clients, collaborators or delivery people from bumping into the installation. In a high-traffic corridor, increase this area to 25-30 centimeters.
For an agency receiving families with strollers or people with reduced mobility, this safety zone becomes even more crucial. Accessibility standards for PMR (people with reduced mobility) also impose minimum passage widths, which we will discuss further.
The visual setback zone: the aesthetic appreciation distance
This is the parameter that 80% of professionals forget. For a raised wall installation to produce its optimal visual effect, the eye must be able to move away from it sufficiently. The rule of thumb: allow a viewing distance equivalent to 1.5 times the diagonal of the artwork.
Specifically, for a painting 100 cm wide, your visitor should be able to step back about 150 cm to fully appreciate it. If your available space is 180 cm between the wall and a desk, your total depth of field will work. If you only have 80 cm, the effect will be ruined.
The practical formula adapted to agency spaces
Let's now move on to the concrete approach that I consistently use during my agency layout audits. This method gives you a precise answer in less than 5 minutes.
Necessary depth of field = Projection of the installation + Safety zone + Visual setback distance
Consider the example of a real estate agency wishing to install a composition of three raised paintings in its reception area:
- Measured projection: 6 cm (American frame with integrated LED lighting)
- Safety zone: 20 cm (frequent passage of clients)
- Viewing distance: 200 cm (composition 180 cm wide × 1.5 = 270 cm, reduced to 200 cm because the wall faces the entrance)
Total required depth: 226 cm minimum
If your available space between the decorated wall and the opposite element (desk, bench, other wall) measures less than 226 cm, three solutions are possible: reduce the size of the installation, choose a location with more viewing distance, or opt for less protruding elements.
Adjustments according to the type of space
In a meeting room where people are seated and static, you can reduce the safety zone to 10-12 cm. The gaze being fixed, the viewing distance becomes your main parameter.
Conversely, in a corridor, maximize the safety zone (25-30 cm) and accept a reduced viewing distance. The installation will be seen in motion, from different angles.
For a wall behind a reception desk, the safety zone becomes almost zero on the public side (no one passes), but the viewing distance must be calculated from the position of the visitor standing facing the counter.

Regulatory constraints that reduce your available depth
I assisted a bank agency in choosing a monumental wall installation. All aesthetic calculations validated, we discovered at the last minute that fire safety regulations required a passage width of 140 cm in this corridor classified as a main clearance area. Our magnificent project, jutting out 12 cm, had to be abandoned in favor of a solution with a maximum depth of 4 cm.
Accessibility standards for people with disabilities
Public establishments (ERP) must guarantee a minimum passage width of 120 cm in the main circulation areas, increased to 140 cm for main clearances. If your corridor is 180 cm wide, your installation cannot exceed a total depth of 40 cm (installation + safety zone).
For spaces allowing two wheelchairs to pass, regulations require 150 cm of free space. Check the ERP classification of your agency with your town hall or a control office.
Fire safety regulations according to clearances
Normal clearances (emergency exits, evacuation corridors) have strict minimum widths depending on the capacity of your establishment. A clearance of 2 passage units requires 140 cm free from obstacles.
Any wall installation in relief projecting more than 10 cm is generally considered an obstacle reducing the regulatory width. In some cases, you may need to obtain the opinion of the safety commission before installation.
Calculate based on lighting and shadows
Here's something even experienced decorators often underestimate: the interaction between your relief installation and ambient lighting. A wall sculpture generates shadows whose depth varies depending on the angle and light intensity.
I measured cast shadows reaching 40 cm of projection to the floor for an installation only jutting out 15 cm, simply because the LED spotlights were positioned at 30° in a low-angle shot. These shadows create a perceived visual depth far greater than the physical protrusion.
The real-life shadow test
Before any final installation, perform this simple test: temporarily fix your piece (or a cardboard prototype of the same dimensions) and observe the shadows at different times of the day. Pay particular attention to peak traffic hours in your agency.
Raking light (wall spotlights, natural side light at the end of the day) dramatically amplifies relief and shadows. Zenithal lighting (ceiling lights directly above) minimizes them. Adjust your depth calculation accordingly.
The professionals' trick: integrated lighting
To completely control the depth of shadows, integrate LED lighting directly into or behind your wall installation. This technique creates a controlled luminous halo, enhances relief, and eliminates parasitic cast shadows.
Allow an extra 2 to 4 cm of projection for a recessed LED lighting system within the frame. The investment (150 to 400 euros depending on size) radically transforms the visual presence of your installation.

The most costly depth errors observed in agencies
After a hundred interventions in professional spaces, I notice that the same depth calculation errors repeat. Here's the top 5 and how to avoid them.
Error No. 1: Neglecting the swing arc of a door
A magnificent installation placed on the wall adjacent to a door opens? Measure the swing clearance of the open door at 90°. I saw a bureau door daily hitting a 1,200 euro relief artwork, creating progressive damage over six months before the problem was realized.
Error No. 2: Forgetting about mobile furniture
Armchairs that are moved back, display stands that are relocated, maintenance ladders: all these temporary but recurring elements require space. In an agency, always allow 20 cm more than the strict minimum calculated.
Error No. 3: Underestimating the visual crushing effect
In a space less than 3 meters deep overall, an imposing wall installation (more than 150 cm wide) creates a feeling of oppression, even if the technical calculations are respected. In this case, prefer several smaller elements rather than a monumental piece.
Error No. 4: Ignoring the mounting height
An installation placed too low (below 160 cm from the floor) requires an increased safety zone, as it is in the axis of natural arm and carried object movement. Above 180 cm, you can reduce this area by 30%.
Error #5: Neglecting maintenance and dusting
Your relief installation is accumulating dust. Can you easily access it for maintenance without moving heavy furniture? Plan for comfortable access, especially for large installations requiring a ladder.
Transform your walls into ambassadors of your excellence
Discover our exclusive collection of wall art for real estate agencies that combines refined aesthetics and optimized depth for all professional spaces.
Your 6-step action plan to calculate correctly
You are now armed to precisely determine the required field of view in your agency. Here is the complete method to apply starting today.
Step 1: Measure your available space
With a meter, measure the distance between the wall where you want to install your decorative element and the opposite obstacle (wall, desk, bench). Also note the total width and ceiling height available.
Step 2: Identify regulatory constraints
Check your agency's ERP classification and passage width requirements. Consult your latest safety commission report or contact your city hall. Subtract mandatory minimum widths from your available space.
Step 3: Determine the maximum allowable projection
From your available space, subtract the safety zone (20 cm in normal traffic) and the desired visual setback distance. The result corresponds to the maximum projection of your installation.
Step 4: Evaluate existing lighting
Observe the shadows created by current objects on this wall during peak hours. Photograph them for reference. If the shadows are too marked, plan to adjust the lighting or choose an installation with integrated LED.
Step 5: Test with a prototype
Before any purchase, create a cardboard mockup of the exact dimensions of your planned installation. Fix it temporarily and live with it for a week. You will immediately detect problems with traffic flow, visual obstruction or integration.
Step 6: Document for future installations
Create a simple document listing the wall locations in your agency with their depth constraints. This reference will save you valuable time on your next decorative projects and avoid costly errors.
Imagine now your agency transformed: this once bare wall welcomes a wall installation that instantly captures the attention of your visitors, without ever hindering circulation. Your clients spontaneously photograph this space which has become a visual signature of your professionalism. Your employees naturally evolve in an environment where every detail has been considered. This transformation begins with a precise calculation, but leads to a memorable experience that distinguishes your agency from all others.
Depth of field is not a technical constraint, it's the tool that reveals the potential of your spaces. Take your measuring tape this week, apply the method, and offer your walls the third dimension they deserve.
FAQ: Your questions about the depth of wall installations
What is the minimum acceptable depth for a relief wall installation in a small space?
In restricted spaces such as small agencies or individual offices, aim for a maximum projection of 3 to 5 cm. Favor framed paintings with thin frames or semi-flat installations that create relief through texture rather than thickness. The professional trick is to compensate for the shallow physical depth with peripheral LED lighting that creates visual depth without clutter. With this approach, even a 120 cm wide corridor can accommodate a beautiful installation without compromising circulation. The essential thing is to maintain at least 100 cm of free passage after installation to respect the comfort of movement, even if PMR regulations do not apply to your specific space.
How do I calculate the necessary depth if I install multiple elements in relief on the same wall?
For a multiple composition, first calculate the necessary depth for the most projecting element, as this will determine your safety zone. Then, check that the visual setback distance allows you to embrace the entire composition with a single glance. The rule of thumb: measure the total diagonal of your composition (from the upper left corner to the lower right corner of the last element) and multiply by 1.5 to obtain the ideal setback distance. For example, if you install three paintings measuring 60 cm on a total length of 250 cm, your diagonal reaches approximately 260 cm, requiring an optimal setback of 390 cm. In constrained spaces, accept a minimum of 250 cm. The advantage of a multiple composition: you can play with different depths to create a dynamic relief effect without increasing the maximum projection.
Should I apply the same depth calculations for an installation behind a reception desk?
No, the logic changes radically for installations behind a reception desk. The public-facing security zone becomes almost non-existent since no one circulates behind the counter. You can therefore opt for much more protruding installations, up to 20-30 cm without any problem. However, meticulously calculate the setback distance from the standard visitor position facing the counter, generally 80-100 cm from the edge. If your counter is 70 cm deep and the wall is located 20 cm behind, the visitor is 90 cm from the wall. For a 150 cm wide installation, the ideal setback distance would be 225 cm, but you only have 90. Solution: choose a panoramic installation (wider than high) that the visitor naturally discovers by scanning with their eyes, or create an immersive effect that works even in close-up vision. Stabilized living walls and abstract textures work wonderfully under these conditions.