

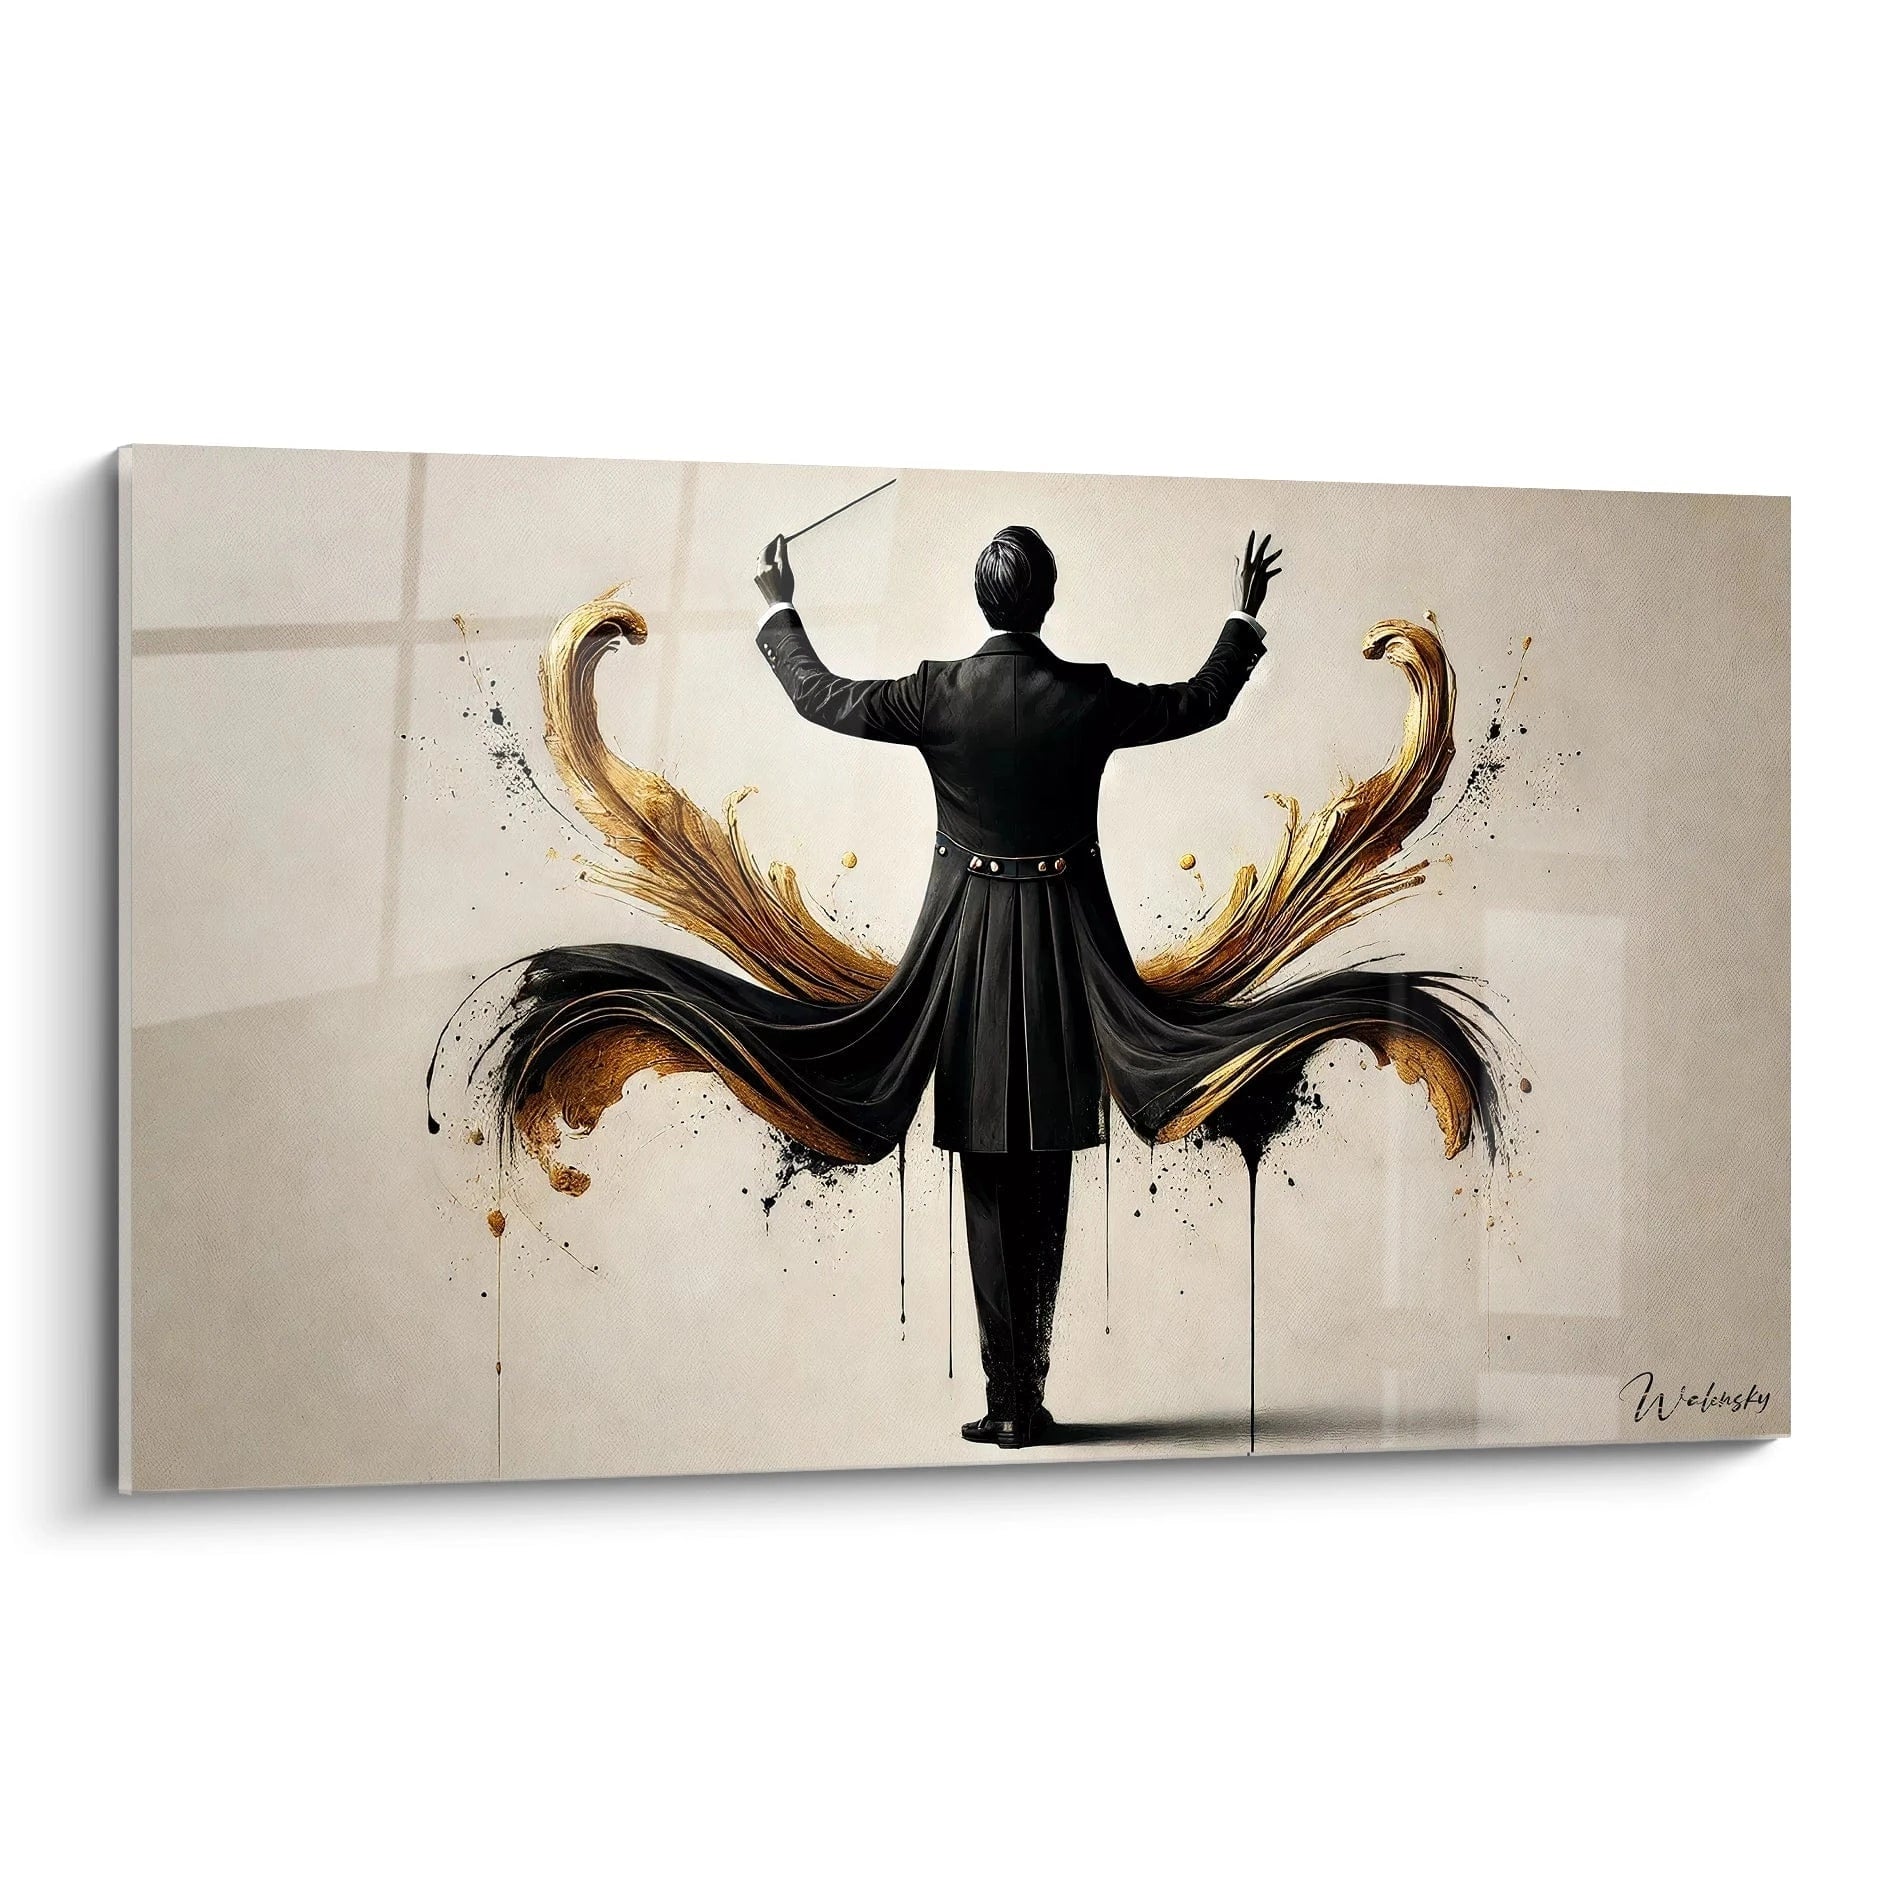






Should you avoid hanging a painting above a radiator?
October 11, 2025 · 15 min read · by Walensky
You’ve just found the perfect spot for your new artwork: that wall above the radiator which seems so obvious, so natural. But a little voice whispers to you that it might be a mistake...
You already imagine the striking visual effect: this work of art that captures the eye as soon as you enter the room. Then comes the doubt. What if the heat damaged the canvas? What if humidity warped the frame? What if you discovered in a few months that your precious artwork had deteriorated?
You may have already consulted forums, asked friends for advice, read contradictory articles. Some say "never above a radiator", others "it depends". This cacophony of advice leaves you more perplexed than before.
The truth? These generic recommendations ignore the specifics of your situation: the type of radiator, the quality of your artwork, your heating system, the orientation of the room. It's normal to be confused when applying universal rules to particular cases.
By the end of this article, you will know exactly whether YOUR artwork can join this location, and above all how to protect it so that it lasts through the years without losing its luster.
Why does this question divide so many art lovers?
The fear of the irreparable paralyzes many artwork owners. They imagine their artistic investment going up in smoke - literally. Yet, waiting for the "right moment" or the “perfect solution” can make you miss out on years of visual pleasure in your interior. It's like refusing to drive a beautiful car for fear of damaging it: you miss out on the essential.
🏡 Customer testimonial: "I kept my masterpiece in a closet for 3 years, terrified of hanging it above the living room radiator. When I finally dared with the right precautions, I realized that I had deprived my family and myself of this daily beauty for nothing.”
Conversation with a decor expert
The modern golden rule: distance + airflow = optimal protection: Like a good barbecue where the meat cooks without burning thanks to the right distance from the embers, your artwork can coexist harmoniously with heat with a few simple precautions. Observable result in a few weeks: perfect stability.

Understand what's really happening behind your wall
You may have noticed these three signs: slight discoloration of the wall above the radiator, a persistent feeling of heat even with the radiator off, or this dust that accumulates faster in this area. You might think that's proof that an artwork has nothing to do there.
In reality, these phenomena simply reveal the normal behavior of hot air which rises. The problem is not the heat itself, but how we tame it. It’s exactly like cooking: fire is not the chef's enemy, it's their best ally if they master distances and times.
Imagine your wall as a thermal highway: hot air rises creating an upward current. A poorly positioned artwork is like an obstacle on this highway - it will experience all the “traffic jams” of heat.
The real cause of damage: the stagnation effect
Contrary to what we imagine, it's not the direct heat that damages artworks, but stagnant hot air which accumulates behind the canvas. When the air doesn’t circulate, the temperature rises in steps and creates unfavorable conditions.
It’s exactly like leaving a laptop on a bed: it's not the activity of the computer that makes it heat up dangerously, but the lack of ventilation which prevents the normal evacuation of heat.
This discovery changes everything in your approach: instead of fleeing from heat, you will learn to organize its circulation. Result: your artwork remains stable and your room retains its ideal aesthetics.
🔍 Immediate test: Place your hand 15 cm from the wall above your turned-on radiator. You will feel a warm air current, not a furnace! This is proof that the area is livable for an artwork properly installed.
Many think that "heat = absolute dryness". In reality, hot air carries more moisture than cold air. When this humid air meets a colder surface (like the back of an artwork), it can deposit this humidity.
It’s the same mechanism as fogging on a bathroom mirror: no problem as long as the air circulates, but critical if the air stagnates in a corner.
Understanding this mechanism allows you to anticipate: by creating a micro-air circulation behind your artwork, you eliminate this risk while maintaining the ideal decorative placement.
The little-known influence of modern insulation
In recent homes, high-performance insulation creates "buffer" walls that absorb and gradually release heat. This invisible phenomenon completely transforms thermal conditions.
You can easily check this: touch your wall at different times of the day. If it remains warm even when the radiator has been off for hours, you have favorable thermal inertia that naturally protects your artwork from temperature shocks.
This natural stability explains why rules of the past no longer apply: your modern environment offers conditions that our grandparents could not have imagined.
3 signs that your wall is "artwork-compatible":
- Progressive warmth: The wall warms up slowly and evenly - a sign of good thermal regulation Absence of hot spots: No localized very hot points - proof that heat diffuses well Natural air circulation: You feel a slight movement of air even with windows closed - guarantee of moisture evacuation
The difference between success and failure often lies in an invisible technical detail: the mounting of the artwork. An installation that presses the canvas against the wall creates a fatal "stagnation chamber". An installation that allows for air circulation transforms your radiator into a preservation ally. It's the domino effect in decoration: a centimeter difference can determine years of visual pleasure without worry.
The 3C rule: Circulation, Control, Confidence: An artwork survives above a radiator if air circulates freely, if you control the temperature and if you trust modern techniques. Immediate verification: slide a sheet of paper behind your future location - it should "float" slightly.
| ❌ Common belief | ✅ Modern reality | 💡 Simple explanation | 🎯 Practical benefit |
|---|---|---|---|
| Heat immediately destroys colors | Only excessive and stagnant heat is a problemModern pigments resist 40-50°C without problemsYou can use 90% of "forbidden" locations|||
| Humidity will create mold | Moving air naturally evacuates moistureLike drying laundry: circulation = evaporationNo more unjustified fear of "risky" walls|||
| You need a cold wall to preserve art | A stable, temperate wall is idealBrutal variations are more dangerous than warmthTotal freedom of wall decoration|||
| Modern radiators heat like the old ones | They operate at controlled low temperaturesRegulation technology vs. "on-off" heatingReconciliation between comfort and aesthetics |

The 3-Step Method for Risk-Free Hanging
You now have the keys to understand your specific situation. Now, let's take action with a progressive method that will lead you from doubt to total confidence. Imagine building a house: we start with solid foundations (assessment), then build the walls (preparation), and finally do the finishing decoration (installation). At each step, you gain confidence and expertise.
🎯 Overview of your transformation: In 3 logical steps - Safety Assessment, Space Preparation, Professional Installation - you will move from hesitation to the pride of a perfect hanging. Each step brings you a specific skill and a sense of concrete accomplishment.
Step 1: Diagnosing Your Environment
This first step is your decorative life insurance. Like a doctor who examines before prescribing, you will understand the specifics of your space. Once completed, you will have this quiet confidence that comes from knowledge: you will know exactly what you are dealing with.
Simple Diagnostic Tools
- Infrared thermometer (or smartphone app): This tool looks like a miniature gun and instantly displays the surface temperature. It reveals invisible hot zones that your hand does not detect. Available in hardware stores for 15-20 €, choose a model with a clear digital display. Avoid mercury thermometers: too slow and inaccurate for this application.
- Metal tape measure: The rigid metal allows you to measure accurately even in difficult corners. It automatically calculates safety distances without approximation. Quality criterion: readable graduation up to the millimeter. Direct impact: perfect installation from the first try.
- Digital humidity detector: This electronic probe indicates the humidity level in the air and materials. Recognizable by its two metal probes, it gives you objective certainty that your wall is healthy. Choose a model with sound alarm for more simplicity.
Now, let's get to methodical practice
Professional Measurement Protocol
Thermal mapping of your wall: Turn on the radiator at normal power for 2 hours, then measure the temperature every 10 cm on an imaginary grid above. This method reveals invisible convection currents that determine favorable zones. Note each measurement on a simple diagram.
⏱️ Time: 20 minutes | ✅ Success when: You have identified the zone where the temperature remains below 35°C | ⚠️ Attention: Do not measure immediately after turning it on - the temperature takes time to stabilize
Air circulation test: Place a thin sheet of paper at different heights along the wall. Observe if it moves naturally - this is proof of active ventilation. Mark the areas of optimal circulation.
⏱️ Time: 10 minutes | ✅ Successful when: The sheet oscillates slightly 15-25 cm from the wall | ⚠️ Caution: Avoid drafts from windows that skew the test
Ambient humidity assessment: Measure the humidity level at different times (morning, noon, evening) over 3 days. This consistency reveals the stability of your environment - a guarantee of longevity for your artwork.
⏱️ Time: 5 minutes per day for 3 days | ✅ Successful when: Variations remain below 10% | ⚠️ Caution: Avoid measuring during cleaning or cooking
✓ Compatibility validation: Your space is validated if the surface temperature remains below 40°C, air circulates naturally, and humidity varies little. If in doubt about a measurement, repeat it the next day - regularity counts more than perfection. You are now ready for optimization!
— Our selection


OUR RECOMMENDED PRODUCTS
Step 2: Preparing for Optimal Installation
Here you are at the next level: transforming collected data into a concrete, personalized solution. This step is more rewarding because you see your project take shape. The snowball effect begins: each adjustment makes the installation safer and more aesthetically pleasing.
Specialized Preparation Materials
- Adjustable Spacers: These small plastic or metal pieces attach to the back of the frame and create a calibrated ventilation space. Sold in kits of different thicknesses (5-25mm), they adapt to all artworks. Prefer metal for durability. Visible impact: perfect air circulation and thermal stability.
- Heat-Resistant Wall Fixings: Unlike standard wall plugs, these resist thermal expansion without deforming. Recognizable by their anti-corrosion coating, they guarantee a stable fixing year after year. Criterion: certified resistance of at least 60°C.
- Flexible Sealing Strip: This transparent adhesive tape is discreetly glued to the back of the frame to channel airflow. It transforms turbulence into a protective laminar flow.
Wall Space Optimization
Safety zone marking: Transfer your thermal measurements to the wall with a light pencil. Precisely define the optimal area where temperature and circulation are ideal. This visualization avoids improvisation errors.
⏱️ Time: 15 minutes | ✅ Success when: The safety rectangle is clearly traced | ⚠️ Attention: Allow an extra 5 cm of safety margin
Fixing system preparation: Install the spacer wedges on the frame, respecting the weight distribution (one wedge every 40 cm minimum). Test stability by gently lifting the artwork - it should not tilt.
⏱️ Time: 25 minutes | ✅ Success when: The artwork remains perfectly straight when you hold it | ⚠️ Attention: Tighten gradually to avoid damaging the frame
You have now reached expert level: definitive installation with the precision of a professional. The difference between amateur and connoisseur lies here in the details that only experts notice. You can visualize and be proud of the flawless final result that will impress your guests.
Professional Final Installation
Precision drilling: Drill at the marked points using the pre-drilling technique (pilot drill then definitive drill) to avoid chipping. Immediately vacuum up dust to keep a clean environment.
⏱️ Time: 15 minutes | ✅ Success when: The holes are clean and the right size | ⚠️ Attention: Turn off electricity if you approach wiring areas
Hanging and final adjustment: Hang the artwork and check perfect horizontality with a level. Adjust the height so that the center of the work is at eye level (1.60m from the floor). Check the rear spacing one last time.
⏱️ Time: 10 minutes | ✅ Success when: The artwork is straight and at the right height | ⚠️ Attention: Never force it - a well-hung artwork positions itself naturally
Progression rule: "Measure twice, install once" : You can move on to the next step when your measurements are consistent and each gesture seems natural to you. Expertise is born from patience and precision, not haste.
You now master the fundamentals of thermal hanging. The following subtleties will give you that distinct advantage that makes the difference between a standard installation and an expert installation.
💎 Curator's secret: Professionals use the "thermal gradient technique": they deliberately position the artwork in a transition zone between hot air and ambient air. This position exploits natural circulation to create a protective microclimate - more effective than a "cold" location where air stagnates.
Concerned reader's question
"What if my antique artwork already has some cracks? Does that change anything?"
I perfectly understand this concern - an already fragile artwork does indeed require more precautions. The good news: existing micro-cracks only worsen under brutal thermal stress, not under gentle and stable heat. Start with a 48h test while monitoring the evolution, then gradually increase. Your vigilance preserves authenticity while allowing enhancement.
🛡️ Enhanced protection protocol: Photograph existing cracks in good lighting before installation. You will thus have an objective reference to detect any changes and adapt your installation if necessary.
— You may also like


The 5 mistakes that can ruin everything (and how to avoid them)
After supporting hundreds of installations, I see the same mistakes recurring even among the most cautious. These traps are tempting because they seem logical, but they subtly sabotage your project. Let's anticipate them together to spare you these disappointments.
- 🚫 Sticking the artwork directly to the wall "for more stability": This security logic is actually the most dangerous trap. Without air circulation, you create a fatal stagnation chamber. Always ensure at least 1.5 cm of rear space. It's a comprehensible mistake: we want to protect but expose even more.
- 🚫 Installing in winter "to test the worst": Intense winter heating only represents 20% of the year and distorts your evaluation. Consequence: over-dimension protection and waste aesthetics. Better: test in mid-season with moderate heating to have a realistic vision.
- 🚫 Choosing the highest location "to avoid heat": Higher = closer to the ceiling = hotter air! You are heading straight for the most critical zone. The error comes from this belief: "the higher, the safer". Reality: the optimal area is between 1.40m and 1.80m from the floor.
- 🚫 Using standard fixings "it will be fine": Classic wall plugs soften with heat and gradually loosen - guaranteed disaster. It's tempting to reuse what you have on hand, but the €10 saving can cost hundreds. Invest in certified heat-resistant fixings.
- 🚫 Ignore radiator settings "it works fine": A poorly calibrated thermostat creates brutal variations that even the best installation cannot compensate for. Symptom: the room quickly goes from cold to overheated. Have it adjusted by a professional - this is the invisible foundation of your success.
🔍 Preventative monitoring system: Check once a month: stable temperature below 35°C, rear space clear, fixings tight, no traces of moisture on the frame. Alarm signals: smell of heat, visible condensation, sound of expansion, sagging of the artwork.
— In the same vein


Your practical questions about hanging above a radiator
Allow 3 weeks of active monitoring then 2 months of relaxed observation. The first week reveals fixing problems, the following confirm thermal stability. To optimize: photograph your artwork each week under the same lighting - you will detect any change. Reassuring example: 95% of well-prepared installations show no evolution after 1 month.
Between 25€ and 80€ depending on the size of your artwork: heat-resistant fixings (15-25€), spacer blocks (5-15€), measuring tools (20-40€ if you don't have them). To optimize: group your purchases in a hardware store during promotions. Investment worth it from the first protected artwork - and reusable for all your future hangings.
You can do it yourself with the right instructions! The technical difficulty remains that of a classic hanging - it's the preparation that changes. Only exception: very valuable artwork (>2000€) or exposed electrical installation. Indicator of success: if you know how to use a drill and read a thermometer, you have all the necessary skills.
90% of modern paintings fit perfectly, including canvas prints and acrylics. Restrictions: unprotected watercolors, unfixed pastels, very old oil on wood. Simple test: if your painting can withstand a summer car transport, it will handle heated wall installation. Glass-framed works are even more protected than bare canvases.
Your new decorative freedom begins now
In a few weeks, you will look at your painting perfectly integrated above that radiator with the satisfaction of a job well done. Your guests will notice this natural harmony between function and aesthetics - this elegance that characterizes thoughtful interiors. Never again will you suffer from "forbidden" walls that limit your decor desires.
This technical mastery goes beyond simply hanging: you have developed an expert eye for analyzing spaces, anticipating constraints, and transforming obstacles into opportunities. These skills will serve you for all your future development projects - you now approach every decor challenge with confidence and method.
The hardest part is behind you: understanding the mechanisms was the crucial step. Now, take out your measuring tape and thermometer - your first diagnosis will take less than 30 minutes. As early as tonight, you'll know if your dream location can accommodate your favorite artwork!
Your transformation begins with a simple gesture: Measure the temperature of your wall right now - you will discover that your "problem" is actually a perfectly manageable opportunity. The most beautiful journeys begin with a first step!

Explore our collections


