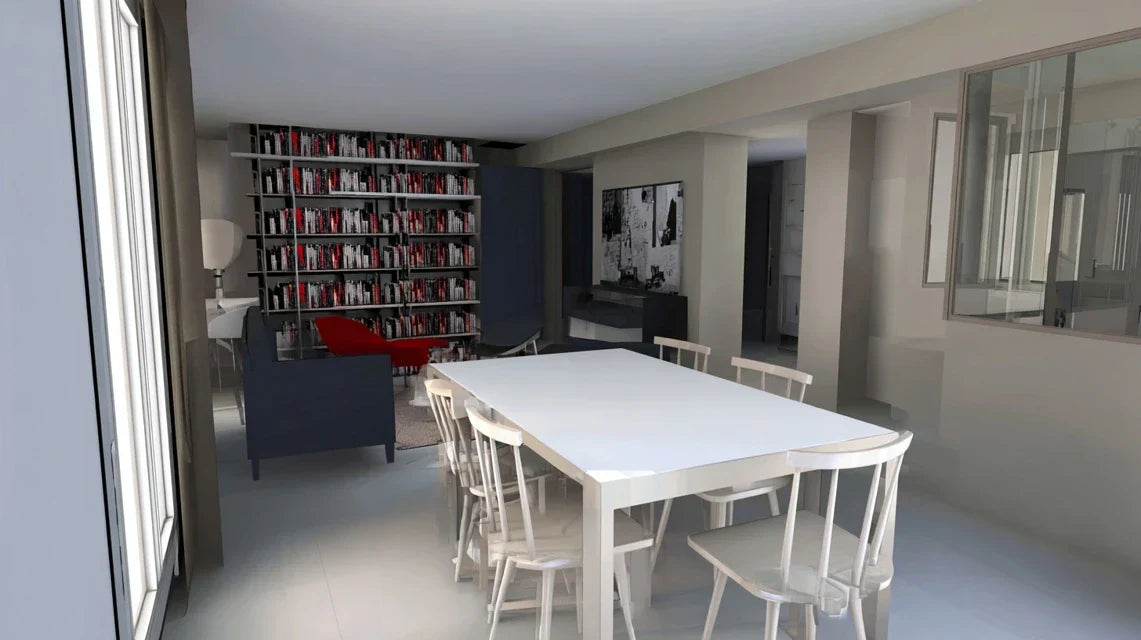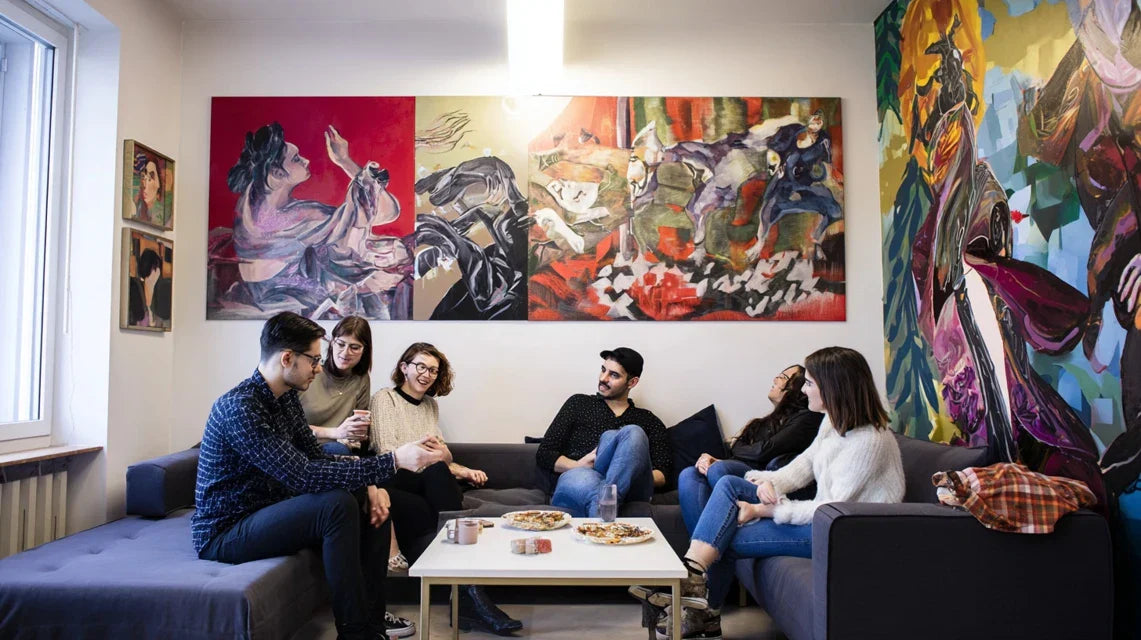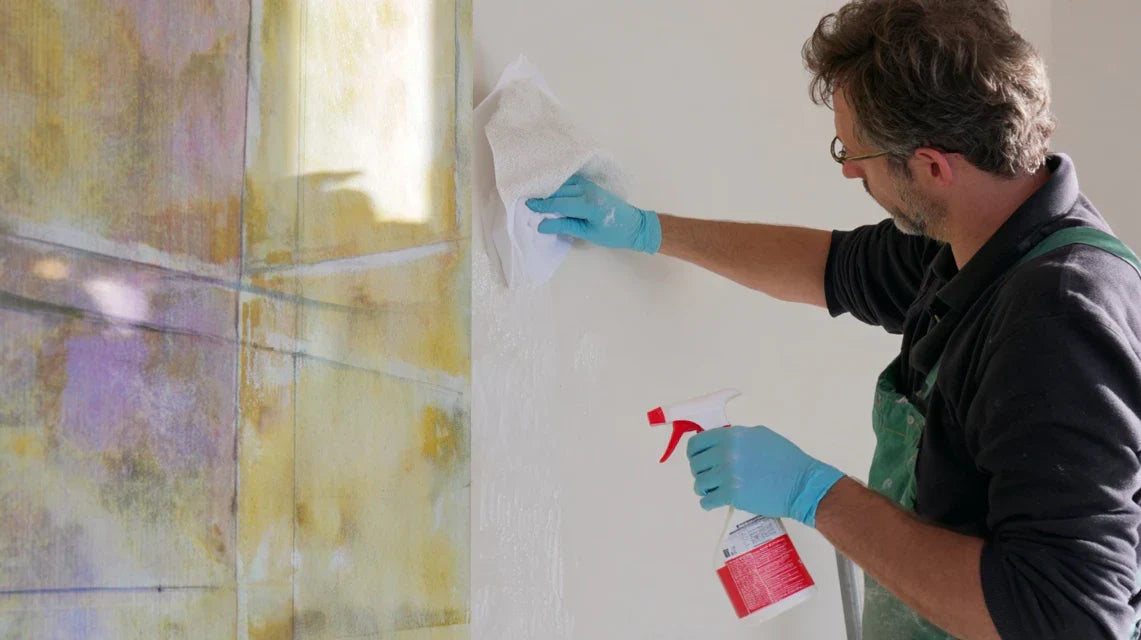
You stand there, in your still impersonal living room, contemplating those desperately empty white walls, wondering how to create a warm atmosphere without taking risks. You know this frustration of not being able to truly personalize your living space well.
You may have already tried the adventure with removable adhesives that left traces, or lightweight pictures that ended up falling off. These failures discouraged you and reinforced this fear of making the wrong choice.
The truth is, it’s absolutely not your fault. The problem doesn't come from a lack of knowledge in decoration, but from the fact that no one has explained to you the real rules of the game for choosing and maintaining artwork in a rented apartment.
By the end of this article, you will know exactly how to select, install and maintain durable artworks that will enhance your interior without compromising your security deposit or creating conflict with your landlord.
Why robust wall art has become essential in 2025?
With the rise in real estate prices and the lengthening of the average rental duration (now 4.2 years according to the latest studies), investing in durable pieces is no longer a luxury but a necessity. Imagine: keeping the same apartment for years with sadly bare walls because you're afraid to invest in art. It’s like always wearing the same neutral clothes out of fear of making a mistake - you miss out on your personal fulfillment.
🏠 Real testimonial: Sarah, 29 years old, lived for 3 years in a Parisian T2 without ever daring to hang anything. "I realized that I had spent a thousand days in an environment that didn't look like me, simply out of fear of losing €200 deposit. Today, with my thick canvas paintings and adapted hanging systems, my landlord even asked me where I found them!"
💬 Conversation with a decor expert
The modern golden rule: A well-decorated rental property with durable and easily removable pieces will allow you to create a true personalized cocoon while maintaining excellent relationships with your landlord - and all in less than a weekend of installation.
What really happens when your wall art disappoints you?
Do you recognize these situations? Your framed poster warps in the bathroom after a few months of humidity. Your cheap canvas fades near the living room window. Your frame mysteriously falls off one night and wakes you up with a start. These "small problems" accumulate and completely spoil your enjoyment of your decor.
In reality, the problem isn't your bad luck but the fact that 80% of wall decorations sold today are designed for temporary spaces or very tight budgets. They simply aren’t meant to last in a real living space.
It's like buying city shoes for hiking: it might work for a few hours, but over time, you're headed for disappointment.
The real reason for disappointments: the confusion between "cheap" and "economical"
Contrary to what one might think, the initial purchase price is not an indicator of profitability. A painting at €30 that degrades in 6 months will cost you more than a work at €150 that lasts throughout your entire rental period without flinching.
Imagine buying a paper umbrella because it costs €3. After two showers, it's good for the trash and you have to buy another one. Ultimately, your "economical" umbrella costs you more than a solid model at €20 that will last for years.
This logic applies perfectly to wall art: choosing according to durability rather than initial price completely transforms your relationship with decoration and your long-term budget.
🔍 Quick test: Look at the back of your current paintings. If you see corrugated cardboard, thin plastic or rusty staples, you now know why they don't age well. A quality support is recognized by its rigidity and careful finishes even where it isn’t visible.
Humidity: the silent enemy of your walls
Many people think that humidity only affects bathrooms and kitchens. In reality, moisture circulates throughout the apartment and gradually attacks the most fragile materials: thin papers, cheap glues, low-quality varnishes.
It's exactly like the food in your fridge: even when packaged, some items last better than others depending on their composition. A painting on a properly prepared and varnished canvas will resist humidity variations just like a good aged cheese resists time.
As a result, you end up with artworks that yellow, warp, or peel off, forcing you to redecorate your space much sooner than expected.
Lighting: more treacherous than it appears
Here's what almost no one notices: even indirect lighting and filtered natural light gradually attack low-quality pigments. You only realize this after several months, when it’s too late.
To spot this phenomenon at home, carefully observe your current paintings: are there slightly paler areas? Colors that seem "dull" compared to your memories? This is a sign of gradual degradation due to unsuitable materials.
This silent wear and tear forces you to replace your decorations more often, increasing your budget and creating constant frustration from never having a truly stable interior.
3 warning signs to watch out for:
- Morning warping: Your painting slightly "waves" in the morning but becomes flat during the day - this indicates a support that reacts too much to nighttime humidity variations
- Dust that sticks: If dust gets embedded in the surface instead of wiping off with a cloth, the varnish or protection is faulty
- Progressive sagging: Your frame leans slightly after a few weeks when it was perfectly straight - the hanging system isn't suitable for the actual weight
The trigger factor: your home’s adaptation period
Here's the detail that no one tells you: every home has its own constraints (exposure, heating, ventilation) and your first months are crucial to understand these specifics. It's like taming a new garden - you must observe before planting. If you choose adaptable and robust artworks from the start, they will naturally adapt. If you opt for fragile pieces, disaster is assured.
Rental survival rule: Observe your home for a full month (temperature variations, humidity zones, light quality) before investing in definitive pieces - you will avoid 90% of future disappointments.
| ❌ Usual reflex | ✅ Sustainable approach | 💡 Why this changes everything | 🎯 Concrete benefit |
|---|---|---|---|
| Buying the cheapest possible out of fear of investing | Calculate the cost per year of use | A painting at €100 that lasts 5 years costs €20/year vs €30/year for disposable items | Controlled budget + lasting satisfaction |
| Choosing based on style only | Check compatibility with your home | A style unsuitable for your lighting will quickly dull | Vibrant colors that last |
| Hope "it will hold up" | Plan for maintenance from the time of purchase | Simple but regular maintenance multiplies the lifespan by 3 | Works like new for years |
The 3-step method for perfect walls (even when renting)
Take a deep breath: you are no longer condemned to live between impersonal walls. This progressive method will allow you to transform your space into a true cocoon without stress or financial risk. Think of it as building a house: we start with solid foundations, then build the walls, and finally refine the decoration. At each step, you will see your interior gain personality and refinement.
🎯 Overview of your transformation : Step 1 - Diagnose your accommodation and choose suitable supports (weekend 1). Step 2 - Master secure installation (weekend 2). Step 3 - Set up preventative maintenance (monthly routine). Final result: an interior that reflects you, stable throughout your rental.
Step 1 : Diagnose and choose (the foundations of your success)
This first step is crucial because it determines everything else. It's like choosing the right land before building a house: with good foundations, everything becomes easy. Once this phase is complete, you will feel immense relief because you will know exactly what to buy and where to install it, without ever doubting your choices again.
What you need to diagnose effectively
- A digital hygrometer : This small device (15-20€ in hardware stores) measures ambient humidity and avoids unpleasant surprises. Look for a model displaying temperature AND humidity - avoid mechanical needle versions which are inaccurate. This investment will save you hundreds of euros worth of prematurely damaged paintings.
- A smartphone lux meter : Download a free app to measure brightness. The principle is simple: the more intense the light, the more your colors risk fading quickly. A good lux meter gives you the exact measurement to choose works with the right UV resistance.
- A material detector : This tool detects studs in your walls (essential for secure hanging). Prefer electronic models over magnetic ones - they work on all types of partitions and give you a precise map of your walls.
Now, let's move on to concrete practice
How to perform your diagnosis in a weekend
Map your living space: Measure the humidity in each room at different times (morning, noon, evening) for 3 consecutive days. Also note the brightness of each wall during peak hours. This mapping will reveal you the "gentle" areas (ideal for delicate materials) and the "aggressive" areas (which require very resistant works). It's less tedious than it seems and absolutely decisive for what follows.
⏱️ Time: 15 minutes per day for 3 days | ✅ Success when: You have identified the driest wall (humidity rate < 60%) and the brightest wall in each room | ⚠️ Attention: Never measure immediately after cooking or showering - wait 2h to get representative values
Test wall solidity: Use your detector to locate studs and joists. Tap gently with your fist: a hollow sound indicates a plasterboard partition, a dull sound indicates a concrete or brick partition. This information entirely determines your hanging strategy and the maximum supportable weight.
⏱️ Time: 20 minutes per room | ✅ Success when: You know the nature and thickness of each wall + the location of the studs | ⚠️ Attention: Plasterboard partitions require special anchors - never use "universal" anchors
Calculate your load capacities: According to your findings, establish the maximum weight per hanging point (generally 5kg for plasterboard, 15kg for concrete). This step allows you to pre-select compatible artworks and avoid accidents. It's better to be cautious than to risk a gaping hole in the wall.
⏱️ Time: 10 minutes of calculations | ✅ Success when: You have a precise list "Zone A: max 5kg, Zone B: max 10kg..." | ⚠️ Attention: Always divide by 2 the load announced by the anchor manufacturer to take into account aging
✅ Validation of step 1: You must have a complete "identity card" of your living space with the characteristics of each zone. If some measurements seem aberrant, repeat them at another time - conditions change depending on the weather. Once this solid base is established, you can choose your artworks with confidence!
OUR RECOMMENDED PRODUCTS
Step 2: Secure installation (your skill progression)
Now that you know your playing field perfectly, you will discover the pleasure of professional installation. This step gives you real expertise and total confidence. You'll never stress again hearing a little noise in the night - your paintings will be more stable than the landlord’s furniture! The feeling of satisfaction is immediate and lasting.
Your professional installation kit
- Wall-appropriate anchors: Molly for drywall, expansion anchors for concrete, wood screws for wooden studs. Invest in branded hardware (Fischer, Rawl) - the price difference is ridiculous compared to the safety provided. A quality anchor lasts 10 times longer than a budget model.
- Precision bubble level: Even 2mm of tilt can be seen with the naked eye on a picture. Prefer a minimum 60cm level with three vials - this tool will serve you for all your future renovation projects. The impeccable visual result justifies this investment of 15-25€.
- Drill with variable speed: Essential to adapt the rotation to the material (slow for drywall, fast for concrete). If you don't have one, renting one for a weekend (20-30€) is more cost-effective than buying a low-end model that will disappoint you.
The foolproof installation technique
Preparation of the location: Clean the area, mark the fixing points with pencil (erasable), check measurements three times before drilling. Use a paper template for multi-point hanging pictures. This methodical preparation saves you a lot of time and avoids 99% of placement errors.
⏱️ Time: 10-15 minutes | ✅ Successful when: Your marks are perfectly aligned and distances verified | ⚠️ Attention: Always measure from the same reference point (corner of the room) to avoid accumulation errors
Drilling and fixing: Start with small diameter pilot holes, then gradually enlarge. Insert anchors gently, screw without forcing. A good anchorage is recognized by its immediate firmness - if it still moves, the anchor is not suitable for the support.
⏱️ Time: 5-10 minutes per fixing point | ✅ Successful when: The screw resists manual traction | ⚠️ Attention: If the drywall crumbles during drilling, stop immediately and use a larger anchor
Load test and adjustment: First suspend an object of equivalent weight for 24h before installing your final artwork. Check horizontality, adjust if necessary. This validation step guarantees you a durable result and gives you total confidence in your installation.
⏱️ Time: 5 minutes installation + 24h waiting | ✅ Successful when: No sagging after 24h of testing | ⚠️ Attention: A slight initial sag (1-2mm) is normal and stabilizes - beyond that, reinforce the fixing
Step 3: Preventative maintenance (your longetivity insurance)
This final step puts you among true connoisseurs. You will discover these simple but decisive gestures that ensure your artworks retain their brilliance and solidity for years. It's the difference between someone who "has paintings" and someone who "collects art" - even with a modest budget, your interior will have a professional gallery feel.
Your expert maintenance kit
- Anti-static microfiber cloth : Unlike ordinary cloths, this special fiber doesn't attract dust but vacuums it up. Look for "screen-specific" models - they are perfect for delicate surfaces. A good microfiber cloth preserves your artworks much better than any chemical product. Vacuum cleaner with soft brush attachment : For textured canvases or sculpted frames where dust accumulates. Set to the minimum power to avoid vacuuming up paint particles. This gentle cleaning technique preserves the original texture of the artworks. Silicone-free dusting spray : For hard-to-reach areas. Spray onto the cloth, never directly onto the artwork. Products containing silicone create a greasy film that attracts more dust - avoid absolutely.
Your monthly maintenance routine
General inspection : Check the condition of the fixings (tighten if necessary), the surface condition (stains, discoloration), and the levelness (realign if sagging). This preventative inspection allows you to detect and correct problems before they become visible or irreversible.
⏱️ Time : 2-3 minutes per artwork | ✅ Success when : Everything is stable, clean, and straight | ⚠️ Attention : A sudden discoloration often indicates a humidity problem - check for leaks nearby
Appropriate cleaning : Dusting in gentle circular motions, cleaning frames with a slightly damp cloth, and immediate drying. Treat each material according to its specific properties: waxed wood requires a dry cloth, metal can tolerate some moisture.
⏱️ Time : 5 minutes per artwork | ✅ Success when : No traces of dust or product | ⚠️ Attention : Never clean in direct sunlight - products dry too quickly and leave streaks
Rule of mastered progression : Move on to the next step only when the previous one has become automatic - usually after 2-3 successful repetitions. This patience avoids mistakes and builds true expertise.
Congratulations! You now master the solid foundations of durable wall art. It's time to discover expert tips that make the difference between a "correct" interior and one that truly impresses your guests. These subtle details give you a considerable edge.
🎨 Professional art gallery tip: Create "visual rest areas" between your main artworks by deliberately leaving some spaces empty. This composition technique ensures that each painting attracts more attention and avoids the "overload" effect even with multiple pieces. Empty space then becomes a decorative element in its own right.
🤔 Reader question:
"Can I really trust the wall plugs and fixings? I'm always afraid that everything will fall..."
I perfectly understand this apprehension - we all have stories of shelves falling in the middle of the night! But the reality is that 95% of accidents are due to a poor match between the type of fixing and the support. When you use a quality Molly wall plug with the correct installation technique, it easily supports 25kg - equivalent to three large dictionaries. To reassure yourself completely, always test it with a shopping bag of the same weight for 48 hours before installing your artwork.
💪 Immediate trust test: Install your fixing according to the described method, then hang a bag containing books (known weight) from it for a full week. You will see for yourself the solidity of the system and gain total confidence for the rest.
⚠️ The 5 mistakes that ruin everything (and how to avoid them)
Even with the best intentions, some pitfalls can compromise all your efforts. I prefer to tell you about them now to avoid disappointments - these errors are very common but fortunately easy to circumvent when you know them.
- 🚫 Drilling "blindly" without checking what's behind: It's tempting to rush when you're motivated, but you risk hitting a pipe or an electrical cable. The consequence? Expensive and potentially dangerous repairs. Always use your detector before the first drill - this €20 tool saves you thousands of euros in damage.
- 🚫 Choosing the location based on aesthetics only: A wall perfectly illuminated for a photo is not necessarily ideal for durability. Direct sunlight from 2pm-4pm can fade even the best artworks. Prioritize a location with constant indirect light rather than a perfect spotlight 2 hours per day but aggressive the rest of the time.
- 🚫 Underestimating the "domino" effect of humidity: An artwork that bulges slightly can destabilize its hanging and lead to it falling. What starts with a small aesthetic defect ends in an accident. Immediately replace any piece showing signs of deformation - it's a safety investment. 🚫 Clean with the same products as your furniture: Multi-surface sprays often contain chemical agents that attack artistic varnishes. You don't see anything at first, then suddenly the artwork tarnishes permanently. Use only distilled water and microfiber cloths for regular cleaning.
- 🚫 Postpone maintenance "when I have time": Dust and micro-dirt accumulate gradually and become impossible to remove after a few months. A neglected work loses 50% of its visual impact in 6 months. Better 5 minutes per month than 2 hours of intensive restoration that often damages more than it repairs.
🛡️ Your early warning system: Check each month: fixings stable to the touch, surface without embedded dust, vibrant colors, no visible deformation. If any of these points are a problem, act within the week - the longer you wait, the more complex and costly the solution becomes.
🎁 Special offer for readers
Because you took the time to inform yourself, enjoy 10% discount on your first order:
⏰ Valid 72h after reading • Applicable to all our products
❓ Your most frequently asked questions
For a standard T3, count between 300-500€ of initial investment (3-4 main works + installation material + maintenance kit) spread over 2-3 months. This is the equivalent of 15€/month for 2 years - cheaper than a streaming subscription! To optimize: start with a main room, then gradually extend. The satisfaction effect is immediate even with a single beautiful piece well placed.
Complete installation of a work: 45 minutes the first time, 20 minutes when you master it. Monthly maintenance: 5 minutes per painting. Over a year, you invest less time than washing your car 3 times! The secret: prepare all your material in advance and group operations - you save 50% of time.
Absolutely! The method requires no prior technical skills - just meticulousness. 90% of our customers are "complete beginners" who perfectly master after their first installation. The stress-free trick: practice first on a garage or basement wall with a test work. Once confidence is acquired, the "real" wall becomes child's play.
Proactive communication is your best protection. Show them your professional materials and explain your method - 95% of landlords appreciate careful tenants who value the property. In case of departure, tiny holes are perfectly filled with joint compound (2€ a tube). Keep "before/after patching" photos as proof of impeccable restoration.
Check 3 key points: rigid support (wood, canvas stretched on frame), visible protective finish (varnish, resin), stainless metal rear fixings. Absolutely avoid: cardboard, flexible plastic, exposed staples. Simple rule: if the back of the artwork is as well-cared for as the front, that's a good sign. Serious manufacturers never neglect invisible details.