


The optimal height for hanging a painting is a detail often overlooked that can radically transform the visual impact of a work and the comfort of your living space.When it comes to hanging a heavy picture, this question becomes even more crucial as it involves not only aesthetic considerations but also safety and functionality. In this article, we will explore all aspects of ideal vertical positioning for your wall art, guiding you step by step towards the perfect mounting level to enhance your interior.
Understanding the importance of standard hanging height
The hanging height of a painting is not simply a matter of personal preference, but responds to principles of visual ergonomics established by museum professionals and interior decorators. An appropriate height allows you to fully appreciate the work while creating a visual harmony in your space, particularly in the living room where paintings often become focal points.
- A position that is too high can create a feeling of imbalance in the room
- Hanging too low can make the artwork difficult to appreciate and expose it to risks of damage
- The standard height directly influences our perception of the work and its integration into the space
- For heavy paintings, the height must also take into account the technical constraints of fixing
Fundamental museum rule: In museums and art galleries, the center of paintings is generally placed at eye level, or about 1.50 to 1.60 meters from the floor, to offer an optimal visual experience for most visitors.
Criteria for choosing the optimal hanging height
The eye-level rule: basis of visual ergonomics
To determine the optimal hanging height of a heavy painting, start by applying the fundamental rule of professionals: the center of the work should ideally be at eye level of an average-height person, or about 1.57 m from the floor. This standard height for a painting in the living room allows natural contemplation without straining your neck up or down, creating optimal visual comfort for residents and guests.
Interior designer tip: For a room where people are mainly seated (such as a living room), you can lower the center of the work slightly to about 1.40 m from the floor to take into account the seated position of observers.
Adaptation to the size and weight of the painting
Large and particularly heavy paintings require a different approach. For these imposing works, it is recommended that the upper third of the work be at eye level rather than its center. This adaptation of vertical positioning allows for better appreciation of monumental artworks while ensuring a more stable fixing for heavy wall frames.
The configuration of the space and furniture
The hanging height should take into account the immediate environment of the artwork. For example, when a work is placed above a piece of furniture such as a sofa or console table, it is recommended to leave a space of 15 to 20 cm between the furniture and the bottom of the frame to create a harmonious visual transition while maintaining a secure fixing level for the wall art.
The technical considerations for heavy artworks
Beyond aesthetics, fixing a heavy artwork involves crucial technical considerations. The fixing system must be adapted to the weight of the work and the type of wall, which can sometimes slightly influence the hanging height. It is essential to find the right balance between the ideal positioning for visual ergonomics and the technical safety requirements.
| Type of space | Recommended height (center) | Adjustment for heavy artworks | Special consideration |
|---|---|---|---|
| Living room (standing position) | 1.57 m from the floor | 1.50-1.55 m from the floor | Check for wall studs | Living room (sitting position) | 1.40 m from the floor | 1.35-1.45 m from the floor | Possible reinforcement needed | Above a piece of furniture | 15-20 cm above + center at 1.50 m | Double fixing system recommended | Specific anchors required | Large artworks | Upper third at eye level | Weight distribution over multiple fixings | Distribute anchor points |

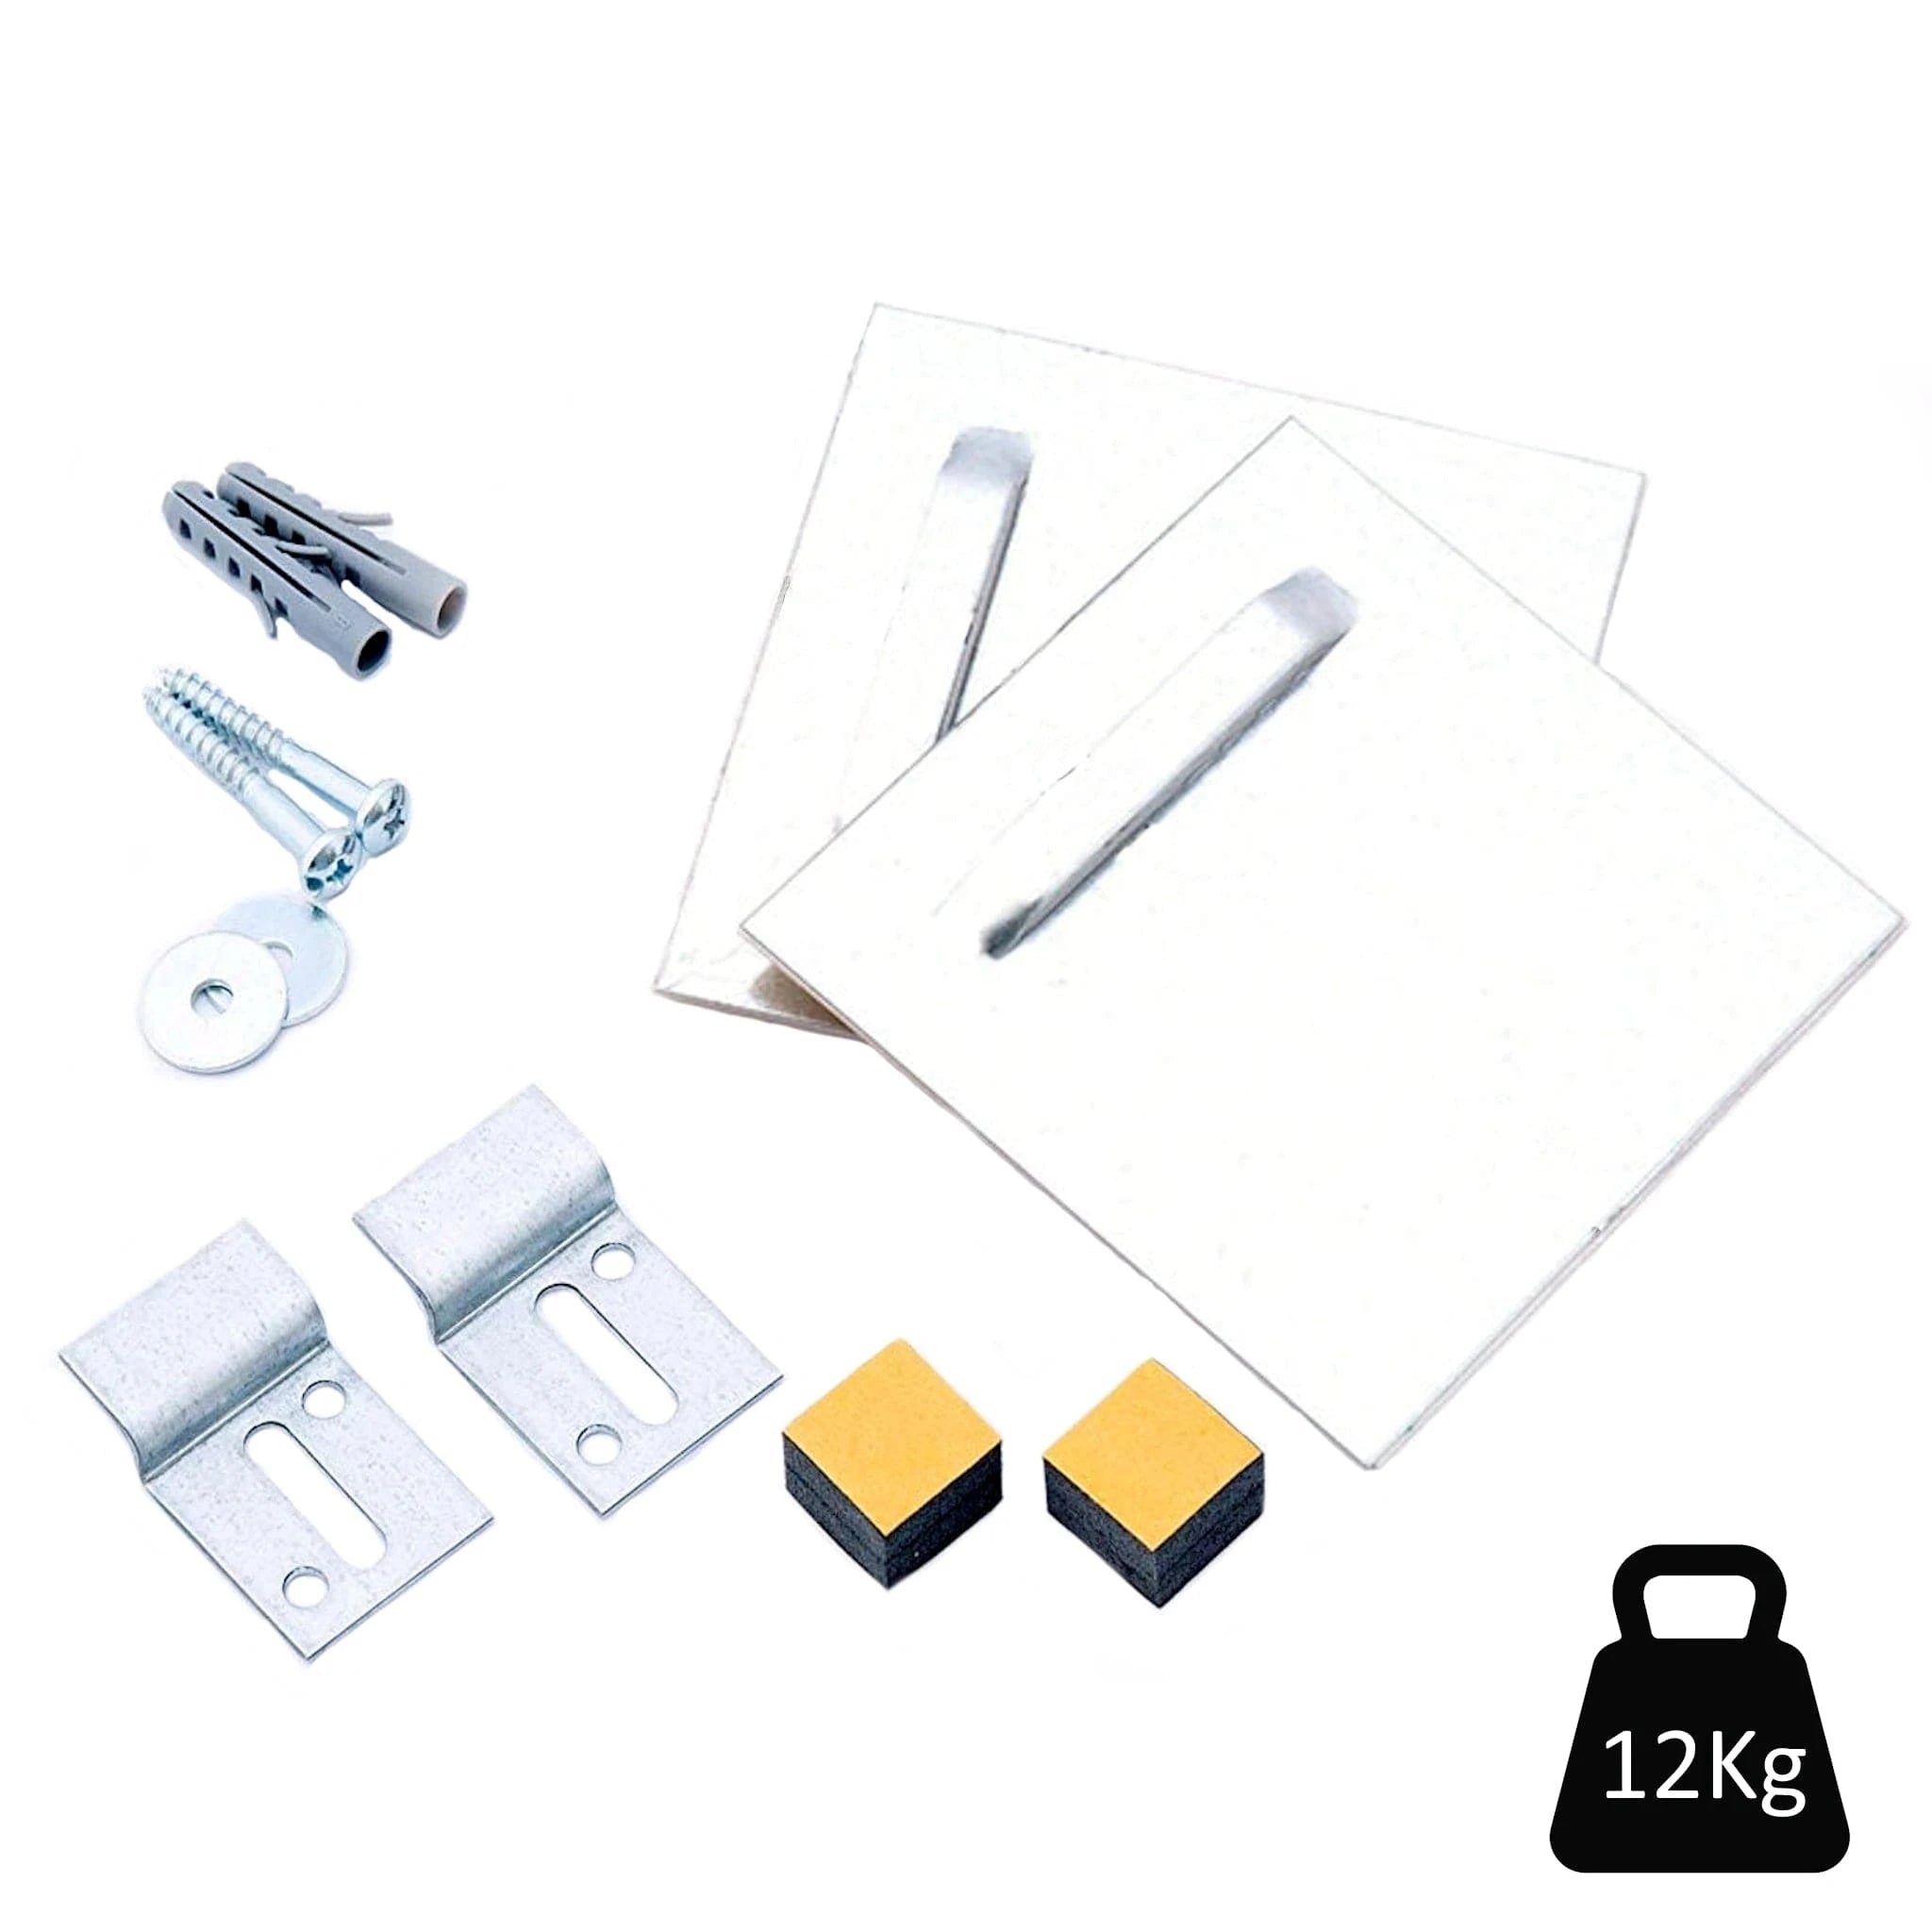
39.99 €
|
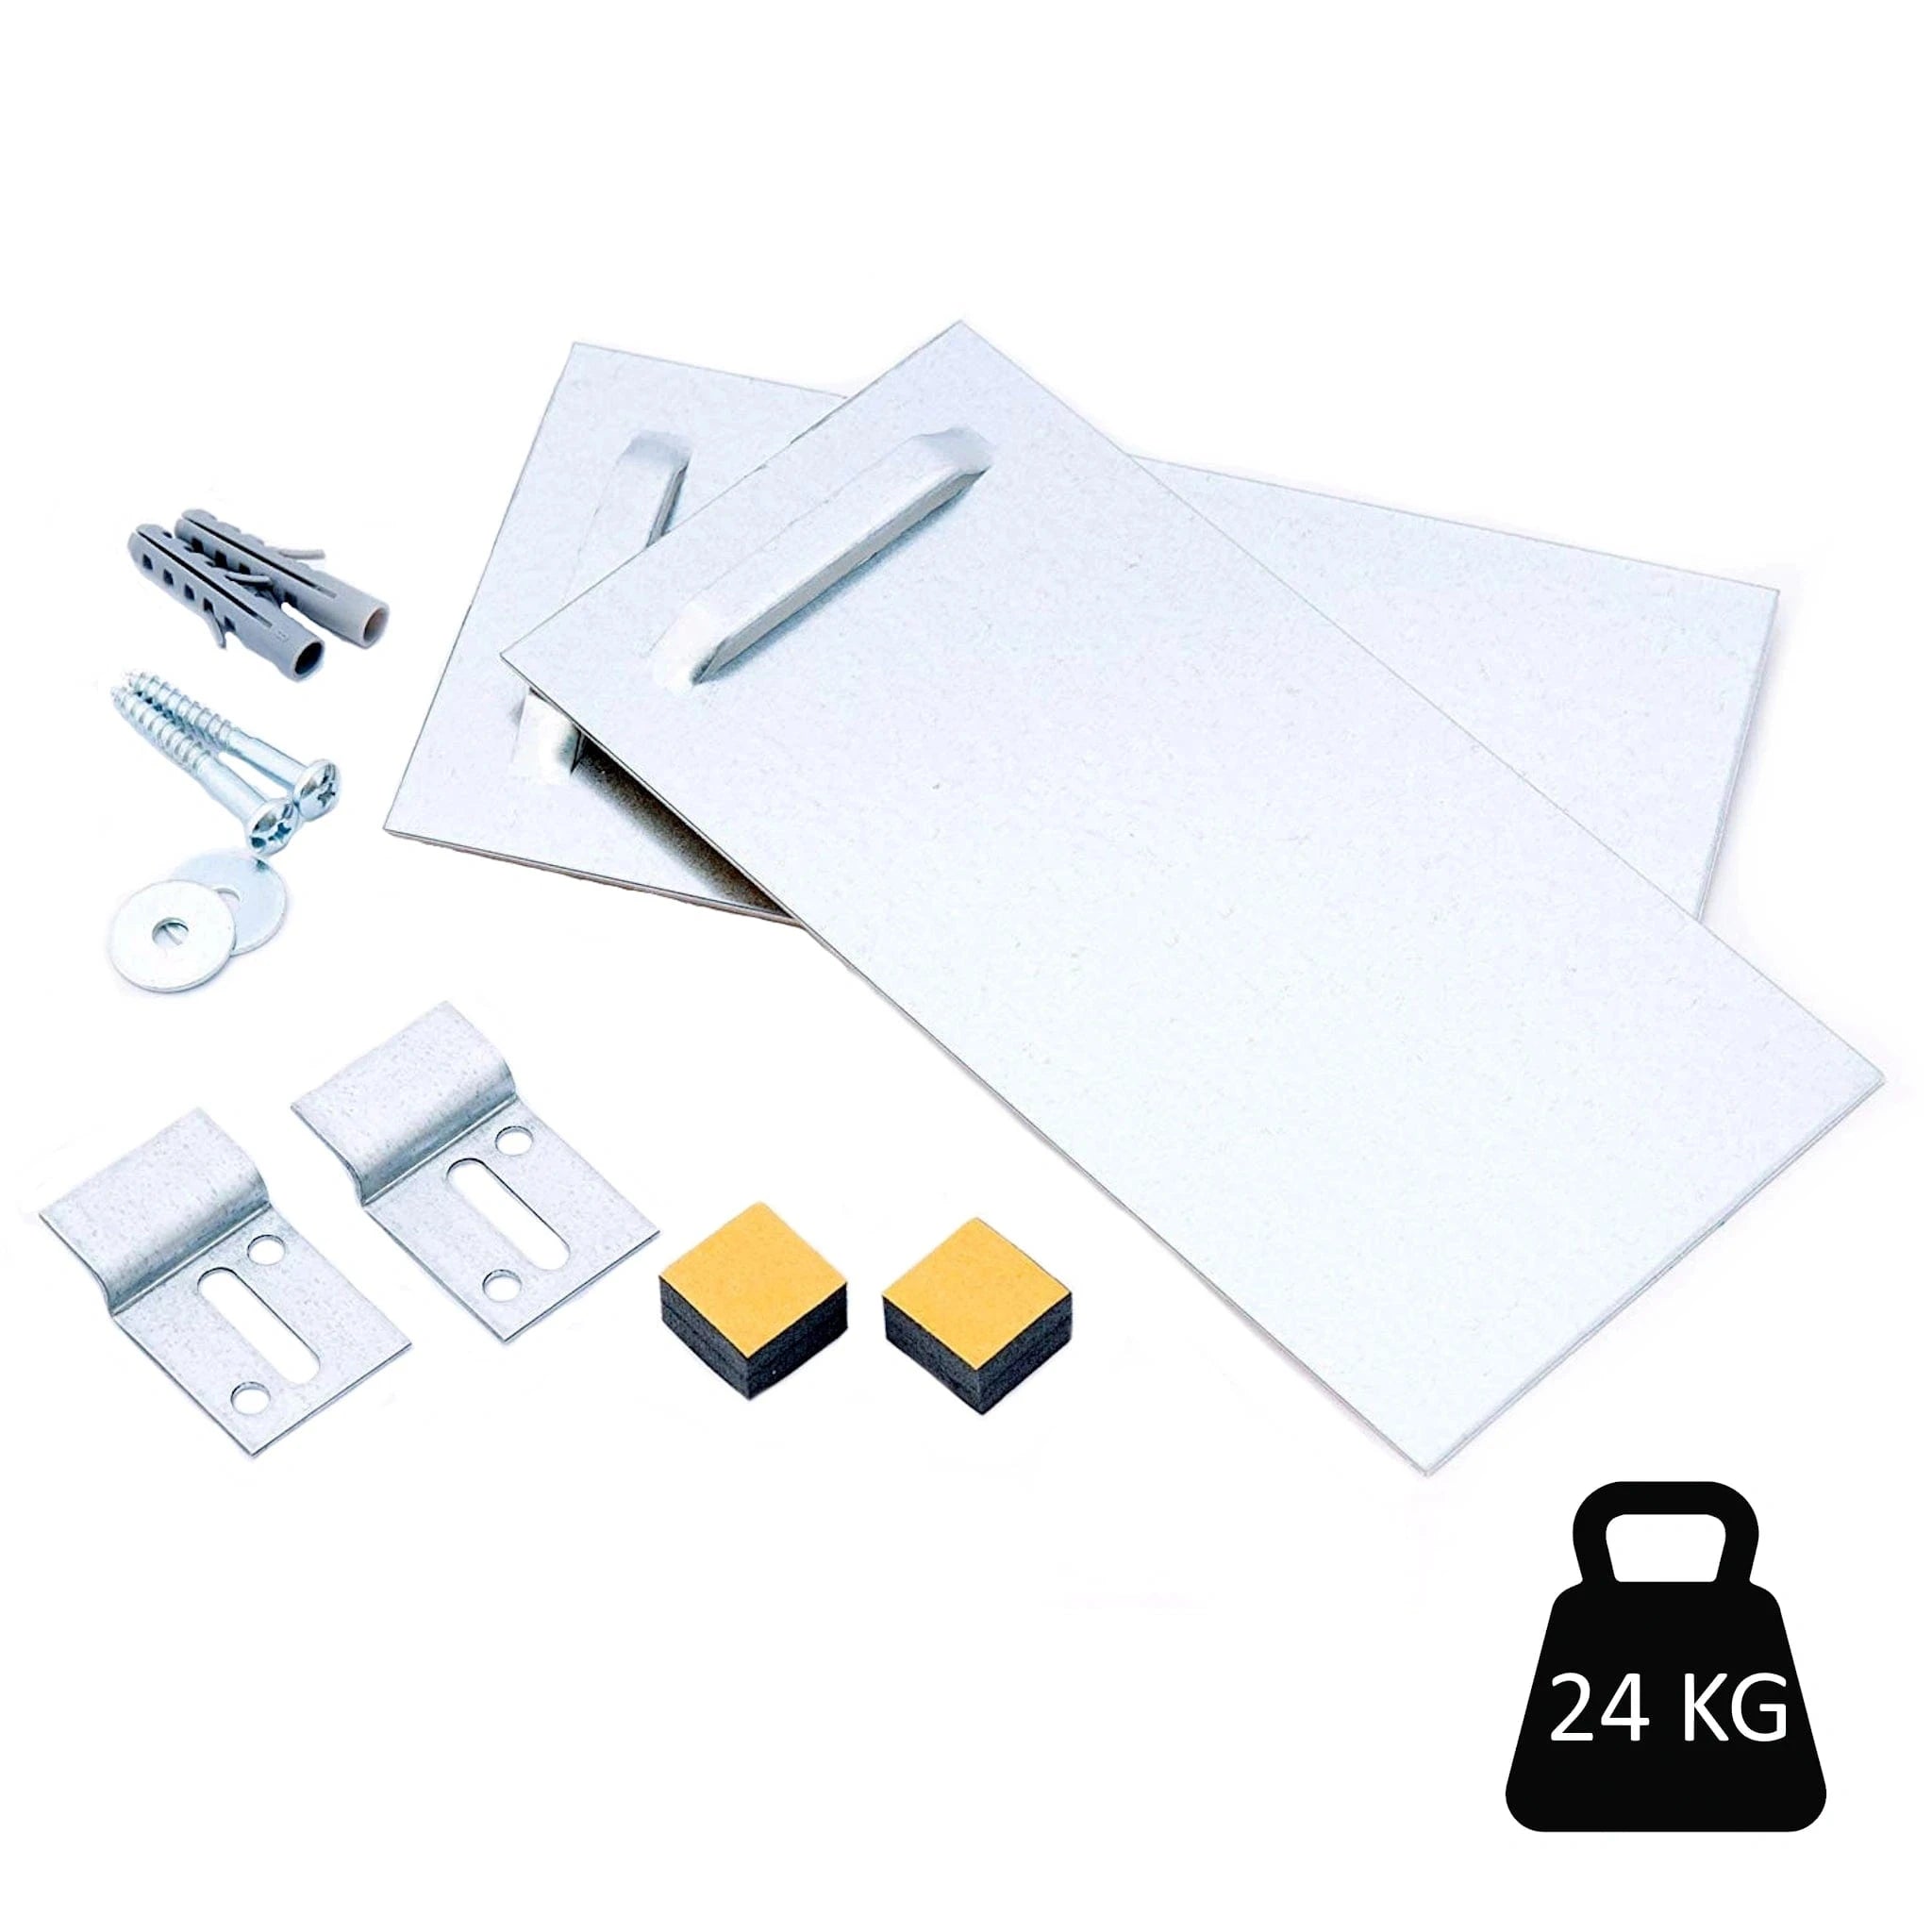
Crochets de fixation mural 24kg max - kit complet
49,99 €
|

