


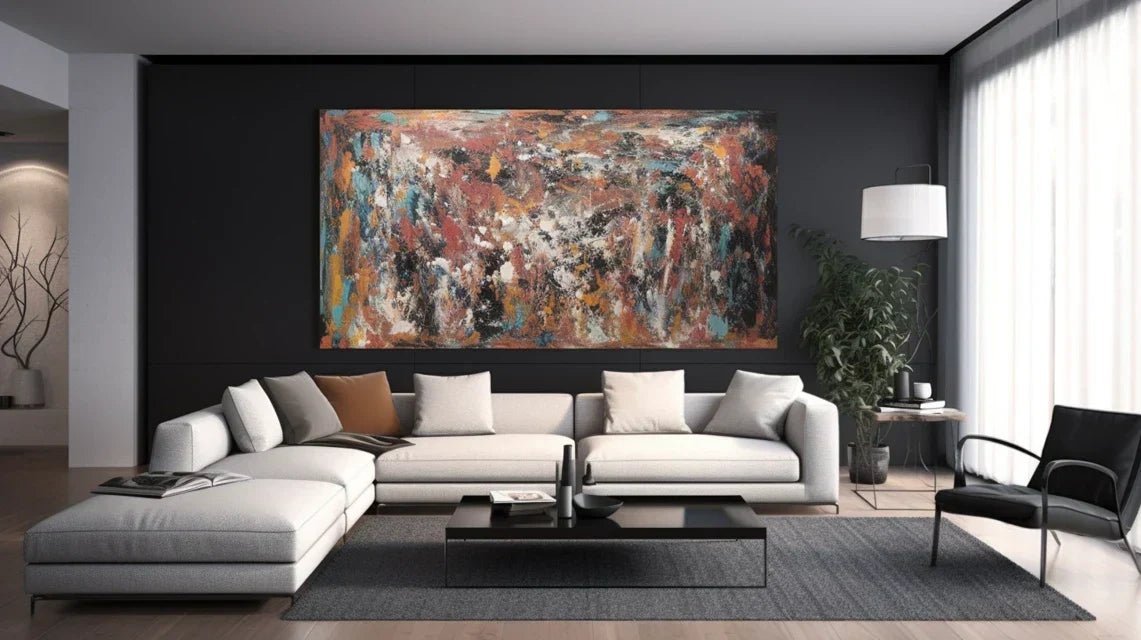
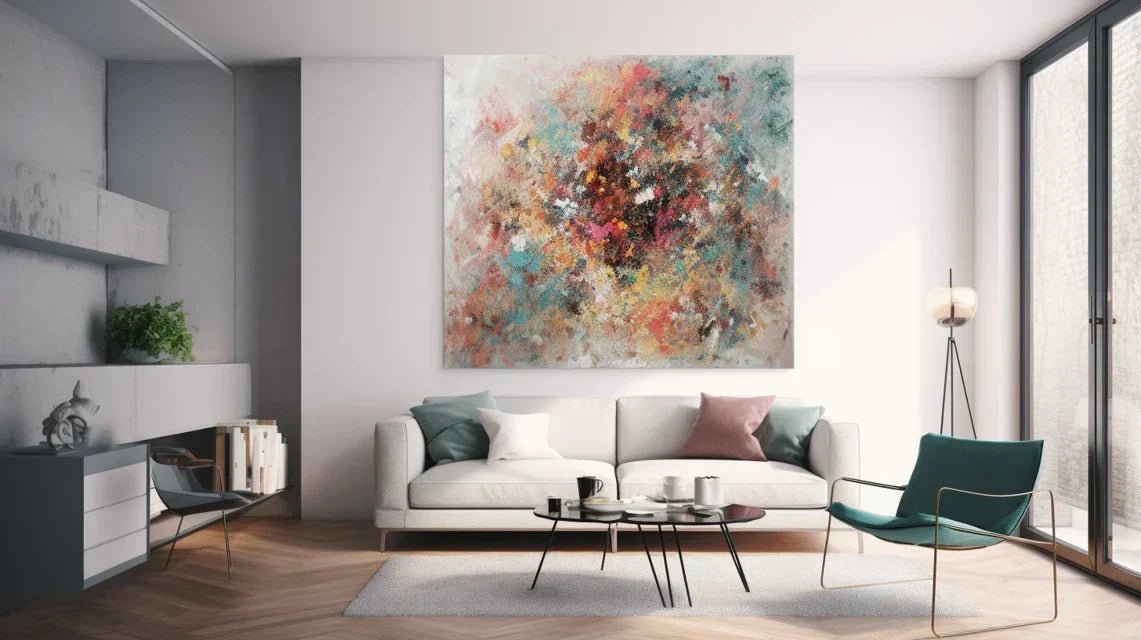
You've just acquired a stunning Dibond composite aluminum wall art and you’re wondering how to properly fix it to the wall?Choosing the right special hook for Dibond is crucial to ensure a secure and durable fixing of your artwork. Unlike traditional paintings, composite aluminum panels require specific fixing systems adapted to their lightness and particular structure. In this practical guide, we help you choose the perfect hook for your Dibond painting in order to enhance it without risking damaging it or compromising your wall.
Understanding the Specifics of Dibond to Choose the Right Fixing
Dibond is a composite material consisting of two thin layers of aluminum surrounding a polyethylene core. This unique composition gives it great lightness while preserving excellent rigidity. Before selecting a hanging system, it is essential to understand why traditional hooks are not suitable for Dibond paintings and what specific characteristics to look for in a composite aluminum fixing.
- Dibond is lightweight but cannot be pierced like a traditional painting
- Its sandwich structure requires fixings that will not damage the layers of aluminum
- Hanging systems should distribute weight evenly across the panel
- The thinness of the material (usually 3mm) requires fixings suitable for this specific thickness
Key point to remember: Dibond special hooks are designed to fit perfectly with the composite structure of the material, offering a secure fixing without drilling or damaging the aluminum. Always opt for systems specifically designed for lightweight composite panels.
The Different Types of Hooks and Fixing Systems for Dibond
Rail Hooks for Dibond
Rail systems are an elegant and very reliable solution for hanging your aluminum composite paintings. These devices are generally fixed to the back of the Dibond panel using special adhesives or small, suitable screws, avoiding any damage to the material's structure. The rail, once installed, easily hooks onto standard wall screws or hooks.
Pro tip: For an invisible and perfectly flat fixing against the wall, prioritize anodized aluminum rails which offer excellent strength/weight ratio and do not risk creating electrochemical reactions with the Dibond.
For small to medium-sized Dibond panels, high-performance adhesive fixing systems represent an excellent alternative. These solutions use industrial adhesives specially formulated to create an extremely strong bond with aluminum. Easy to install, these systems allow for a fixing without drilling either the panel or the wall in some cases.
Pinch Hooks for Panel Edges
These ingenious systems work by "pinching" the edges of the Dibond panel gently but firmly. They are an ideal solution for medium to large format paintings and have the advantage of not requiring any drilling or gluing onto the panel itself.
- Spring clips adapt to different thicknesses
- Screw clips allow precise adjustment of pressure
- Combined systems offer optimal security
For professional installations or high-value artworks, aluminum profiles represent the premium solution. These systems create an invisible frame around the Dibond panel, ensuring perfect stress distribution and a very aesthetic floating presentation of the artwork.
| Fixation Type | Weight Supported | Installation Level | Visibility |
|---|---|---|---|
| Rail hooks | Up to 20kg | Easy to moderate | Discreet |
| Adhesive fixings | Up to 10kg | Very easy | Invisible |
| Clip hooks | Up to 15kg | Easy | Visible on the edges |
| Aluminum profiles | More than 25kg | Advanced | Almost invisible |
Essential Criteria for Choosing the Ideal Hook for Your Dibond Panel
The Weight and Size of the Panel
The first step is to accurately assess the weight and dimensions of your Dibond panel. Although this material is relatively light (approximately 3.8 kg/m²), the total surface area can significantly increase the final weight, particularly for large formats. Each fixing system has a maximum load capacity that must be strictly adhered to.
- Small format (up to 40x60cm): Adhesive fixings or small rails sufficient
- Medium format (up to 80x120cm): Rail systems or clip hooks recommended
- Large format (beyond 80x120cm): Aluminum profiles or a combination of multiple rail systems
The nature of your wall also determines the optimal choice of fixing system for your Dibond panel. Some types of walls require specific anchors that must be compatible with your hanging system.
- Plaster or plasterboard wall: Prefer fixings distributed over several anchor points
- Concrete or stone wall: All types of fixings possible with suitable plugs
The visual appearance of the fixing system can influence the impact of your artwork. Depending on the desired effect, you can opt for more or less visible solutions.
- Invisible fixing: Adhesive systems or rails hidden behind the panel
- Floating effect: Aluminum profiles or spacer systems
Compatibility with Dibond: Whatever solution you choose, ensure that it is specifically designed for composite aluminum. Standard hooks for traditional frames risk damaging the structure of the Dibond and compromising the safety of your artwork.
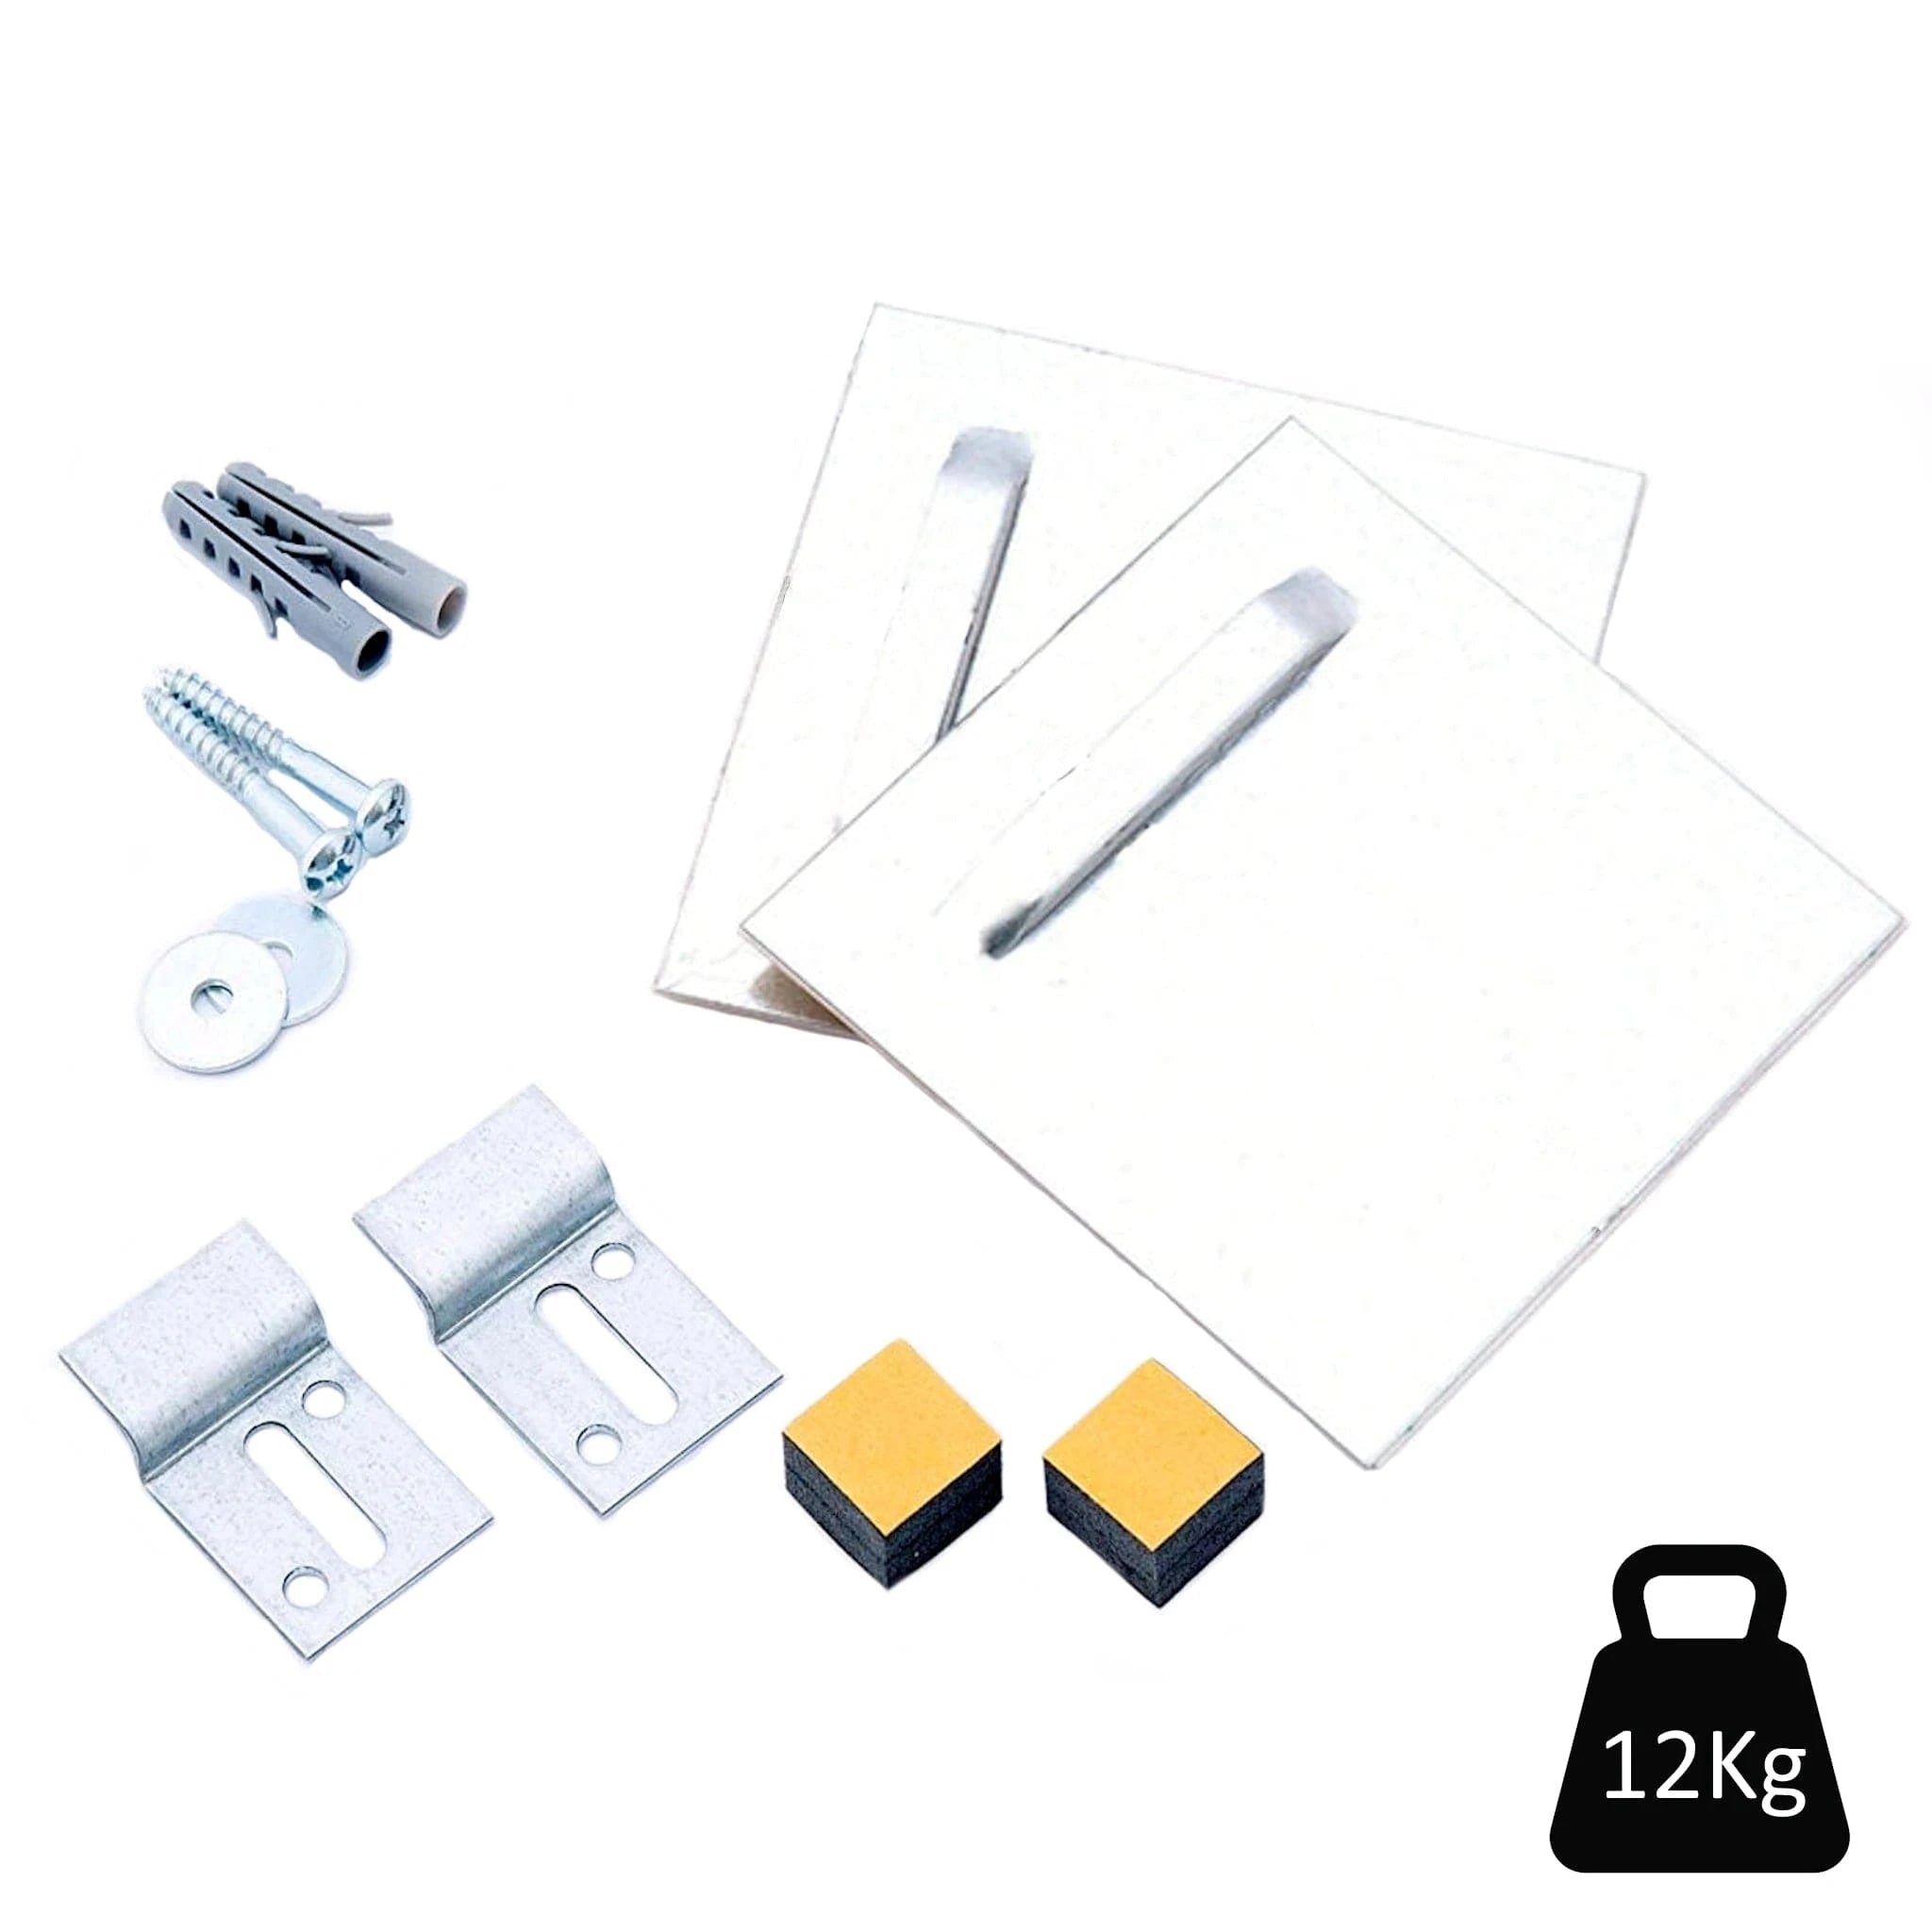
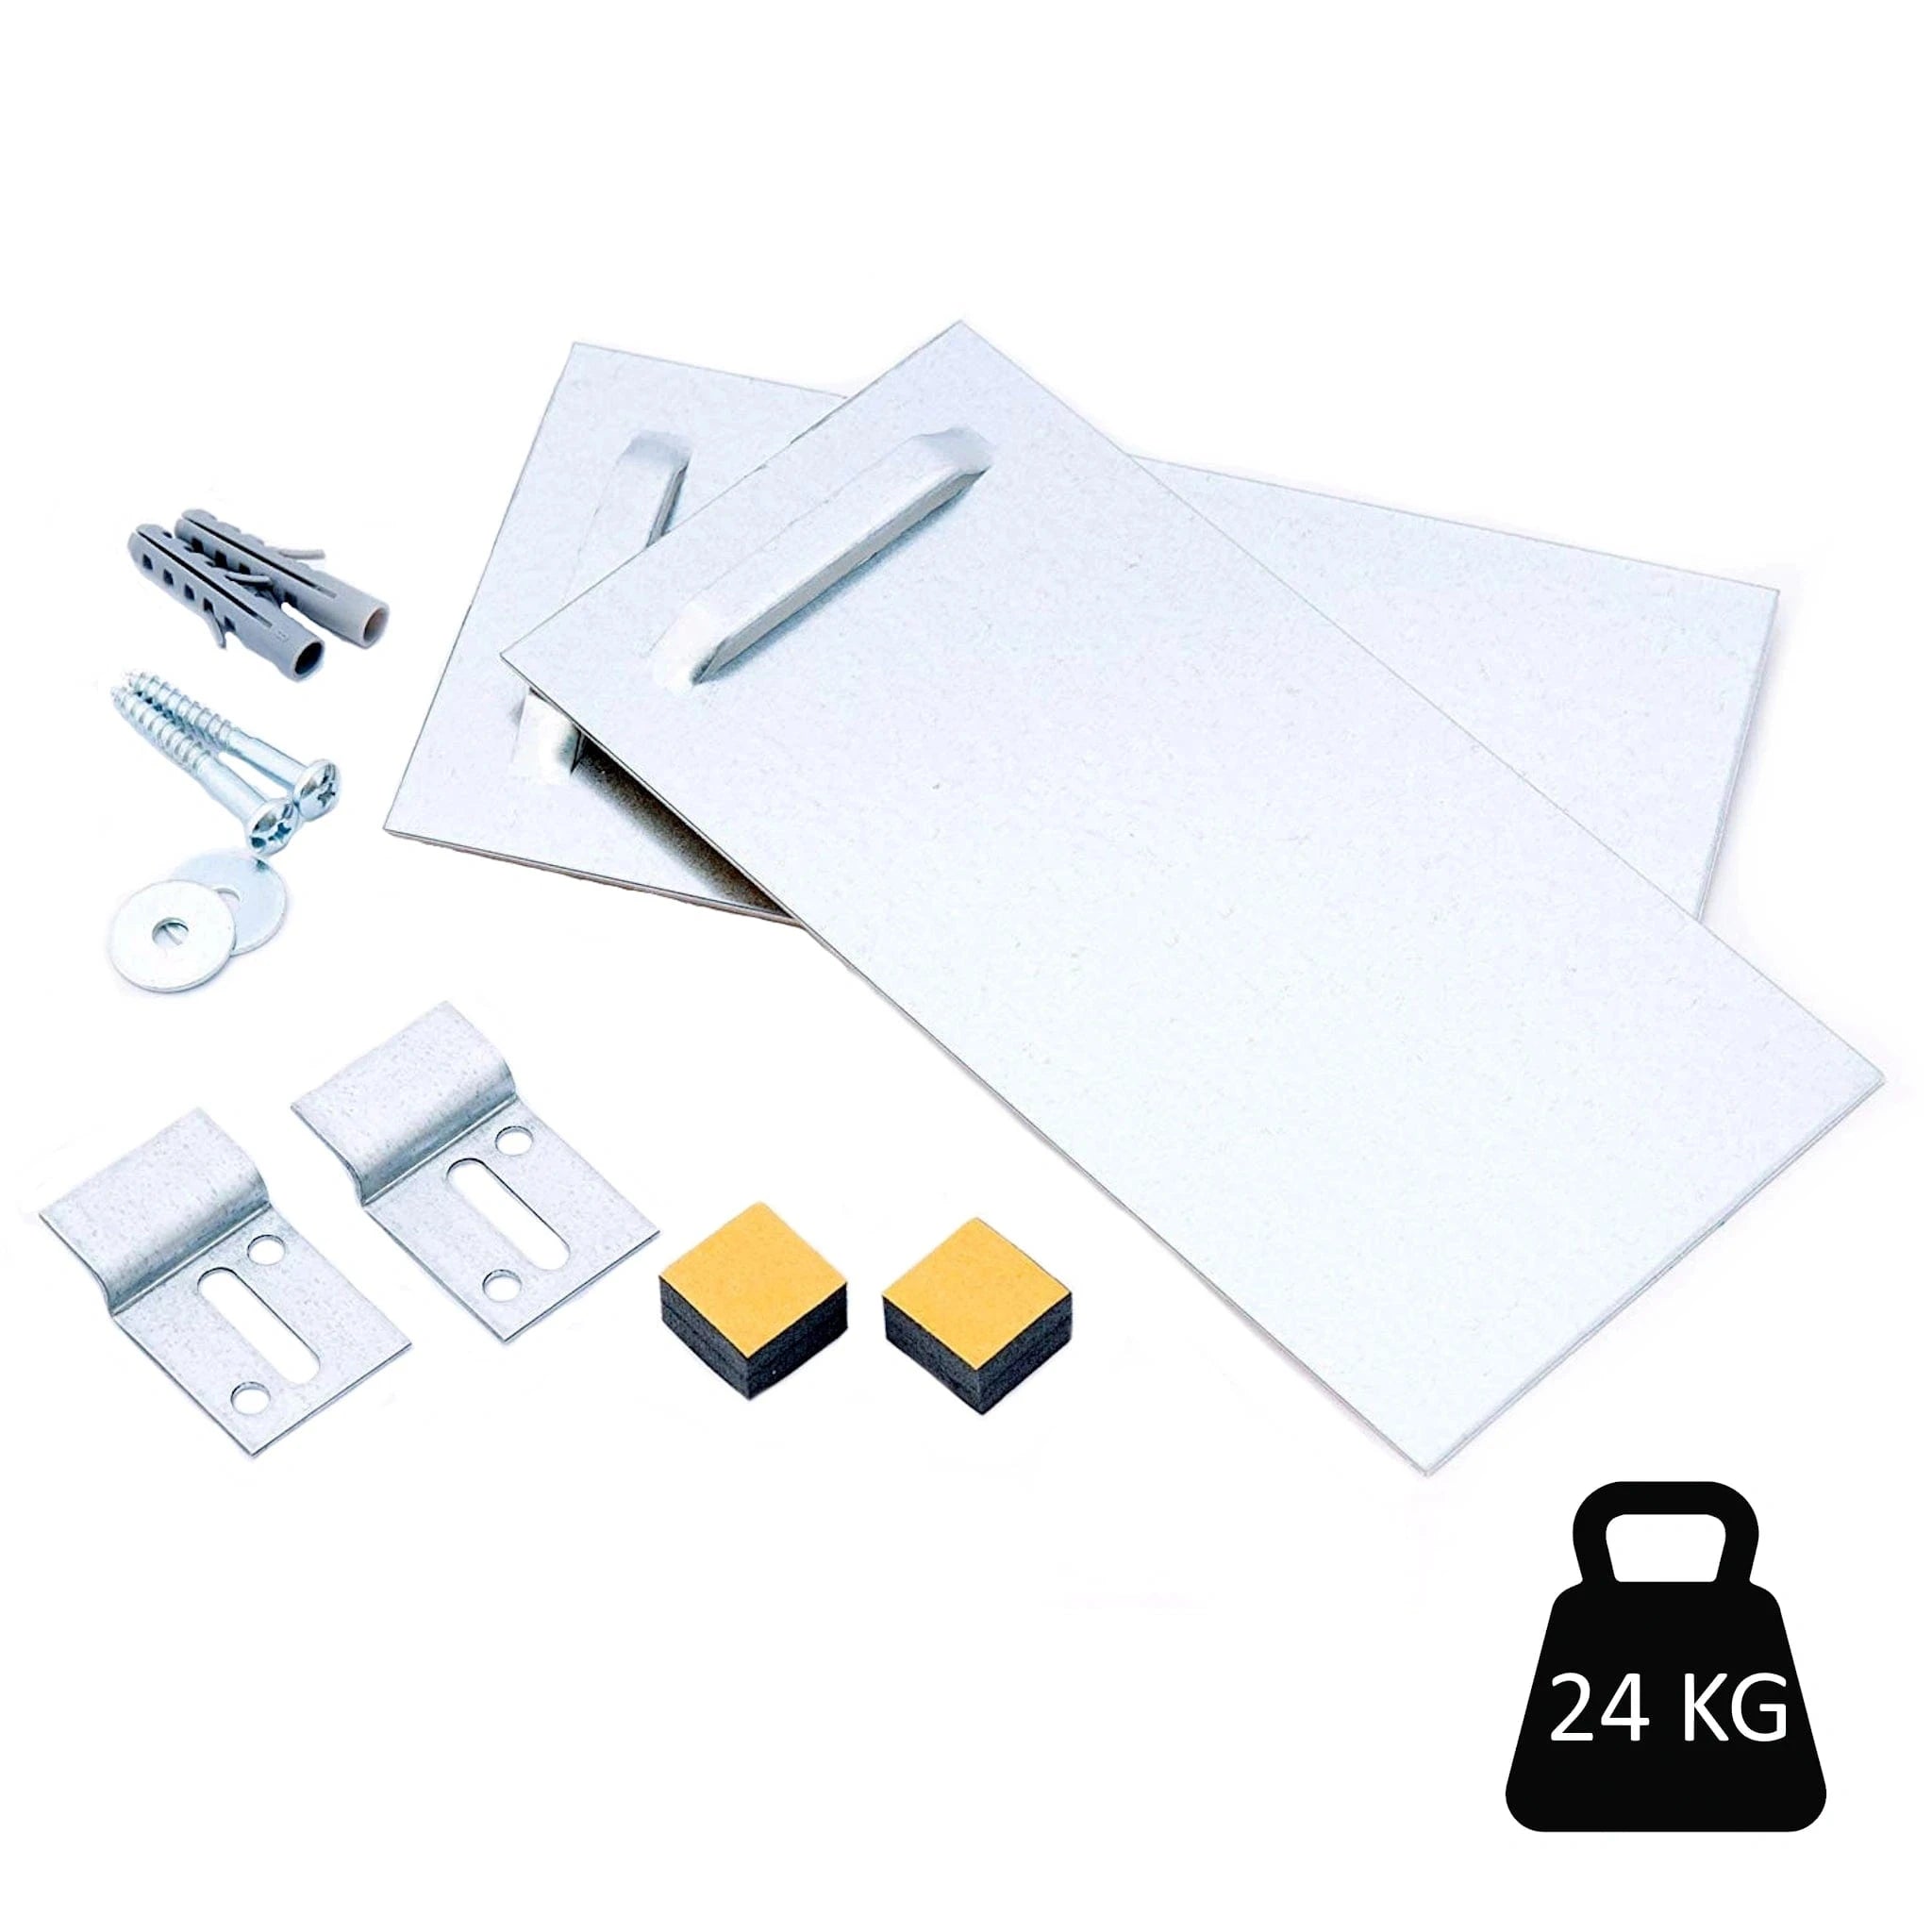
OUR RECOMMENDED PRODUCTS
Discover our selection of products specially chosen for you. Click on the images to learn more.

39.99 €
|
49.99 €
|
Why choose our products: All our wall hooks are made with high quality materials to guarantee exceptional durability and robustness. Easy and quick installation without special tools.
Step-by-Step Installation Guide for Dibond Hooks
Correctly installing your fixings is as important as choosing the system itself. Follow these steps to ensure a solid and durable hold of your aluminum composite panel.
- Surface preparation : Carefully clean the back of the Dibond panel with isopropyl alcohol to remove any traces of grease or dust that could compromise adhesion Optimal positioning : For uniform weight distribution, place the fixings approximately 1/4 of the height from the top of the panel Application technique for adhesives : Apply firm and continuous pressure for at least 30 seconds when applying special adhesives to ensure maximum bonding Drying time : For adhesive systems, allow a drying time of at least 24 hours before hanging your panel Verification of solidity : Test the solidity of your installation by applying slight pressure before completely releasing the panel
- Adjustment and leveling : Most rail systems allow for lateral adjustment for perfect leveling after installation Wall protection : Add silicone pads to the lower corners to prevent marks on the wall and stabilize the installation
Expert Tip for Dibond: For adhesive fixings on Dibond, using a special aluminium adhesion primer can increase bonding strength by up to 40%. Apply it to the surface of the panel before the adhesive for optimal security.
Solutions for Specific Dibond Hanging Situations
Some installation contexts present particular challenges that require adapted approaches to correctly fix your composite aluminium artwork.
Fixing on Difficult Surfaces
Irregular walls, exposed stone or glass represent a particular challenge for hanging Dibond artworks. In these situations, prioritize self-supporting systems or ceiling suspension rails which offer an elegant alternative without requiring wall drilling.
Dibond in Exterior
For outdoor installations or in humid environments, opt exclusively for stainless steel or anodized aluminium fixings to avoid any risk of corrosion or electrolytic reaction with the Dibond panel. Adhesives must also be specifically formulated to resist weathering.
Large-Dimension Dibond Artworks
Very large format panels require a more elaborate structural approach. Consider using a lightweight aluminium reinforcement frame fixed to the back of the Dibond, which will serve as support for the various hanging points and prevent deformation of the panel under its own weight.
Frequent Mistakes to Avoid When Fixing Dibond Panels
- Using standard screws directly into the Dibond: This risks splitting or crushing the composite structure of the panel
- Underestimating the total weight: Even lightweight, a large Dibond panel can weigh several kilos
- Neglecting surface preparation: A non-degreased surface considerably reduces the effectiveness of adhesives
- Placing fixings too close to the edges: Fixing points must be at least 5 cm from the edges to avoid any risk of deformation
- Using unsuitable adhesives: Only adhesives specifically formulated for aluminium offer sufficient and durable adhesion
How to Preserve the Integrity of Your Dibond Artwork
Beyond simple hanging, some precautions allow you to preserve the quality and appearance of your composite aluminium artwork over time.
- Balance the weight distribution across multiple fixing points
- Avoid direct exposure to sunlight which can deform the panel over time
- Maintain a minimum distance between the panel and the wall to allow for air circulation
- Periodically check the solidity of the fixings, particularly for adhesive installations
- Regularly clean the surface with non-abrasive products specifically for aluminium
- Handle with care during moves avoiding bending or twisting the panel
Frequently Asked Questions about Dibond Hooks
Drilling directly into a Dibond panel is possible but delicate. It requires special aluminum drills, a slow rotation speed, and support under the panel to prevent cracking. We recommend using specific mounting systems that preserve the structural integrity of the composite material.
High-performance adhesives specially designed for aluminum can support up to 10 kg per fixing point under optimal conditions. For heavier artworks, multiply the attachment points or opt for mechanical systems such as rails or profiles that offer a higher load capacity.
Removing adhesive fixings should be done carefully. Use a nylon string or plastic card to slide under the adhesive and peel it off gradually. Applying moderate heat with a hairdryer beforehand can facilitate the process. Adhesive residue may remain and will require the use of a specific aluminum solvent.