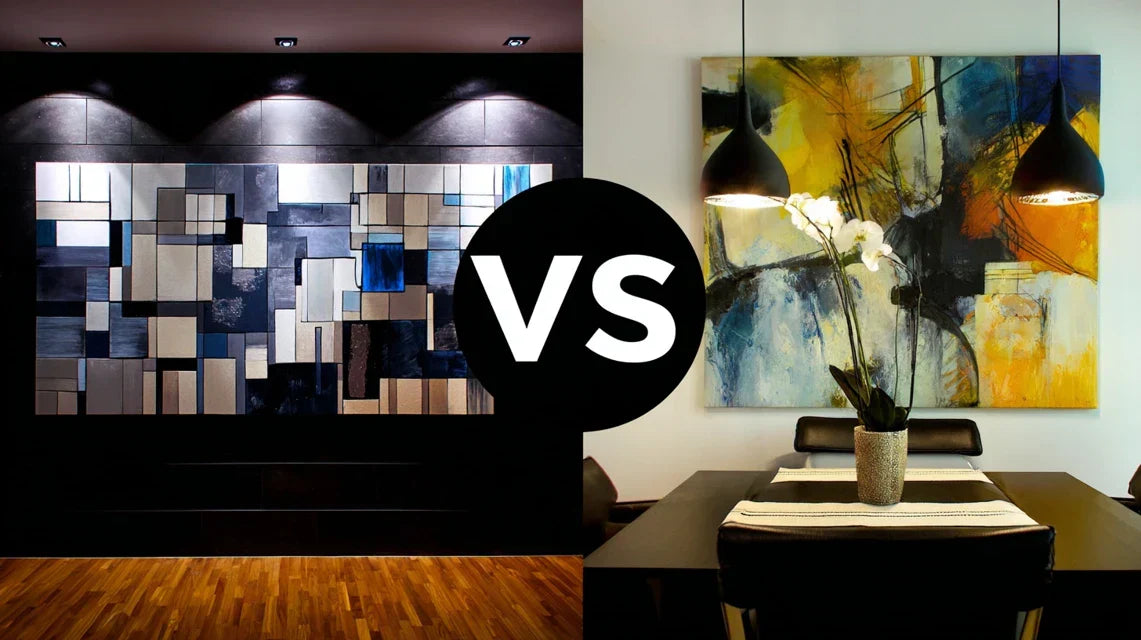
You've just hung your new artwork in your living room... but something feels off. Depending on the time of day, it seems sometimes dull, sometimes dazzling, never quite right.
In the morning, when natural light floods the room, your piece almost disappears, overwhelmed by the Nordic clarity. In the afternoon, it looks too dark, as if disconnected from the soothing atmosphere you were trying to create.
You've tried changing the location, adjusting artificial lighting, even rearranging the furniture... Nothing works. Your wall art refuses to harmonize with that beautiful Nordic light you dreamed of.
Rest assured: it’s neither your artistic taste nor your sense of decoration at fault. It's simply that no one has explained how artworks truly interact with Nordic light.
By the end of this article, you will master the art of making your paintings dance with natural light, transforming your interior into a true Nordic gallery where each piece reveals its beauty according to the hours of the day.
Why is this light-artwork harmony so crucial in the Nordic spirit?
In Scandinavian decor, natural light isn't just lighting: it’s the very soul of the space. Unlike Mediterranean interiors that play with shadow and twilight, the Nordic style celebrates every ray, every reflection. Failing to master this symbiosis risks missing the essence of your decoration for months, even years.
🌅 Morning revelation: Sarah, an interior architect from Stockholm, tells how a simple 30-centimeter movement of her abstract painting transformed her living room. "At 7 am, when the light rakes across the window, my artwork with ochre and blue tones now captures those golden reflections. It's as if it awakens with the day."
💬 Conversation with a decor expert
The Nordic golden rule: A well-placed artwork should reveal new details according to the course of the sun, like a window opening onto different landscapes. In one week of observation, you will discover unsuspected nuances in your work.
Understanding what's really happening between your painting and Nordic light
Do you recognize these situations? Your artwork looks faded in the morning, creates annoying reflections at noon, or disappears completely during long Nordic winter evenings. You feel like your piece has multiple personalities depending on the time.
This phenomenon is nothing unusual: it's the result of the unique interaction between Nordic light and artistic materials. The problem doesn't come from your choice of artwork, but from a lack of knowledge of the specific optical laws in the North.
Imagine that your artwork is a musician and Nordic light its conductor: without a common score, even the most talented artist produces a cacophony.
First secret: Nordic color temperature varies enormously
Unlike temperate regions where light remains relatively stable, Nordic light goes from glacial blue in the morning to warm gold at noon, then to powdery pink in the evening. Each moment reveals or masks different pigments of your artwork.
It's like wearing the same garment under different store lighting: colors seem to change, but it's the quality of the light that reveals or attenuates certain shades.
This variation creates visual micro-seasons in your interior, transforming the experience of your artwork into a true sensory journey. Understanding this mechanism means going from spectator to conductor of your decoration.
🔍 Quick test: Observe your favorite artwork for 5 minutes at different times: 8am, 12pm and 5pm. Mentally note which colors "come out" or "fade away". This simple observation already reveals the evolving nature of your piece.
Second revelation: angle of incidence transforms everything
It is often thought that it suffices to avoid direct reflections, but this is a simplistic view. In reality, the angle of incidence of Nordic light creates unsuspected effects of material and depth.
Think of a lake at sunrise: depending on your position, you see either the mirror surface or the transparency of the depths. Your artwork works exactly the same way.
This discovery frees you from the "anti-reflection" constraint and opens up a world of creative possibilities where light games become an integral part of the piece.
Third key: reverberation of Nordic walls
In a Scandinavian interior with light walls, your artwork does not only receive direct light: it bathes in a halo of reflected light that amplifies or attenuates its colors. Like a visual echo that few people notice.
Observe carefully: a broken white wall 2 meters from your artwork influences its perception, creating an overall luminous atmosphere that can either sublimate or tarnish your piece.
This reverberation explains why some artworks "sing" in certain interiors and remain silent in others, even with similar lighting.
🎯 The 3 signals of a successful harmony:
- Breathing effect: Your artwork seems to come subtly alive according to the hours, as if it were breathing with natural light.
- Progressive discovery: You notice new details, textures or nuances depending on the time of day.
- Natural anchoring: The artwork seems to have always been there, perfectly integrated into the architecture and atmosphere of the room.
The trigger element: Nordic solar course as choreography
What really makes the difference is understanding that in Nordic countries, the sun draws a unique curve which transforms your interior into a luminous theater. This solar course acts as a natural revealer, activating different "artistic zones" of your artwork according to a predictable rhythm. Identify this rhythm by observing for a week how shadows and light move around your work.
The rule of three moments: Every well-placed painting should reveal three distinct "faces" - golden morning, bright noon, intimate evening. If your artwork remains identical all day long, it is not exploiting the potential of Nordic light.
| ❌ Common belief | ✅ Nordic reality | 💡 Explanation | 🎯 Practical benefit |
|---|---|---|---|
| You should avoid direct light | Slanting light reveals textures | The slanted angle creates relief and depth | Your painting gains dimension and character |
| Cool colors don't go well with warm light | Warm-cool contrast creates magic | Thermal opposition = visual dynamism | Sophisticated and soothing atmosphere |
| A white wall reflects too much light | Soft reverberation enriches colors | Homogeneous diffusion without harsh shadows | Natural and flattering lighting of the artwork |
| The painting should remain identical all day long | Light evolution brings art to life | Variation = permanent renewal of pleasure | Artistic investment that reinvents itself |
The 3-step method to create this perfect symbiosis
Rest assured: mastering this harmony requires neither artistic training nor costly investment. It's like learning to cook a signature dish: once the principles are understood, the process becomes intuitive and creative. We will proceed as a professional photographer who first studies the light, then composes his framing, and finally refines the details to sublimate his subject.
🗺️ Overview of your transformation: Step 1 - Mapping the light in your space (the foundations), Step 2 - Strategically positioning your artwork (the composition), Step 3 - Optimizing the lighting environment (the finishing touches). Each step brings you closer to an interior where art and Nordic light mutually sublimate each other.
Step 1: Mapping your Nordic light landscape
Before touching anything, it is important to understand the unique character of the light in your space. It's like a gardener studying their soil before planting: this analysis will avoid costly mistakes and reveal unsuspected opportunities.
🛠️ What you need for this mapping
- Your smartphone: The camera reveals light variations that the accustomed eye no longer perceives. Take photos in the same places at different times to objectify changes. Avoid apps with automatic correction which would mask these precious nuances.
- A notebook or digital notes: To record your observations hour by hour, because visual memory is deceptive over several days. The principle: note not "the weather is nice" but "golden-orange light, soft shadows oriented southeast". This precision makes all the difference.
- A colorful reference object: A white sheet and an object with bright colors (book, cushion...) placed temporarily in candidate locations. They instantly reveal how light interacts with colors in your specific space.
Now let's move on to active observation of your space:
🎯 How to map effectively
Define your "observation stations": Identify 3-4 potential locations for your artwork along the walls that receive natural light. You are thus mapping the preferred zones, like a director chooses his camera angles before filming. Temporarily place your reference object at each station.
⏱️ Time: 15 minutes | ✅ Successful when: You have 3-4 marked spots and can name them easily ("living room angle", "window wall", etc.) | ⚠️ Attention: Don't choose only the walls facing the windows - the perpendicular walls often offer more interesting lights
Schedule your "light captures": Photograph each station at 9am, 1pm and 5pm over two different days (one sunny, one cloudy). This documentation reveals the real light patterns of your space, beyond impressions. Keep the same framing and reference objects to objectively compare.
⏱️ Time: 10 minutes per session | ✅ Successful when: You clearly see the differences in color and intensity between your photos | ⚠️ Attention: Disable flash and automatic corrections that "lie" about the true quality of light
Note the "light microclimates": For each station, observe and note: the direction of shadows, reflection areas on neighboring walls, moments of direct vs indirect light. These details determine how your future artwork will be revealed or masked depending on the hours.
⏱️ Time: 5 minutes per observation | ✅ Successful when: You can predict the lighting ambiance of each station according to the time | ⚠️ Attention: Don't forget to observe a cloudy day - the Nordic diffused light reveals other qualities
✅ Validation of your mapping: At the end of this step, you should be able to say for each station: "In the morning, it's rather golden and soft", "In the afternoon, it's frank and contrasting", "In the evening, it's muted and warm". If some areas remain unclear, extend the observation for one day - this solid foundation conditions all of the subsequent success.
OUR RECOMMENDED PRODUCTS
Step 2: Choreograph the placement of your artwork
Now that you know the light rhythm of your space, you can choose the location that will best reveal your painting. This is when your analysis turns into a creative decision: you no longer suffer from the light, you direct it. This step transforms your gaze from amateur to expert decorator's vision.
🎨 Elements to consider for positioning
- The character of your painting: Dynamic abstract work, soothing landscape, expressive portrait... Each style dialogues differently with Nordic light. Abstracts love variations, landscapes prefer gentle constancy, portraits require flattering light without harsh shadows.
- The desired effect: Do you want a focal point that attracts the eye (contrasting direct light) or a soothing presence that accompanies the atmosphere (diffuse light)? This intention guides all positioning.
- Circulation in the room: A painting reveals different aspects depending on the viewing angle. Identify the privileged viewpoints: from the entrance, the sofa, the table... to optimize the visual impact.
🎭 Staging your artwork
Light personality test: Temporarily place your painting (or its substitute of the same size) at each identified station. Observe which one best reveals the colors, textures and emotions of the work according to your favorite times of the day. The goal: find the location where your painting "sings" most accurately.
⏱️ Time: 2-3 days of observation | ✅ Successful when: A location clearly stands out, you feel harmony | ⚠️ Attention: Don't rely on first impressions - let your eye get used to it
Adjustment of optimal height: The standard height (center at 1m50) does not always suit Nordic specifics. Test 10cm higher or lower depending on the main direction of light. Low grazing light often requires a slightly elevated position to avoid shadows.
⏱️ Time: 30 minutes of tests | ✅ Successful when: The painting seems to "float" naturally, without annoying shadows | ⚠️ Attention: Check from several viewpoints in the room, not just facing the painting