

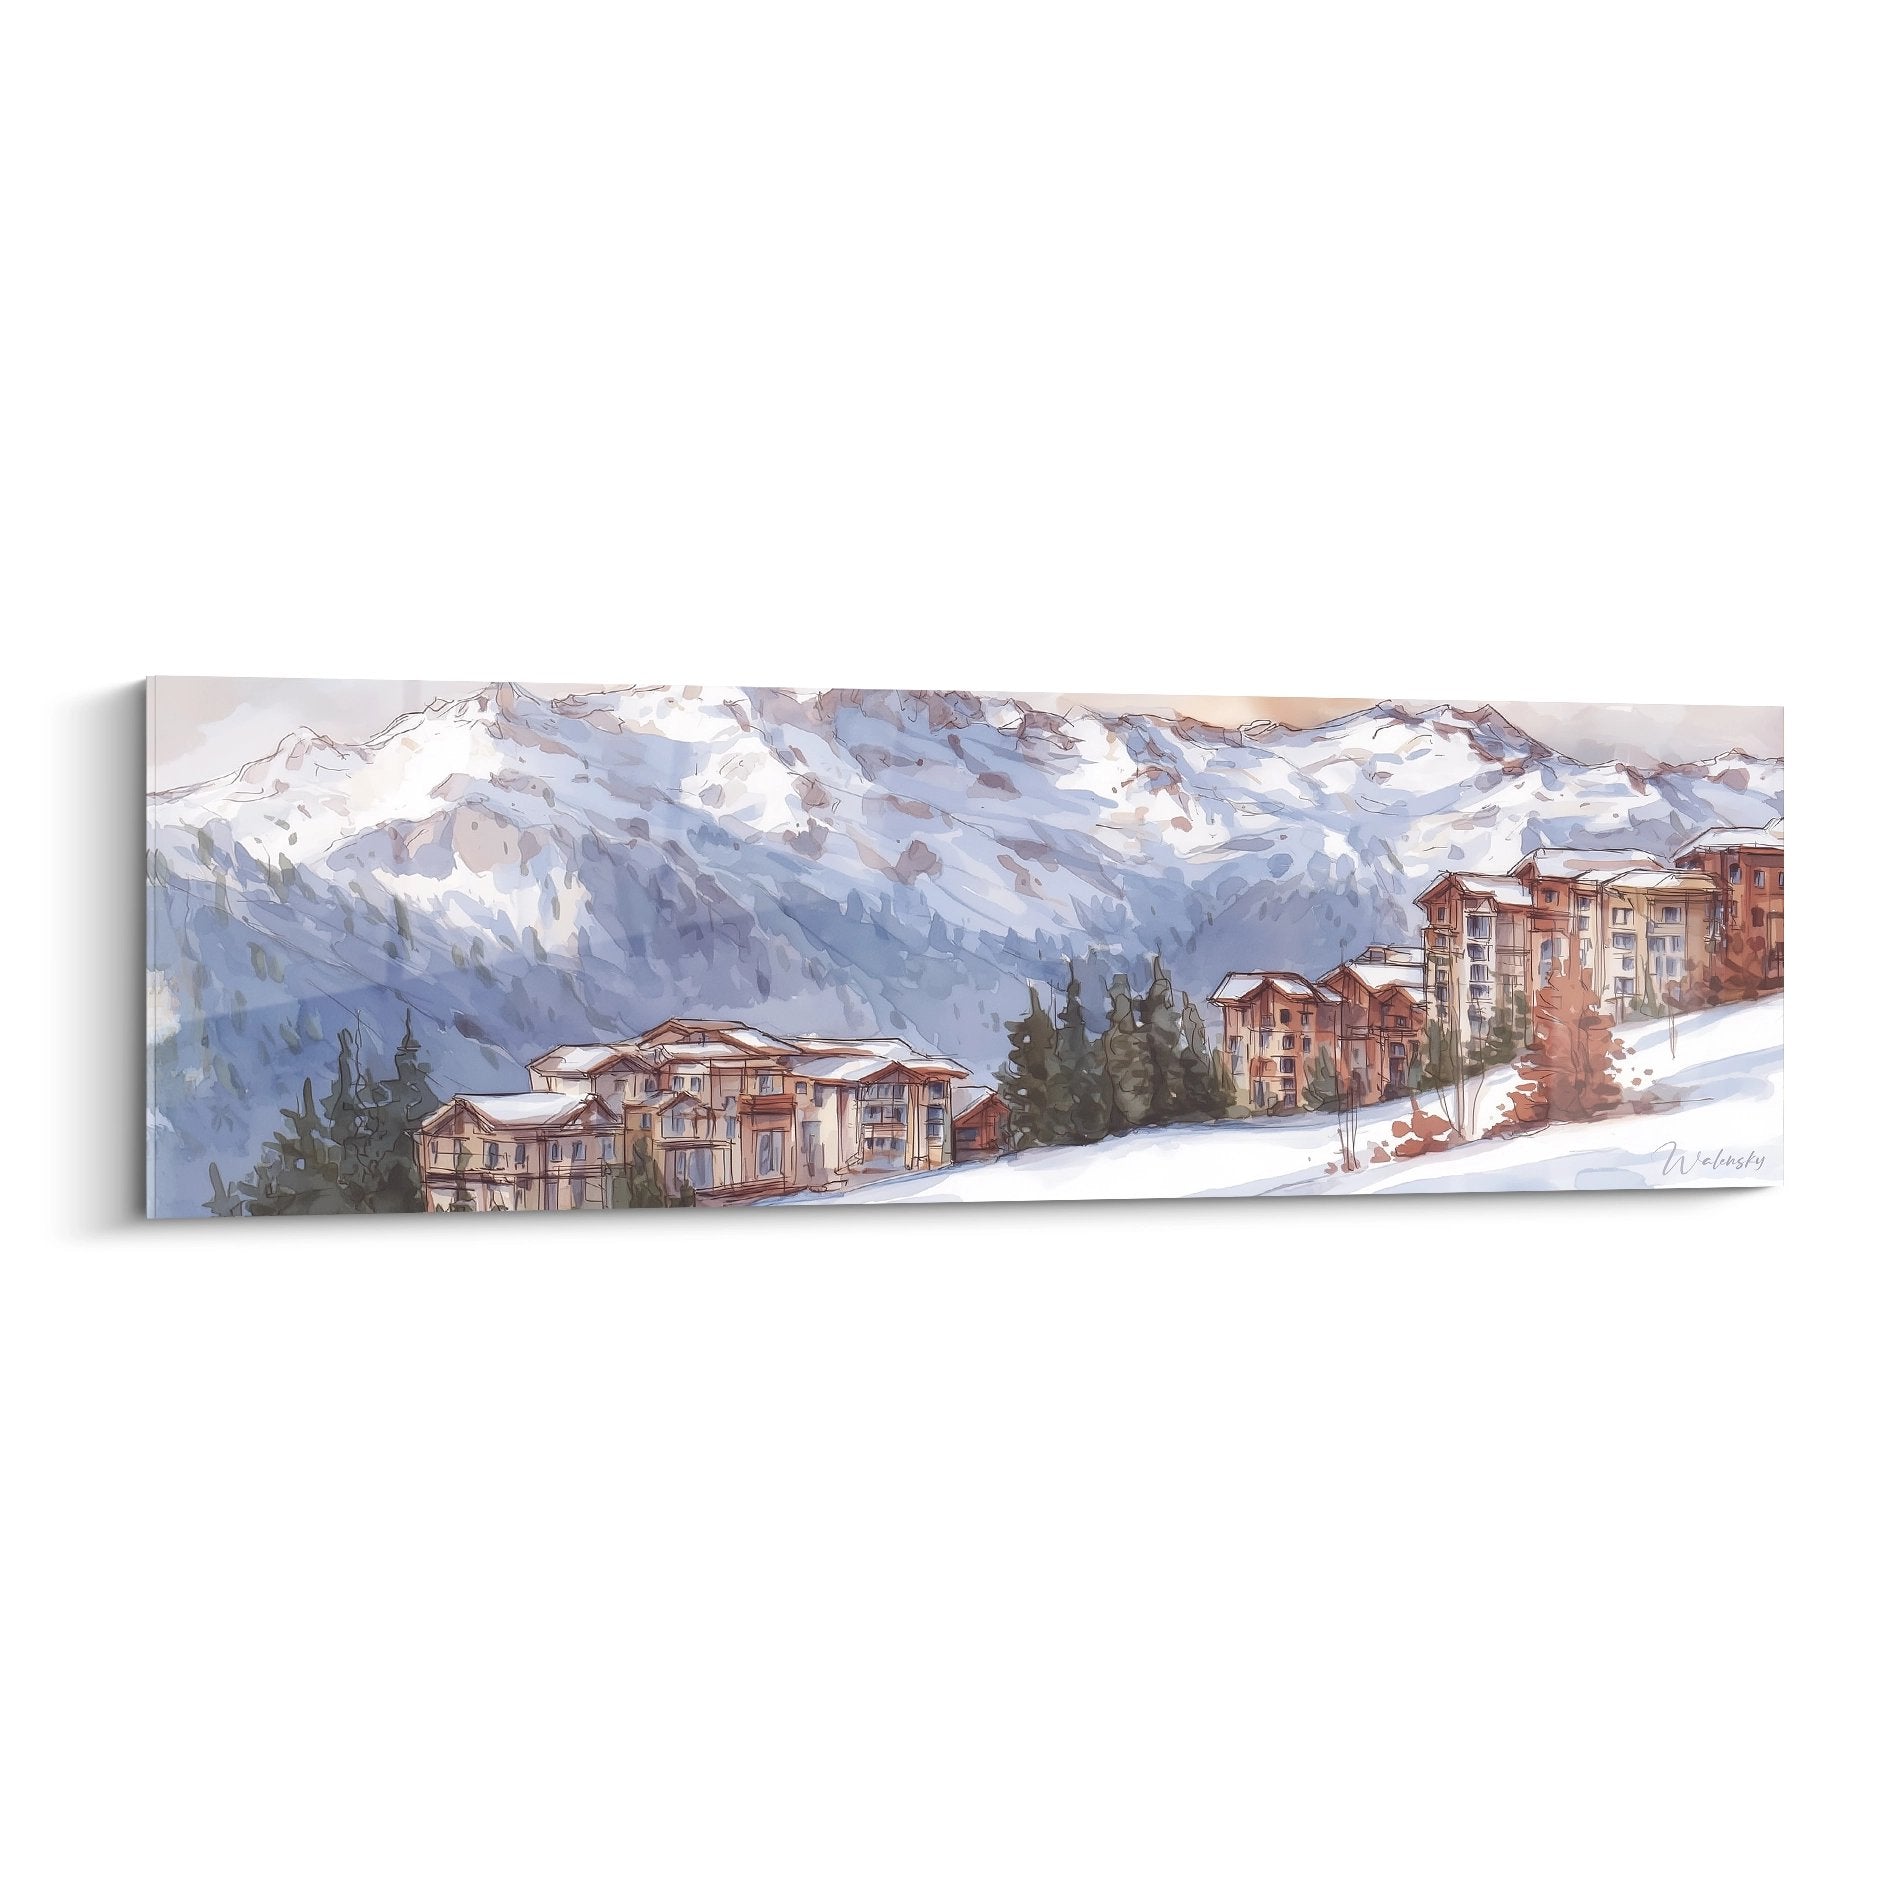






Can we light a painting in an Airbnb or temporary accommodation?
October 11, 2025 · 17 min read · by Walensky
The dim lighting from the ceiling transforms your beautiful canvas into a flat, dull shadow. The details are lost, the colors fade, and this piece that was meant to bring character and personality to your temporary space remains invisible.
You may have already tried moving a table lamp in front of the painting or attempting to orient a projector from the floor. The result: glare, shadows, and the frustration of not being able to recreate the warm atmosphere you imagined.
That's perfectly normal! The problem isn’t your painting or your sense of style. The real difficulty lies in the fact that traditional lighting solutions are designed for permanent installations, not temporary housing.
By the end of this article, you will know exactly how to create professional lighting for your artwork, even in a temporary home, and transform any space into a sophisticated personal gallery.
Why painting lighting revolutionizes your temporary space?
In a temporary home, every detail counts to create an atmosphere that reflects you. A poorly lit painting is like wearing a precious jewel in the dark: no one can appreciate its beauty. If you wait to find "the" perfect solution, you risk missing out on weeks or months of an inspiring living environment.
🏠 Customer testimonial: “I’ve been working remotely from my Airbnb in Lyon for 3 months. My abstract painting remained invisible until I installed a drill-free LED lighting system. Now, my colleagues compliment me constantly on my background during video calls. The atmosphere of my temporary office has become more inspiring than that of my real office!”
Conversation with a decor expert
The golden rule of temporary lighting: Good picture lighting instantly transforms the perception of the entire space. Like a theater spotlight, it creates a focal point that structures and enhances your decor, in just 15 minutes.

Understanding what's behind your lighting difficulties
Do you recognize yourself in these situations? Your painting seems to "disappear" as evening comes, the colors become dull under general lighting, or unsightly reflections appear on the varnished surface...
The situation you're experiencing has nothing to do with the quality of your artwork or your artistic taste. The problem is that the general lighting in a home is designed for functionality, not aesthetic enhancement.
It’s like trying to admire a landscape through a fogged-up windshield: the object is beautiful, but the viewing conditions spoil everything. Your painting needs its own light to reveal its nuances and personality.
The trap of "default" lighting
Most people think a ceiling light or ambient lamp is enough. In reality, this diffused light creates the opposite effect: it “flattens” reliefs and uniformizes colors.
Imagine photographing a face using only your phone’s built-in flash: everything becomes flat and lacks relief. The same thing happens to your painting under general lighting.
Result: you lose 70% of the visual impact of your artwork, and your space remains impersonal despite your decorating efforts. Pertinent is a directional light to change everything.
🔍 Quick test: Tonight, turn off all lights and illuminate your painting only with the flashlight on your phone from an angle of 30°. You will instantly notice the difference in rendering and depth!
The error of the lighting angle
Many people try to light their painting head-on, creating blinding reflections that make the artwork unreadable. The physical principle is simple: the angle of incidence equals the angle of reflection.
It’s like looking in a mirror with a flashlight: the more you shine straight on, the more light returns directly into your eyes. The art of lighting consists of finding the perfect angle that reveals without dazzling.
This lack of technical knowledge explains why your previous attempts have failed. But once you master this principle, lighting becomes child's play.
The myth of complex installation
The idea that properly lighting a painting requires work or an electrician discourages many people. In reality, the best current solutions are plug-and-play: no tools required, installation in minutes.
You can identify this mental block in your situation if you constantly postpone improving your lighting, thinking that “it's complicated” or “specialized equipment is needed”.
This apprehension deprives you of a daily visual comfort that could transform your space experience in just minutes.
🚨 3 signs that your lighting isn't working:
- The photo test: Your paintings look dull or dark when you photograph your interior - this is a revealing sign of chronic underexposure The "golden hour" effect: Your works are only beautiful during the 30 minutes of perfect natural light at the end of the day - a sign of total dependence on external lighting The "dead zone" syndrome: Some areas of your paintings "disappear" depending on the time and ambient lighting - revealing poorly controlled shadows
The decisive element that changes everything
The deciding factor is the directionality of the light. Like a theater spotlight that transforms an ordinary actor into a star, directional light reveals your painting's hidden personality. You will easily recognize it: as soon as the light arrives at the optimal angle of 30° from above, the colors intensify, the textures gain depth, and the work seems to "come alive".
The 30 degree rule: The perfect lighting angle is 30° from vertical, from the top of the painting. At this precise angle, you eliminate reflections while creating a natural modeling - immediately verifiable with any light source.
| ❌ Misconception | ✅ Technical reality | 💡 Why it works | 🎯 Concrete benefit |
|---|---|---|---|
| You have to drill to light properly | Self-powered LED solutions offer the same quality | LED technology concentrates power without heat | 5-minute installation, total recovery |
| Lighting for paintings is expensive | Effective solutions exist from €25 | LED has revolutionized the quality/price ratio | Investment paid off in the first week |
| It's only for true collectors | Everyone deserves good lighting | The psychological impact is the same for everyone | Daily pleasure and pride in your space |
| It consumes a lot of electricity | An LED spotlight consumes less than a classic bulb | 10x greater energy efficiency | Negligible impact on electricity bill |

The progressive method for gallery-like lighting at home
Rest assured: creating lighting worthy of an art gallery requires neither technical skills nor a large budget. The progression is in 3 simple steps, like assembling flatpack furniture: each step prepares the next, and the final result will surprise you with its simplicity. Imagine yourself in a week, admiring your perfectly showcased painting every evening when you get home.
🎯 Overview of the transformation: Step 1 - Choose the right material (like selecting the right ingredients), Step 2 - Position the lighting (like adjusting the cooking time), Step 3 - Optimize the overall ambiance (like plating a dish). At each step, you will see an immediate improvement in visual impact.
Step 1: Selecting your temporary lighting solution
Starting with material selection may seem technical, but it's actually the most rewarding part: like choosing the right brush for an artist. Once you have the right "light" in hand, everything else becomes obvious. You will feel that immediate satisfaction of finally holding the tool that will transform your space.
The 3 perfect types of solutions for a temporary home
- Battery-powered magnetic LED spotlights: They look like small projectors the size of a smartphone. The principle: powerful magnets attach to an adhesive metal plate glued to the wall (removable without a trace). Where to find them: hardware stores or online. Quality criteria: minimum 8h battery life and CRI (color rendering index) > 90. Avoid "discount" versions under €20 which produce a greenish, unflattering light.
- LED strips to be fixed with clips or suction cups: These lighting rails adapt to a shelf, door frame or any available ledge. Operation: directional LEDs with mains or USB power supply. The quality index: ability to adjust the angle and variable color temperature (2700K for warm, 4000K for precision). Impact: uniform illumination across the entire width of the artwork, perfect for large-scale works.
- Mobile LED projectors on a telescopic tripod: Premium ultra-mobile solution that looks like photographer's equipment. Why it’s important: total flexibility in positioning and professional lighting power. The deciding criterion: stable tripod up to 2m height and orientable spotlight 360°. Visible benefit: museum-worthy rendering with complete control of intensity and angle.
Once you have made your choice, it's time for practical installation:
Stress-free Installation
Prepare the fixing surface: Clean the chosen area with a dry cloth to remove dust and fingerprints. This step guarantees perfect adhesion of your temporary supports. Technical tip: use a spirit level (or your smartphone app) to check for horizontal - a misaligned spotlight creates unbalanced light. It's easier than assembling an IKEA piece of furniture!
⏱️ Time: 5 minutes | ✅ Successful when: Surface is clean, dry and perfectly horizontal | ⚠️ Attention: Do not fix to textured wallpaper (poor adhesion) - prefer smooth surfaces, tiles or glass
Position the lighting at the right height: Place your light source 30 to 50 cm above the center of the artwork. The physical rule: the larger the artwork, the further the lighting should be to evenly cover the surface. Visualize a cone of light that encompasses the entire work without overflowing excessively. No electrical knowledge required!
⏱️ Time: 3 minutes | ✅ Success when: The entire surface of the artwork receives uniform light | ⚠️ Attention: Avoid placing the lighting too close (less than 20cm) - risk of overheating and overly concentrated lighting
Adjust the angle to eliminate reflections: Tilt your spotlight 30° downwards from horizontal. The simple technique: look at your artwork from your usual viewing position - no reflection should be visible. If you see the light source reflected, tilt it further. The principle is the same as orienting a mirror to avoid glare.
⏱️ Time: 2 minutes of adjustments | ✅ Success when: No reflections are visible from your usual viewing positions | ⚠️ Attention: Varnished or glass surfaces require a more pronounced angle - don't hesitate to go up to 45°
✨ Success check: Turn off the general lighting and turn on your artwork spotlight only. The work should "pop" immediately out of the darkness, with brighter colors and sharper details. If the “spotlight effect” is successful, you’ve won! If in doubt, simply adjust the angle - success is within reach.
— Our selection


OUR RECOMMENDED PRODUCTS
Step 2: Optimize light temperature and intensity
Now that your lighting is in place, you access the next level: the fine customization that will make the difference between "correct" and "stunning". This is where you develop your expert eye and where your space takes on a professional dimension. The effect accumulates: each adjustment improves the previous one, creating an increasingly refined visual harmony.
Expert settings
Adapt the color temperature to your artwork: For paintings with warm tones (reds, oranges, browns), set between 2700K and 3000K to enhance the warmth of the colors. For contemporary works with cool tones (blues, grays, whites), increase to 4000K to reveal the precision of the nuances. The principle: the light must "speak the same language" as your painting. Test the different settings like you adjust the temperature of your shower.
⏱️ Time: 5 minutes of testing | ✅ Successful when: The colors of the painting appear more "true" and vibrant | ⚠️ Warning: An unsuitable temperature can completely distort the colors - trust your first impression
Dosing intensity to create the right atmosphere: Start with intense lighting to evaluate maximum rendering, then gradually decrease until you obtain a natural enhancement without glare. The goal: your painting should attract the eye without overwhelming the rest of the decor. Pro tip: the painting's lighting should be 2 to 3 times more intense than ambient lighting to create a harmonious contrast.
⏱️ Time: 3 minutes | ✅ Successful when: The painting naturally attracts attention without visual effort | ⚠️ Warning: Overlighting fatigues the eye and creates an unnatural "headlight" effect
Synchronize with ambient lighting: Turn on all your usual lights and observe the overall harmony. The painting's lighting should integrate naturally without creating a visual break. If the effect seems artificial, slightly decrease intensity or adjust temperature. The art of lighting lies in this subtlety: you should feel that "something" highlights the painting without immediately identifying what.
⏱️ Time: 5 minutes of observation | ✅ Successful when: The whole thing appears natural and harmonious | ⚠️ Warning: The eye quickly gets used to it - come back 1 hour later to validate your setting
Step 3: Create a complete staging
You now master the technical basics, time for the artistic dimension! This step makes you switch from "enlightened handyman" to "amateur set designer": you create a real visual experience that your guests will remember. The final result will exceed your expectations, transforming your temporary accommodation into a unique space of character.
Staging techniques
Create voluntary areas of shadow: Intentionally turn off some general lighting to create contrast and depth. Your illuminated painting then becomes the natural focal point of the room. Advanced technique: create 2-3 "light islands" (painting + accent lamp + candle) to visually structure the space. The effect obtained: a cozy atmosphere like an art gallery or gourmet restaurant.
⏱️ Time: 10 minutes of experimentation | ✅ Successful when: The space gains sophistication and intimacy | ⚠️ Warning: Keep enough functional light for safety and comfort
Play with subtle reflections: Strategically position a mirror or reflective surface to create a delicate luminous echo. The goal is not to double the light, but to enrich the atmosphere with indirect reflections. Place the reflective element so that it captures part of your artwork lighting and subtly returns it to other areas. Result: depth and mystery, like in Flemish masters' interiors.
⏱️ Time: 15 minutes of positioning | ✅ Successful when: Soft reflections enrich the atmosphere without dazzling | ⚠️ Attention: Avoid direct reflections that would create visual competition with your artwork
Adapt lighting to the time of day: Create 2-3 different atmospheres depending on the hours: more intense light in the morning to energize, softer light in the evening to relax. If your equipment allows it, program these variations or create easily activatable "scenarios". The art of living: your space adapts to your rhythms and activities, like smart luxury lighting.
⏱️ Time: 20 minutes of programming | ✅ Successful when: You have 2-3 distinct atmospheres memorized | ⚠️ Attention: Note your favorite settings so you can easily reproduce them
The rule of mastered progression: You can move on to the next step when the effect of the previous step seems "evident" and you start noticing other details to improve. Your eye is gradually educated - patience gives better results than haste.
Congratulations! You have just acquired a know-how that few people master. This expertise in decorative lighting will serve you in all your future homes and gives you a distinct advantage during your layouts. Here are some secrets of professionals to go even further.
💎 Pro gallery tip: Photograph your artwork at different times of the day with your smartphone. The camera reveals the rendering variations that the eye gets used to no longer seeing. This technique allows you to identify micro-adjustments that will make the difference between "good" and "perfect". It's like having a permanent objective eye!
Frequent question from our readers
"Will it be weird to have sophisticated artwork lighting in a simple Airbnb?"
On the contrary! It's exactly this attention to detail that transforms a temporary accommodation into a memorable experience. Many of our customers tell us that their guests immediately notice this touch of refinement, and that it naturally elevates the level of their conversations and evenings. Beautiful lighting sets the tone for the entire space - it’s like wearing a beautiful watch: people don't consciously analyze it, but they immediately perceive that you pay attention to detail.
💡 Trust test: Try it for a week, then deliberately turn off your wall lighting for one evening. You will immediately measure the difference in atmosphere and understand the real impact on your daily well-being.
— You may also like


Avoid these mistakes that ruin everything
Now that you know how to do it right, let's protect your investment of time and energy. These mistakes are tempting because they seem logical, but they cancel out all your efforts. Luckily, they are easy to avoid when you know them!
- 🚫 Placing the lighting too close to the artwork: Instinct tells us to bring the light closer for "more effect", but this creates overexposed areas and others in shadow. Like a flash that's too close in a photo, the result is harsh and unbalanced. Solution: move the lighting back and increase intensity instead. This is mistake #1 for beginners - you are not alone!
- 🚫 Using light that is too white (over 4500K): DIY "cool white" spotlights give a clinical rendering that kills all artistic warmth. Your artwork takes on unflattering greenish tones. Alternative: always prefer "warm white" (2700-3000K) for works of art. Same mistake as an office lighting!
- 🚫 Neglecting ambient lighting: Creating a perfect spotlight on the artwork but leaving the rest in darkness creates an artificial "headlight" effect. Your eye gets tired and the overall look is unbalanced. Golden rule: maintain soft lighting in the rest of the room. Think restaurant lighting, not cinema!
- 🚫 Forgetting to test at different times: A perfect setting in full daylight can become dazzling in the evening. Natural light greatly influences perception. Pro technique: validate your settings at three times - morning, afternoon and evening. A check that takes 5 minutes but avoids months of frustration!
- 🚫 Choosing unsuitable fixings for the support: Gluing a magnetic system to wood or suction cups to plaster - guaranteed recipe for failure! Each support has its optimal solution. Simple check: test adhesion in vacuum before installing the lighting. Like choosing the right wall plug for the right wall - logical but crucial!
🛡️ Safety checklist in 30 seconds: Your lighting does not overheat after 30 minutes of being on ✓ No distracting reflections from your usual viewing positions ✓ The intensity allows you to comfortably view the artwork for more than 5 minutes ✓ Alarm signals: vibrations, odors, excessive heat = immediate shutdown
— In the same vein


Practical questions about lighting temporary housing
An effective solution costs between €25 and €80 depending on the chosen sophistication. To optimize: start with a basic LED spot at €25 - if you like the effect, you can upgrade later. Concrete example: for a 3-week stay, it represents €1 per day to completely transform your daily living environment - less than a coffee!
A picture LED spot consumes 5 to 15 watts maximum, less than a classic bulb. Actual electrical cost: about €0.50 per month in operation 4h/day. It is negligible for the landlord and allowed in all leases - it is standard small appliance. More economical than a phone charger!
Absolutely! No tools required - just your hands and 10 minutes maximum. Modern systems are designed like smartphone accessories: intuitive and plug-and-play. If you know how to install a phone holder in the car, you already master the necessary technical complexity. In case of doubt, all manufacturers offer 2-minute YouTube videos.
Modern temporary fixings (magnetic, suction cups, repositionable adhesives) are specially designed not to leave any trace. Pro tip: first test the fixing in an invisible corner for 24 hours to check compatibility with the surface. Removal technique: gently heat the adhesive with a hairdryer before removing - it peels off like a sticker.
The beauty of directional lighting is its total flexibility! Small picture: focused spot at 30cm. Large artwork: LED strip or double spotlight. Difficult angle: projector on a 360° orientable tripod. Universal rule: as long as you can position a light source 30° above the center of the painting, you will get a professional result. Adaptability is endless!
Your new life with gallery lighting
In a few days, looking at your painting will have become an instinctive pleasure. Each time you enter this room, your eyes will naturally be drawn to the perfectly highlighted artwork, and you will feel that discreet sense of pride of living in a space that truly resembles you. Your guests will immediately notice this attention to detail that transforms temporary housing into a place of character.
Beyond the decorative aspect, you will have developed an expert eye for lighting and layout. This skill will follow you in all your future homes and give you confidence to dare other aesthetic improvements. You have become someone who knows how to create beauty in their daily life, even in temporary conditions.
The hardest part was understanding the principles - now that you master them, your first step can be to observe your painting under its current lighting and imagine the possible transformation. Your future self will be grateful for taking the plunge today rather than waiting for the "right time" which never comes.
✨ The game-changing click: You now have all the keys to transform your space in 15 minutes flat. Perfect lighting awaits you - all it takes is the first step. Your painting deserves to be admired, and you deserve to live in a setting that inspires you every day!
Also read: 💡 Read our other articles on lighting
</div


