

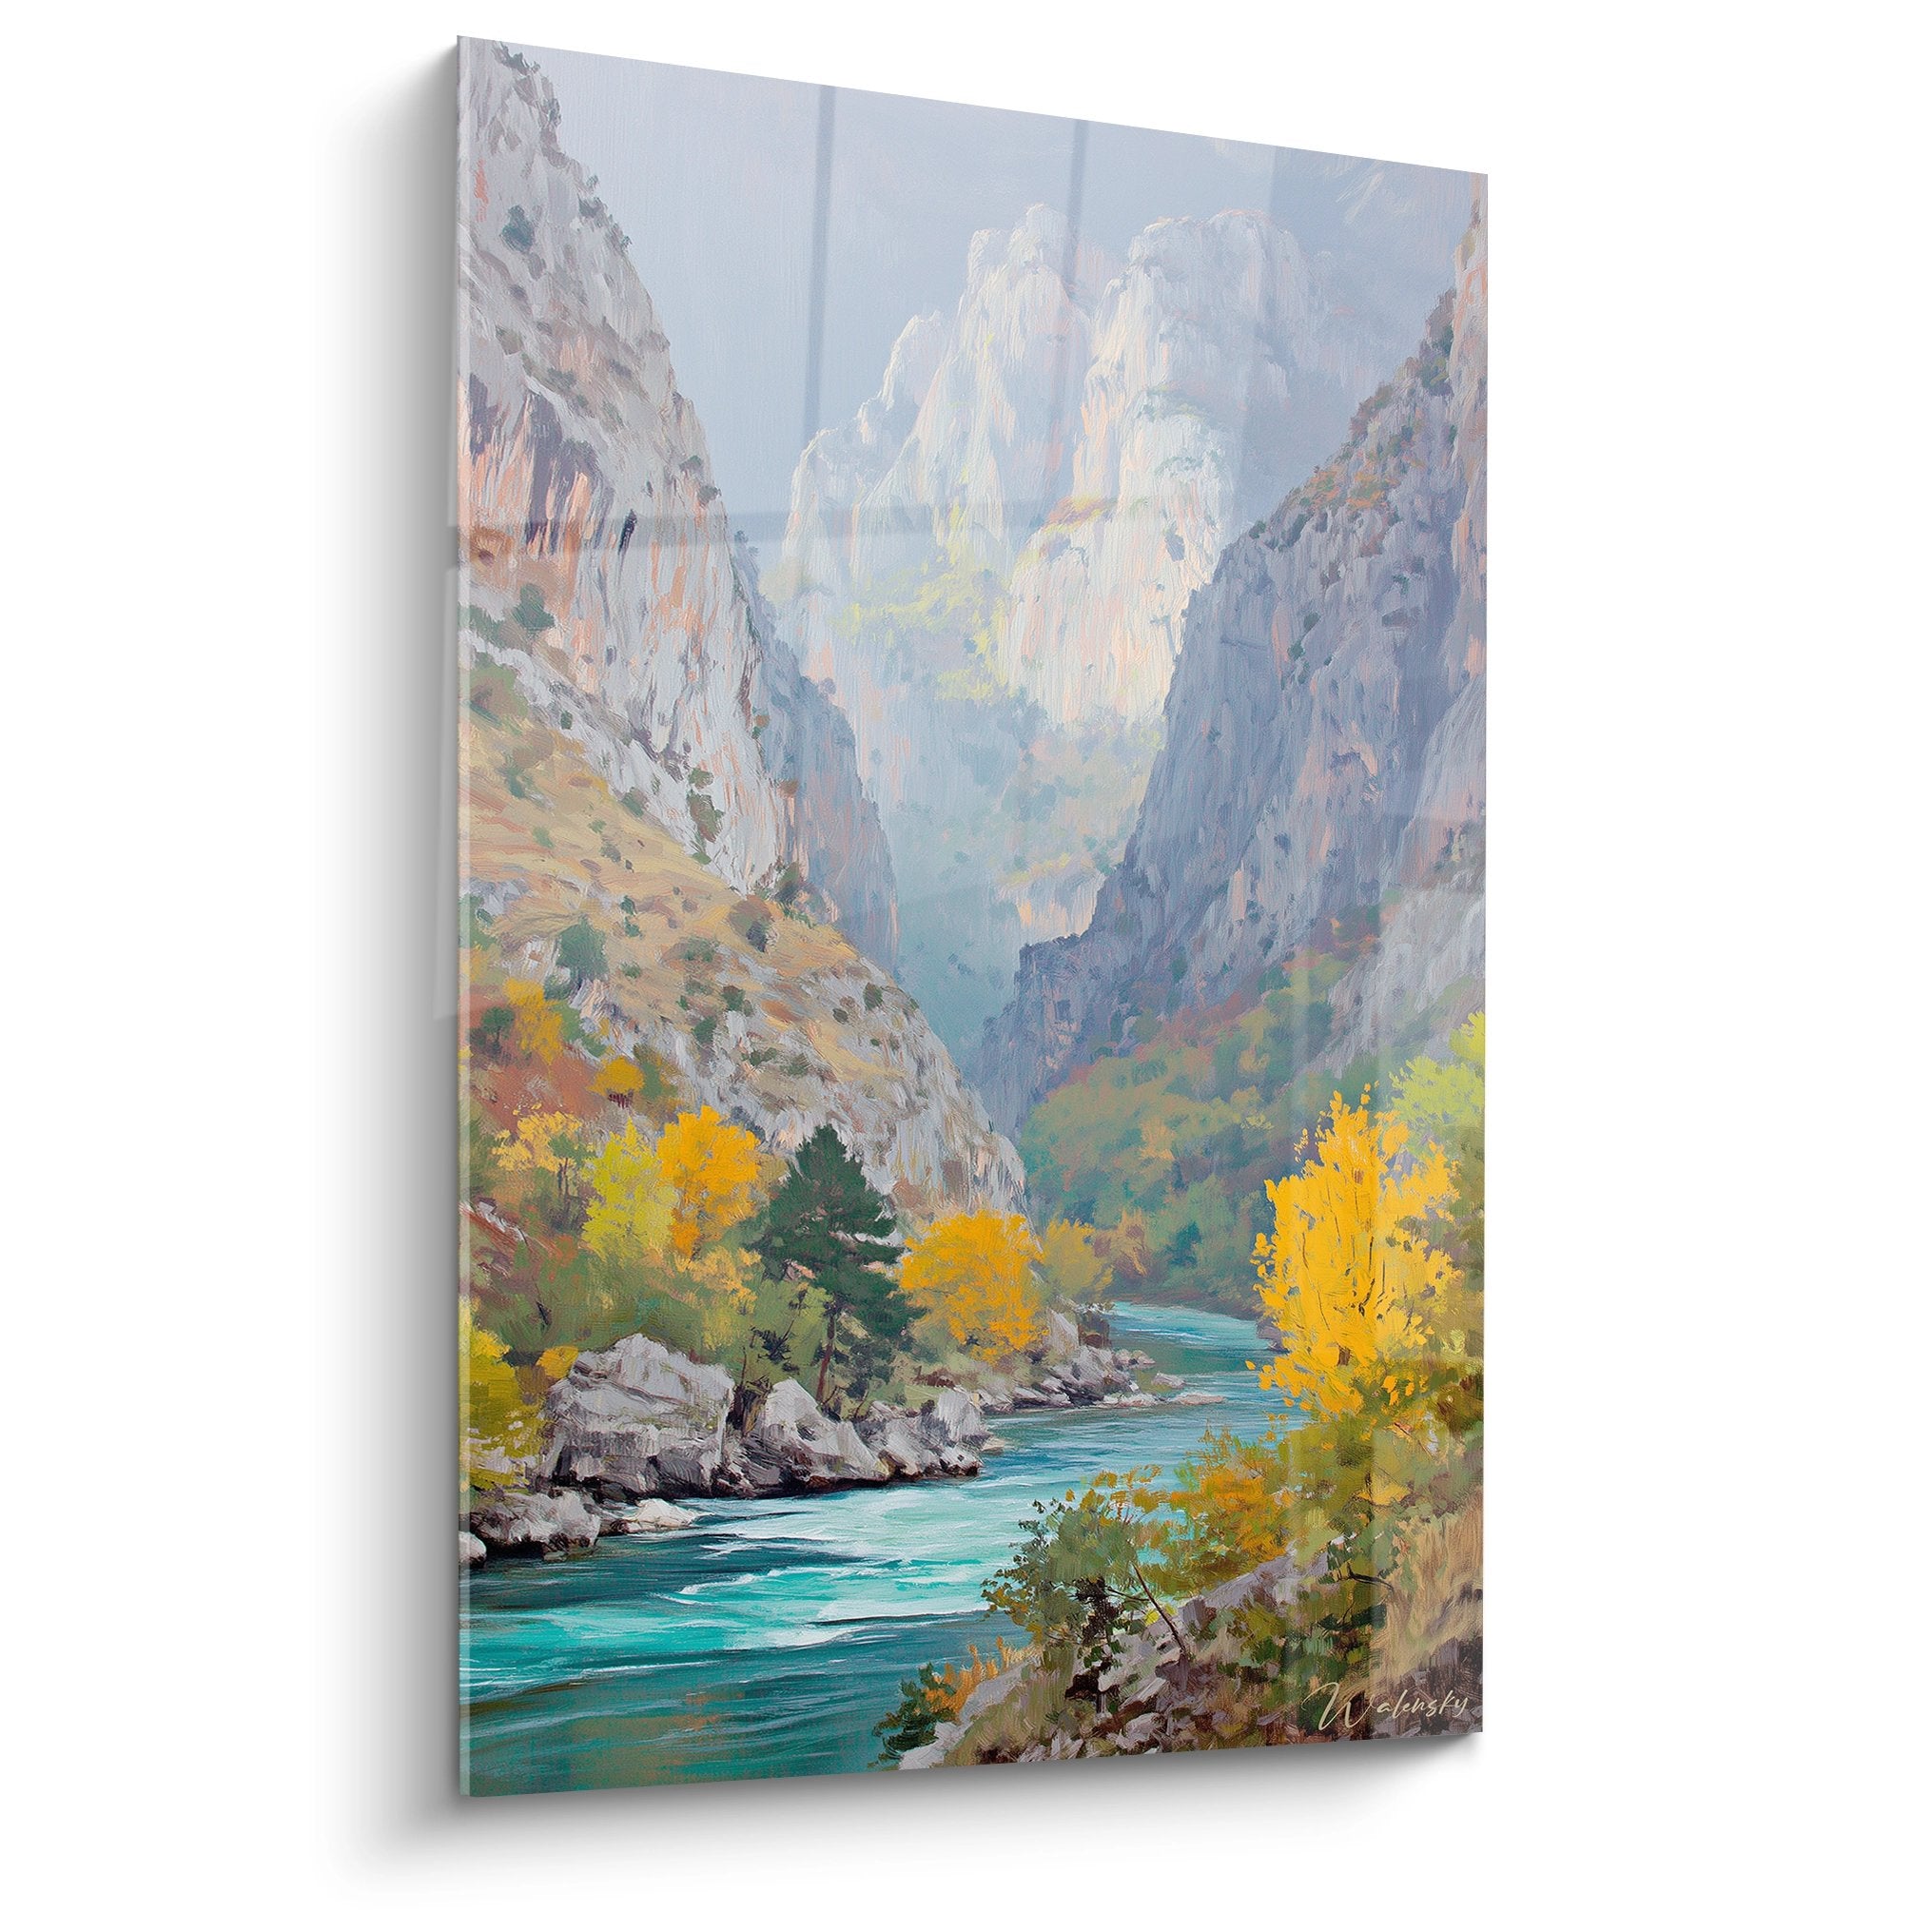






Create a Focal Point Without Repainting or Wallpapering
October 11, 2025 · 17 min read · by Walensky
The golden rule of the focal point: One strong element is better than ten small scattered elements. Your gaze will instantly find its anchor, and all space will be harmoniously organized around it. Visible results in less than 24 hours.
Understand What's Really Happening in Your Space
Your living room is likely suffering from one of these symptoms: your eyes dart around the room without stopping, you feel a sense of clutter even when everything is tidy, or your guests settle in without truly "living" in the space.
What's really happening is that your brain is desperately searching for a visual anchor point. Without it, it remains in a constant "analysis" mode instead of shifting to "relaxation." It’s not that you lack taste; your space lacks visual hierarchy.
Think of a village square: without its church or central fountain, it would just be an anonymous intersection. Your living room needs its "monument" to become a true place of life.
The First Hidden Cause: The Illusion of Decorating by Accumulation
Contrary to what you might think, multiplying decorative objects doesn't create character, but visual dispersion. True elegance comes from selection, not addition.
It’s like wearing all your jewelry at once: individually, they are beautiful, but together, they overwhelm each other. A single exceptional piece of jewelry will have infinitely more impact.
This revelation will radically simplify your decorating approach and save you time and money. No more need to run through stores to "add something"; you’ll know exactly what to choose.
🔍 Quick Test: Look at your living room and count how many decorative elements attract your attention. If you count more than 3, your space suffers from visual dispersion. A focal point artwork will help reorganize all of this harmoniously.
Many believe that walls absolutely must be colored to have character. In reality, neutral walls offer the perfect canvas to showcase your personality through art.
Imagine a jewelry box: it's understated so that the diamond shines. Your white or beige walls are your jewelry box, your artwork will be your diamond.
This approach frees you from the anxiety of choosing a color and avoids costly mistakes. No more regrets three months after painting in emerald green!
The Third Cause: Scale Mismanagement
The factor that no one notices is the disproportion between the size of the artwork and the furniture. A small 12x16 inch artwork above a three-seater sofa creates a frustrating visual imbalance.
Observe your living room: if your artworks seem to "float" above the furniture without anchoring them visually, that's exactly the problem. The right scale creates harmony, the wrong scale creates discomfort.
This awareness will revolutionize your way of choosing art and prevent those impulsive purchases you later regret.
3 Signs Your Scale Is Wrong:
- Your artworks seem lost on the wall: They are too small in relation to the furniture and create a "stamp" effect
- The space seems visually unbalanced: One side appears heavier than the other without apparent reason
- You are still hesitating about the location: This means the size doesn't match the available space
The trigger element: the magic of the "wow" effect
What really makes the difference is that fraction of a second when someone enters your home and says "Wow!". This effect is created when a strong element immediately captures attention. It's the visual equivalent of a decorative crush. You’ll recognize it when your guests naturally stop in front of your artwork, when conversations become animated around your artistic choice.
The 3-second rule: A good focal point captures attention in less than 3 seconds upon entering the room. If you have to search for where to look, it means the focal point doesn't exist or isn’t powerful enough.
| ❌ Decorative dispersion | ✅ Mastered focal point | 💡 Why it works | 🎯 Immediate benefit |
|---|---|---|---|
| Lots of small objects everywhere | A strong artwork + a few accessories | The eye finds its anchor quickly | Feeling of order and elegance |
| Colorful walls + cluttered decor | Neutral walls + impactful art | Contrast makes the art stand out | Timeless and sophisticated style |
| Tableaux de tailles différentes | An artwork scaled to the furniture | Harmonious proportions | Perfect visual balance |
| Fear of "doing too much" | Assumed and personal choice | Confidence is felt | Space that resembles you |

More selected pieces
Echoes of Ancient Rocks Wall Art - Abstract Edition
233,90€
Discover this artwork →The simple method to create your perfect focal point
Rest assured, creating an effective focal point doesn't require particular artistic talent or a large budget. It’s like learning to make a perfect vinaigrette: once you know the proportions, it can be reproduced every time. We will proceed in logical steps: choosing the ideal location, selecting the perfect artwork, then installing it for maximum impact. The result? A living room that tells your story and impresses with its obviousness.
🎯 Overview of the transformation: Three simple steps like planting a tree: prepare the ground (choose the location), plant the seed (select the artwork), then watch the effect grow (optimize the installation). Each step reinforces the next for a harmonious and lasting result.
Step 1: Identify the strategic location
Start with the location rather than the artwork avoids costly mistakes. It’s like choosing the location of a house before drawing up the plans: the environment dictates the best solutions. Once this step is mastered, you will feel the satisfaction of seeing the space organize itself mentally around this future anchor point.
What you need for this step
- Measuring tape: To measure available dimensions. Choose a model of at least 3 meters, more practical than short rulers. Check that the numbers are legible - it's precision that makes the difference between a professional and an amateur result. Kraft paper or newspaper: To visualize the footprint of the future artwork. This material is easily attached to the wall with repositionable tape without leaving traces. The advantage over cardboard: it folds easily and costs less for large surfaces. Visual distance: The space needed to step back 3 to 4 meters and judge the overall effect. It's this perspective that reveals whether your proportions are correct - just like a painter who steps away from their canvas to check their work.Now let's move on to practice
The gestures that make the difference
Identify the convergence wall: Identify the wall you see first when entering the room. It is usually the one facing the entrance or perpendicular to the main sofa. This strategic position ensures that your artwork will be seen immediately, creating the desired impact at first glance.
⏱️ Time: 5 minutes | ✅ Successful when: You can see this wall from the entrance AND from the main seating area | ⚠️ Attention: Avoid walls facing windows (reflections) or too close to a corner (confined effect)
Measure the optimal hanging zone: Above a sofa, the artwork should be between 2/3 and 3/4 of the width of the furniture. For a 200cm sofa, aim for 130-150cm wide. This proportion creates the perfect visual balance without being overwhelming or too small.
⏱️ Time: 3 minutes | ✅ Successful when: The measured width respects this proportion | ⚠️ Attention: Many underestimate the necessary size for fear - rely on numbers rather than impressions
Test with craft paper: Cut out a rectangle to the calculated dimensions and attach it to the wall. Step back and observe the overall effect. This simulation avoids unpleasant surprises after purchase and gives you confidence in your proportions.
⏱️ Time: 10 minutes | ✅ Successful when: The whole looks balanced from 3 meters away | ⚠️ Attention: Don't hesitate to adjust the size if the effect doesn't completely convince you
✨ Step validation: Your location is perfect if the craft paper naturally attracts your gaze when entering the room, if the whole looks proportioned from your sofa, and if you are already imagining the perfect artwork in that place. If in doubt, leave the paper for 24 hours and observe it at different times: you will confirm your choice.

OUR RECOMMENDED PRODUCTS
Step 2: Select a piece that reflects you
Now that the location is defined, you can choose with confidence. This step is more intuitive but follows specific rules. The goal: to find that artwork that creates an emotional connection while respecting your technical constraints. The cumulative effect begins here: the right location + the right artwork = guaranteed impact.
Your essential selection criteria
- The style that speaks to you: Abstract for modernity, figurative for narrative, photographic for sophistication. Choose according to your first instinct - it will guide your guests. Avoid "to please" compromises: your authenticity creates the impact.
- Colors in harmony: Pick up 1 or 2 colors already present in your existing decor (cushions, curtains, rugs). This color consistency unifies the space without overwhelming it. Art becomes the conductor of your chromatic palette.
- The appropriate finish: Canvas stretched on frame for elegance, dibond for modernity, print on glass for luxury. Each support brings its own personality. The quality of the finish is immediately felt and justifies the investment.
The winning selection process
Define your emotional intention: Do you want to soothe (soft tones, organic shapes), energize (vibrant colors, angular compositions), or impress (large format, strong contrast)? This intention guides all your subsequent choices and guarantees the consistency of the final effect.
⏱️ Time: 10 minutes of reflection | ✅ Successful when: You can describe the desired atmosphere in 3 words | ⚠️ Attention: Do not mix several intentions - choose the main desired effect
Virtually test the artwork: Use the site's in-situ preview or print a miniature version to position it on your craft paper. This visualization eliminates 95% of post-purchase disappointments and gives you certainty about the right choice.
⏱️ Time: 15 minutes | ✅ Successful when: The artwork integrates naturally into your existing decor | ⚠️ Attention: Be wary of screens that alter colors - prioritize sites with colorimetric guarantee
Validate the investment: A good focal point artwork represents 10-15% of the total decoration budget for the living room. This proportion guarantees a significant impact without unbalancing your finances. It's the most profitable decor purchase in terms of visual effect per euro invested.
⏱️ Time: 5 minutes | ✅ Successful when: The price corresponds to the importance you place on this space | ⚠️ Attention: Avoid extreme economy that disappoints and extreme luxury that stresses
Step 3: Install for maximum impactPerfect installation reveals the full potential of your choice. A beautiful artwork poorly hung loses 70% of its impact. At this stage, you already master the essentials: you will now give life to your vision and feel the pride of accomplishment.
Professional hanging hardware
- Spirit level: Essential to avoid the "tilted picture" effect that ruins everything. A model of at least 60cm allows you to check horizontality across the entire width. Millimetric precision makes the difference between amateur and professional. Wall anchors adapted to your wall: Molly for drywall, chemical anchor for concrete, wood screw for partition walls. Check the maximum load - it must exceed the weight of your artwork by 50%. Safety first, especially for large formats. Measuring tape and pencil: To accurately transfer measurements. Use a 2H pencil (fine line) rather than a thick felt-tip pen. Precise markings greatly facilitate hanging and avoid multiple holes in the wall.
Perfect hanging technique
Calculate ideal height: The center of the artwork should be 145-150cm from the floor (average eye level). For an 80cm high picture, the hook is therefore 185-190cm from the floor. This museum standard guarantees optimal visual comfort for all your guests.
⏱️ Time: 5 minutes | ✅ Success when: The calculation corresponds to your on-site measurements | ⚠️ Attention: Adjust slightly if you are particularly tall or short
Mark and drill with precision: Transfer the hanging points with a pencil, check horizontality with the level, then drill to the exact dimensions of your anchors. Precision at this stage determines the final quality of the installation.
⏱️ Time: 15 minutes | ✅ Success when: The holes are perfectly aligned and sized | ⚠️ Attention: It's better to drill slowly than to miss and multiply the holes
Hang and fine-tune: Position the artwork, check horizontality one last time, then step back to validate the overall effect. This stage reveals the transformation: your living room suddenly finds its soul and personality.
⏱️ Time: 10 minutes | ✅ Success when: The artwork naturally attracts the eye from the entrance | ⚠️ Attention: Don't hesitate to adjust by a few centimeters if the effect is not perfect
The final validation rule: A successful focal point immediately transforms the atmosphere of the room. You will know it because your eyes will be naturally drawn to this area, the space will appear more organized, and you will feel a new satisfaction in your living room. Allow 48 hours before any adjustment.
Congratulations, you now master the fundamentals! But to go from "satisfactory" to "exceptional", a few expert subtleties will make all the difference. These details create the gap between an informed amateur and a true decoration connoisseur.
💎 Pro decorator's secret: Dedicated lighting multiplies impact by 3. An adjustable wall lamp or spotlights on rails directed at your artwork transform the piece into a real jewel. Light reveals textures, intensifies colors and creates that prestigious aura found in galleries. Investment: €50-100 for a spectacular effect.
Frequent question from our readers
"I'm afraid my guests will find my choice too personal or daring..."
This fear is very understandable and even healthy - it shows that you care about the harmony of your home. In reality, exactly the opposite happens: your guests always admire a confident choice more than a "neutral" decoration without personality. Imagine entering someone's home who dared to hang an artwork that resembles them versus someone who chose "what doesn't offend anyone". The first space tells a story, creates emotion, launches conversations. Your measured boldness creates relational richness.
🎯 Reassurance action: Start by showing your selection to 2-3 trusted people. Their enthusiastic reactions will give you the final confidence to take the plunge. Authenticity always seduces more than conformity.
— Our selection


Absolutely avoidable pitfalls
Attention, some mistakes can negate all your efforts! I'm going to reveal the most common pitfalls so you can avoid them. These errors are so common that even beginner decorators commit them. Fortunately, they are easy to prevent when you know them.
- 🚫 Choosing the artwork before the location: It's tempting to crack on an artistic crush, but you risk ending up with a magnificent work... that doesn't integrate harmoniously anywhere. Always size the space first. Error made by 80% of beginners - you are warned! 🚫 Underestimating the necessary size: Out of fear of "doing too much", many choose too small. Result: the postage stamp effect that diminishes the impact of the artwork AND the space. Trust calculated proportions, not your impressions. Your eye quickly gets used to the right proportions. 🚫 Neglecting existing lighting: A painting in a dark area loses 70% of its impact. Check the natural and artificial lighting of your chosen location. Light reveals art, shadow kills it. Provide supplemental lighting if necessary. 🚫 Multiplying focal points: Very tempting to add "one more little something," but it dilutes the effect. One powerful focal point is better than three means. Strength comes from concentration, not dispersion.
- 🚫 Ignoring the existing: Your artwork must dialogue with your furniture, not ignore it. Observe the lines, colors, and materials already present. Harmony arises from complementarity, not systematic opposition.
🛡️ Anti-error verification system: Before the final purchase, check that your artwork is at least 2/3 of the width of the main piece of furniture, captures attention in 3 seconds from the entrance, integrates into your existing color palette, and that you feel a positive emotion when looking at it. These 4 points validate 95% of success.
— You may also like


Your most frequently asked questions
Allow 150 to 400€ for a significant impact in a standard living room. This range gives you access to professional quality works in 80x120cm or 100x150cm formats. To optimize: choose canvas print (excellent value for money) and take advantage of seasonal promotions. A painting from this range really transforms the space for at least 10-15 years.
The effect is immediate as soon as it's hung, but your brain needs 3-7 days to get used to and fully appreciate the transformation. It’s normal to feel a slight “shock” for the first few days - you are discovering your space in a new light! After a week, you won't be able to imagine your living room without this focal point.
No, but create a subtle color link. Repeating 1 or 2 colors already present (even in small touches) is enough to create harmony. Art can even introduce a new color that will enrich your palette! The important thing: avoid total color clashes that create visual discomfort.
Simpler than you think with the right method! A 150cm artwork is fixed with 2 solid anchor points and a level. Allow 30 minutes the first time, 10 minutes when you master it. The secret: prepare well (measurements, materials) before drilling. If in doubt about your walls, consult your hardware store - they know local specifics.
Your transformed living room awaits
In a few weeks, your living room will be unrecognizable. Your guests will instinctively stop in front of your artwork, conversations will animate around your artistic choice, and you will feel that discreet pride of a job well done. Even more: you will have acquired that decorative confidence which transforms a home into a true haven.
This mastery of the focal point will radiate on all your decor approach. You will now know how to structure any space, create impact with simplicity, and make assumed choices. No more wandering in decor stores - you now have a clear method and precise criteria.
Understanding was the most difficult step - you've overcome it! Now all that remains is to take action. Start measuring your space tonight, and you will already feel the excitement of the transformation to come. Your new living room awaits.
✨ Your moment has arrived: You have all the tools to create a space that finally resembles you. The only thing separating you from your dream living room is the first step. So, measure in hand, and go for it - your future self will thank you!
— In the same vein


