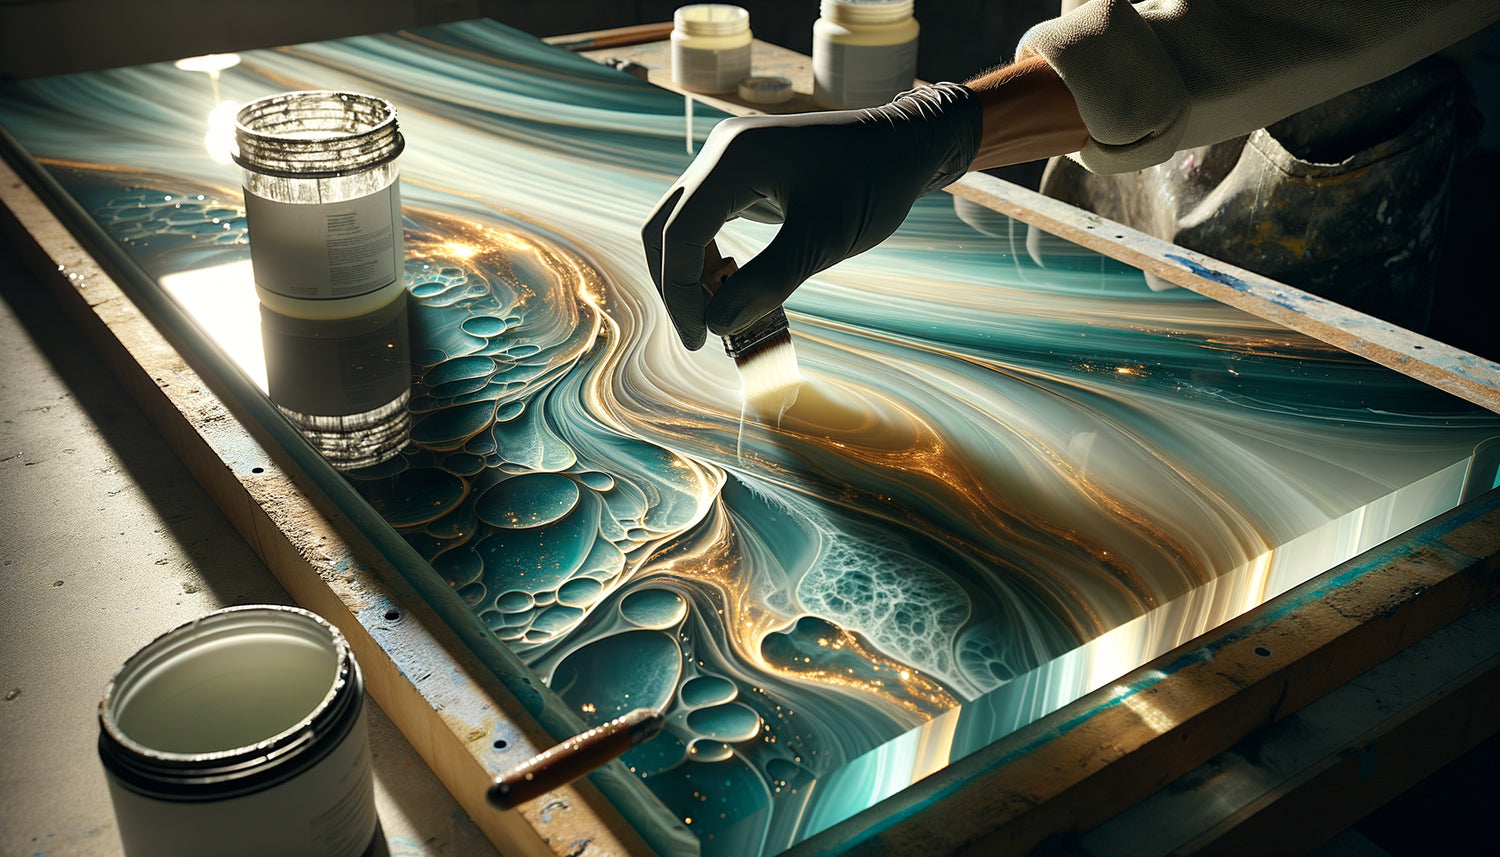
Morning light streams through the bay window, caressing this wall that seems alive. Waves of translucent resin capture the light, creating changing depths depending on the time of day. This is the magical moment when a client finally understands why they invested in an epoxy resin creation: this material has a soul. But behind this hypnotic beauty lies a ruthless technical reality. The curing time of epoxy resin transforms an ambitious project into a masterpiece... or an expensive disaster.
Here's what a mastered curing time brings to your project: a flawless finish with perfectly fused layers, vibrant colors without whitish haze, and an installation that lasts for decades without yellowing or cracking.
How many creators have seen their work ruined by impatience? This resin that seemed dry to the touch but warped under the weight of a second layer. These trapped bubbles that could have escaped with a few extra hours. These dust inclusions on a prematurely handled surface. The frustration is devastating: hours of meticulous work reduced to nothing by a lack of knowledge of curing cycles.
The good news? Each resin has its own temporal language. Once deciphered, this code gives you absolute control over your wall creations. You no longer improvise, you orchestrate each phase with the precision of a master craftsman.
I invite you on a journey to the heart of polymerization, this silent alchemy that determines the success of your most ambitious wall installations.
The anatomy of hardening: understanding the three critical phases
Epoxy resin polymerization is not simply drying. It's an irreversible chemical reaction that transforms two liquid components into a solid and stable molecular structure. For a professional epoxy resin wall decoration, distinguishing the three phases becomes essential.
The first phase, called gelation, occurs between 30 minutes and 2 hours after mixing depending on the formulation. The resin goes from a liquid state to a viscous consistency, then gelatinous. This is your last window to correct defects, eliminate residual bubbles or adjust pigments. Miss this moment, and you will have to sand and start over.
Next comes the tactile hardening phase, generally reached between 12 and 24 hours. The surface seems dry, you can touch it gently without leaving a mark. Be careful: this is a seductive trap. At this stage, the heart of the resin remains vulnerable. Applying a load or a new layer risks creating invisible deformations that will only appear weeks later.
The third phase represents complete polymerization, the holy grail of professional installations. Depending on the resin used, it takes between 5 and 7 days at room temperature. Some high-performance formulations even require 14 days. It is only at this stage that your wall decoration reaches its maximum hardness, its optimal chemical resistance and its definitive dimensional stability.
The temperature factor: your ally or your enemy
Every degree counts. At 15°C, your polymerization time can double. At 30°C, it can be halved. But accelerating isn't always desirable. Too rapid a polymerization traps more bubbles, generates more internal stresses and reduces the handling time for creative effects.
For professional installation, ideally maintain your workspace between 20°C and 24°C. Use a hygrometer: humidity above 60% creates that dreaded whitish veil, 'blushing', which ruins the crystalline appearance of your creation.
Not all epoxy resins are equal: adapt the time according to the project
A common mistake is applying the same deadlines to all resins. This ignores that each formulation has a specific chemistry, designed for distinct applications.
Deep pour epoxy resins dominate large-format wall creations. Their slow gelation time (4 to 6 hours) allows bubbles to naturally rise. Tactile hardening occurs after 36 to 48 hours, but complete polymerization requires 7 to 10 days. Patience is here synonymous with perfection.
Laminating resins, more reactive, gel in 45 minutes to 1h30. They become manageable after 18 to 24 hours and reach their final hardness in 5 to 7 days. Perfect for finishing layers or embedding decorative elements.
UV resins revolutionize certain applications. Their polymerization under UV lamp takes 2 to 5 minutes depending on the thickness. Spectacular for details, but limited to thicknesses less than 5mm. For complex wall decor, they complement classic epoxy resins without replacing them.
Thickness dictates the tempo
A 3mm layer polymerizes differently from a 30mm thickness. The exothermic reaction – this heat released during mixing – intensifies with volume. A significant mass of epoxy resin can reach 80°C at its core, abruptly accelerating polymerization and creating thermal stress cracks.
For thick wall panels, proceed in layers of successive 10 to 15mm maximum. Respect 24 to 48 hours between each application. This layered strategy ensures homogeneous polymerization and eliminates the risk of internal overheating.

The timeline for a successful wall installation
Planning a professional installation of epoxy resin wall decor requires a global temporal vision. Here is the schedule I recommend for a 2m x 1.5m deep cast resin wall panel.
Day 1 - Preparation : Support sanded, dusted, primed if necessary. Meticulous masking of adjacent areas. Preparation of a climate-controlled and dust-free space.
Day 2 - First pour : Application of the base layer (10-15mm). Elimination of bubbles with a torch within the first 2 hours. Maintaining constant temperature.
Day 3-4 - Tactile hardening : Visual monitoring. No intervention. The resin is vulnerable.
Day 5 - Light sanding : If necessary, sanding grain 220 to ensure adhesion of the next layer. Dusting with compressed air and isopropyl alcohol.
Day 6 - Second pour : Application of the creative layer (pigments, inclusions, effects). Same protocol as the first pour.
Day 7-10 - Intermediate polymerization : Patience. The resin hardens deeply. Avoid any handling.
Day 11 - Finishing coat : Laminating resin for a perfect vitrified finish. This thin layer (2-3mm) protects and magnifies the underlying work.
Day 12-18 - Final polymerization : Complete polymerization continues. It is only after this period that you can permanently install the panel, drill it for fixings or subject it to constraints.
Smartly accelerate : post-curing
For professionals pressed for deadlines, post-curing offers a solution. After 24 hours of hardening at room temperature, place your creation in a heated environment at 50-60°C for 3 to 5 hours. This step accelerates the residual chemical reaction and can reduce the total polymerization time by 40%.
Attention: this technique requires suitable equipment (oven or ventilated heated space) and a gradual temperature rise to avoid thermal shock. To be reserved for installations where deadlines are paramount.
The fatal errors that ruin an installation
Fifteen years of practice have taught me that certain mistakes consistently recur, even among experienced creators.
Creative impatience : applying a new layer before the previous one is fully polymerized. Result: delamination, bubbles trapped between layers, clouding. The unpolymerized resin reacts chemically with the new pour, creating invisible zones of weakness that will appear months later.
Climate negligence : working in an unheated garage in November or under 35°C in full summer. Thermal variations during polymerization generate internal stresses which manifest as microcracks or premature yellowing.
Approximate dosage: an imprecise resin/hardener ratio completely disrupts the curing time. Too much hardener abruptly accelerates the reaction (overheating, cracking), too little leaves the resin sticky indefinitely. A precision balance is essential, not a visual assessment.
Premature installation: fixing the wall panel after 48 hours of curing because it 'seems dry'. The vibrations of drilling, the weight of the fixings, and mechanical stresses deform resin that is not fully polymerized. Two weeks later, you notice irreversible deformations.

Test before investing: the test panel rule
Every large-scale epoxy resin wall decoration project deserves its own test panel. Prepare a 30cm x 30cm sample with the same resin, pigments, and technique as your final creation.
This modest investment reveals the exact behavior of your formulation: actual gel time in your working conditions, color evolution, possible defects, final hardness achieved. Meticulously note each observation: ambient temperature, humidity, time between coats, appearance at each stage.
This logbook becomes your reference. During definitive installation, you will no longer be navigating blindly but following a precise, tested, and validated map.
When time becomes your artistic signature
Mastering epoxy resin polymerization transcends technique to become a creative gesture. Some spectacular visual effects only exist thanks to precise manipulation of curing times.
Organic cells are born by pouring pigmented resin onto a partially gelled layer. Depth effects are created by layering coats at different stages of polymerization. The embedding of elements (dried flowers, metals, wood) require resin that is sufficiently gelled to hold them in suspension, but liquid enough to coat them without bubbles.
Time is no longer a constraint to be endured but a mastered creative parameter.
Your walls deserve an artistic presence that dialogues with light
Discover our exclusive collection of wall art for real estate agencies that transforms every space into a memorable visual experience, without the technical constraints of epoxy.
Patience as a philosophy of creation
In a world obsessed with instant gratification, epoxy resin imposes its own rhythm. This slowness is not a weakness but an invitation to excellence. Each day of waiting is a day of silent transformation, where molecular chains weave together to create a structure that will defy time.
Imagine this wall panel finally installed. The grazing light of the evening reveals unsuspected depths. Visitors approach, fascinated by this surface that seems liquid while being perfectly solid. No one sees the 18 days of patience that this work required. But you do.
You know that every respected hour, every awaited layer, every monitored temperature contributed to this perfection. Complete polymerization was not a constraint but the maturation process that transforms a chemical mixture into a lasting masterpiece.
Your next professional installation begins now: not by mixing components, but by planning a schedule that honors the nature of the material. Three weeks may seem long, but they buy decades of beauty without compromise.
Epoxy resin does not forgive improvisation, but it rewards patience with spectacular generosity. It is up to you to write your own temporal score.