

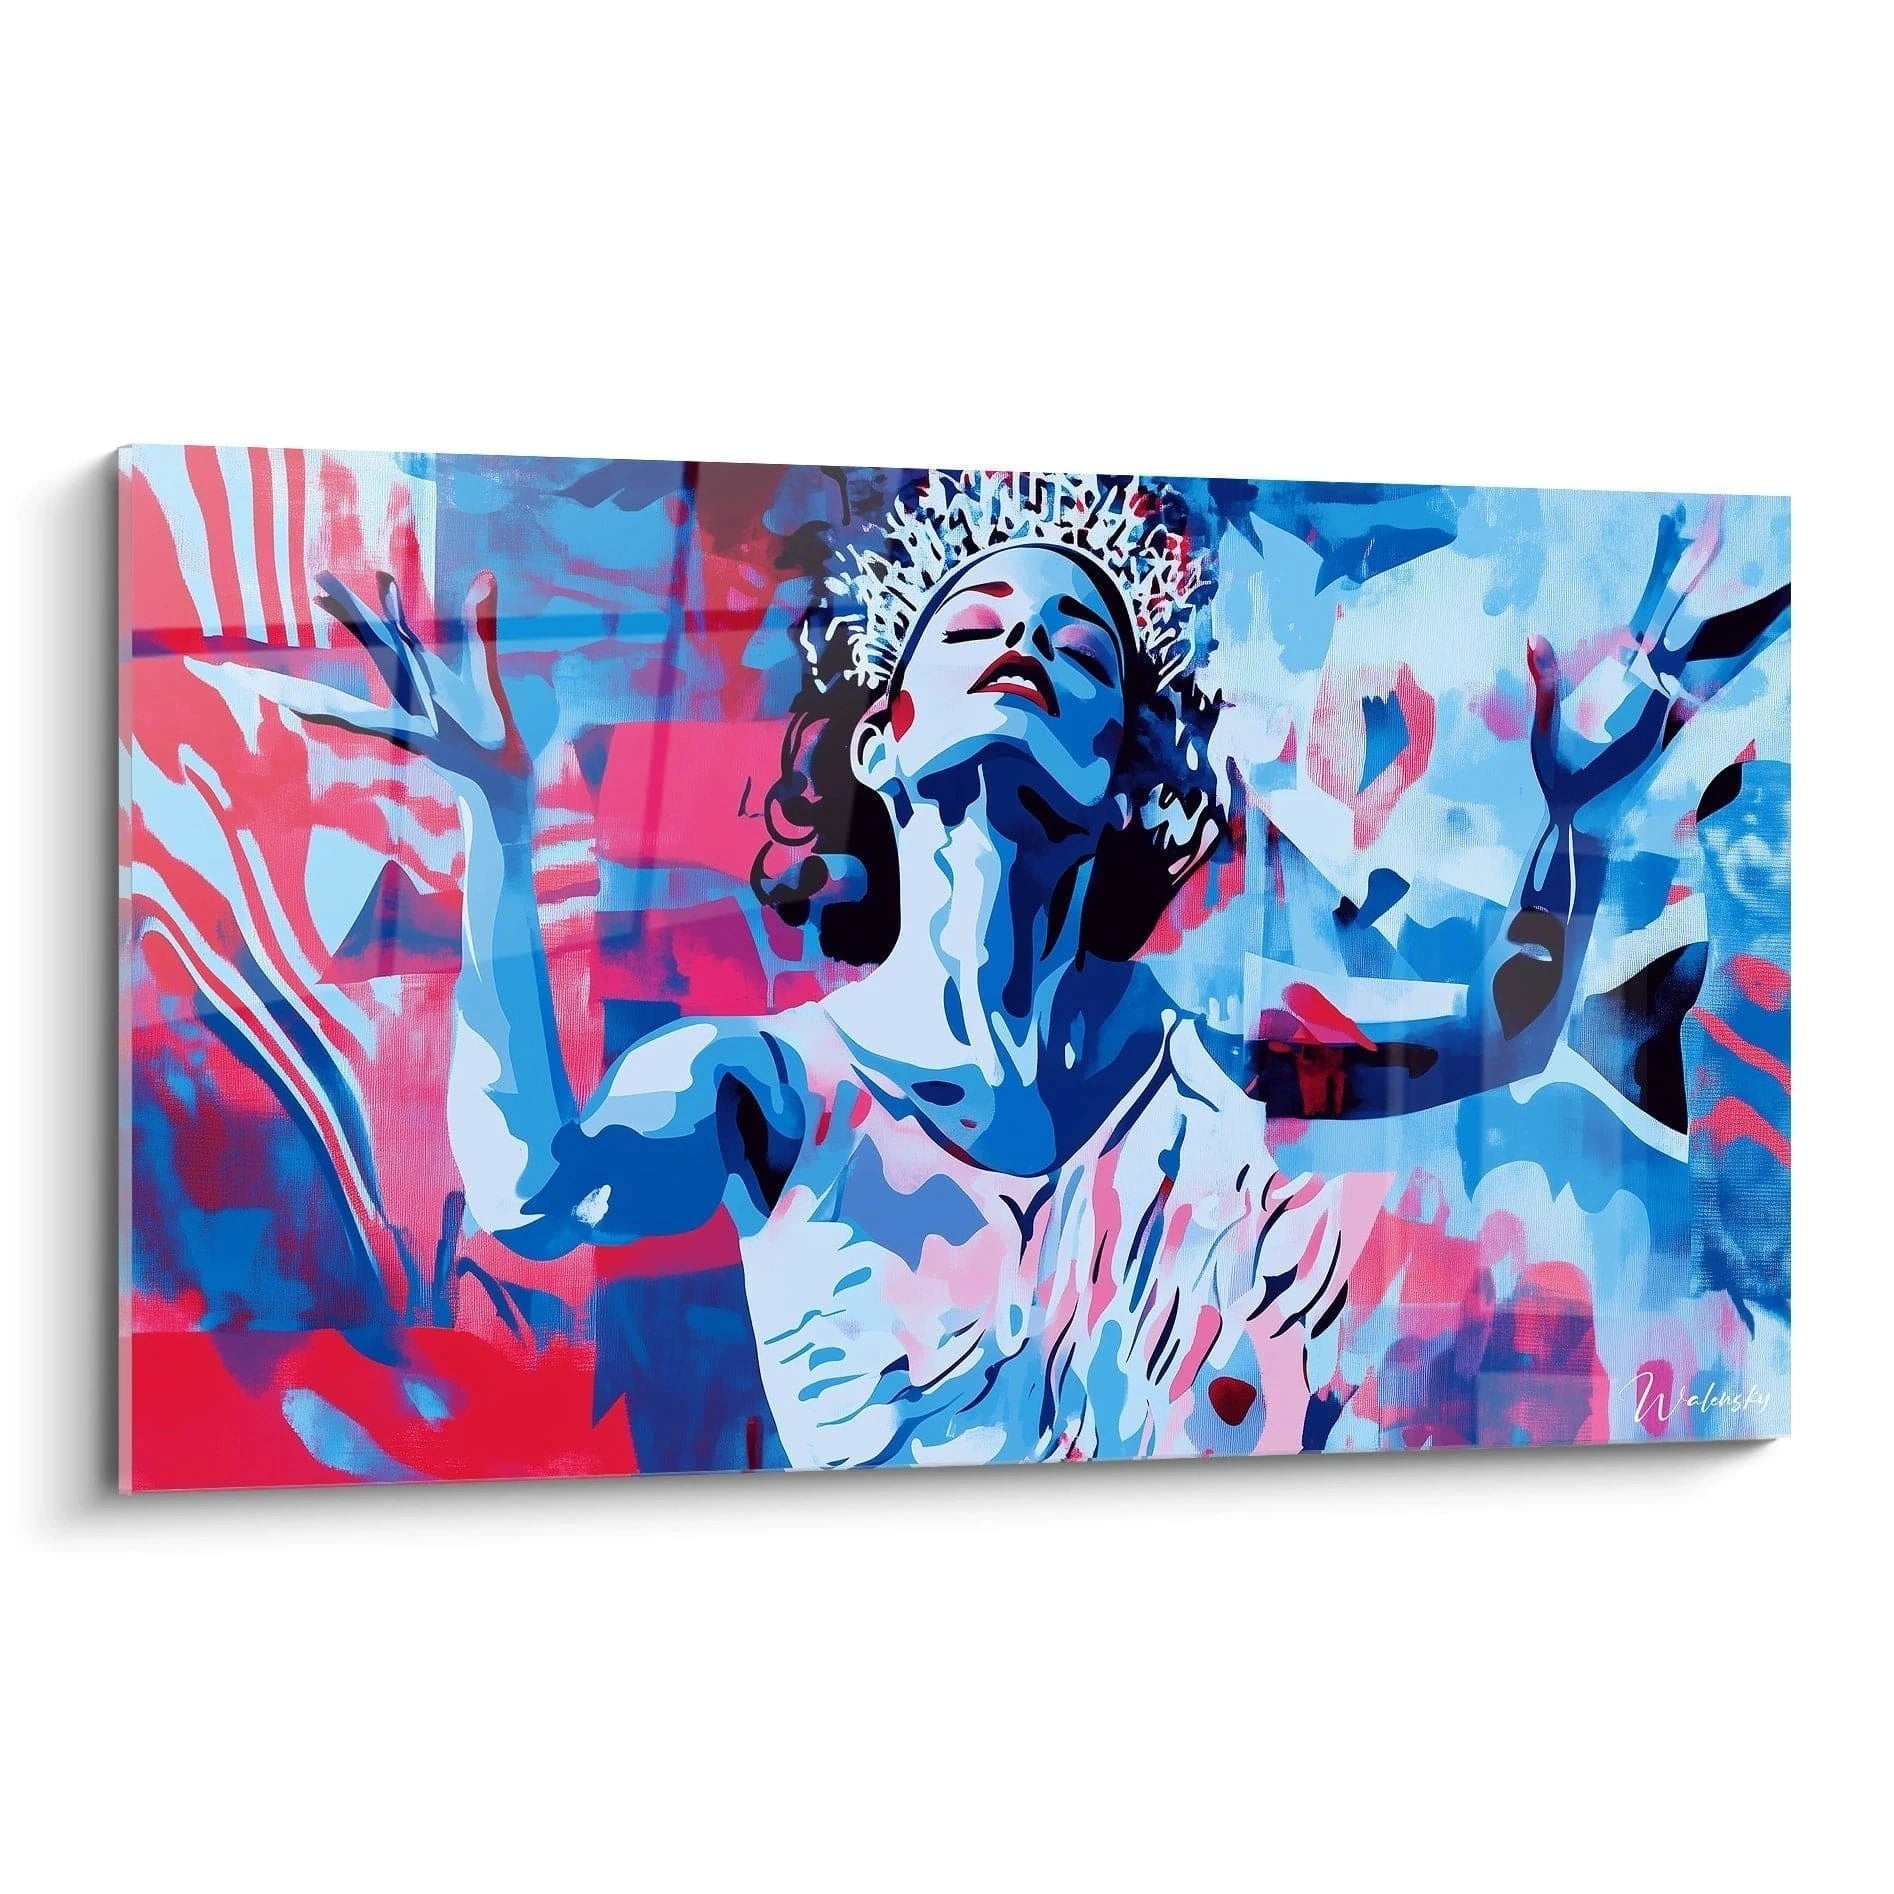






Artwork as a visual indicator of overly sunny areas
October 11, 2025 · 14 min read · by Walensky
The golden rule of luminous balance: A well-positioned painting reveals the lighting malfunctions in your room in real time, like a visual thermometer that guides you to the optimal comfort in less than 2 weeks of observation.
Understanding why your eye deceives you about brightness
You probably experience these three situations: your eyes get tired quickly when watching TV, you need to turn on the light even in full daylight to read, or you find certain corners of your home inexplicably less welcoming.
What's actually happening is that your brain constantly adapts to light variations, masking imbalances. Your painting, on the other hand, doesn't lie: it faithfully reflects the real contrasts of your luminous environment.
It’s exactly like wearing sunglasses for hours: once you take them off, you realize how intense the light really was. Your painting plays the role of these revealing glasses.
Oversaturation: when your painting becomes a dazzling mirror
Contrary to what one might think, the problem is not always "too much light", but rather poorly distributed light. Your painting reveals these areas of excessive light concentration that your accustomed eye no longer perceives.
Imagine your living room as a theater scene: successful lighting creates zones of interest without ever dazzling the audience. Your painting, through its reflections and contrasts, shows you where to place your "domestic spotlights".
This awareness transforms your approach to interior design: you no longer suffer from the light, you orchestrate it according to your activities and moods.
🔍 Revealing test: Photograph your painting at different times of the day with your smartphone. The areas where the device "burns" the image correspond exactly to the points of oversaturation that your eyes have learned to ignore.
Many people think that a uniformly lit room is ideal, but it's actually this uniformity that creates the feeling of blandness. Your brain needs nuances to feel both stimulated and soothed.
Your painting acts as a photographic developer: it shows you the areas where the lack of contrast creates a dull and unengaging atmosphere.
Result: you feel less energetic at home, you have trouble concentrating, and your guests find the ambiance "a little flat" without knowing why.
Color temperature: the invisible indicator that changes everything
This little-known factor profoundly influences your well-being: variations in light color temperature throughout the day. Your artwork captures these subtleties that you do not consciously perceive.
Observe how the colors of your work change between 8 am and 6 pm: these variations reveal incompatibilities between natural and artificial lighting in your space.
This discord creates insidious visual fatigue that affects your mood, productivity, and even the quality of your relaxation moments.
🎯 The 3 signals your artwork sends you:
- Variable reflections depending on the time: Indicates competing light sources that create visual instability
- Colors that "shift" in the evening: Reveals inappropriate artificial lighting to your dominant natural lighting
- Shadow areas on the canvas: Signals underexposed areas that reduce your overall comfort
The tipping point: the element that transforms everything
The trigger is the strategic placement of your artwork in relation to light sources. Like an intelligent mirror, it captures and reveals all lighting imbalances by creating a visual domino effect. Once this position is optimized, you can precisely identify where to intervene to correct each lighting problem in your room.
The rule of the light triangle: Position your artwork equidistant from your main natural source and your reference artificial lighting. Imbalances become immediately visible and measurable.
| ❌ Traditional vision | ✅ Modern reality | 💡 Mechanism | 🎯 Concrete benefit |
|---|---|---|---|
| Avoid any direct light on paintings | Use light as a diagnostic tool | The painting reveals lighting imbalances | Optimal visual comfort in all situations |
| Uniform lighting is ideal | Controlled contrasts create harmony | The brain needs stimulating nuances | Living and energizing atmosphere |
| The position of the painting is purely aesthetic | Location determines light quality | Strategic placement = lighting revealer | Precise identification of areas to improve |
| Eyes adapt naturally | Adaptation masks real problems | The painting does not adapt, it reveals | Objective identification of malfunctions |
The progressive method to transform your artwork into a light barometer
Rest assured, this approach follows a natural logic that you will quickly master. Like building a house, we start with the foundations (observation), then we build the walls (analysis), and finally we refine the decoration (optimization). In 3 weeks maximum, you will have developed an expert eye that instantly identifies possible lighting improvements in any space.
🏗️ Your roadmap : Step 1: Observe and map (1 week), Step 2: Analyze and understand patterns (1 week), Step 3: Optimize and refine (1 week). Each step brings you immediate satisfaction and visible results from day one.
Step 1: Create your domestic lighting observatory
Starting with observation is crucial because it allows you to establish an objective baseline before any modification. It's like taking a "before" photo in a transformation: without this reference point, it’s impossible to measure your progress. This step will already provide you with immediate satisfaction by revealing details that you have never noticed.
Your observation kit
- Smartphone with grid mode activated: The grid helps you identify light axes and symmetries. Use the native camera rather than Instagram which automatically modifies exposure. Make sure HDR mode is disabled to capture the raw reality of your lighting.
- Notebook or simple app: To note down times and your subjective observations. The principle: cross-reference objective data (photos) and personal feeling. Prefer a physical notebook that forces you to be concise rather than an app that encourages procrastination.
- Colored repositionable adhesives: To temporarily mark areas of interest on your wall without leaving traces. They allow you to immediately visualize light patterns without having to memorize them.
Now, let's move on to concrete practice:
Your observation protocol
Photograph at key times: Take a photo of your artwork at 8am, 12pm, 4pm and 8pm for one week. These time slots correspond to the peak lighting activity in your home. Always keep the same position and framing so that you can objectively compare.
⏱️ Time: 2 minutes per slot | ✅ Success when: You clearly distinguish variations in intensity and color | ⚠️ Attention: Do not use flash which would completely distort the analysis
Note your immediate sensations: Immediately after each photo, write down your feeling in the room in 3 words maximum: "dazzling", "dull", "pleasant", etc. This emotional data is as important as visual data because it reveals the real impact on your comfort.
⏱️ Time: 30 seconds | ✅ Successful when: You have a keyword per photo | ⚠️ Warning: Avoid thinking too much, instinct is more revealing
Mark the reflection zones: Place colored adhesives in areas where you see troublesome reflections on your artwork. These points mark exactly the problematic light sources that you will need to treat later.
⏱️ Time: 5 minutes | ✅ Successful when: Each reflection has its marker | ⚠️ Warning: Don't forget indirect reflections (mirrors, shiny surfaces)
✨ Validation of your observatory: After a week, you should have 28 photos (4 per day x 7 days) and be able to identify at least 3 recurring patterns in the lighting variations. If you are still hesitating, continue observation for another 2-3 days. It's not wasted time, it's your expertise being built.
OUR RECOMMENDED PRODUCTS
Step 2: Decoding the Messages from Your Light Indicator
Now that you have your data, you move to the detective level: identifying causes and effects. This step is more rewarding because you begin to understand the hidden logic of your space. It's a snowball effect: each identified pattern helps you discover others more easily.
Visual Pattern Analysis
Compare photos by time slot: Align your 8 am photos for each day, then those of 12 pm, etc. You will identify the constant problems (always the same reflection at 4 pm) and weather variables (cloudy vs sunny). This comparison reveals what is related to your layout versus the external environment.
⏱️ Time: 15 minutes | ✅ Successful when: You distinguish fixed patterns from variables | ⚠️ Warning: Clearly separate internal causes (lighting, positioning) from external causes (weather, seasons)
Create your map of sensitive areas: On a simple plan of your room, color overexposed areas red, underexposed areas blue, and balanced areas green. This visual mapping immediately gives you the priorities for intervention.
⏱️ Time: 10 minutes | ✅ Successful when: Your plan looks like a colored weather map | ⚠️ Warning: Keep it simple, maximum of 3 colors to maintain readability
You've now reached the expert level: you no longer suffer from your lighting, you direct it. At this stage, you develop a sensitivity that allows you to optimize any space in minutes. The final result: an interior where each area has its perfectly suited lighting personality for its use, and where your artwork proudly reveals all its details.
Implementing corrections
Correcting overexposures: Install UV films on problematic windows or adjustable louvers. These solutions allow you to finely dose natural light according to the times and activities, without losing the general clarity of your room.
⏱️ Time: 30 minutes per window | ✅ Success when: You can modulate the intensity without creating darkness | ⚠️ Attention: Test several levels of opening before setting your preference
Balance with supplementary lighting: Add soft light sources in underlit areas: ambient lamps, integrated LEDs, or spotlights. The goal is to create harmonious transitions rather than brutal contrasts.
⏱️ Time: 45 minutes for 2-3 light points | ✅ Success when: Your eye naturally navigates the space | ⚠️ Attention: Avoid overlighting, prefer several weak sources to one strong source
The principle of intelligent progression: Validate each correction with your photo method before moving on to the next. Wait 48 hours for your eye to get used to it before evaluating whether you need to adjust. Patience and method guarantee a lasting result.
Congratulations! You now master the expert subtleties that few people know. This skill gives you a considerable advantage: you can quickly optimize the ambiance of any space, which always impresses your guests and improves your daily quality of life.
🎯 Little-known pro tip: Use the "mobile mirror technique": hold a small mirror in different places in your room to identify hidden light sources that influence your artwork. This method reveals indirect lighting (reflections from neighboring windows, reflective surfaces) that even direct observation can miss.
"What if I don't have enough natural light in my room?"
"I live on the ground floor with few windows, will this method still work?"
Excellent question! Actually, it's in these situations that your artwork becomes even more valuable as an indicator. With less natural light, each artificial source has a greater impact, and your artwork helps you to fine-tune them. The trick: create "artificial windows" with LED panels behind your artwork to simulate natural light. Your indicator will immediately show you if the effect is convincing and comfortable.
💡 Immediate test: Place a desk lamp behind your artwork (without shining it directly) and observe how this changes the perception of depth and brightness of the entire room. You'll discover the power of indirect lighting.
The light traps that sabotage your efforts (and how to avoid them)
Even with the best intentions, some common mistakes can reduce the effectiveness of your system. I want to protect you from these classic pitfalls that I observe in 80% of beginners, because they are easy to avoid once you know them.
- ⚠️ Trying to fix all problems at once: It's natural to be enthusiastic, but your eye needs time to adapt to each change. Modifying too many elements simultaneously prevents you from identifying what really works. Proceed step by step, your patience will be rewarded with lasting results. ⚠️ Ignoring the color temperature of bulbs: Mixing cool white (standard LED) with warm white (halogen) creates a visual cacophony that your artwork will relentlessly reveal. First harmonize all your artificial sources on the same temperature before optimizing intensity. ⚠️ Forgetting the impact of seasons: Your perfect autumn configuration can become problematic in spring when trees lose their leaves. Anticipate these variations by creating 2-3 adaptable configurations depending on the seasons. ⚠️ Neglecting reflective surfaces: A mirror, a turned-off TV screen, or even a glass table can create parasitic reflections that disrupt your reading of the artwork. Map out all these surfaces before adjusting your lighting. ⚠️ Underestimating transition lighting: Hallways and passageways influence your perception of the brightness of the main room. A hallway that is too dark will make your living room seem dazzling by contrast. Think about harmonizing adjacent spaces.
🛡️ Your safety checklist: Check that your artwork remains legible at all times, that you don't have glare when watching TV, that your guests don't squint when entering, and that you feel energetic in the morning and soothed in the evening in this space.
Special offer for readers
Because you took the time to learn, enjoy 10% off your first order:
⏰ Valid for 72h after reading • Applicable on all our products
Frequently asked questions about the dashboard method
The first benefits are immediate: from the first week of observation, you identify sources of discomfort. Corrections generally take 2-3 weeks to implement, with an average budget of €150-€300 depending on the size of your room. Optimize first with temporary solutions (curtains, repositioning) before investing in permanent equipment.
Absolutely! Matte paintings reveal contrasts, glossy paintings show direct reflections, dark works expose underexposure, and light works reveal overexposure. Each type of artwork gives you additional information about your lighting. The more details and nuances your painting has, the more precise it will be as an indicator.
Not at all! 90% of improvements are made with intelligent repositioning and free adjustments. The only recommended investments: UV window films (€20-€40), LED accent lamps (€30-€80), and possibly modular blinds (€100-€200). Start with the free solutions, invest only if the comfort return justifies it.
It's even more important in a rental! You cannot modify the architecture, so optimizing existing lighting becomes crucial. Use non-invasive solutions: repositionable electrostatic films, mobile lighting, drill-free blinds. Your painting guides you towards the optimal configuration with your lease constraints.
Your body doesn't lie: less eye fatigue at the end of the day, spontaneous desire to spend time in the room, natural compliments from your guests on the atmosphere. Technically, your smartphone confirms the improvement: more balanced photos, fewer "burned" or too dark areas. Trust your feeling as much as the data.
Your new lighting expertise transforms your daily life
In a month, you will enter your home with a deep satisfaction: each room reveals its optimal character, your eyes are no longer tired, and your guests spontaneously ask you for advice on lighting. Your painting, having become an accomplice to your well-being, has taught you to read light like a language.
This skill goes far beyond decoration: you have developed an aesthetic sensibility that enriches your perception of all the spaces you frequent. This newfound confidence in your design choices allows you to dare with personal creations that you would never have attempted before.
Remember: understanding was the hardest part. Now, start by photographing your artwork today, at this precise hour. Your luminous transformation begins with this simple gesture, and in a week, you will already have surprising revelations about your space.
✨ Your home awaits you: Every day you postpone this step is a day less of optimal comfort. Your expert eye lies dormant within you; it just needs to be awakened methodically. Your ideal living space is only three weeks of observation away.
Also read: 🏡 Explore our articles on bioclimatic architecture
</divExplore our collections


