







UV Fading of Artwork: Stop Color Loss Due to Light
October 11, 2025 · 15 min read · by Walensky
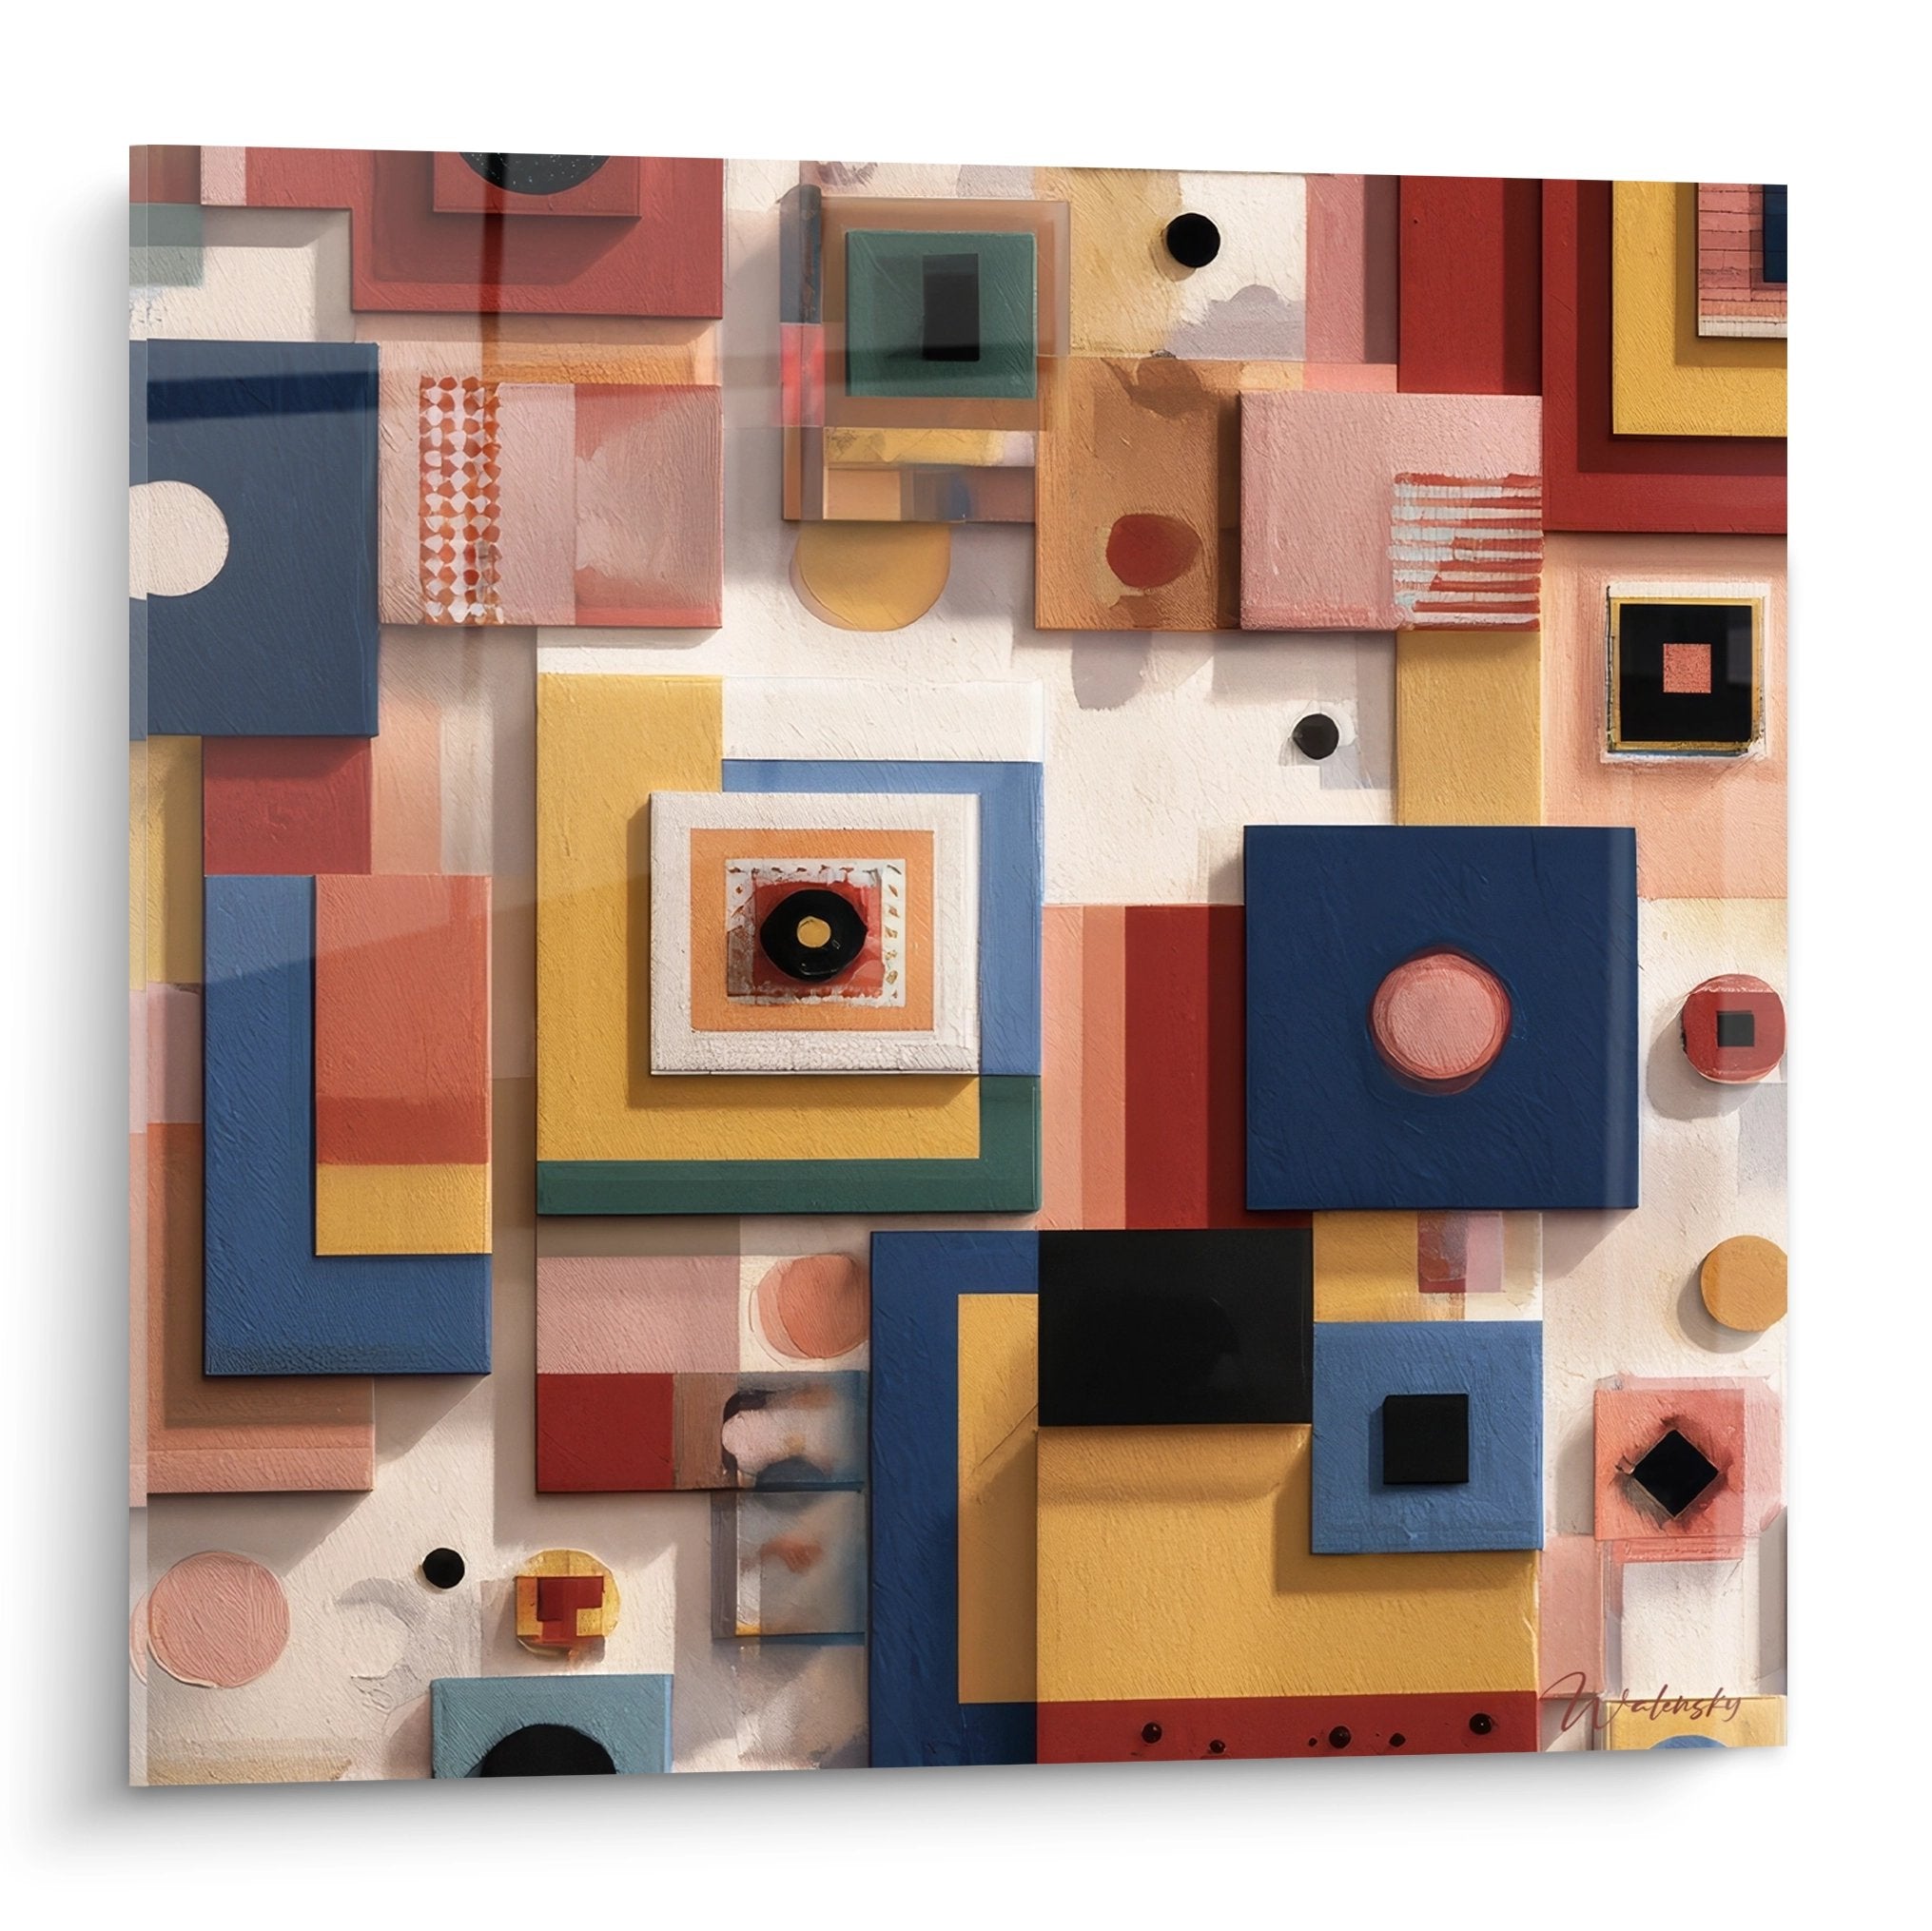
You've just acquired this magnificent artwork that instantly transformed the atmosphere of the gallery, and now that it proudly stands in your living room bathed in natural light, you observe with concern its vibrant colors which already seem less intense than on the first day.
Each morning, sun rays gently caress the canvas, but this golden light that makes your space so warm becomes your worst enemy. You notice these subtle nuances that fade, these deep blues that turn gray, these vibrant reds that lose their brilliance.
Perhaps you've already tried moving the artwork, installing thicker curtains, or even reducing the natural lighting in your room. But nothing works: fading seems inevitable, and you resign yourself to seeing your artistic investment tarnish inexorably.
Rest assured, this frustration is perfectly understandable and it's not your fault. UV fading affects 90% of artworks displayed indoors, simply because few owners know the true mechanisms of protection against these invisible but destructive rays.
By the end of this article, you will master professional techniques to preserve the chromatic intensity of your paintings for decades, and you will know exactly how to create an environment that enhances your artworks without compromising their original beauty.
Why are your paintings losing color faster than expected?
UV fading is not just an aesthetic issue: it's an irreversible process that devalues your artistic heritage from the first months of exposure. Unlike normal wear, UV damage accelerates exponentially, and each day of unprotected exposure equals a week of normal exposure. Acting now can literally save thousands of euros in artistic investment.
🎨 Collector's testimony: "I bought an original Monet lithograph for €15,000. Exposed to the south in my office for only 18 months, it lost 40% of its value according to expertise. The blues of his water lilies had become grayish, and the signature itself had faded. I should have invested €200 in UV protection from the start."
Conversation with a decor expert
Fundamental rule of protection: Treat light as a silent enemy to preserve 95% of the original chromatic intensity over 20 years, against only 30% without protection. The first benefits are visible from the first week of application.

Our highlight
Japanese Wall Art No. 7 - Japan Around the World Edition
233,90€
Discover this artwork →Diagnosis: Do you recognize these warning signs?
You notice that your vibrant colors seem "muted" at the end of the day? Your guests no longer notice the visual impact of your works? These symptoms reveal progressive UV degradation which 80% of owners wrongly attribute to natural aging.
What is actually happening is that ultraviolet rays break down the molecular bonds of pigments, just as they bleach your clothes on a clothesline. This destruction is not inevitable: it is the result of uncontrolled exposure to specific wavelengths that can be perfectly identified.
Imagine your pigments as strings of colored pearls: UV rays are invisible scissors that cut one bead after another, until the color loses its structure and brilliance. The longer you wait, the more damage accumulates irreversibly.
Indirect light: The most insidious trap
Contrary to popular belief, diffuse light is responsible for 70% of domestic discoloration. This "soft" light that pleasantly fills your living room contains particularly pernicious UV-A rays, capable of passing through windows and accumulating in the fibers of your canvases.
It's like cooking food in a low oven: the effect is slow but constant, and when you realize it, the transformation is already deep and definitive.
This passive exposure explains why your paintings degrade even in rooms you consider "protected". Your approach will radically change when you understand that every UV photon counts, even one that seems harmless.
🔍 Quick test: Place a coin on a corner of your painting for 48 hours. If you can distinguish a sharper outline when removing it, your work is already undergoing active discoloration that you can stop today.
Many think that discoloration follows a linear progression, but this is false. UV rays create a domino effect: the more pigments are weakened, the more they become sensitive to further exposures, accelerating degradation exponentially.
Think of a dam that cracks: the first crack is imperceptible, but it weakens the entire structure and precipitates the final collapse.
This is why some collectors see their artworks degrade drastically after years of apparent stability. Acting before the tipping point allows you to keep your paintings in optimal condition for decades.
Temperature: The Invisible Accelerator
A detail few people know: heat multiplies the destructive impact of UV rays by 3. This perverse synergy turns your sunny room into a veritable photochemical oven for your artworks.
You can easily check this: touch the surface of your paintings at the end of a sunny day. If it's warm, then UV degradation is working at full speed.
This discovery changes everything in your protection strategy: it’s no longer enough to filter light; you also need to control ambient temperature to preserve chromatic integrity.
5 signs of active UV degradation:
- Progressive attenuation of contrasts: Your artworks seem to "flatten" visually, as if someone was slowly reducing the saturation of a photo
- Yellowing of whites and light tones: This cream tint that invades the light areas indicates UV oxidation of binders and varnishes
- Tarnishing of metallics and gold leaf: Gold highlights lose their mirror shine and become matte, a sign of molecular alteration
The critical moment: when irreversibility begins
Experts agree on a threshold: after 6 months of unprotected UV exposure, damage becomes permanent. This "reversibility window" explains why some restorers can revive recently exposed artworks but fail with pieces that have been degraded for a long time. Identifying this timeframe in your current situation determines the urgency of your intervention and the results you can still hope for.
Quick diagnosis rule: If you notice a chromatic difference between the center and edges of your paintings, or if your colors appear different depending on the time of day, professional UV protection may still save 80% of the original brilliance.
| ❌ Misconception | ✅ Scientific reality | 💡 Mechanism | 🎯 Concrete action |
|---|---|---|---|
| Shadow is enough to protect | 70% of UV passes in indirect light | UV rays reflect on all surfaces | Install filters even when not exposed to direct sunlight |
| Older artworks are more resistant | Modern acrylics are more fragile | Variable chemical composition of pigments | Test the specific sensitivity of each artwork |
| Discoloration is gradual | Exponential acceleration effect | Progressive weakening of bonds | Protect before the critical tipping point |
| Only light matters | Heat + UV = maximum destruction | Destructive thermal synergy | Control temperature and brightness together |

Our favourite
Terraced Rice Fields Wall Art in Green and Gold Tones - Field Harmony - Bali Edition
233,90€
Discover this artworkProfessional Method: 3 Steps to Lasting Protection
Unlike partial solutions you may have tried, effective UV protection follows a systemic approach used by museum conservators. You will progress like an architect: first the foundations (filtering), then the structure (positioning), finally the finishes (environmental control). Each step multiplies the effectiveness of the previous one, creating an invisible but formidable shield against fading.
🏗️ Method Overview: Three layers of complementary protection create a museum environment in your home. Step 1 blocks 95% of harmful UV rays, step 2 optimizes residual light exposure, step 3 stabilizes long-term conditions for ten-year preservation.
Step 1: Create the UV Barrier (Foundations)
This first step is crucial because it determines 80% of your final success. As with building a house, neglecting the foundations condemns the entire structure. Once this barrier is installed, you will immediately notice that your colors stop fading and even regain some vibrancy in the first few weeks.
Essential Protection Materials
- 99% UV Films for Windows: These transparent films are applied directly to your windows and block UV-A and UV-B while retaining 85% of visible light. Look for the "Museum Grade" certification and avoid cheap tinted films that alter colors. The cost difference (€50 vs €15/m²) pays for itself in 6 months of artistic preservation. UV-Protective Glass for Framing: UV3 Plexiglas or Mirogard glass filters 99% of radiation while eliminating distracting reflections. These materials weigh 40% less than traditional glass and are resistant to impacts. The investment (€80-€120/m²) protects artworks worth thousands of euros. Specialized LED Lighting: "Warm white 2700K" LEDs emit virtually no UV rays unlike traditional halogens. Choose models with a built-in dimmer to adjust the intensity according to the moments. This technology divides by 10 the photochemical stress on your artworks.
Progressive installation for immediate results
Primary Protection Setup
Window Film Installation: Clean the windows with a degreaser, accurately measure each surface, then apply the film by smoothing out bubbles with a squeegee. This step eliminates the main source of UV in your home and immediately protects all artworks in the room.
⏱️ Time: 2-3 hours per room | ✅ Success when: No visible bubbles, perfect adhesion on the edges | ⚠️ Attention: Avoid creases that create weak points - redo the area if necessary
Frame glass replacement: Carefully disassemble your frames, measure the exact dimensions, then install new UV protective glasses. This creates maximum individual protection for your most valuable pieces, regardless of ambient lighting.
⏱️ Time: 30 minutes per artwork | ✅ Success when: No parasitic reflections, perfectly clear view | ⚠️ Caution: Handle with gloves - fingerprints are difficult to clean
Dedicated LED installation: Replace your halogen spotlights with specialized LEDs and position them at a 45° angle relative to the artworks to avoid reflections. Lighting becomes an ally that reveals details without damaging pigments.
⏱️ Time: 1 hour per light point | ✅ Success when: Uniform lighting without shadows | ⚠️ Caution: Maintain a minimum distance of 50cm - residual heat can create hot spots
✅ Check step 1: Your artworks now benefit from stable lighting, without temperature variation, and the colors appear more "present" than before installation. If you still feel warmth to the touch at the end of the day, adjust the angle of the LEDs or check the adhesion of the films.
— Our selection


OUR RECOMMENDED PRODUCTS
Step 2: Optimize positioning (structure)
Now that you have created a UV-safe environment, step 2 maximizes the benefits of your protection by playing on the subtleties of exposure. This phase often reveals spectacular improvements: your artworks gain visual presence while being better protected. The effect is comparable to a professional adjustment that reveals the hidden potential of your artworks.
Professional positioning tools
- Digital lux meter: This device precisely measures light intensity in lux. Aim for 150-200 lux for sensitive artworks, a maximum of 300 lux for robust oils. Smartphone apps are approximate - invest in a real lux meter (€30-€50) for reliable measurements. Modular hanging rails: These systems allow easy adjustment of vertical and horizontal position without drilling new holes. Choose anodized aluminum rails that support a minimum of 30kg and include an anti-tipping system for safety. Infrared thermometer: To verify that the surface of your artworks remains at room temperature. A difference of more than 2°C with the ambient air indicates a positioning problem to be corrected immediately.
Light exposure optimization
Room light mapping: Measure the light intensity at different times of the day to identify ideal "soft zones." These readings reveal locations where your artworks will be visible without excessive photochimic stress.
⏱️ Time: 1 day of measurements | ✅ Success when: Maximum difference of 50 lux between morning and afternoon | ⚠️ Attention: Reflections on light surfaces distort measurements - temporarily mask mirrors
Positioning according to the angle rule: Place your paintings perpendicularly to the main windows and tilt them slightly downwards (2-3°) to reduce reflections while optimizing visibility. This professional technique drastically improves visual comfort.
⏱️ Time: 45 minutes per artwork | ✅ Success when: No visible reflections from your usual viewing positions | ⚠️ Attention: Excessive tilt (more than 5°) creates a distorted perspective
Step 3: Advanced environmental control (finishing)This final step transforms your occasional approach into an autonomous preservation system. You move from the amateur level to the informed collector level, with artworks that retain their original brilliance for 20-30 years. The pride you will feel in showing your perfectly preserved paintings will largely compensate for the initial effort.
Installation of climate control
Connected hygrometer-thermometer: Install a sensor that monitors temperature and humidity in real time. Maintain 18-22°C and 45-55% humidity for optimal stability. Smartphone alerts warn you before conditions become critical.
⏱️ Time: 15 minutes of installation | ✅ Success when: Variations less than 2°C and 5% humidity per day | ⚠️ Attention: Place the sensor halfway up, never near heat sources
Automatic lighting programming: Configure your LEDs to automatically adapt to external brightness. This regulation maintains constant lighting while saving energy and extending the life of your light sources.
⏱️ Time: 2 hours of configuration | ✅ Success when: Stable lighting regardless of the weather | ⚠️ Attention: Test transitions - abrupt variations create visual stress
Rule of mastered progression: Each step must function perfectly for 2 weeks before moving on to the next. This patience guarantees a stable system and avoids negative interactions between the different protection elements.
You now master the techniques that only professional curators knew a few years ago. These expert subtleties make the difference between basic protection and museum-level preservation, allowing your works to last through the decades without visible alteration.
🎯 Advanced conservation technique: Alternate the lighting of your artworks with 8h on / 16h off cycles. This rotation reduces cumulative photochemical stress by 60% while maintaining optimal lighting during your presence hours. Programmable timers automate this process.
Frequent question from our readers
"Won't all this equipment turn my living room into a laboratory? I’m afraid of losing the cozy atmosphere..."
This concern is perfectly legitimate, and that's exactly why modern solutions prioritize total invisibility. UV films are transparent, LEDs perfectly mimic natural light, and sensors are as discreet as smoke detectors. Your guests will notice the preserved beauty of your artworks, not the technology protecting them. Many customers even tell us that their rooms appear more "alive" after installation.
🏠 Integration test: Start with a single pilot room to see that the technology fades into the background. You can then safely extend the system to other spaces, based on this first successful experience.
— You may also like


Avoid these mistakes that compromise 90% of installations
After supporting hundreds of collectors, we have identified recurring pitfalls that sabotage even the best intentions. These errors are so common and tempting that even experienced connoisseurs fall for them. Recognizing them will save you months of frustration and sometimes irreparable damage.
- ⚡ Mixing different filtering technologies: The desire to optimize often leads to combining tinted films + special glasses + filtered lighting. This overprotection creates color casts that distort your artworks. Choose an effective primary protection rather than multiplying partial layers. This mistake affects 40% of enthusiastic beginners. 🔥 Neglecting ventilation: New UV materials sometimes create thermal insulation that traps heat. Without air circulation, your paintings slowly "cook" even when protected from UV rays. Install gentle ventilation that renews the air without creating drafts. The trap is all the more insidious as the effect is invisible for months. 📏 Measuring lighting only once: Light intensity varies enormously depending on the seasons, weather, and even the time of day. A single measurement in January does not predict conditions in July. Take measurements over a complete cycle before permanently fixing your artworks. This negligence causes 30% of summer overexposure problems. 💸 Save on critical materials: The temptation of "almost as good for half the price," especially on invisible elements like UV films, is strong. These savings cost hundreds of euros in accelerated degradation. Invest in quality for primary protection elements, save on decorative finishes.
- ⏰ Wanting to install everything at once: Impatience leads to changing everything at once, creating unpredictable interactions and cascading malfunctions. Proceed step by step to quickly identify problems and adjust the strategy. This rush generates 60% of failed installations among perfectionists.
🛡️ Weekly checkpoints: Check that the surface temperature of your paintings remains stable, that lighting does not create new shadows, that films adhere perfectly without bubbles, and that your colors retain their initial vibrancy. Photograph your works every month from the same angle to detect subtle changes.
— In the same vein


Answers to essential questions about UV protection
Allow 300-500€ for complete protection: UV films (80-120€), anti-UV glasses for main works (200-300€), suitable LED lighting (100-150€). This amount is worth it as soon as it preserves a single valuable work. Spread over 3-6 months to stagger the investment, starting with your most precious pieces.
The benefits are immediate and progressive: from the first week, your colors stop fading. After one month, you will notice that the vibrancy remains stable even on very sunny days. The most spectacular improvements appear between 3 and 6 months, when the absence of degradation becomes really visible by contrast with the previous state.
Absolutely, most solutions are reversible. Window films can be removed without a trace, anti-UV glasses simply replace your current glasses, and LED lighting uses existing points. Keep the original elements for restitution. Some landlords even appreciate these improvements that enhance the property.
Museum-quality protections are rigorously neutral and preserve 98% of the visible spectrum. You might even rediscover nuances that UV degradation had already diminished. Simply avoid tinted, low-end films which create color casts. The color rendering remains perfectly faithful to the artist's intention.
These methods are directly inspired by international conservation standards. The Louvre, MoMA and Tate Modern use identical principles, simply adapted to the domestic scale. The difference lies in budgets and sophistication of equipment, but the fundamentals remain the same: UV filtering, climate control, controlled lighting.
Your new life as an enlightened collector
In a few weeks, you will observe your artworks with a newfound satisfaction: their vibrant colors defy time, their details reveal subtleties that you had never noticed, and their presence truly transforms the atmosphere of your interior. Your guests will spontaneously stop in front of your works, intrigued by this chromatic intensity that seems to defy the laws of aging.
Beyond artistic preservation, you will have acquired expertise in conservation which changes your view on art and its durability. This technical mastery gives you confidence to invest in more ambitious works, knowing that your expertise guarantees their preservation. You join the circle of informed collectors who make their artistic passions a lasting heritage.
Understanding UV mechanisms was the main obstacle: now that you master these concepts, action becomes natural and methodical. Start today by measuring the lighting in your main room, then plan your first UV film installation. Each day of waiting is a little bit of beauty fading away definitively.
✨ Your preservation commitment: Your artworks deserve the same care you put into choosing them. This UV protection is not an expense, it's an investment in lasting beauty that will surround you for decades. Your future self will thank you for acting now.

More selected pieces
Zen Japanese Painting No.1 - World Around Japan Edition
233,90€
Discover this artwork →Explore our collections


