

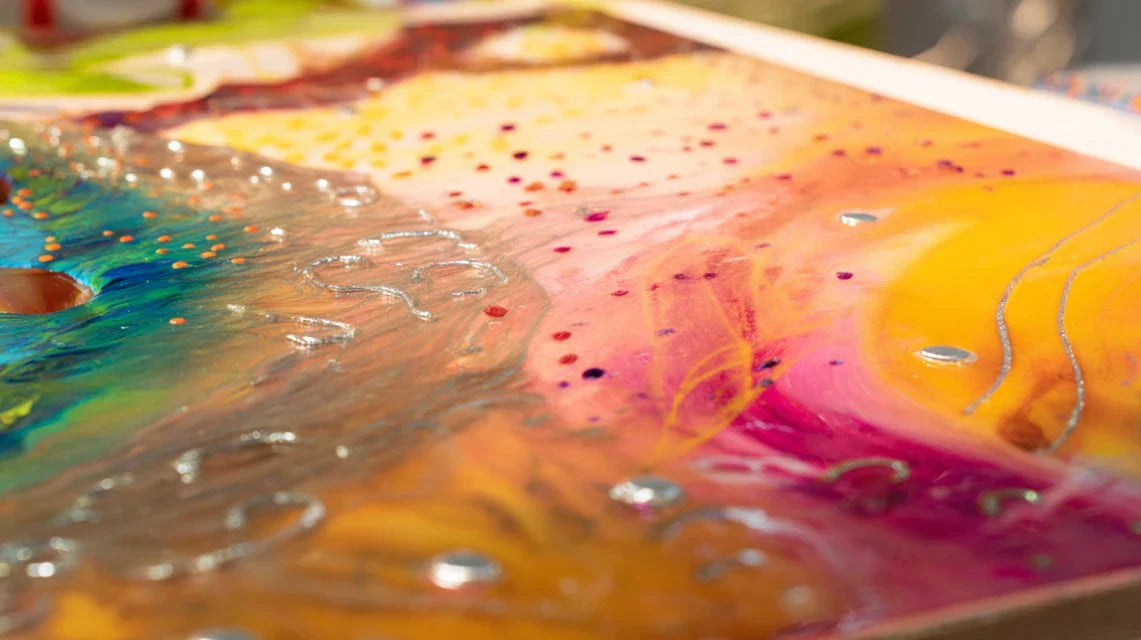
You've just found the perfect artwork for your child’s room. It’s beautiful, modern, bright... but it's an acrylic glass print. And then, anxiety sets in: "What if it breaks? What if it's dangerous for my little one?"
You imagine the shards of glass, potential accidents, sleepless nights wondering if you made the right choice. This magnificent work of art that was supposed to brighten up your child’s room suddenly becomes a source of worry.
So you hesitate, postpone the purchase, look for less satisfactory alternatives. You may have even asked for advice from those around you, and opinions are divided: "It's too fragile," “My neighbor has one,”
The modern golden rule: An acrylic painting, well chosen and properly mounted, is safer than a traditional framed wooden painting with protruding corners. You’ll see the first signs of peace as soon as installation is complete.
Understanding what really worries you (and that's normal!)
Your concerns probably revolve around three specific scenarios: your child running and bumping into the painting, a toy flying and hitting it, or the painting falling off the wall at night.
These fears are legitimate and healthy - they show that you're thinking as a responsible parent. The problem is that these anxieties are based on a lack of knowledge about the actual properties of modern acrylic and secure mounting techniques.
It’s like being afraid of flying when, statistically, it’s the safest mode of transport. Your parental brain amplifies risks because it wants to protect your child.
The real difference between glass and acrylic (that no one explains clearly)
Contrary to what many people think, acrylic is not glass. It’s a thermoplastic polymer that looks like glass but behaves like an ultra-resistant plastic.
Imagine the difference between a bathroom mirror (fragile glass) and the roof of a convertible car (uncrackable acrylic). Same transparent material, completely different behavior.
This confusion changes everything in your approach to safety. Instead of adding something potentially dangerous, you’re adding an ultra-secure decorative element that will last for decades.
🔍 Immediate test: If you have acrylic objects at home (transparent storage boxes, bathroom accessories), try dropping them on tile. You'll see they bounce instead of breaking!
The mounting mistake that changes everything
Most painting accidents don’t come from the material itself, but from an inadequate fixing for the weight. A poorly mounted painting, whether it's made of wood, metal or acrylic, will eventually fall.
It’s exactly like hanging a heavy chandelier with a light wall sconce fitting. The problem isn’t the chandelier, but the installation.
When you master the correct mounting techniques, the painting becomes more stable than a piece of furniture secured to the wall. Your nights become serene again.
The psychological factor we always forget
There’s something magical that happens when you install a beautiful work of art in a child's room: it elevates their environment and develops their sense of aesthetics.
Children who grow up surrounded by beautiful objects naturally develop more respect for their surroundings and take care of their belongings.
Your current hesitation may be depriving you of creating that inspiring cocoon where your child will flourish visually and emotionally.
4 signs you’re ready for an acrylic wall art :
- Your child pays attention to their toys: They don't throw them around carelessly and understand safety instructions The room is organized: Play areas are defined and away from decorated walls You know how to use a drill: Or have someone competent for installation, it's essential for safety There’s enough space: You’ve identified a wall where the artwork will be visible but protected from trafficThe decisive moment: when desire outweighs fear
- Acrylic Thickness: Minimum 3mm, ideally 5mm for optimal strength. You'll recognize it because it doesn't bend when you press lightly on it. Versions that are too thin (1-2mm) are economical but unsuitable for children as they can deform.
- Integrated Fixing System: Prefer artworks with metal brackets or a rail system rather than simple holes. A good system makes a reassuring "click" when you install it and doesn't move even a millimeter. Avoid glued systems that may come loose in humid conditions.
- UV Protection and Scratch Resistance Treatment: Check for the mention on the label or ask the seller. Treated acrylic retains its perfect transparency even near a window and resists everyday scratches.
- Drill with suitable drill bits: Concrete bit for hard walls, wood bit for partition walls. A good drill bit drills cleanly without chipping the wall. Allow for a size below and one above that calculated, in case the wall reveals surprises.
- Spirit level (minimum 40cm): A crooked picture is immediately noticeable and gives an impression of permanent instability. The level guarantees you a professional result that reassures the eye. Avoid smartphone applications, which are too inaccurate.
- Appropriate wall plugs for the weight: Double the weight of the picture to be safe. An undersized wall plug will gradually loosen and create permanent tension. Prefer metal wall plugs over plastic ones for pictures weighing more than 2kg.
- Corner protection: If your artwork has protruding corners, add transparent silicone protectors. They are invisible but protect against accidental bumps. Available in baby stores, they stick on without a trace. Suitable cleaning: Prepare a cleaning kit with microfiber cloth and special acrylic product. A bad product can tarnish the surface permanently. Absolutely avoid alcohol-based or ammonia-containing products. Periodic check: Schedule a quarterly check of the fixing. A quick glance and light manual test will confirm that everything is still perfect. Note it in your calendar so you don't forget.
- 🎯 Choosing the location based on free wall space : It's tempting to think "I'll put the artwork where I have space", but that’s taking the problem backwards. First observe your child's habits, then choose a location that respects their movement zones. A well-placed artwork becomes invisible during play, a poorly placed one becomes an obstacle.
- 📏 Underestimating the importance of level : "It looks okay to the eye" is the phrase that condemns your installation. An artwork tilted, even by 2 degrees, is immediately noticeable and gives a permanent impression of neglect. Your child deserves a perfectly ordered environment that develops their aesthetic sense.
- 🔧 Saving money on fixings : Buying low-cost wall plugs to save €3 is risking losing an artwork worth €50. Fixings represent 5% of the total budget but 90% of the safety. Never skimp on this aspect.
- ⏰ Installing in a hurry one evening : Installing an artwork requires concentration and precision. One weeknight after work, when you are tired, is a guarantee of rushing at least one step. Plan for a quiet time on the weekend, your child can even participate and learn.
- 🚫 Forgetting to involve the child positively: Installing the artwork secretly to create a surprise is missing out on a fantastic educational opportunity. The child who understands how "their" artwork is installed will naturally respect it and take care of it.
The real breakthrough happens when you realize that delaying this decision deprives your child of a more beautiful and stimulating environment. The domino effect of a lovely space on a child's development is like planting a seed: the sooner you do it, the more benefits develop.
The rule of perfect balance: As soon as your child understands "don’t touch", they are ready for an acrylic wall art. You'll know because they already respect other fragile objects in the house.
| ❌ What we often believe | ✅ The technical reality | 💡 Why this difference | 🎯 Benefit for your child |
|---|---|---|---|
| Acrylic breaks like glass | It deforms and resists impactsFlexible plastic material, not rigid mineralMaximum safety during playIt’s dangerous for toddlers | Safer than a wooden frame with cornersNo sharp edges, smooth surfaceFreedom of movement without riskIt will scratch quickly | Resistant to normal scratchesModern anti-scratch surface treatmentBeauty preserved year after yearInstallation is complex | Simpler than a bathroom mirrorStandardized and tested fixing systemQuick enhancement of their space
🔧 Step 2: Mastering Installation Safely
You are now entering the technical core of the operation. This step transforms your preparation into a concrete reality. It is here that you will witness the reassuring solidity of a well-executed installation - the snowball effect of confidence begins here.
🛠️ Essential tools for a professional installation
⚡ Secure installation sequence
Mark the fixing points: Use the picture as a template, mark with light pencil, check with the level. Remeasure once more before drilling - a drilling error is difficult to correct on a child's wall.
⏱️ Time: 15 minutes | ✅ Successful when: All points are aligned and the level confirms straightness | ⚠️ Attention: Rushing the marking = the main cause of crooked installation
Drill with precision: Start at a slow speed to avoid slipping, gradually increase. Vacuum up dust as you go to keep markings visible. Use masking tape to protect the paint.
⏱️ Time: 10 minutes | ✅ Successful when: The holes are clean, at the correct depth and perfectly aligned | ⚠️ Attention: Forcing the drill can crack fragile walls
Test the fixing before hanging: Install the wall plugs and supports, pull slightly to check that they are secure. A solid fixing does not move at all even with a firm pull. This step avoids unpleasant surprises after installation.
⏱️ Time: 5 minutes | ✅ Successful when: Impossible to move the supports by hand | ⚠️ Attention: A fixing that "works" will eventually come loose
🎯 Validation of step 2: The picture is perfectly horizontal, the solid fixings resist your pull tests, and the whole exudes a professional stability. Your child can admire his new picture safely.
✨ Step 3: Optimize for maximum durability
You are now reaching the level of decorative safety expert. This final step makes the difference between an installation that "holds" and one that will last through the years without any worries. You can be proud of this professional result that even interior decorators will envy.
🛡️ The finishes that make all the difference
🎨 Finalization and enhancement
Adjust ambient lighting: Check that the artwork is not in a permanent shadow or direct sunlight. Indirect lighting reveals the beauty of the acrylic without creating annoying reflections. Test at different times of the day.
⏱️ Time: One day of observation | ✅ Successful when: The artwork is visible and bright all day long | ⚠️ Attention: Permanent direct sunlight = risk of discoloration
Positively sensitize the child: Explain to him that this is "his" special artwork, that he can look at it and be proud of it, but that we protect it by not touching it. Turn precaution into pride, not prohibition.
⏱️ Time: 10 minutes of dialogue | ✅ Successful when: The child shows the artwork with pride to his friends | ⚠️ Attention: Too many prohibitions create frustration
Document the installation: Take a photo of the fixing system before placing the artwork, note the dimensions and materials used. This information will be useful for future installations or if you move.
⏱️ Time: 5 minutes | ✅ Successful when: You have all the info to reproduce this installation | ⚠️ Attention: Lost information = restart calculations from scratch later
🏆 Final validation: Your installation is perfect, durable and secure. The child is sensitized, you master the maintenance, and the result is worthy of a decoration magazine. You can be proud of this achievement that will delight your child for years.
The parent expert progression rule: Each validated step gives you the confidence for the next one. Never rush a step - it's better to take your time and have a perfect result than to have to start all over again.
You now master all the secrets of a secure installation. Here are some expert subtleties that will make you the go-to person among your friends' parents when they have the same questions.
🎓 Pro Decorator Tip : Install a small discreet adhesive LED light above the artwork. It creates an art gallery effect that enhances the acrylic in the evening and fascinates children. The "museum" effect makes your child even prouder of their room.
💭 A thoughtful parent's question
"My child tends to throw his stuffed animals when he is angry... does that change anything?"
This concern shows that you know your child well, which is reassuring! In reality, a stuffed animal hitting an acrylic artwork will do absolutely nothing to it - it's even less risky than with a traditional wooden frame that could come off under impact. Acrylic absorbs and dissipates energy instead of concentrating it. Take this opportunity to explain to your child that his beautiful artwork deserves respect, just like his favorite toys.
✨ Practical advice : Show him how the light shines through the artwork and create a small daily admiration ritual. Children naturally respect what they find beautiful and precious.
⚠️ The 5 mistakes that can ruin everything (and how to avoid them)
After supporting many parents in this process, I have identified the recurring pitfalls that can turn a beautiful installation into a source of stress. These errors are avoidable and I will show you how.
🛡️ Quick verification system: Artwork perfectly level ✓ Fixings immobile to the traction test ✓ Height respecting play areas ✓ Child sensitized and proud of their artwork ✓ If any criterion is missing, repeat this step before continuing.
🎁 Special offer for readers
Because you took the time to inform yourself, enjoy 10% discount on your first order:
⏰ Valid 72h after reading • Applicable to all our products
❓ Questions from informed parents
As soon as your child understands and respects the "do not touch" for other objects (television, household appliances, living room decorations), they are ready - generally around 2-3 years old. To optimize, first choose a small format (30x40cm) and observe their behavior for a few weeks before considering larger sizes.
Allow between 5 and 15 euros for fixing material for a standard artwork, plus 20-30 minutes of work if you do it yourself. For a craftsman's service, add 50-80 euros for labor. The safety investment represents less than 10% of the price of the artwork but guarantees years of peace of mind.
A weekly dusting with a dry microfiber cloth is sufficient. For a complete monthly cleaning, use a special acrylic product and gentle circular motions. Absolutely avoid conventional household products which can permanently tarnish the surface. Annual maintenance cost: less than 10 euros.
Two safe solutions: ask an experienced handyman friend (offer him a meal in exchange!), or contact a craftsman for a quick intervention. Many decoration stores also offer an installation service for 30-50 euros. Never improvise an installation if you do not have the skills.
Absolutely! Once the wall fixings are installed correctly, changing artwork takes 2 minutes. That's the advantage of the standardized mounting system: you can evolve the decoration according to your child's tastes without making new holes in the wall. Perfect for keeping up with their changing passions!
🌟 Your child deserves the most beautiful environment possible
In a few weeks, when you see your child proudly showing off "their" artwork to their friends, you will realize that this decision was perfect. Their room will have gained character, modernity, and developed their sense of aesthetics. Other parents will ask for your advice, impressed by this successful decoration.
Beyond the decorative aspect, you will have mastered a technical skill that you can reproduce throughout the house. This confidence in your installation capabilities will open up new decorative possibilities that you didn't dare to consider before.
The hardest part was understanding and deciding - now that you know exactly how to proceed, all that remains is to take action. Start today by identifying the ideal location in the room, and let the method guide you.
🚀 Your mission, should you choose to accept it: Give your child the inspiring environment they deserve. You now have all the keys for a perfectly secure installation that will last for years!


