

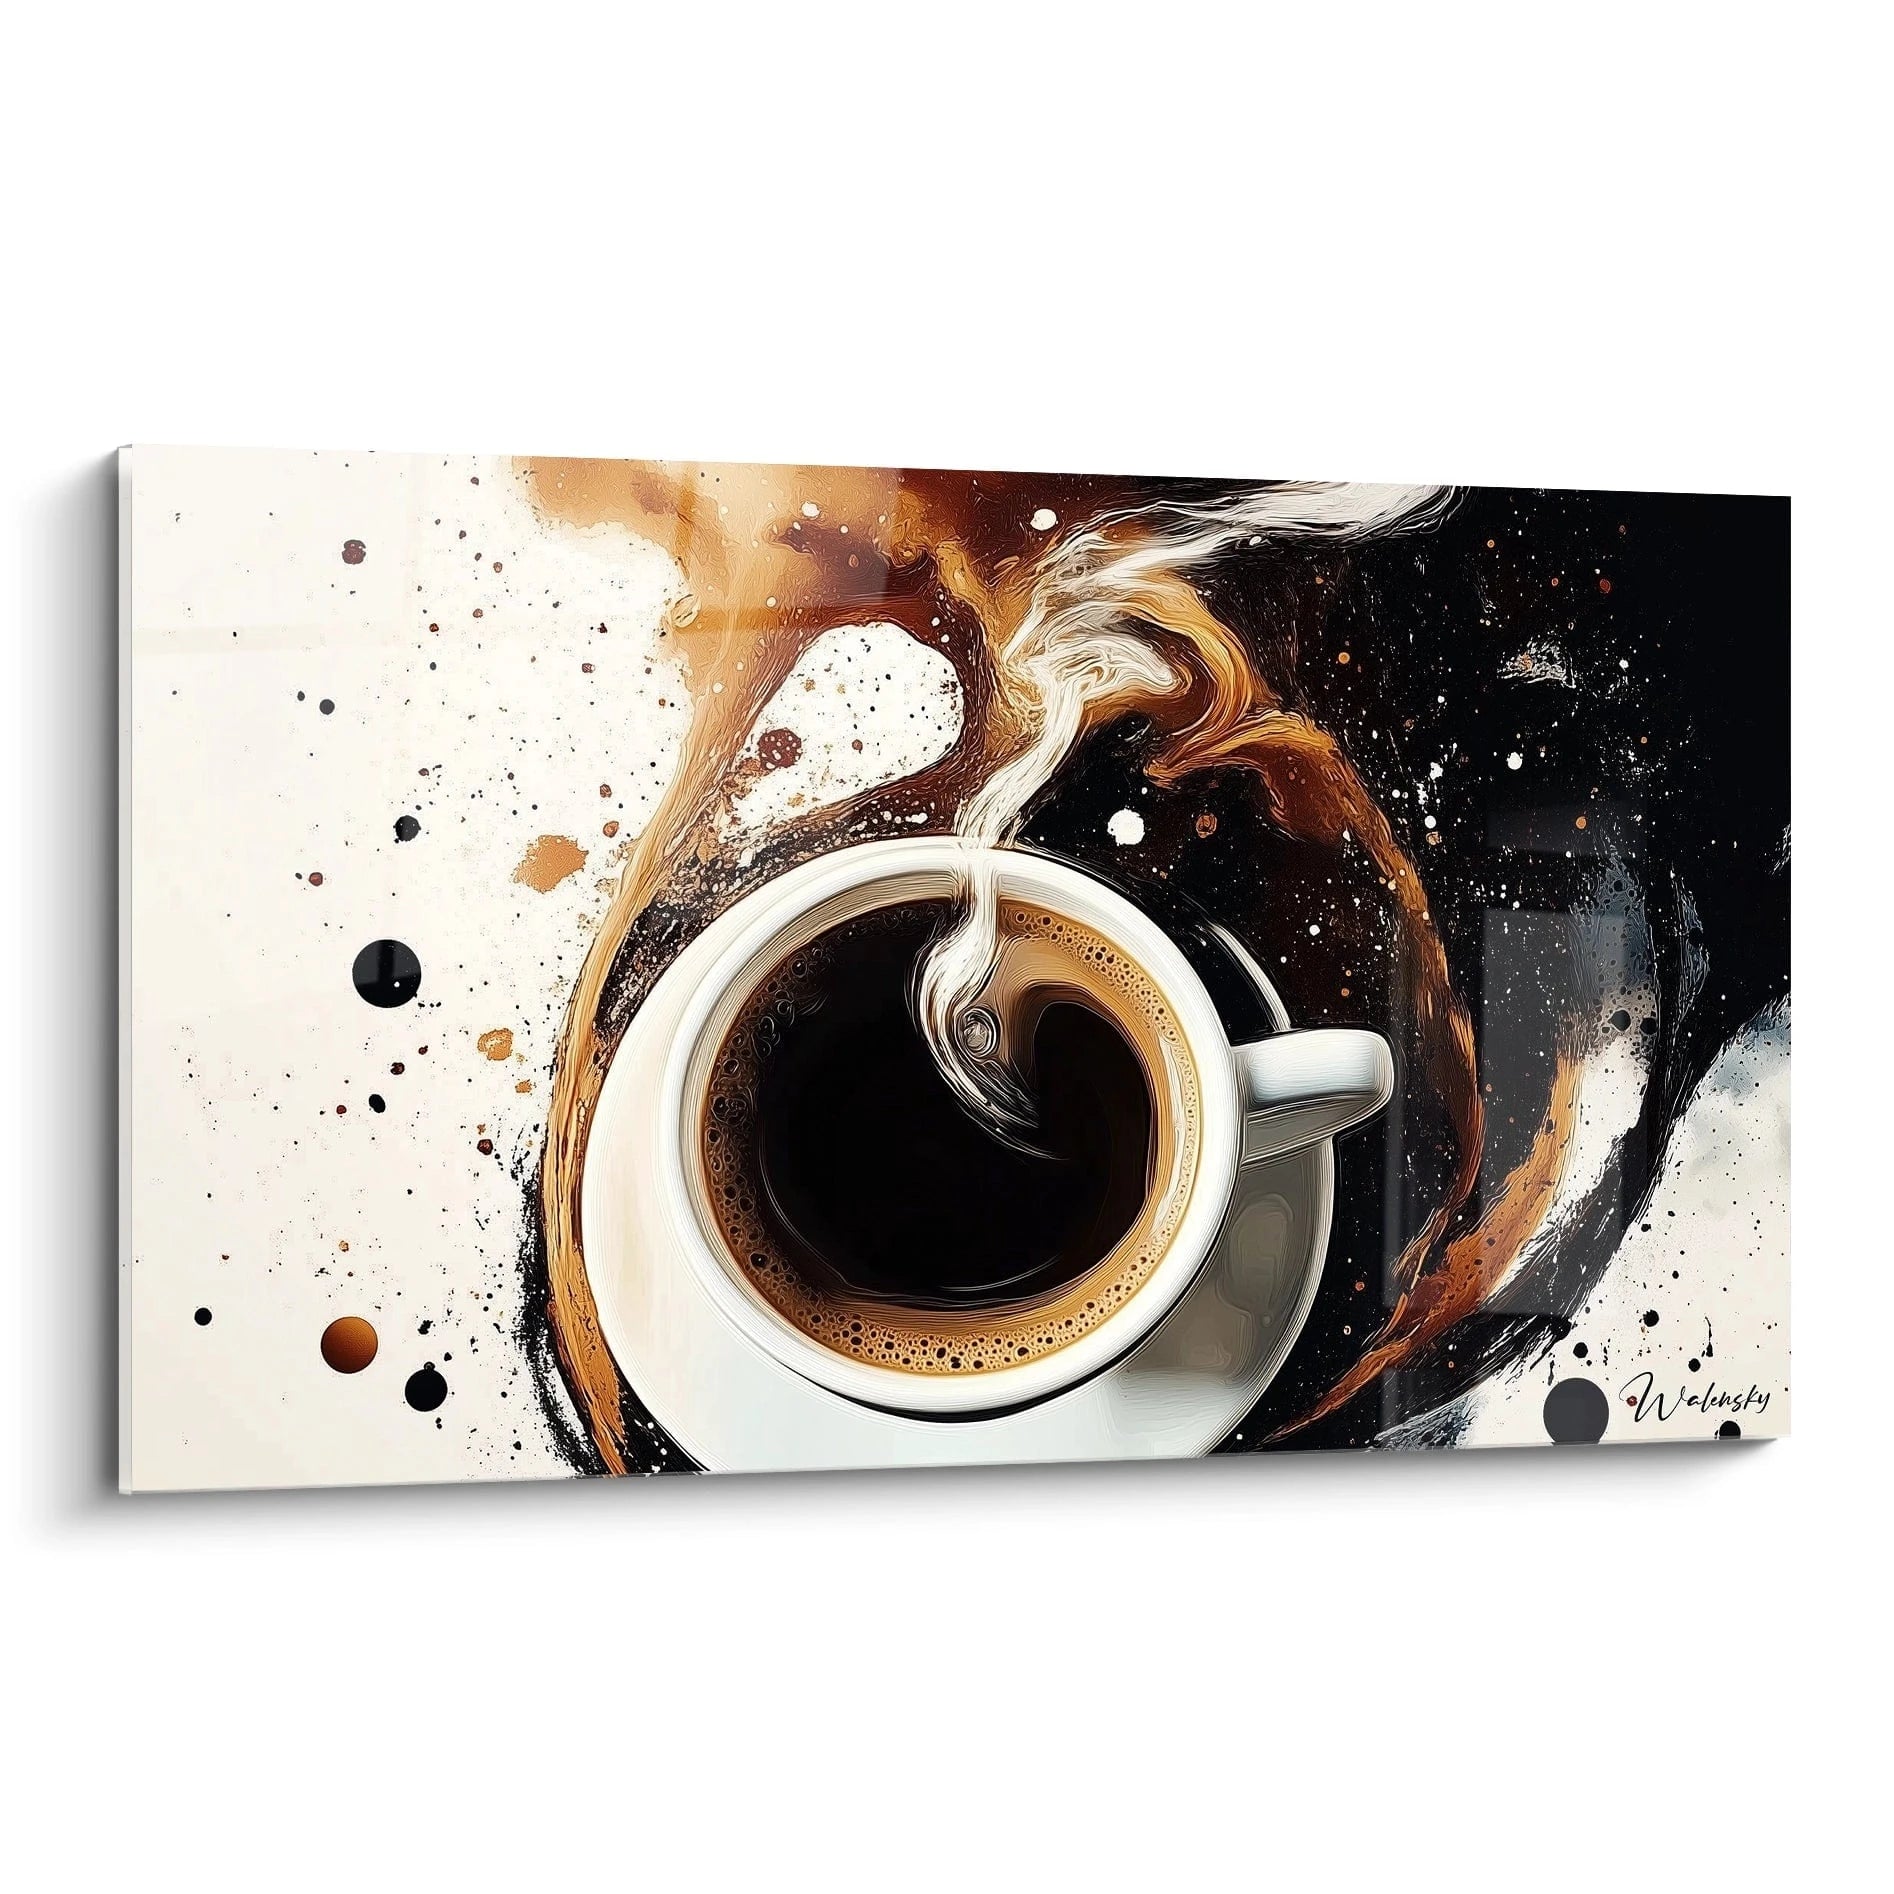






Wall art in an open kitchen: too risky or a good idea?
October 11, 2025 · 16 min read · by Walensky
You’re looking at your open kitchen and that bare wall frustrates you. You dream of hanging that beautiful painting that's been gathering dust in your closet, but a little voice whispers to you: "What if it was a mistake? What if the fumes damage it? What if it’s too bold?"
You imagine your guests entering your living room and discovering this wall art piece that transforms the atmosphere, but then anxiety grips you. You already visualize tomato sauce splatters, grease buildup, and the painting you cherish degrading before your eyes.
You've probably already tried classic solutions: leaving walls bare (resulting in a cold, impersonal space), opting for decorative tiles (too predictable), or relegating paintings to bedrooms (what a waste!). Nothing really satisfies you.
This hesitation is perfectly normal! The problem doesn't come from a lack of taste, but from a lack of concrete information on best practices for integrating art into a kitchen exposed space. Most decor advice ignores the technical specifics of these environments.
By the end of this article, you will know exactly how to choose, position and protect a painting in your open kitchen, to create a space that combines elegance and functionality, without any risk to your artworks.
Why does this question divide so many decor enthusiasts?
This problem reveals a modern conflict between our desire for unified living spaces and our fear of damaging what we hold dear. Imagine missing the opportunity to enhance your main space out of fear of making a decision that thousands of households have already adopted successfully.
🏠 Real testimonial: Marie, an interior architect from Lyon, says: "I long refused to hang my paintings in my 45m² open kitchen. The result? A beautiful but soulless space. The day I took the plunge with an abstract artwork in warm tones, everything changed. My guests only talk about this transformation, and after 2 years, my painting is perfectly preserved."
Conversation with a decor expert
The golden rule of culinary art: An artwork in a successful open kitchen acts as an emotional bridge between the preparation space and the living space. You will observe an immediate transformation of the atmosphere as soon as it is hung, with guests naturally lingering in this space that becomes warm and inspiring.

Let's decipher what really holds you back
You surely recognize yourself in one of these situations: you remain standing in front of your wall calculating safety distances, you postpone this "can wait" decision, or you opt for compromise solutions that only satisfy you halfway.
What is actually happening is that you lack concrete references and objective criteria to make this decision with peace of mind. The problem isn't your indecision, but the absence of a practical guide adapted to the specificities of your space.
It’s like wanting to cook a sophisticated dish without having the recipe: you have all the ingredients, but you lack the structured method to succeed.
The fear of the irreversible: when hanging becomes a puzzle
Contrary to popular belief, hanging an artwork in an open kitchen is no more risky than anywhere else. The real difference lies in the quality of preparation and the choice of optimal location.
Imagine you are planning the layout of your garden: you wouldn't plant a rose bush in a damp and shaded corner. Same logic here: some areas of your kitchen are naturally protected and perfect for welcoming a work of art.
This understanding will transform your anxious approach into a methodical process, allowing you to make an informed decision and achieve the result you have been dreaming of for months.
🔍 Immediate test: Look at your kitchen and identify the area furthest from the cooktop and sink. Temporarily place a magazine in this location and observe it for a week of normal cooking. If it remains clean, that's your ideal zone!
The illusion of uniform style: when you think everything must match
Many people believe that the artwork absolutely must blend perfectly with the backsplash colors or furniture style. This search for perfect coordination creates unnecessary pressure and limits your choices.
In reality, an artwork acts as a character accent in a symphony: it brings the note that makes the difference, without necessarily taking up all existing themes.
This liberation from "everything must match" will open up a universe of creative possibilities and allow you to express your authentic personality in this central living space.
Certains see their kitchen solely from a functional perspective and forget that it has become, with its open layout to the living room, a social representation space where important family moments take place.
You can easily notice this: observe where your guests naturally gather during your receptions. They gravitate around the open kitchen, this space having become the true social heart of the modern home.
Neglecting the aesthetic dimension of this space is depriving your home of its hosting potential and maximum conviviality.
3 signs that betray an underutilized kitchen:
- Guests' shifty eyes: They look everywhere except the walls, a sign that the space lacks engaging visual points of interest.
- Family photos avoided: You avoid taking pictures in this central space, revealing a lack of aesthetic pride.
- Constant desire for elsewhere: You dream of redecorating but constantly postpone, a sign of a subconscious dissatisfaction that is not identified.
The trigger factor: the domino effect of the first artwork
The magic happens with the first well-chosen and well-positioned painting. It acts as an aesthetic catalyst which reveals the potential of the entire space, exactly like the first domino that triggers a chain reaction. You will recognize it by the immediate effect on the atmosphere and the spontaneous compliments from your surroundings in the first few days.
The 48-hour rule: If after two days, you no longer notice your painting (it has blended into the background), then it is perfectly integrated. If you still enjoy looking at it several times a day, it's a sign of a successful choice that continues to inspire you.
| ❌ Misconception | ✅ Modern reality | 💡 Why it works | 🎯 Immediate benefit |
|---|---|---|---|
| Vapors damage everything | Current hoods protect effectively | 3x more powerful suction technology than before | Zero degradation with proper positioning |
| It's too visually cluttered | A painting structures the space | Creates a focal point that organizes the gaze | Feeling of a more harmonious space |
| Everything must match perfectly | Contrast brings character | Difference creates visual interest | Asserted personality and originality |
| It's too risky for art | Safer than near a window | No direct UV rays or temperature variations | Optimal preservation of the artwork |

The 3-step method to succeed for sure
Rassurez-vous, we will proceed gradually and securely. Imagine building together the aesthetic foundations of your open kitchen, then adding style elements, and finally refining the details that will make all the difference. At each step, you will feel a growing satisfaction as your vision takes shape.
🎯 Overview of the transformation : We begin by securing the environment (step 1), then we choose and position the perfect artwork (step 2), and finally we optimize lighting and finishes (step 3). Result at each step: protected space → successful visual impact → sublimated atmosphere.
Step 1: Create the ideal environment (the foundations)
This first step is crucial as it determines the durability of your installation. Like a gardener who prepares his soil before planting, we must first optimize environmental conditions. Once this solid base is established, you will feel the necessary confidence to move on to aesthetic choices.
Essential elements to check
- Your extractor hood's performance : It must evacuate at least 600 m³/h for a standard open kitchen. Check the flow rate on the label or instructions. If this is insufficient, a more powerful hood will completely transform your cooking comfort and wall protection. The investment is justified by the preservation of your decor.
- Wall sealing : Run your hand along the wall after cooking to detect any residual moisture areas. A properly insulated wall painted with a washable paint constitutes the perfect base for welcoming a work of art.
- Existing lighting : Observe how natural and artificial light hits your walls at different times of the day. This information will determine the optimal location choice and avoid annoying reflections on your future artwork.
Now, let's move to concrete action
Immediate actions to secure the space
Vapor zone test : Cook normally for a week by sticking pieces of white paper on different wall areas. The papers that remain immaculate indicate the naturally protected locations. This method precisely reveals air currents and effective suction zones.
⏱️ Time : 7 days observation | ✅ Successful when : You identify 2-3 areas totally preserved | ⚠️ Attention : Do not rely on your impression, micro-projections are invisible to the naked eye
Safety distance measurement : Use a meter to verify that your chosen area is more than 2 meters from the cooktop and 1.5 meters from the sink. These distances guarantee optimal protection against splashes and greasy fumes.
⏱️ Time: 10 minutes | ✅ Successful when: You have at least one area respecting these distances | ⚠️ Attention: Measure from the outer edges of equipment, not from the center
Wall stability check: Tap the wall lightly with your knuckles. A full sound indicates a load-bearing wall perfect for a solid hanging. A hollow sound will require special anchors but remains perfectly viable.
⏱️ Time: 5 minutes | ✅ Successful when: You know the type of wall and the necessary fixings | ⚠️ Attention: Plasterboard partitions require Molly anchors, never simple screws
✓ Validation of step 1: Your space has at least one dry, stable and well-ventilated area located within the safety distances. If in doubt about any of the criteria, consult a professional rather than compromising your project. This solid foundation will allow you to approach the rest with complete creative serenity.
— Our selection


OUR RECOMMENDED PRODUCTS
Step 2: Choosing and positioning the perfect artwork
Now that your environment is secure, we enter the most rewarding creative phase. You will discover how to radically transform the atmosphere of your space with the right choice and optimal placement. The effect will be immediate and spectacular!
Selection criteria for an open kitchen
- Dimensions adapted to the space: For a 3 meter wide wall, opt for a painting with a maximum width of 60-80 cm. This proportion creates a perfect visual balance without overwhelming the space or appearing lost. A painting that is too small will seem shy, too large will dominate aggressively. Colors that create harmony: Prioritize tones that take up 30% of existing colors and introduce 70% new ones. This rule ensures a natural coherence while bringing the desired freshness. Warm tones (ochres, muted reds) stimulate appetite and conviviality. Appropriate theme: Avoid food still lifes (too literal) and prefer contemporary abstractions, soothing landscapes or geometric compositions. These themes create an aesthetic elevation without direct reference to the culinary function.
Strategic positioning for maximum impact
Optimal hanging height: Place the center of the painting 1.60 m from the floor, slightly higher than in a classic living room. This height visually compensates for the perspective from circulation areas and remains comfortable for viewing from worktops.
⏱️ Time: 15 minutes with a level | ✅ Successful when: The artwork is visible and elegant from all angles | ⚠️ Attention: Check the view from the living room, not just from the kitchen
Creating a structuring focal point: Center the artwork on the main perspective axis between the kitchen and living room. This position naturally guides the eye and visually unifies the two spaces. Use a plumb bob to verify perfect alignment.
⏱️ Time: 20 minutes of precise measurements | ✅ Successful when: The artwork "calls" attention as you enter the space | ⚠️ Attention: The eye immediately perceives any misalignment, be rigorous
This final step transforms your successful installation into a true decorative masterpiece. You will learn how to play with light to enhance your work and create a sophisticated atmosphere that will impress your guests for years to come. This is where the aesthetic mastery of your project is revealed.
Light optimization for professional enhancement
Install dedicated lighting: Add an adjustable LED spotlight at a 30° angle to the artwork, positioned 1 meter away. This configuration avoids reflections while revealing textures and color nuances. A 3000K color temperature enhances warm tones.
⏱️ Time: 45 minutes of installation | ✅ Successful when: The artwork retains its brilliance even in the evening | ⚠️ Attention: Lighting that is too direct creates unsightly shadows on the canvas
Harmonize with ambient lighting: Install a dimmer switch on the main lighting to be able to modulate the intensity according to the moments. This flexibility allows you to create a cozy atmosphere for dinners or dynamic lighting for receptions.
⏱️ Time: 30 minutes | ✅ Successful when: You master several lighting atmospheres | ⚠️ Attention: Test the different intensities before receiving to avoid unpleasant surprises
Rule of mastered progression: You are ready for the next step when the previous step seems obvious and natural to you. Don't hesitate to live with each improvement for a few days before adding the next one. Patience in progression guarantees a harmonious and lasting result.
You have just laid the foundations of a decorative expertise that few people master. Now, let's discover the subtleties that distinguish an amateur installation from a professional level achievement, those details that make all the difference.
🎨 Expert tip: Create a subtle visual echo by placing a small decorative object (vase, sculpture) featuring a color from the artwork opposite the kitchen. This "visual rhyme" technique subtly unifies the space and reveals your refined aesthetic sense. The effect is striking without being ostentatious.
"What if my style changes in a few years?"
"I'm afraid of getting tired of my choice or that this artwork won't suit me if I redo my decor..."
This concern reveals a thoughtful approach, and that’s something to be proud of! The solution is to choose a timeless piece rather than an ultra-trendy one, and to plan for a modular hanging system from the start. Favor abstract compositions with nuanced colors over very dated patterns. A quality artwork ages well and adapts to different environments, just like a beautiful antique furniture finds its place in varied interiors.
🔄 Evolution strategy: Install a discreet rail system that will allow you to easily change artwork according to your desires or the seasons. This will give you total flexibility without repeated work.
— You may also like


Mistakes to absolutely avoid (to protect your investment)
After years of observing common mistakes, I prefer to warn you about classic pitfalls to spare you avoidable disappointments. These errors are so frequent that they almost seem inevitable, but with the right information, you will easily bypass them.
- 🚫 Hanging too close to the stove: The temptation is strong to use the space above the stove because it seems "logical". Guaranteed result: progressive discoloration and impossible-to-clean grease deposits. Even with a powerful hood, this area remains hostile to art. Always prefer side walls or the central island.
- 🚫 Choosing an unsuitable frame: A raw or matte wood frame absorbs odors and becomes impossible to clean. Opt for smooth and non-porous materials: metal, PVC, or lacquered wood. This difference may seem minor but determines the longevity of your installation.
- 🚫 Direct lighting on the artwork: A spotlight pointed directly creates blinding reflections and marked shadows. Indirect or lateral lighting better reveals nuances and respects the visual integrity of the work. It's a crucial technical detail often overlooked.
- 🚫 Neglecting back protection: Fixing an artwork directly against a kitchen wall without back protection exposes the canvas to residual moisture. A simple piece of cardboard or plastic behind the frame constitutes an effective and invisible barrier. 🚫 Impulsive installation: Enthusiasm often leads to immediate hanging without testing different positions. Take the time to simulate with paper cut to the correct dimensions. This preparatory step avoids regrets and multiple holes in the wall.
🛡️ Quick verification system: Check each month the condition of your artwork: no marks on the frame, colors intact, stable fixing, absence of odors. If any of these points are problematic, act immediately rather than waiting for irreversible degradation.
— In the same vein


Frequently asked questions about open-plan kitchen art
A budget of 150 to 400€ is quite sufficient for a spectacular transformation, including the artwork, suitable framing and specific lighting. Start with a moderate investment in a medium-sized piece (50x70 cm): you can always enrich your collection once the effect is confirmed. The visual impact is rarely proportional to the price, prioritize aesthetic coherence over signature prestige.
With correct positioning and suitable protection, no noticeable degradation appears for a minimum of 5 to 10 years. The first signs (slight fading) only appear with poorly designed installations within the first 6 months. If your artwork survives the first year without problems, it is set to last decades in optimal conditions.
Installation is accessible to any occasional DIYer for artworks up to 70 cm and 3 kg. Beyond that, or for integrated lighting, the intervention of a professional secures the installation and optimizes the result. Allow 100-150€ for labor for complete installation with lighting, an investment that is justified for valuable pieces.
A quality reproduction on canvas or art paper, well framed, produces 90% of the visual impact of an original for a budget divided by 10. The key lies in the quality of printing, the texture of the support and the finish of the frame. To start, it is an excellent compromise that will allow you to refine your tastes before investing in unique pieces.
Normal kitchen temperature fluctuations (18-25°C) pose no problem to modern artworks. Simply avoid exposures to direct hot air currents (oven vent, kettle steam). A properly mounted artwork benefits from the thermal inertia of the support and remains within a stable temperature range that is perfectly compatible with artistic preservation.
Your open kitchen transformed into a personal art gallery
In a few weeks, you will look at this space with new pride. Your guests will immediately notice this transformation that elevates your kitchen from a functional space to a truly refined living area. You will feel the particular satisfaction of someone who dared to personalize their environment with taste and boldness.
This decorative success will develop your aesthetic confidence and give you the desire to explore other creative projects in your interior. You will discover that choosing and positioning a work of art is more about method than innate talent, a skill now acquired and transferable to other spaces.
The hardest part was taking the plunge with knowledge. Now that you have the keys, all that remains is to select your first artwork and begin this transformation that has been tempting you for so long. Your open kitchen awaits your decision to reveal its full aesthetic potential.
🚀 Your next step: Visit our collection to discover the pieces that match your universe and dimensions. Your space deserves this attention, and you deserve to live in an environment that inspires you every day.
Also read: 📖 Read more articles on art in multifunctional spaces
</div
More selected pieces
Red and Gold Martini Glass Floral Art - Toast to the Evening - Cocktail Edition
233,90€
Discover this artwork →Explore our collections


