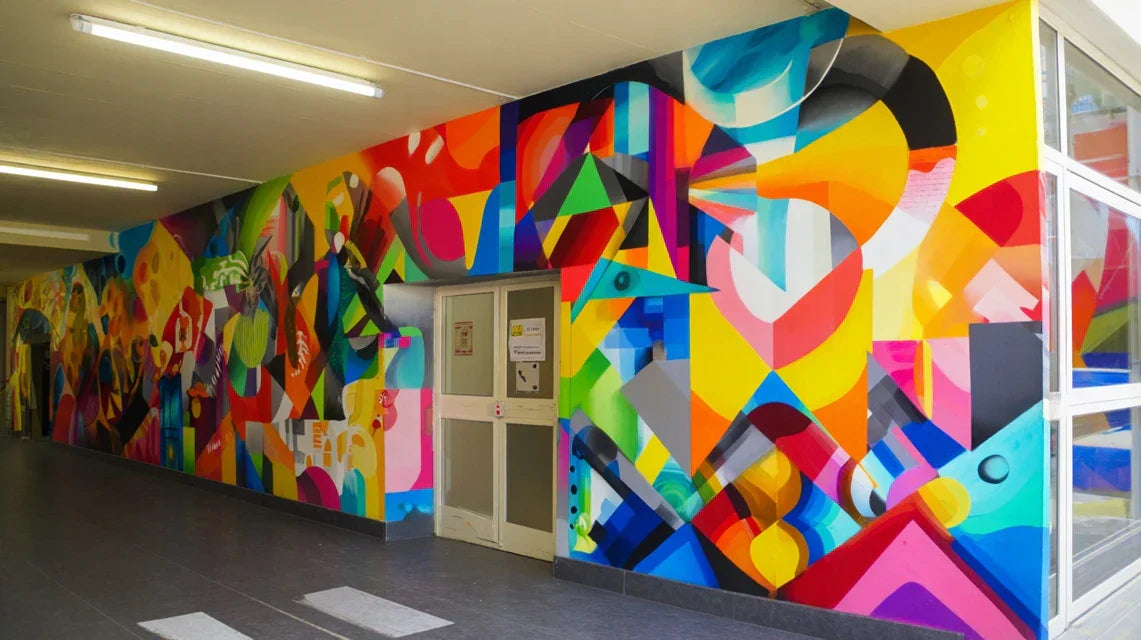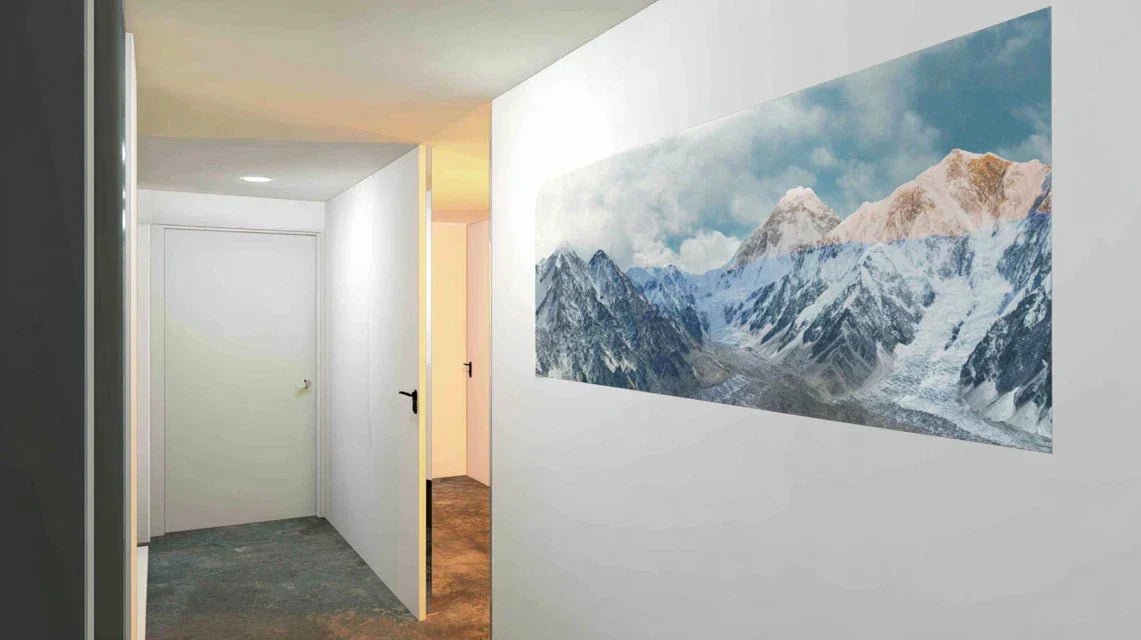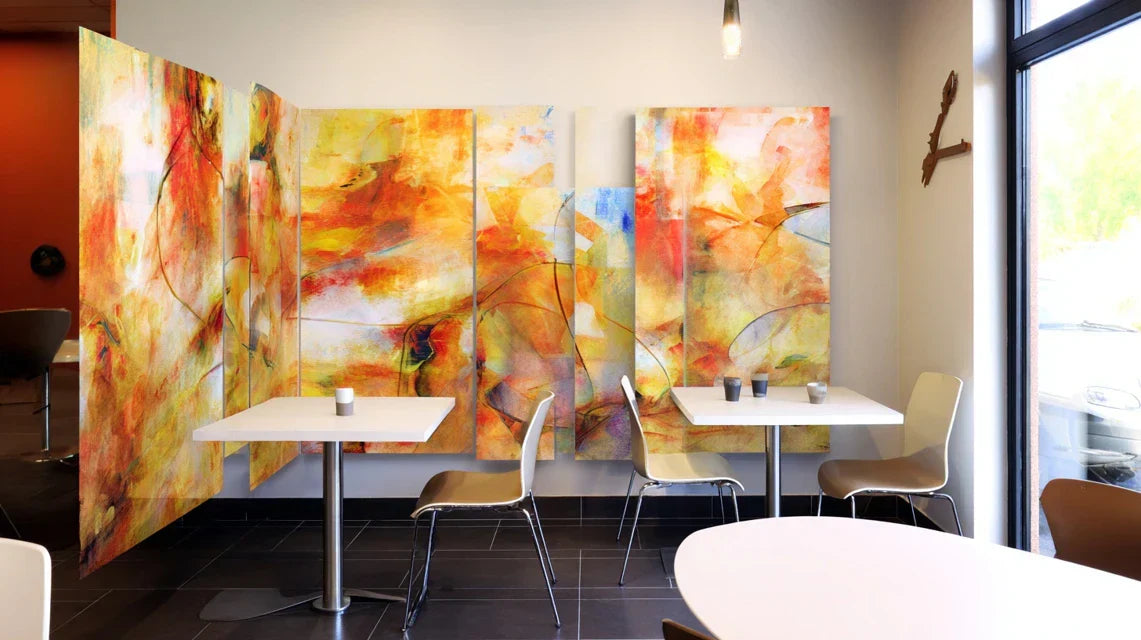
You’ve just moved into a new home, or you look at your living room and sigh: this large living space seems to float in the void, without soul or structure. Your open plan space feels more like a reception hall than a truly warm and welcoming home.
The sofa seems lost in the middle of nowhere, the dining table appears disconnected from the rest, and you never really know where to start your reading corner and where your dining room ends. This feeling of disarray follows you every day.
You've probably tried classic solutions: a rug here, a shelf there, maybe even a screen. But nothing works, your interior still lacks that space defining decor which transforms a surface into a true structured living space.
This is perfectly normal! The problem doesn't come from your sense of decoration, but simply from the fact that you haven’t yet discovered the unsuspected power of wall art as a space organizer. Traditional solutions create physical barriers, while art creates elegant visual boundaries.
By the end of this reading, you will know exactly how to transform each wall art for space function into a visual marker that naturally structures your interior, creating distinct and harmonious zones without ever partitioning.
Why does wall art revolutionize the organization of our living spaces?
Space delimitation through wall art works today because it perfectly meets the new ways we live in our interiors. In our modern homes with open-plan spaces, waiting to find the perfect solution makes you lose months of daily comfort. It's like trying to navigate without a compass: you go around in circles without ever really feeling at home. The opportunity? Immediately transform your perception of space with a single strategically placed artwork.
🏠 Testimonial of a transformation: Sarah, an interior architect from Lyon, says: "My client owned a magnificent but totally impersonal 80m² loft. By placing three artworks of different sizes - a large abstract format behind the sofa, a series of engravings above the dining table, and a colorful work near the entrance - we created three distinct zones in a single morning. The result? A structured space where each function naturally finds its place."
💬 Conversation with a decor expert
The golden rule of artistic delimitation: A well-chosen painting acts as a visual magnet that naturally attracts furniture and defines a functional zone. You will observe this transformation from the first day of hanging, with maximum effect after a week of appropriation.
Understanding why your space resists traditional organization
Do you recognize yourself? Your living-dining room feels like a train station, you never know where to place your guests so they feel comfortable, and you constantly feel that your decor lacks coherence despite your efforts.
What's really happening is that your brain needs visual cues to understand the use of each zone. Without these clues, even the most beautiful furniture floats in a decorative void. This isn't a flaw on your part; it's a natural neurological function.
Imagine your gaze as a visitor discovering your interior: they need "signage" to understand where to stop, sit, and relax. Wall art plays exactly this role of elegant signage.
The first hidden cause: the illusion of uniformity
Contrary to what one might think, a uniformly decorated wall doesn't create harmony but visual confusion. Your eye can’t identify the different functions and treats the entire space as an undefined zone.
It's like trying to read a book without paragraphs: even if the content is excellent, the lack of structure makes comprehension exhausting. Your interior needs "visual punctuation" to be truly comfortable.
The emotional impact? This confusion generates unconscious fatigue that prevents you from really relaxing at home. Understanding this mechanism will revolutionize your approach to organization through art.
🔍 Quick test: Close your eyes for 10 seconds in your living room, then open them. Does your gaze naturally settle on a specific point or does it wander without knowing where to stop? This first impression reveals whether your space already has its visual landmarks.
The second hidden cause: the tyranny of perfect symmetry
Many believe that you absolutely must balance each wall with the same decorative intensity. In reality, visual hierarchy creates more harmony than perfect equality.
It's like an orchestra: if all instruments played at the same volume, you would only hear a cacophony. Beauty is born from the complementarity between strong zones (your statement paintings) and soft zones (your secondary walls).
The result? Your current decor lacks relief and character. The solution lies in differentiated wall art according to functions.
The third hidden cause: poorly mastered scale
No one has ever explained to you that the size of artworks directly communicates the importance of a zone. A small painting signals a secondary space, a large format announces a main area.
Observe your interior: have you instinctively placed your smallest works in the places where you spend the most time? It is probably the case, and it's exactly the opposite of optimal logic.
This inversion of scale explains why your relaxation corner doesn't really relax you and why your dining room lacks conviviality.
🎯 The 3 signals that don’t lie:
- You still hesitate about the placement of furniture: Your space lacks visual anchoring, like a boat without moorings
- Your guests stay standing longer than necessary: They don't intuitively grasp installation zones
- You regularly change the layout without being satisfied: The problem isn’t the furniture but the lack of visual structure
The trigger element: the power of magnetic attraction
The real secret lies in the attraction effect exerted by a well-chosen artwork. Like a magnet, it naturally organizes everything around it: furniture orientates towards it, lighting highlights it, and accessories find their logical place. This phenomenon of visual polarization explains why some interiors "work" immediately. You can test this today by observing how your gaze behaves in front of your current artworks.
The rule of artistic anchoring: An artwork placed strategically automatically transforms its environment into a defined functional zone. Check it by noting where you naturally settle in a room in relation to the artworks present.
| ❌ Instinctive approach | ✅ Strategic approach | 💡 Explanation | 🎯 Practical benefit |
|---|---|---|---|
| Hanging everywhere uniformly | Creating distinct visual poles | The brain needs hierarchy to orient itself | Each zone naturally finds its function |
| Choosing only according to your tastes | Adapting the artwork to the use of the zone | Art unconsciously influences our behaviors | Spontaneously adapted atmosphere to the activity |
| Favoring small "safe" formats | Daring large formats in key places | Size communicates importance | Main zones immediately identified |
| Avoiding colorful contrasts | Playing on harmonies and tensions | Contrast creates relief and character | Memorable and personalized interior |
The 3 anchors method: structure your space like a professional
Rest assured, transforming your interior into a perfectly organized space doesn't require a pharaonic budget or architectural talents. This method follows the natural logic of building a decorative ecosystem: you first plant the "trees" (your major works), then you develop the "undergrowth" (furniture and accessories). The final result? An interior where each zone breathes its function while participating in the overall harmony.
🎯 Overview of the transformation: We will create three levels of intervention - the main anchor that structures the entire space, secondary anchors that define sub-zones, then harmonizations that link everything together. Each step brings an immediate benefit and prepares the next.
Step 1: Create your main anchor (the visual backbone)
Starting by identifying your main living area helps establish the general character of the entire space. It's like laying the first stone of a building: it determines the direction of everything that follows. Once this anchor is in place, you will immediately feel a sense of order and stability in your interior.
🎨 What you need to succeed
- One large format artwork (minimum 70x50cm): It should be visible from the entrance of the room and correspond to the desired atmosphere. Choose it from a gallery or artisan rather than a big-box store: the quality of the support and colors will make all the difference in visual impact. Avoid common reproductions that trivialize the effect.
- A professional hanging system: Invest in wall fixings suitable for the weight of the artwork. A poorly secured or crooked picture completely sabotages the desired effect. The principle: the more stable it is, the more confidence and serenity it inspires.
- Dedicated lighting (optional but recommended): An adjustable spotlight or a wall sconce transforms your artwork into a true focal point. Lighting multiplies the visual impact and clearly signals the importance of the area.
Now let's move on to practical implementation:
🔨 Implementation of the main anchor
Identify the optimal location: Stand at the entrance to your room and spot the wall that naturally attracts your gaze. It is usually the wall facing the entrance or the one facing the sofa. This location already benefits from a natural visual force that your artwork will amplify. Avoid corners or walls cluttered with passages.
⏱️ Time: 5 minutes | ✅ Success when: Your gaze naturally rests on this location | ⚠️ Attention: Don't choose a "default" wall just because it's empty - it might be empty for good reasons!
Define the hanging height: The center of your artwork should be between 145 and 165cm from the floor (eye level of a standing person). This height ensures optimal perception from all points of view in the room. Measure from the center of the artwork, not from the bottom or top of the frame.
⏱️ Time: 10 minutes | ✅ Successful when: The artwork appears to "float" naturally on the wall | ⚠️ Attention: Too high gives a sense of distance, too low visually crushes the space
Test the effect before final fixing: Temporarily hold the artwork in place and observe from different angles of the room. The anchoring effect works if your furniture seems to naturally "converge" towards this area. Take the time to feel the atmosphere that emanates: it must correspond to the main use of this space.
⏱️ Time: 15 minutes | ✅ Successful when: The artwork noticeably transforms the atmosphere of the area | ⚠️ Attention: If the effect seems artificial or forced, test another location rather than insisting
✨ Anchoring Validation: Your main zone now has its own visual identity. You should observe that looks are spontaneously drawn to this artwork and that the surrounding space seems more structured. If you feel a slight hesitation, it's normal: allow yourself a few days to get used to it before adjusting.
OUR RECOMMENDED PRODUCTS
Step 2: Defining your secondary anchors (activity zones)
Now that your visual spine is in place, you are going to create the functional sub-zones. This step is more rewarding because the results are immediately visible: each new anchor point reveals a specific function and enriches the harmonious complexity of your space. The snowball effect begins here.
🎨 Artwork and supports for secondary zones
- Medium formats (40x30cm to 60x40cm): Perfect for defining a dining area, office space or reading corner without competing with the main anchor. Prioritize styles that dialogue with the main artwork while asserting their functional specificity.
- Series or thematic collections: Three small aligned artworks create a visual rhythm that naturally structures a linear zone (hallway, sideboard, library). The unity of the series compensates for the more modest size of each element.
- Various supports (canvas, metal, wood): The diversity of materials enriches the visual texture of the space and allows you to adapt each artwork to its function: metal for a kitchen, warm wood for a reading corner, traditional canvas for a dining room.
🎯 Setting up functional zones
Map your activities: List concretely your daily uses of the room (eating, reading, working, receiving, relaxing) and associate each with a physical zone. This mapping reveals the spaces that deserve specific artistic anchoring. Think about the times of day: where do you have your coffee? Where do you read in the evening?
⏱️ Time: 20 minutes | ✅ Success when: Each activity has its defined territory | ⚠️ Attention: Do not multiply zones: maximum 3-4 to avoid visual dispersion
Choose artworks according to the energy of each zone: Dining area = convivial works with warm colors, relaxation area = soothing art in soft tones, work area = stimulating but not distracting creations. Art subtly influences your state of mind: use it to optimize each activity.
⏱️ Time: 45 minutes | ✅ Success when: Each artwork "breathes" the function of its zone | ⚠️ Attention: Avoid overly intense works in relaxation areas
Step 3: Harmonize the whole (your style's signature)
This last step takes you from amateur to connoisseur level. You will create subtle visual links between your different anchors, transforming your collection of artworks into a true decorative ecosystem. The final result you can visualize? An interior where each zone has its own personality while participating in an overall harmony whose secret your guests will not immediately understand.
🎨 Creating harmonic links
Establish colorful echoes: Identify 2-3 dominant colors in your main anchor and make them reappear subtly in your secondary anchors. No need for perfect accuracy: nuances within the same family are enough to create consistency. This method visually unites very different works.
⏱️ Time: 30 minutes | ✅ Success when: The eye naturally moves from one zone to another | ⚠️ Attention: Too many echoes kill the echo - remain discreet
Play on contrasts and complementarities: Alternate horizontal and vertical formats, figurative and abstract styles, smooth and textured textures. These variations create a sophisticated visual rhythm that maintains interest without ever tiring. The art of harmony lies in the balance of oppositions.
⏱️ Time: 25 minutes | ✅ Success when: No zone dominates or disappears | ⚠️ Attention: Avoid exact repetitions which impoverish the whole
The rule of mastered progression: You can move on to the next step when the previous one spontaneously generates the desired behavior in the area concerned. Objectively, your daily habits naturally adapt to the new boundaries. Patience and ambition balance each other: allow appropriation time without abandoning your goals.
Congratulations! You now master the fundamentals of spatial organization through art. The subtleties that follow will allow you to refine your approach and achieve results that will impress even professional decorators.
🎭 Pro tip - The "breathing" effect: Intentionally alternate artistically charged zones with more neutral spaces. This visual breathing avoids saturation and allows each work to fully deploy its impact. Specifically: if your living room features a statement piece, leave the adjacent wall more subdued with a simple mirror or a few objects.
🤔 "What if I make mistakes in my choices?"
"I'm afraid of making costly mistakes and ending up with a failed interior..."
This concern is totally understandable and even reveals your good decorative sense! The beauty of this method lies precisely in its gradual nature: you start by testing the effect with one piece, observe the transformations, then adjust according to your feelings. Unlike major renovations, wall art is easily repositioned. Start renting or borrowing a test piece if you are hesitant: emotional investment often precedes financial investment.
🛡️ Your safety net: Photograph your space before and after each artistic addition. This visual documentation helps you objectify the transformations and precisely identify what works. Guaranteed result: you gradually develop your decorative eye.
The 5 pitfalls that sabotage your artistic delimitation
Even with the best method, some mistakes can compromise your results. I prefer to tell you about them now to avoid disappointments: these errors are common and perfectly avoidable when you know them.
- 🎯 Trying to delimit everything at once: Impatience leads to multiplying works simultaneously, creating a visual chaos. The impact is diluted and you lose the structuring effect sought. Proceed zone by zone, allowing time for appropriation. It's a decorative marathon, not a sprint!
- 📏 Neglecting proportions: A small painting on a large empty wall seems lost and weakens the delimitation. Conversely, an oversized work crushes the space and creates imbalance. The rule: the artwork should occupy 60-75% of the width of the furniture it overlooks.
- 🎨 Choosing only based on personal taste: Forgetting the function of the zone leads to inconsistencies in atmosphere. A dark, contemplative work in a family dining corner spoils conviviality. Art should serve the purpose, not just please.
- 💡 Ignoring lighting: An artwork poorly lit loses 70% of its delimiting impact. Shadow or reflections prevent correct reading and sabotage the visual anchoring effect. Anticipate lighting during the positioning phase.
- 🔄 Changing too quickly: Visual adaptation takes a minimum of 2-3 weeks. Modifying before this time prevents real appropriation and deprives you of the behavioral benefits. Give your brain time to reconfigure its spatial habits.
🔍 Your validation checklist: Each artwork should be visible from the entrance of the area, create a consistent atmosphere with its function, integrate harmoniously without dominating the whole, and naturally generate the desired behavior (relaxation, conviviality, concentration). Warning sign: if you have to "force" harmony, something is wrong with the positioning or choice.
🎁 Special offer for readers
Because you took the time to inform yourself, enjoy 10% discount on your first order:
⏰ Valid 72h after reading • Applicable to all our products
🙋♀️ Your practical questions about artistic delimitation
Allow 300-800€ for a successful transformation: one main artwork (150-400€), two secondary anchors (50-150€ each), plus professional hanging (50-100€). Optimize by starting with the main anchor and spreading out other acquisitions. Concrete example: Sarah transformed her space with 450€ invested over 3 months, visible results from the first artwork.
The visual impact is immediate, behavioral adaptation takes 2-3 weeks. You will quickly notice that your movements around the room change, that you settle differently, and that your guests more easily identify activity zones. Full appropriation is established in about a month.
Absolutely! Use non-drilling hanging systems (reinforced adhesive hooks, telescopic rods, floor easels for large artworks). The delimiting effect works independently of the fixing mode. Then prioritize lightweight artworks and formats adapted to your temporary supports.
Test the 48h effect: use the area normally and observe whether the artwork facilitates or disrupts your activity. A well-chosen artwork becomes invisible because it naturally supports your behavior. If it constantly attracts your attention or generates discomfort, it does not correspond to the usage.
Even more effectively! In a small space, every square meter counts: artistic demarcation optimizes usage without consuming floor space. Prioritize a maximum of 2 anchors (main + secondary) to avoid visual clutter. A well-demarcated studio seems larger than an undifferentiated studio.
🌟 Your transformation into a space organization expert
In a few weeks, you will look at your interior with that deep satisfaction of someone who masters their environment. Each zone will naturally express its function, your guests will instinctively settle in the right places, and you will feel that particular serenity of perfectly organized spaces. Your space decor demarcation will no longer be a challenge but second nature.
Beyond simple organization, you will have developed a decorative eye that transforms every new place into a harmonious space. This skill applies everywhere: office, bedroom, even temporary spaces. Your confidence in interior design will spread to all your layout choices.
Understanding the mechanisms was the main obstacle. Now that you know why and how wall art structures space, take action this week! Start by identifying your main zone: this simple first step will naturally trigger the rest of your transformation.
✨ Your new decorative power: You now have the method that transforms any space into a structured and harmonious living space. It's exactly within your reach, and the result will exceed your initial expectations!