You are looking at your magnificent premium wall art and a question torments you: this fine layer of dust that accumulates discreetly on the surface... Should you clean it immediately or risk damaging your artistic investment?
The anxiety rises as you gently run your finger over the frame and feel this grainy texture. Your work of art, so vibrant when purchased, seems to lose its luster day after day. You hesitate between action and inaction, fearing that you will commit the irreparable.
You may have already tried a dry cloth, attempted a "special art" product, or simply ignored the problem hoping it would disappear. But nothing works: either you don't really dare to act, or the result disappoints you.
Rassurez-vous, this hesitation is perfectly normal. Most owners of artworks make the same mistake: they apply standard maintenance advice without taking into account the specificity of premium materials and their environment.
By the end of this article, you will perfectly master the appropriate maintenance rhythm for your painting and know how to preserve its original luster for decades, transforming your space into a true personal gallery.
Why maintaining your painting can’t wait
Unlike classic furniture or decorative objects, a premium wall art reacts invisibly to daily micro-aggressions. Each day of waiting allows particles to become embedded deeper into the fibers, creating an irreversible dull veil. It's like letting rust form on a collector's car body: the longer you wait, the more complex and costly the restoration becomes.
📸 Customer testimonial: "I waited six months before cleaning my linen abstract painting. When I finally dared, I discovered that the colors under the dust were 30% more vibrant! It was like rediscovering my work." - Marie, Parisian collector
💬 Conversation with a decor expert
Golden rule of conservation: A well-maintained painting retains 95% of its original luster after 10 years, against only 60% for a neglected painting. The difference is made in the first few months of exposure.
What’s really happening in your interior
Perhaps you recognize these situations: your artwork seems "suffocated" in the morning, colors appear different depending on the lighting, or you notice fingerprints near the frame when vacuuming.
These signals are not lying: your piece is subjected to constant bombardment of suspended particles, ambient humidity and temperature variations. The problem isn't your negligence, but the invisible accumulation that escapes the naked eye for weeks.
Imagine your artwork as a very fine sponge: it absorbs everything floating in the air of your living room, from cooking fumes to microscopic textile fibers, gradually creating a dull filter on your artistic investment.
Household dust: a silent enemy of art
Contrary to popular belief, household dust is not harmless. It contains abrasive particles that, under the effect of humidity, form a microscopic adhesive paste. The longer it stays in place, the more it penetrates the fibers and reliefs of your artwork.
It's exactly like mud on leather shoes: liquid at first, it hardens and becomes embedded if left to dry. Your artwork undergoes the same process, but almost imperceptibly.
This dulling not only diminishes the brilliance of colors, but also alters the perception of volumes and textures, subtly transforming the emotional impact of your piece on your guests and your daily well-being.
🔍 Quick test: Take a flashlight and shine it at an angle on your artwork. The sparkling particles you see dancing? They are settling constantly on your piece. Impressive, isn't it?
Ambient humidity: a neglected multiplying factor
Many think that only dust is a problem, but they forget the crucial role of domestic humidity. Every shower, every dish simmering, every breath temporarily increases the humidity level and activates the adhesion of particles to your artwork.
Think of a car window on a humid day: condensation instantly fixes all the particles that were floating freely. Your artwork experiences exactly the same thing during peaks in domestic humidity.
This reaction explains why some days, your piece seems duller: it's the humidity revealing the invisible accumulation by agglomerating fine particles into a visible veil.
Areas of circulation: dirt-acceleration zones
Here’s the factor that no one suspects: the position of your artwork directly influences its rate of soiling. Works located near passageways, fans or heat sources accumulate impurities up to 3 times faster.
Observe carefully: is the bottom of your artwork duller than the top? This is the signature of rising air currents that preferentially deposit heavy particles in this area.
This uneven soiling creates heterogeneous aging which, over time, makes cleaning more complex and risks creating permanent differences in gloss.
🎯 4 warning signs to watch out for:
- Uneven brilliance depending on the viewing angle: Indicates an accumulation of particles that diffuse light differently depending on your position
- "Muted" colors in the morning: Reveals the effect of nighttime humidity which reactivates fine particle deposits
- Frame dirtier than the artwork: Shows that heavy particles settle preferentially on horizontal reliefs
- Visible fingerprints near the frame: Signals that body oils fix impurities more in this handling area
The critical moment: when accumulation becomes irreversible
There is a tipping point where particles no longer simply settle: they become permanently embedded. This is the domino effect of neglect. Like an oil stain that spreads through fabric, superficial soiling becomes structural and then requires costly professional intervention to restore the original luster.
Early detection rule: If you can no longer see the fine details of your painting from 2 meters away as on the first day, then accumulation has begun. Act within the week following this observation.
| ❌ Common belief | ✅ Expert reality | 💡 Actual mechanism | 🎯 Practical benefit |
|---|---|---|---|
| Cleaning damages the painting | Not cleaning irreversibly damages it | Particles act like microscopic sandpaper | Preservation of artistic and financial value |
| Once a year is enough | Cycle adapted to the domestic environment | Soiling follows an exponential curve | Ease of maintenance and optimal result |
| All products are equal | Each material has its specificities | Chemical reaction between support and product | Preservation of authenticity and longevity |
| Only experts can clean | Technique accessible with a good method | Simple but precise gestures | Autonomy and substantial savings |
The progressive method for controlled maintenance
Now that you understand the stakes, let's move on to practice with serenity. Like a chef who prepares their ingredients before starting, we will proceed step by step to transform the maintenance of your high-end painting into a pleasant and effective routine. The result? A work that regains its original emotional impact and preserves it durably.
🎯 Overview of your progress: We will move like a professional restorer: diagnosis (5 min), preparation of the environment (10 min), then gentle intervention (15 min). Each step will give you confidence for the next and will progressively reveal the preserved beauty of your artistic investment.
Step 1: Diagnosis and space preparation
Starting with this step is essential as it determines the entire course of your intervention. It's like examining the terrain before building: good preparation guarantees a professional result. Once you have mastered this step, you will feel that satisfaction of perfectly controlling the situation, the stress of "doing it wrong" will disappear completely.
🛠️ Specialized equipment for high-end paintings
- Special anti-static art microfiber: Looks like an ultra-soft cloth but eliminates static electricity that attracts dust. Found in art or fine arts stores. Quality criterion: it should glide on your skin without any roughness. Avoid classic household microfibers which contain abrasive synthetic fibers. Medium natural hair brush: Large (3-4 cm) brush with natural hog bristles, neither too soft nor too stiff. The principle: gently detach without pressing. Recognize good quality: the bristles return to their shape after bending. Impact on result: reaches reliefs without risking scratches. Directional mobile lighting: Adjustable desk lamp or powerful flashlight. Essential for revealing invisible accumulation in ambient light. Visible benefit: transforms your perception of the actual cleanliness level of your artwork.
🔍 Precise diagnosis of your painting
Identification of critical areas: Illuminate your painting at an angle with your mobile light source. This technique reveals invisible accumulation in normal lighting. Shiny areas indicate deposits of particles that diffract the light. Mentally note or photograph these areas to adapt your intervention.
⏱️ Time: 3-5 minutes | ✅ Successful when: You clearly distinguish the matte/shiny zones and locate preferential accumulations | ⚠️ Attention: Do not confuse intentional textures (gilding, satin varnish) with dirtiness
Surface friability test: With the natural hair brush, gently try a discreet angle (bottom of one side). This verification determines the robustness of your support and avoids unpleasant surprises. If particles detach easily, that's a good sign: the dirt is superficial.
⏱️ Time: 2 minutes | ✅ Successful when: The brush slides without resistance and collects dust without damaging the surface | ⚠️ Attention: Stop immediately if you feel any resistance or see traces on the brush
Preparation of work environment: Close doors and windows to avoid drafts, turn off ventilation/heating for 30 minutes. This precaution prevents the immediate redeposition of new particles during your intervention. Place a clean towel on the floor under the painting to collect falling particles.
⏱️ Time: 5 minutes | ✅ Successful when: The air in the room is still and you have secured the workspace | ⚠️ Caution: Do not use a vacuum cleaner in the room before intervention (it suspends particles)
✓ Validation of step 1: Your painting reveals its secrets under specialized lighting, your equipment is adapted and tested, your workspace is optimal. You feel the confidence of a professional who masters their environment. If a step resists, don't panic: it's normal to refine your diagnosis. The important thing is never to rush this fundamental phase.
OUR RECOMMENDED PRODUCTS
Step 2: Delicate and methodical cleaning
You are now moving to the intermediate level where technique takes precedence over apprehension. This step is more rewarding because you immediately see the results of your precise gestures. The snowball effect begins: each cleaned area reveals the spectacular impact on the entire work.
🎨 Targeted intervention on your artwork
Dusting with a natural bristle brush: Start at the top of the painting and gradually descend in 10 cm horizontal bands. The movement must be unidirectional (from left to right) with constant, light pressure. This technique avoids pushing particles back into areas that have already been cleaned.
⏱️ Time: 8-12 minutes depending on size | ✅ Successful when: The brush no longer collects visible dust and the surface regains its uniform matte appearance | ⚠️ Caution: Never go back over an area that has already been treated in the same session
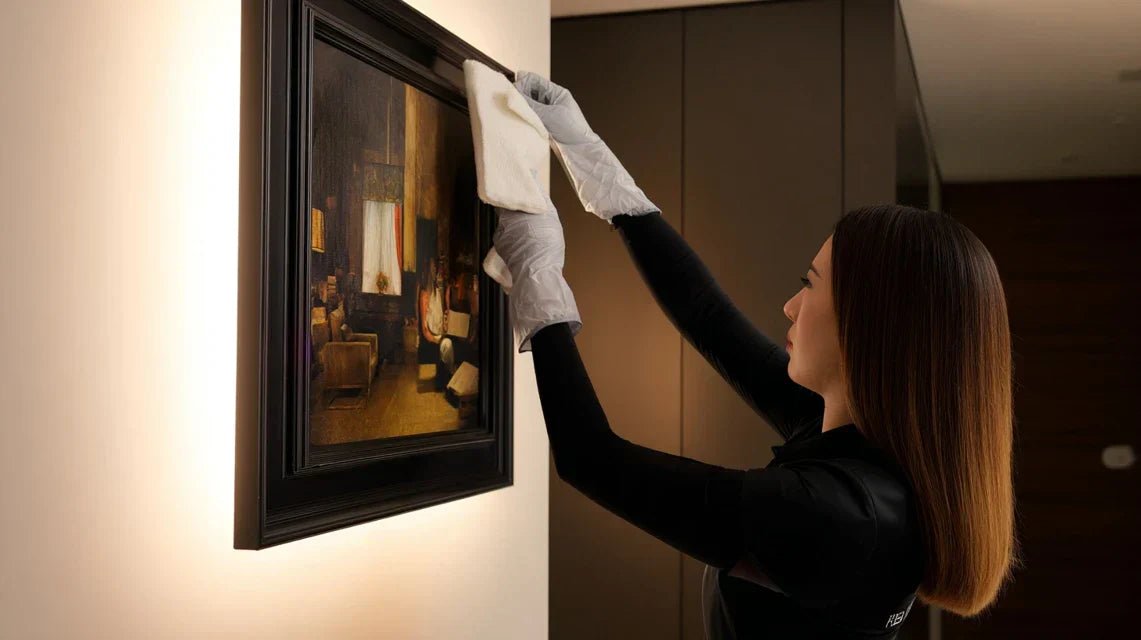
Finishing with antistatic microfiber cloth: Fold the fabric into a square of approximately 8x8 cm and gently pass it over the entire surface in very light circular motions. This step eliminates residual microparticles and neutralizes static electricity that would quickly attract new dust.
⏱️ Time: 5-8 minutes | ✅ Successful when: The surface is uniform under your directional lighting and does not show any parasitic bright spots | ⚠️ Caution: Change the side of the cloth as soon as it seems loaded with particles
Step 3: Long-term protection and optimization
You are now reaching the level of mastery that distinguishes the informed amateur from the negligent owner. This final step transforms your occasional intervention into a sustainable system. The final result you will obtain: a painting that retains its optimal brilliance 4 times longer than with basic maintenance, and the pride of owning a perfectly preserved work.
🛡️ Advanced preservation strategy
Optimal spacing rule application: Ensure your artwork is at least 15 cm from the wall and 50 cm from any direct heat source. This distance creates natural air circulation that limits static buildup. Adjust lighting to avoid heat halos on the piece.
⏱️ Time: 10 minutes | ✅ Success when: You feel a slight airflow behind the artwork and the lighting is even | ⚠️ Attention: Too much distance (>30 cm from the wall) creates turbulence that accelerates soiling
Implementation of personalized maintenance cycle: According to your initial assessment, define your optimal frequency: calm environment (seldom used living room) = 6-8 weeks, active environment (family living room) = 3-4 weeks, sensitive environment (open kitchen, smokers) = 2-3 weeks. Note the date on your calendar.
⏱️ Time: 5 minutes of planning | ✅ Success when: You have a clear frequency adapted to your lifestyle and an automatic reminder | ⚠️ Attention: Spacing too far apart (>10 weeks) negates all the benefits of your method
Rule of mastered progression: You are ready for the next step when the intervention takes you no more than half the initial time and you naturally anticipate problem areas. Patience in learning guarantees decades of optimal preservation.
You now master the fundamentals, but a few expert subtleties can transform your approach from informed amateur to true preventative conservation. These tips give you the advantage of discerning collectors who preserve their works for generations.
🎓 Museum conservation technique: Install a discreet hygrometer near your artwork and systematically clean after each humidity peak >65% (shower, intensive cooking, persistent rain). This anticipation prevents accelerated particle fixation and divides the necessary maintenance frequency by 3. Concrete result: an artwork that "breathes" constantly and preserves its maximum visual impact.
💭 "What if I only have 10 minutes a month to dedicate to my artwork?"
"I understand that time is precious, but I'm afraid of doing it wrong if I rush..."
Your concern is very legitimate and reveals a responsible awareness of your artistic investment. The good news? 10 minutes per month are more than enough with the right technique. It’s even more effective than 30 minutes quarterly, as you intercept soiling before it becomes ingrained. Think of your skincare routine: better 2 minutes daily than an intensive weekly mask! Your artwork follows exactly the same principle of gentle preventative maintenance.
🕐 Optimized express planning: Schedule 10 minutes the first Sunday of the month, while you air out the room. Use this time for your intervention and observe the immediate difference in brightness. You will find that these 10 minutes become an anticipated pleasure.
The pitfalls to absolutely avoid with your high-end paintings
I must warn you against some common mistakes that can permanently compromise your artwork. These mistakes are tempting because they seem logical, but they reveal a lack of knowledge of the specificities of high-end artistic materials.
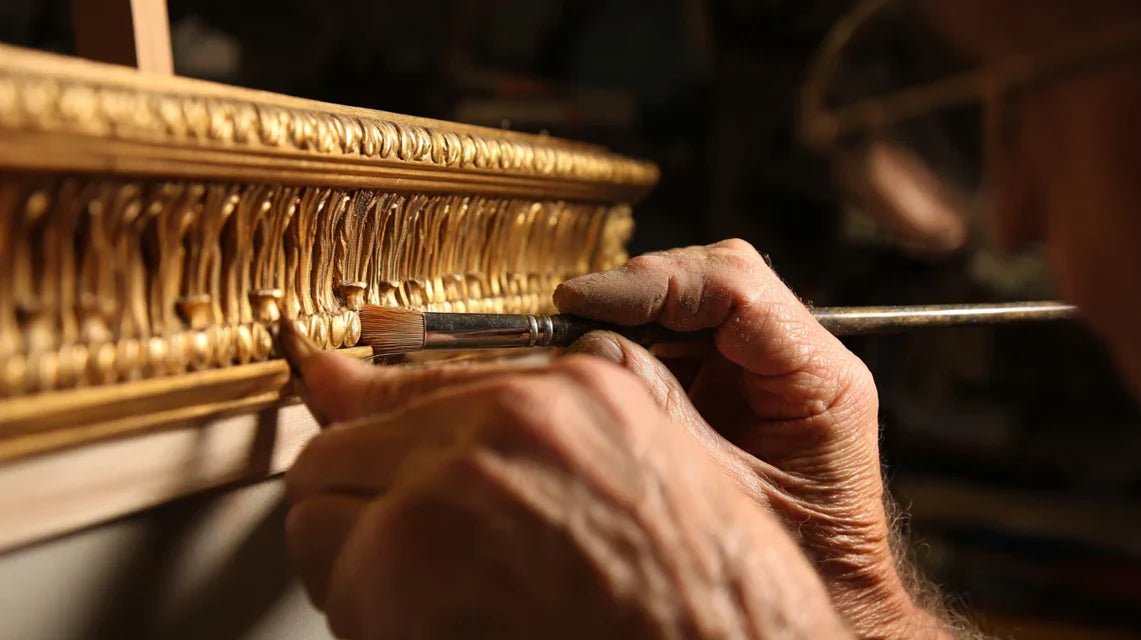
- 🚫 Using an "all-purpose" household cleaner: Effectiveness on your table guarantees nothing for your painting! Household solvents dissolve some artistic binders and create permanent halos. Safe alternative: lukewarm distilled water only in case of stubborn stains, applied with a cotton swab to a maximum area of 1 cm². This is mistake #1 for rushed owners. 🚫 Cleaning "while you're at it" the frame with the same technique: Wood, gilded metal, resin... each material in the frame has its own specific requirements. Your painting technique can strip a gilding or tarnish a varnish. Alternative: treat the artwork first, then adapt your method to the frame with specialized products. Patience = preservation! 🚫 Taking advantage of a "spring cleaning" day: Vacuuming, volatile products, dust in suspension... this is the most aggressive environment for your painting! Guaranteed result: immediate redeposition worse than before. Alternative: intervene 24 hours after your cleaning, in a "purified" room. This mistake often undoes hours of meticulous effort. 🚫 Spraying directly onto the painting: Even with an adapted product, spraying creates halos and introduces moisture into the frame joints. Consequence: deformation, peeling, internal mold. Alternative: always soak your tool (brush, cloth) then wring it out before application. Simple gesture that avoids irreversible damage. 🚫 Neglecting seasonal variations: Winter heating, summer humidity... your painting reacts to climatic cycles. Maintaining the same rhythm throughout the year unnecessarily overloads your artwork at certain times and neglects it when it needs it most. Alternative: slightly intensify in winter (dry air = static electricity), lighten in summer (fewer volatile particles).
🔒 Pre-intervention verification system: (1) Room aired and calm for at least 2 hours, (2) Material tested on a hidden area, (3) Optimal lighting to reveal your progress, (4) Unified directional gestures without backtracking. Warning signs: unusual resistance, color change, new odor = immediate stop.
🎁 Special readers offer
Because you took the time to learn, enjoy a 10% discount on your first order:
⏰ Valid for 72h after reading • Applicable to all our products
🔮 Frequently Asked Questions about High-End Artwork Maintenance
Excellent financial question! A complete maintenance kit (specialized microfiber + brushes + lighting) costs €25-40 and lasts 2-3 years. Professional restoration starts at a minimum of €200 for a medium-sized painting. Your preventative routine therefore costs €1.20 per month versus €200+ for catch-up. Plus, you preserve the resale value of your artwork which can lose 30-50% with visible poor maintenance.
I perfectly understand the constraints of everyday life. Yes, you can adapt by playing on intensity rather than frequency: an intervention every 8-10 weeks instead of 4-6, but with a more in-depth preliminary diagnosis and a more meticulous technique. The important thing is relative regularity: better 8 weeks consistently than an alternating 3 week/12 week cycle which creates unnecessary stress for your artwork.
No, definitely not! Dismantling regularly stresses the fixings and increases the risk of accidental falls. 95% of maintenance is done with the artwork in place. Only exception: annual intervention to clean the back of the frame (dust accumulation that migrates forward). In this case, get help for handling it and take the opportunity to check the condition of the wall fixings.